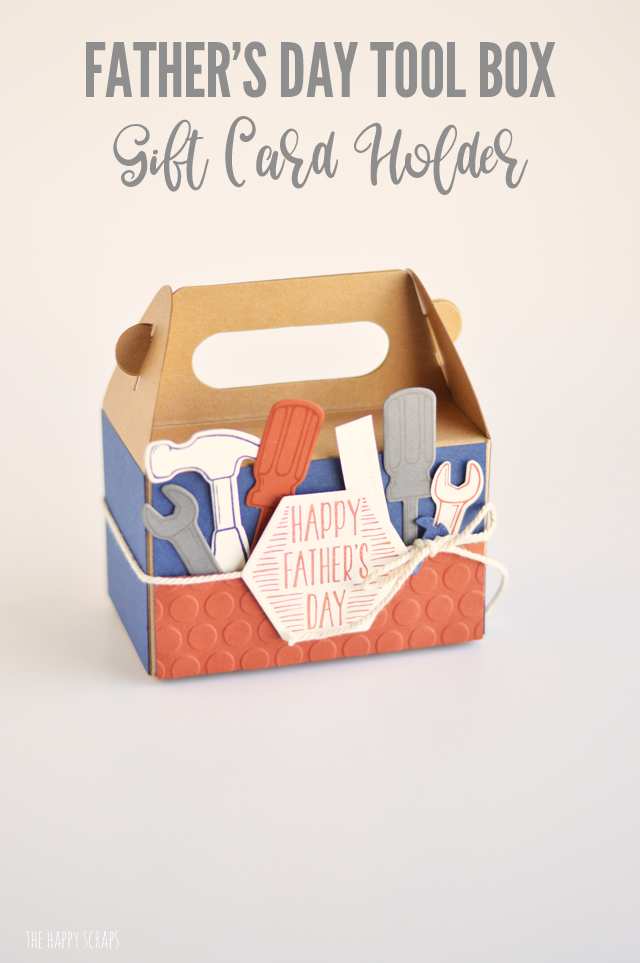
Did you have a good weekend? We did. We spent some time helping my mom unpack (she just moved) on Saturday, Sunday we went to church and spent time together as a family, and yesterday we headed to my home town to go to a reunion of sorts with all of my dads family. Since my dad passed away 8+ years ago, we always try to go visit the cemetery where he is buried on Memorial Day, and it is in my home town, so that is where we go. My grandmother also always has a big breakfast, with all the extended family on Memorial Day, so it’s like a reunion too. It’s something that I look forward to every year! Also, if you’ve been reading here recently, then you know that my husband has been looking for a job. Well, he has an interview today, so we are hoping that goes well. We’ll see! 🙂 I’ve been working on this little project for a few days and finished it up over the weekend, and I really couldn’t be happier with the way that it turned out! I’ve enjoyed putting together some fun Father’s Day Gifts in the past, but I think this one is my favorite! It was so fun to put together! Today I’m going to share with you how I put this Father’s Day Tool Box Gift Card Holder together.
I received product from Stampin’ Up! in exchange for this post. All ideas and opinions are my own.
This post contains affiliate links.
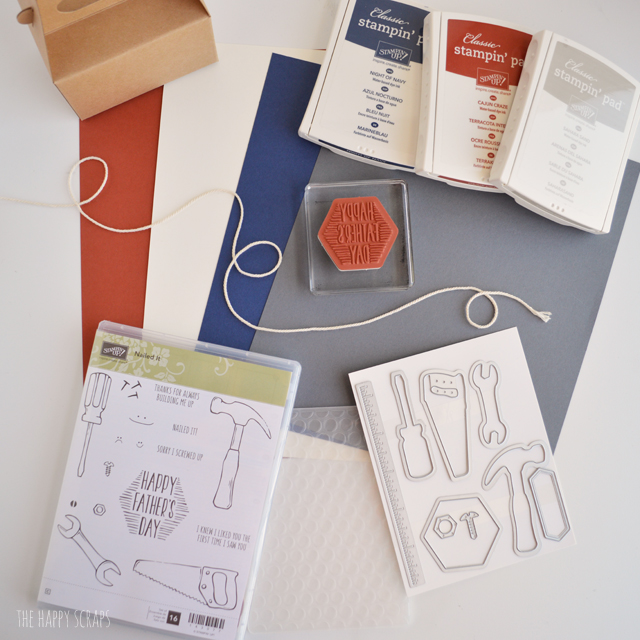
Father’s Day Tool Box Gift Card Holder Supplies:
- Nailed It Stamp Set
- Build It Framelits Dies
- Embossing Folder
- Cardstock (Basic Gray, Cajun Craze, Night of Navy, Very Vanilla)
- Classic Stampin’ Pad (Basic Gray, Cajun Craze, Night of Navy)
- Very Vanilla Thick Baker’s Twine
- Clear Block
- Cuttlebug
- Gable Box
- Adhesive
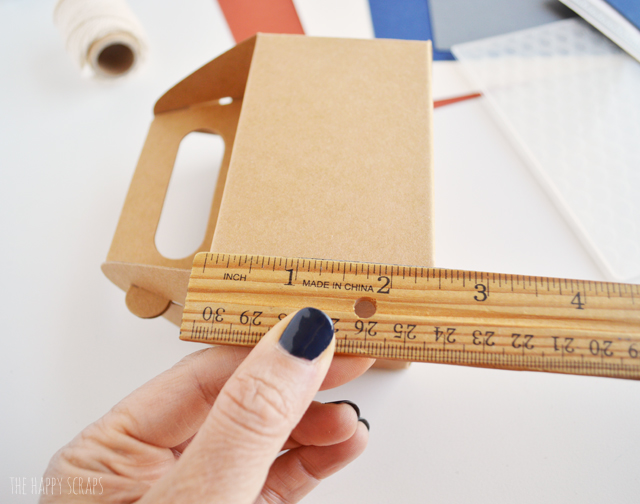
Start off by measuring your gable box.
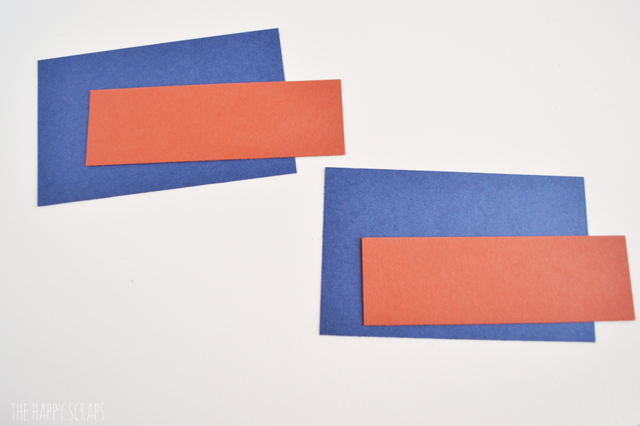
Trim your Night of Navy paper to fit it. I cut four pieces for all sides of the box.
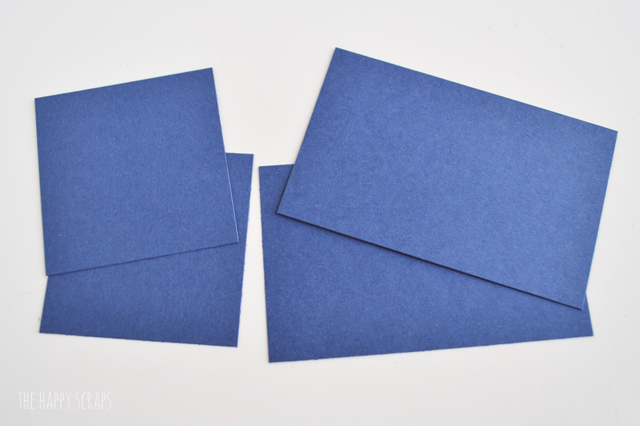
Cut two pieces of cajun craze paper to go about half way up the side of your gable box.
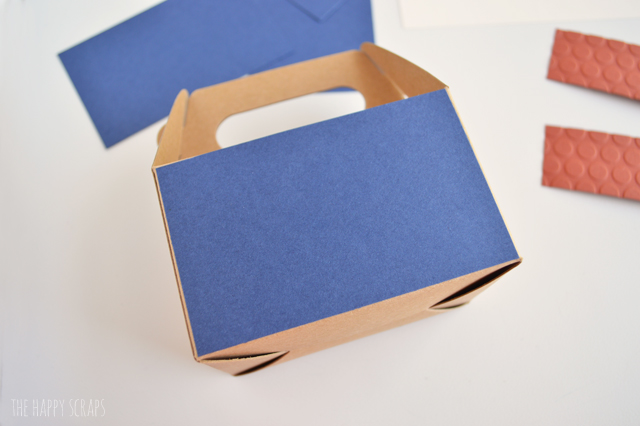
Attach the blue paper to the sides of your box.
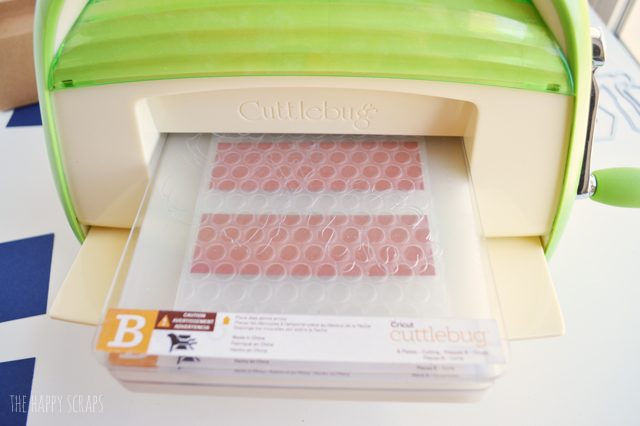
Using the embossing folder and the Cuttlebug, emboss the cajun craze paper.
Embossing is so much fun! Don’t those polka dots look perfect?
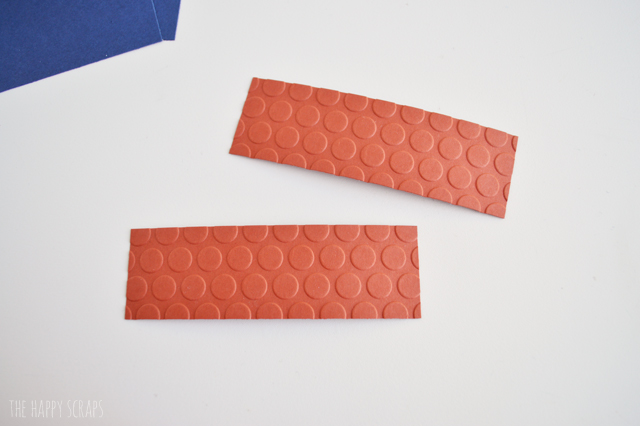
Attach dimensional adhesive to the back of the cajun craze paper.
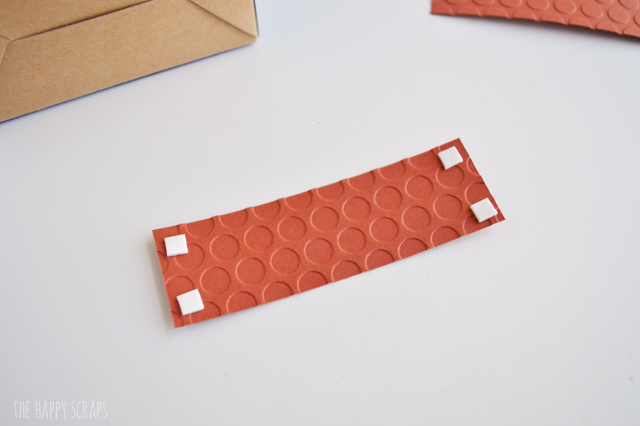
Mount it onto the side of the box on the bottom half.
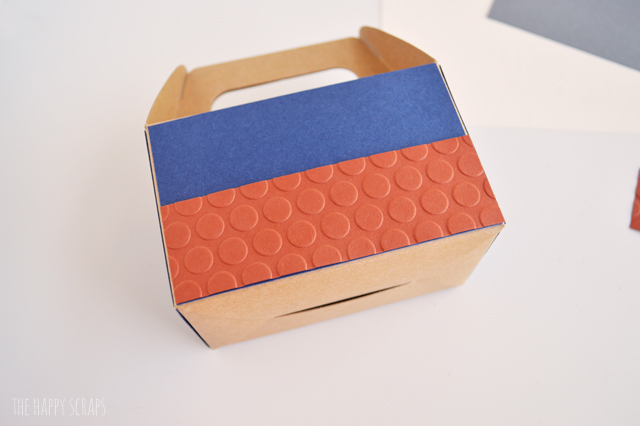
Tie a piece of Very Vanilla Thick Baker’s Twine around the box.

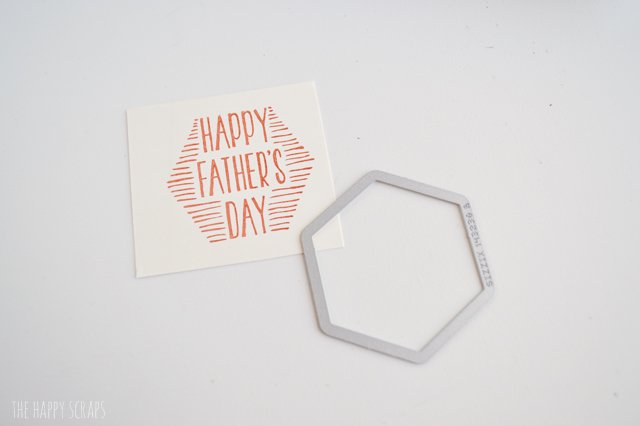
Get out your stamps, and stamp the images you need. I stamped “Happy Father’s Day” and then got out the framelit dye to cut it out.
I also stamped several of the tools. Once I had all my images stamped, I used the framelits to cut them out. I saved the scraps of paper from cutting out the tools so I could cut out my screws and nuts that I wanted to use for box filler for the gift card.
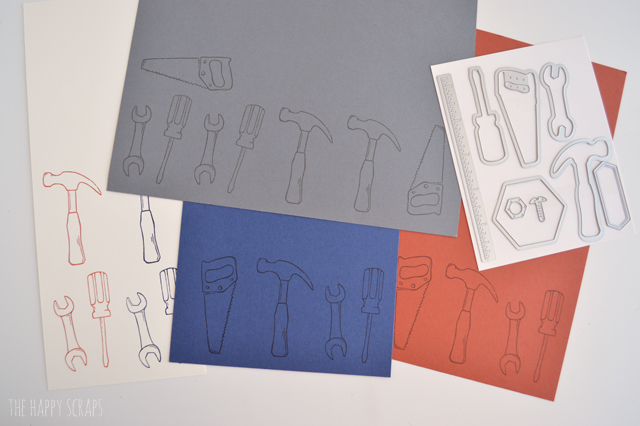
Here is one of each tool, all stamped, cut out, and ready to go.

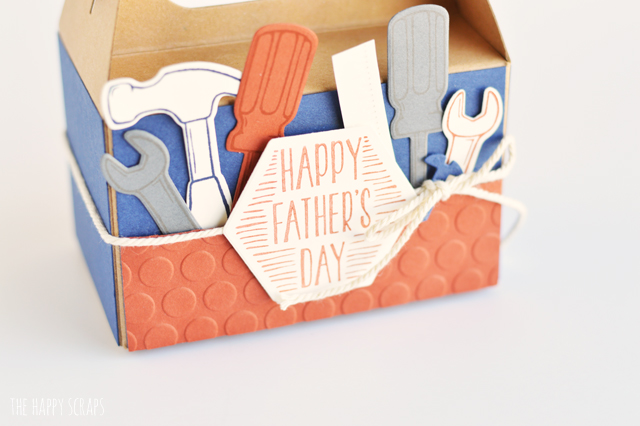
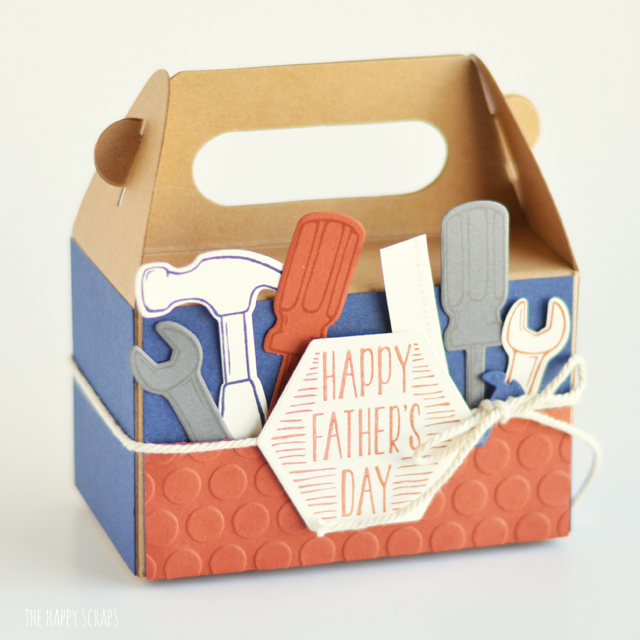
I attached the stamped Happy Father’s Day to the front and then I filled the pocket I created with the cute little tools.
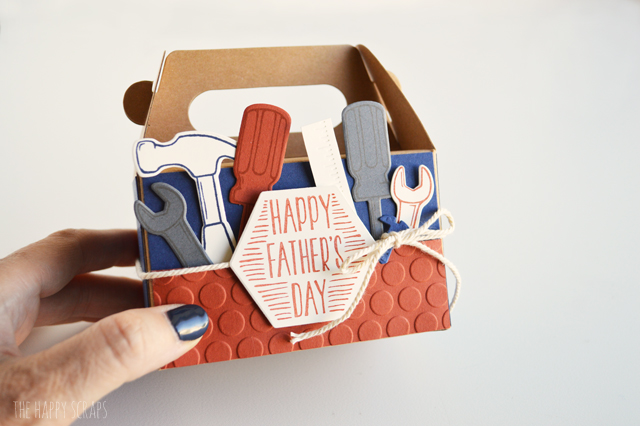
I also decided to tie a screw into the middle of the bow.

Then I was ready to fill the box. I used the left over tools I had made, as well as these screws and nuts for the box filler.
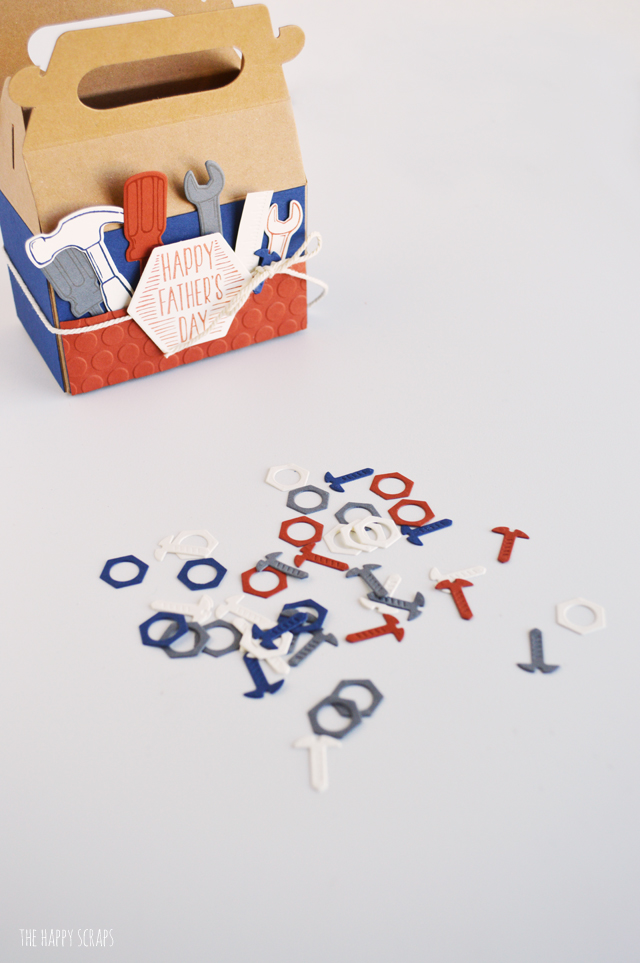
I crumpled them up slightly. I placed the gift card inside the box, then added the paper tools and screws around it.
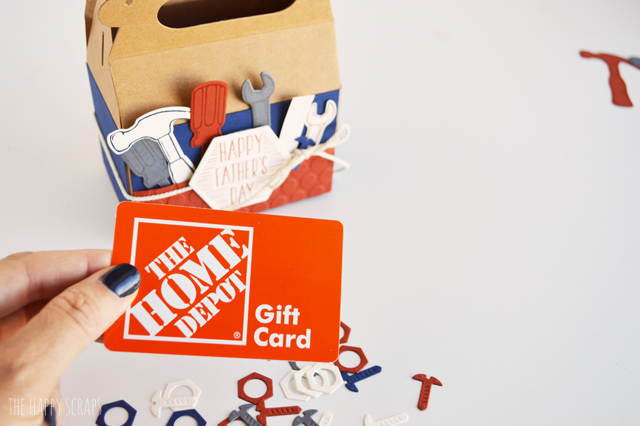
Doesn’t this look like fun and isn’t a gift card for The Home Depot just perfect for this?!
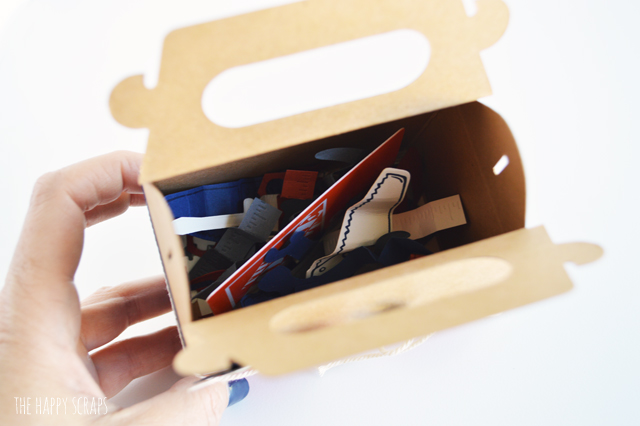
Close up your box and you are all ready to give this cute thing to dad for Father’s Day!
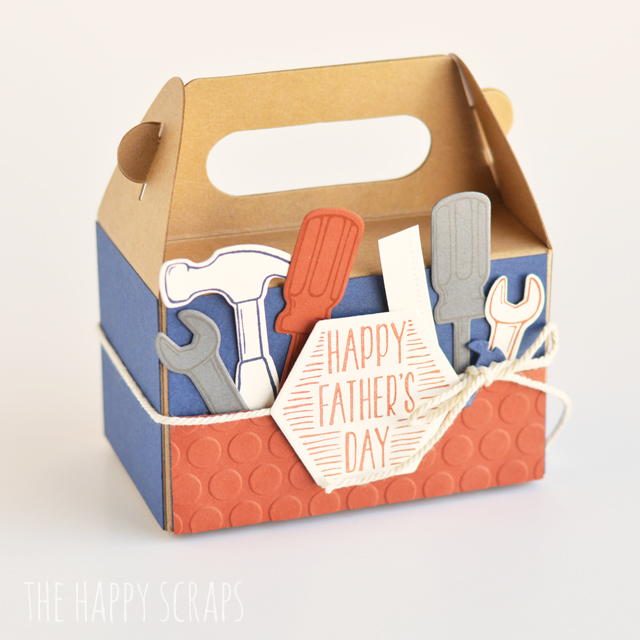
The tools on the front are the perfect addition to this cute box, aren’t they?
I just wish my dad was around so I could give him one of these for Father’s Day, because I’m absolutely sure that he would love it!
If you are interested in getting some of these supplies, you better hurry, because they will only be available until June 1, 2017.

Leave a Reply