This Painted Halloween Luminary Jars post and its shop have been compensated by Collective Bias, Inc. and its advertiser. All opinions are mine alone. #ThinkOutsideTheWipe #CollectiveBias
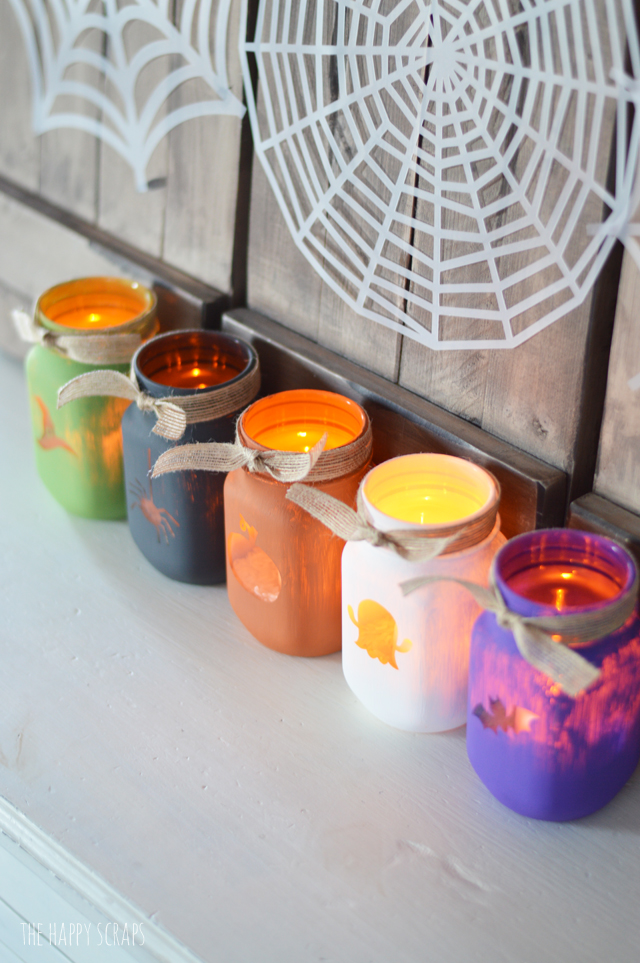
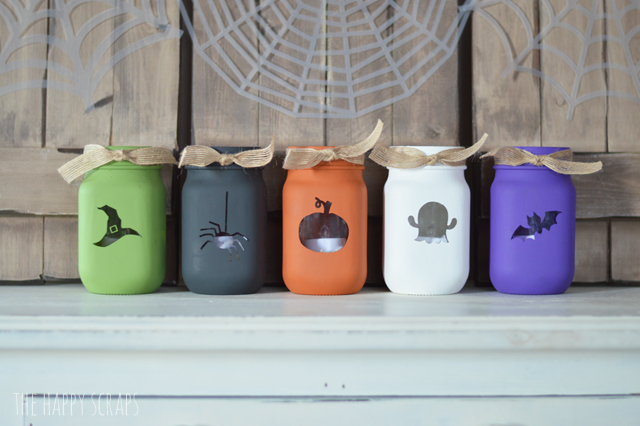
Do you make or buy new holiday decorations each year? Over the last several years, I’ve made most of my Halloween decorations, so this year, I didn’t make hardly any new ones. I’ve been wanting to make some of these cute luminary jars, and I decided that it would be perfect to make them as Painted Halloween Luminary Jars. I needed a little bit more green and purple to add to my display, so these were the perfect project! Today I’m sharing the tutorial with you for how I made them.
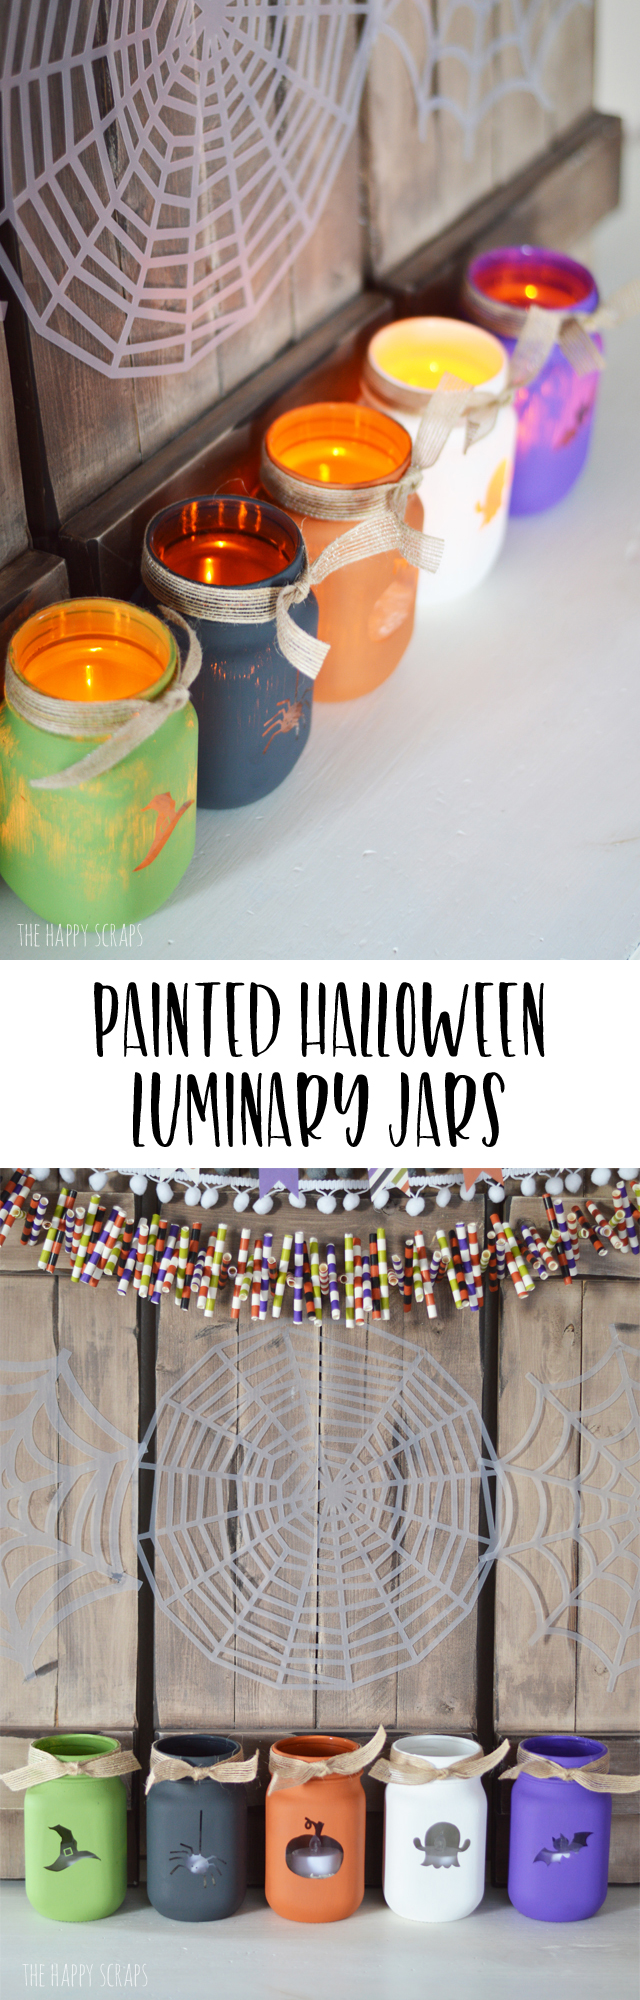
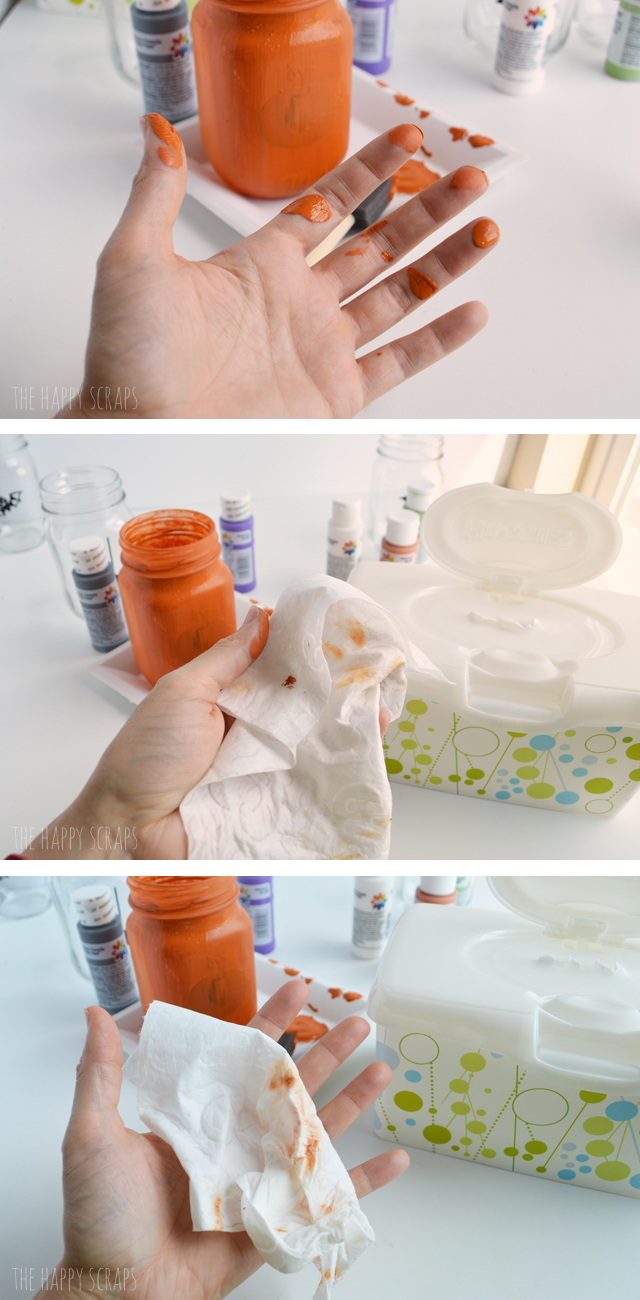
They turned out so cute, don’t you think?! Anytime I am painting a craft project, I always get paint on my hands, so I like keep Huggies® Natural Care® Wipes close at hand to wipe my hands off (I love that they don’t dry out my hands either, because they have aloe and vitamin E in them) and keep my work space clean.
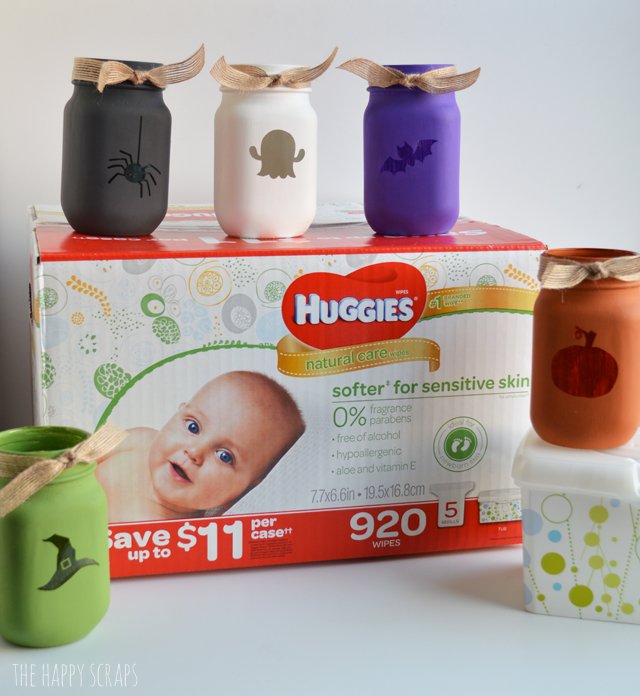
Interested in using Huggies® Natural Care® Wipes in your next creative adventure?
Hover over the photo to click through to Samsclub.com to purchase them!
For these Painted Halloween Luminary Jars, these are the supplies I used:
- Pint Size Jars
- Paint in Halloween Colors
- Sponge Paint Brushes
- Halloween Vinyl Decals
- Ribbon
- Rice
- Tea Lights
- Huggies® Natural Care® Wipes

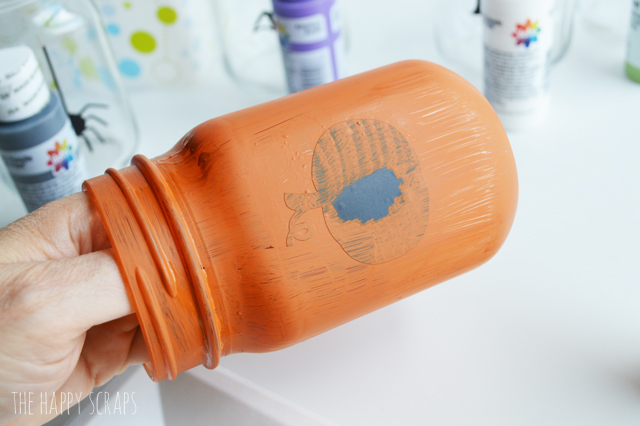
Start by placing your vinyl decal on the front of your jar, then peel the transfer tape off.

Then start painting your jars.
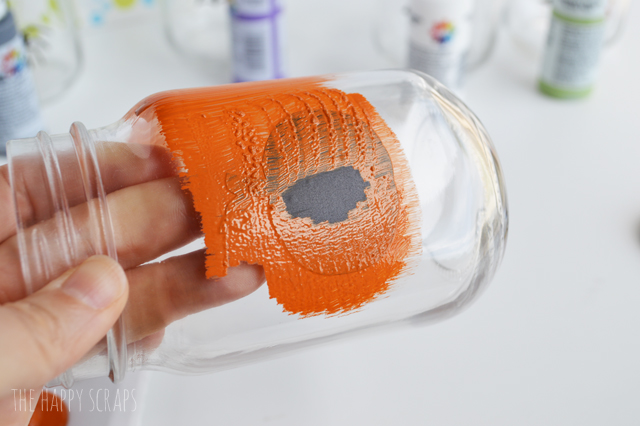
Paint each jar with enough coats to make the paint look solid, letting each coat dry in between coats.
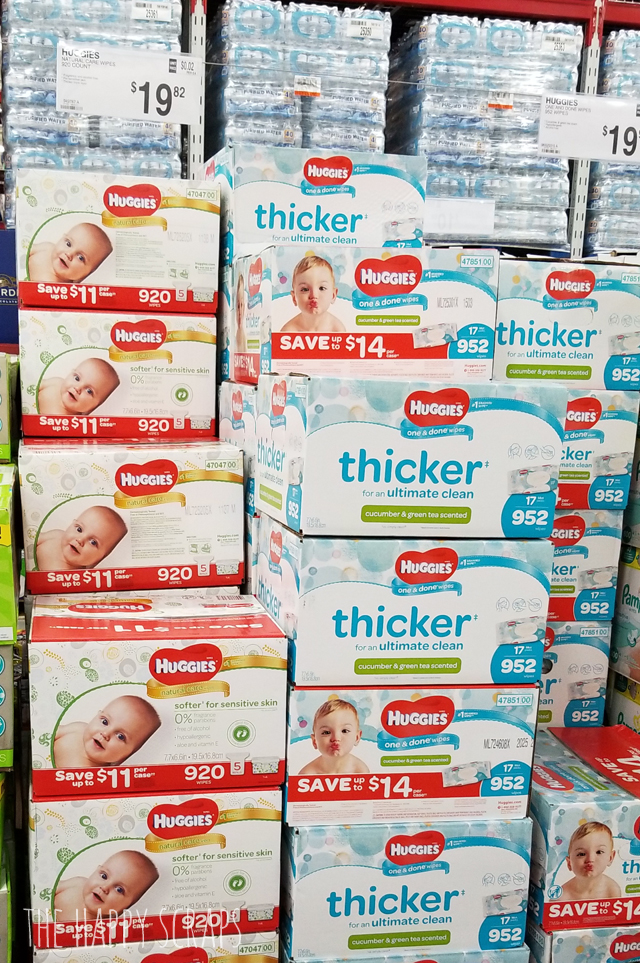
While painting the jars, my hands got dirty, so of course the Huggies® Natural Care® Wipes came in handy. Wipes are a must in my craft room. I had them right there on my table so they were easy to grab and keep my hands clean with. Being a member of Sam’s Club, I just picked up a box of these last time I was there so I’d have them ready for all the crafting I wanted to do. I find myself grabbing them for messes big or small all in the craft room or anywhere in the house where I might have a mess or spill. I also love that I don’t have to worry so much now if me or my kids are making messes, because Huggies® Natural Care® Wipes make clean up so easy! They wipe away 99% of germs, they trap, lift, and remove germs and are gentle on skin. They are hypoallergenic and free of harsh chemicals and don’t have fragrance either, which I love because I’m allergic to most scents, so I’m always looking for fragrance free items. I also enjoy that because I’m a Sam’s Club Member, I can use the pick up service, where I place my order online, and they’ll have everything ready for me to pick up when I get there.
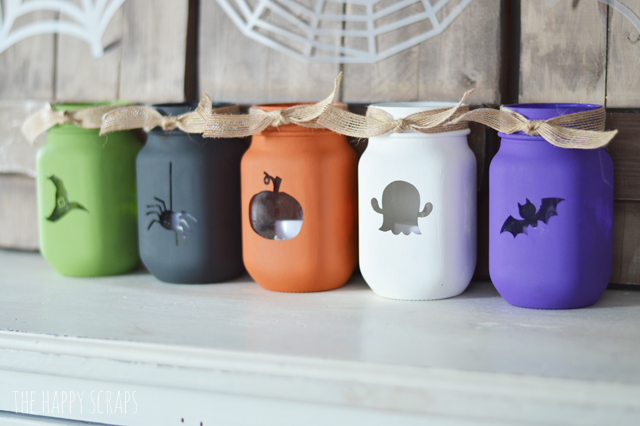
Once I had all the coats of paint on my jars and I had cleaned my hands, I started peeling the vinyl decal off. My decals were stuck round the edges, so I used a blade to go around the decals to get them off. Once I had the decal off, I tied my ribbon around the top.
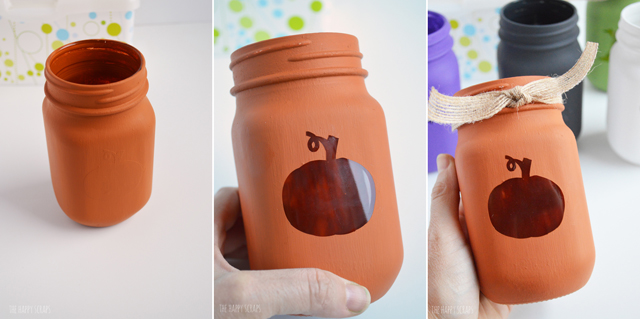
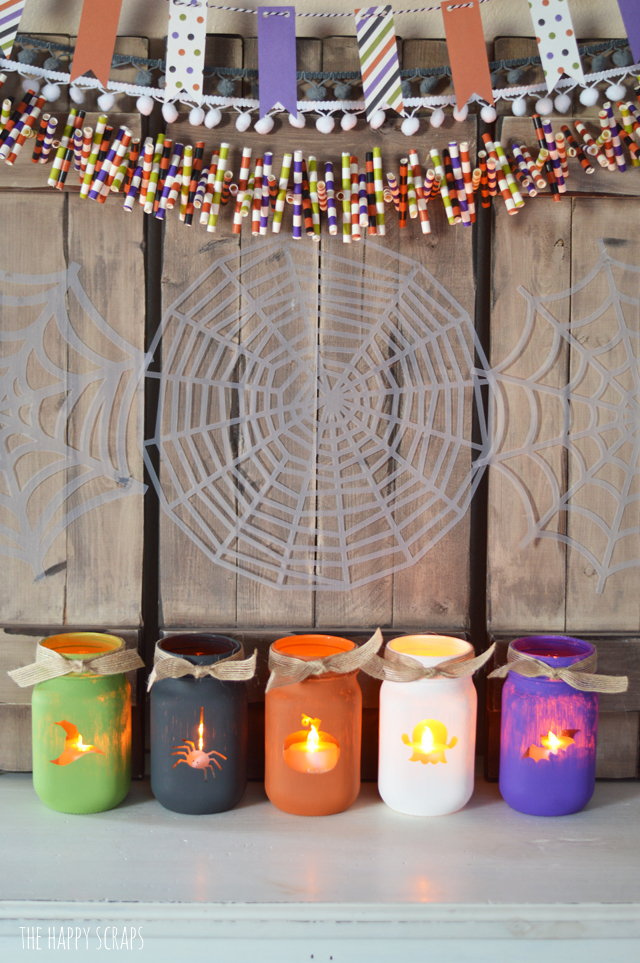
Then I put about a 1/2 cup of rice in the bottom of the jars and added a battery powered tea light to each jar.
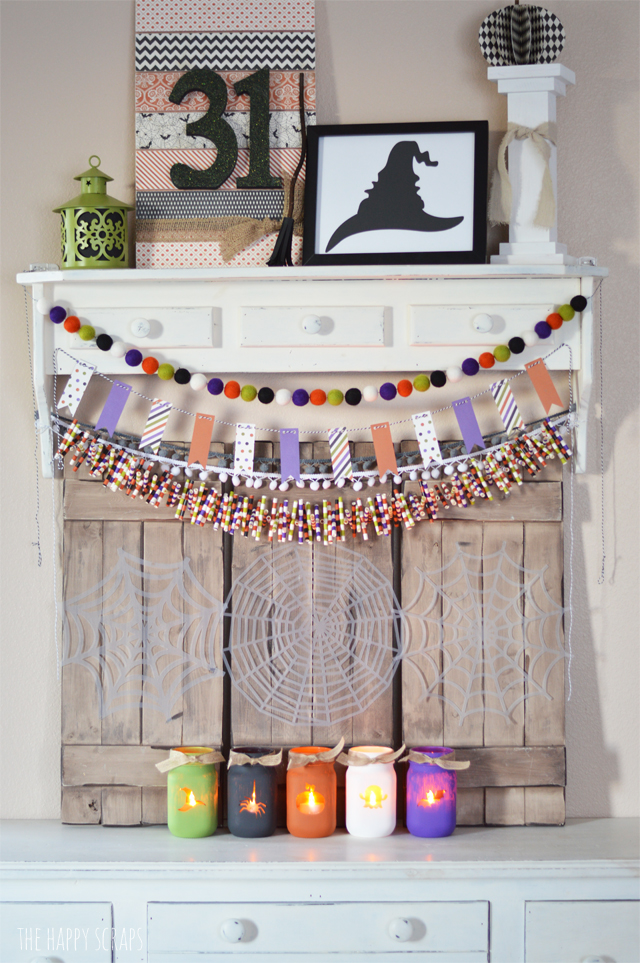
I think they even look good with the lights turned off!
They match my other Halloween decor really well too, and it gave me the added green and purple that I was looking for.
My kids think these are so fun too, especially my littlest one. He kept oohing and ahhing over them!
When the tea lights are turned on, I kind of like the spooky feel they give, even though I’m not really into the spooky side of Halloween, I can handle this.
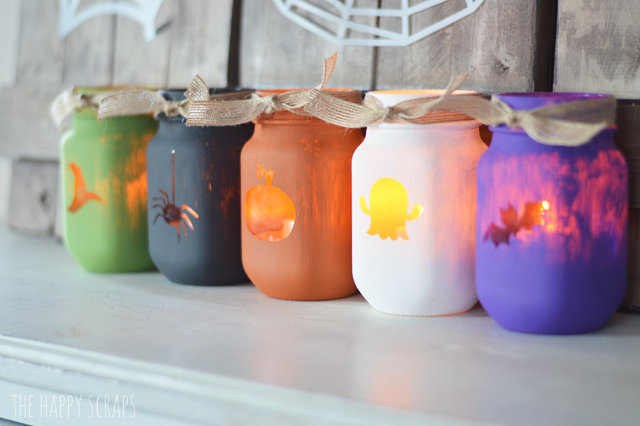

Aren’t these the perfect addition to my Halloween decor? They were the final touch for me to finish off this space that I was feeling was a little unfinished.
a

Leave a Reply