Confession. I made this Paper Bow Christmas Wreath last year, and never got it shared here, so I’m sharing it today. It’s kind of a funny story about how this wreath came to be. I had decided that I wanted a sparkly red wreath, so I headed into Hobby Lobby. I found some red sheer ribbon that had red glittery polka dots on it, purchased it and I was on my way. (Side note. I had come down with a cold, and I don’t think I was thinking very clearly.) I got home, and I really wanted to craft. I was pretty stressed out on top of being sick (anyone else get stressed during December. Sigh.) so I grabbed a white wreath form I had, simply wrapped the wreath with my new sparkly red ribbon, made a bow, and hot glued it onto the wreath. Then I hung it on my front door. Every time I would leave my house for the next few days, I would look at that wreath, and think how ugly it had turned out. Not what I had in mind AT ALL. Ha! So one day, when I got home from somewhere, I went and pulled it off my door. It sat for a day or two on my crafting table. Then, one afternoon, it hit me. I needed to pull that ugly, sparkly red wreath apart, and use that wreath form for something else. So I did. I pulled out some paper that I loved (paper can fix anything, right?) and I started making these mini bows. I still didn’t know how this Paper Bow Christmas Wreath was going to turn out, but I kept making bows.

This post contains affiliate links.
Paper Bow Christmas Wreath Supplies:
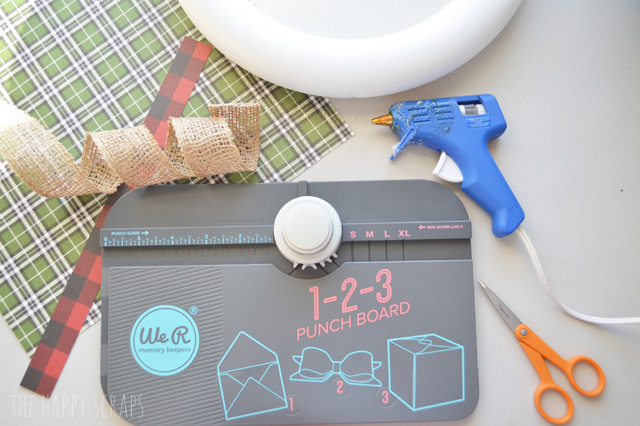
So, I started cutting up this fun buffalo check paper to make some bows. At this point, I didn’t even know what I was going to do with the bows. I just knew that I loved this paper and that I wanted to try using my 1-2-3 punch board to make bows. I followed the instructions for the XS bow.
I cut all my paper, then punched it according to the directions. Before I glued my bow together, I curled the bow, just using the side of my counter top. I put a little dab of hot glue on the inside center, then folded the ends in. I added glue to the center of the bow backing, the put the bow on top of it. I added a small dot of glue to the center of the bow, and added the center piece, then added glue to the back to fold it around and secure it.
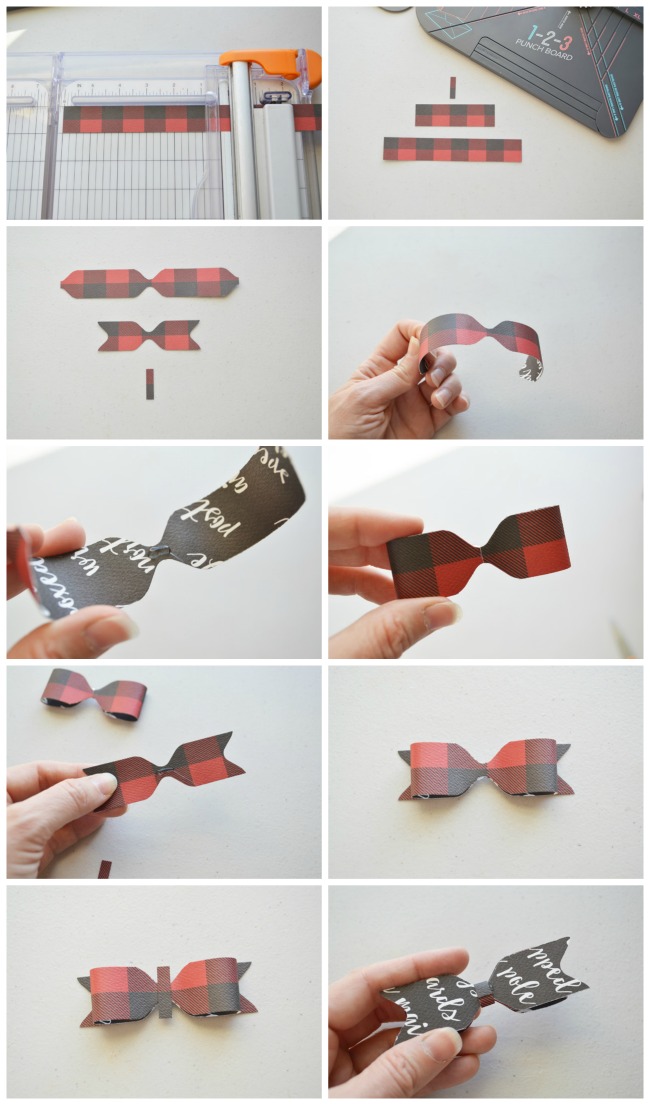
And it resulted in the cutest little bows ever!

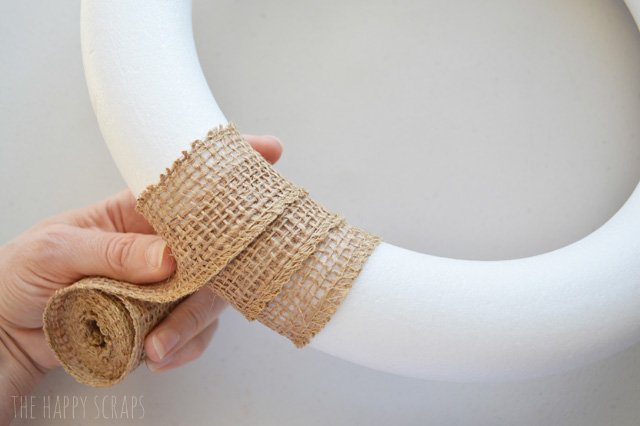
Then I took my ribbon, and started wrapping my wreath form, securing it in a few places with hot glue.
Then I just started gluing my bows to the wreath. I placed them on the wreath, to get an idea of where I wanted them glued. If the wreath form was a clock face, I glue 12 then 6, 9 then 3. Then I glued the in between spaces. This was the best way I could figure out to get the bows as evenly spaced as possible.
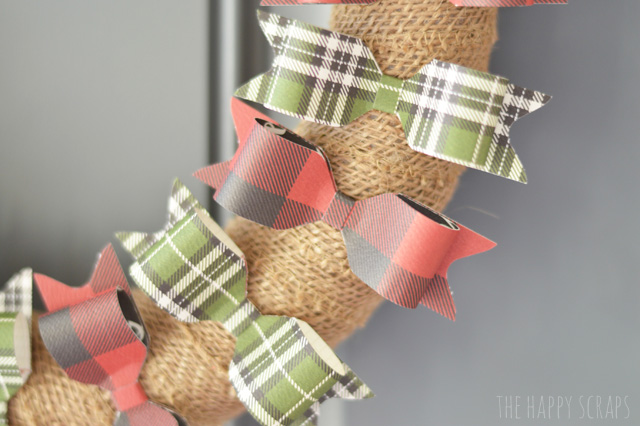
Isn’t it SO fun! It makes me giddy to look at it!
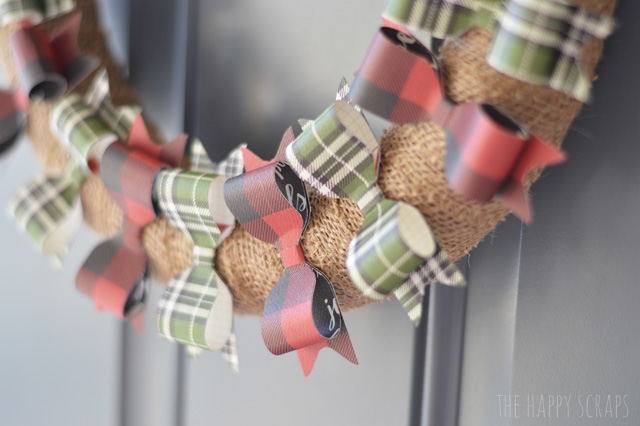
Once I had this cute Paper Bow Christmas Wreath made, every time I left to go somewhere, I loved seeing my wreath, rather than seeing that not so cute red one I had made. I’m excited to have it out and on my door again this year!
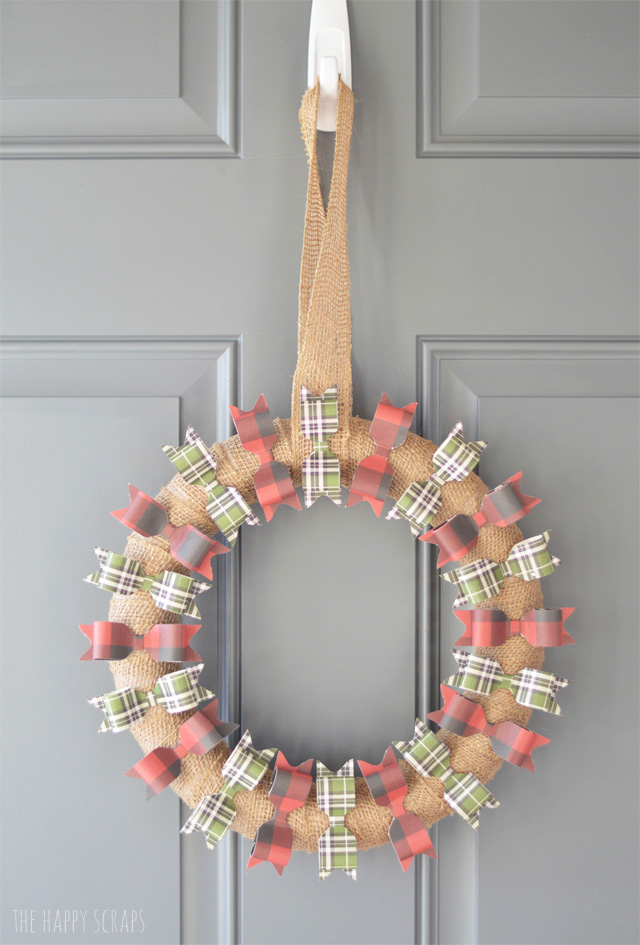
And now, you can make your own, all for yourself! It only took me about an hour, start to finish. Maybe not even that long. I did have all the supplies on hand though.
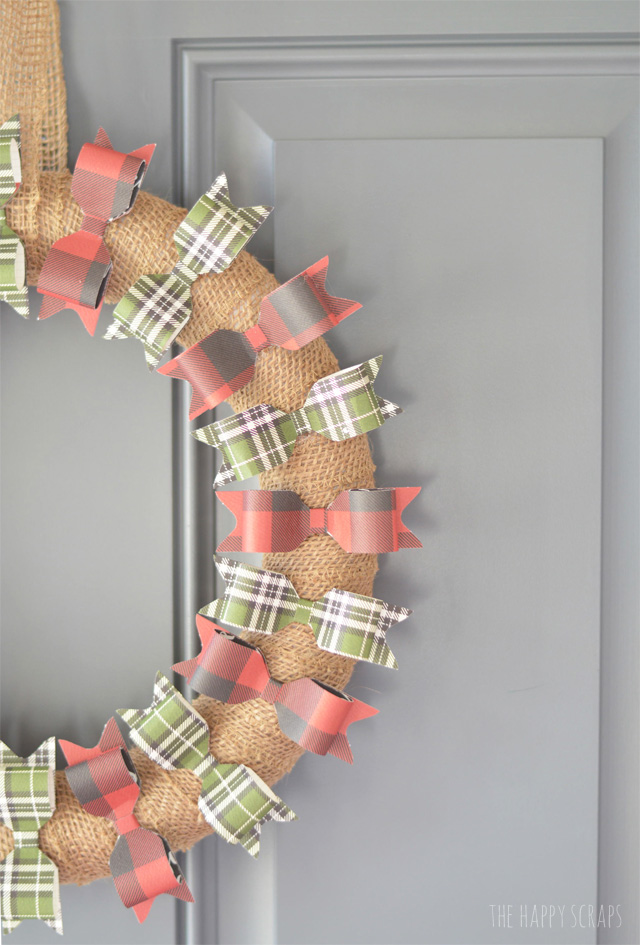
I’d love for you to share what kind of decor you have on your door for the Christmas season.
If you liked this project, check out my other wreath projects here.

Leave a Reply