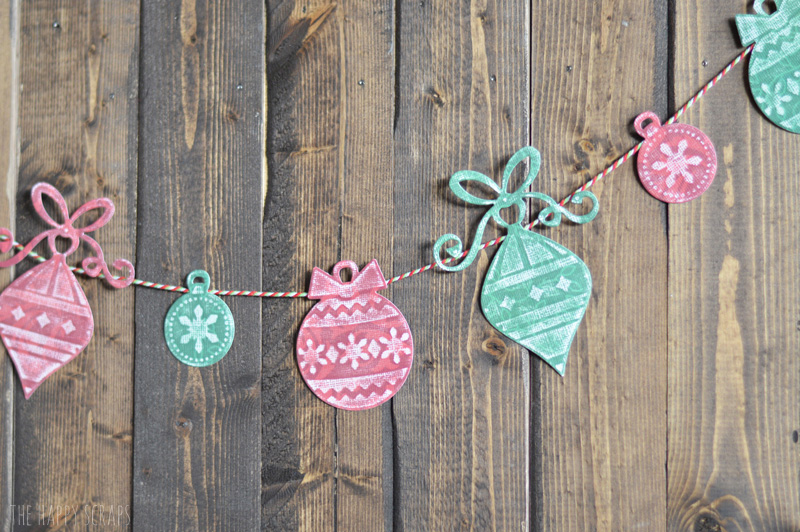
If you’ve never used a manual die cutting machine with embossing dies, then you are missing out. They are so fun to use, and that is what I used to make this simple Paper Christmas Garland.
This post contains affiliate links.
Paper Christmas Garland Supplies:
- Ornament Embossing Dies
- Sand-it Gadget
- Christmas Colored Paper with Light Core
- Christmas Baker’s Twine
- Glue Dots
- Cuttlebug
- Cuttlebug Embossing Mat
- Cuttlebug Magnetic Cutting Mat (optional)
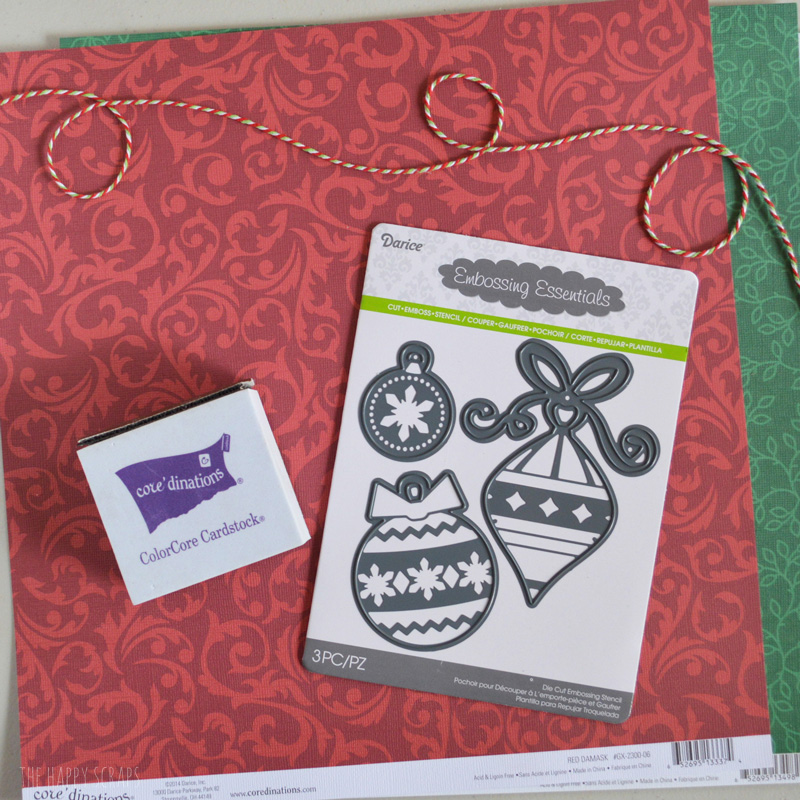
Once you have your supplies together, you’ll start by cutting and embossing your paper. Place your dies, face up on plate B. If you have a magnetic cutting mat, you’ll want to use that. Place your paper face down onto your dies. Place your embossing mat on top of that, followed by another plate B. Roll it through your Cuttlebug.
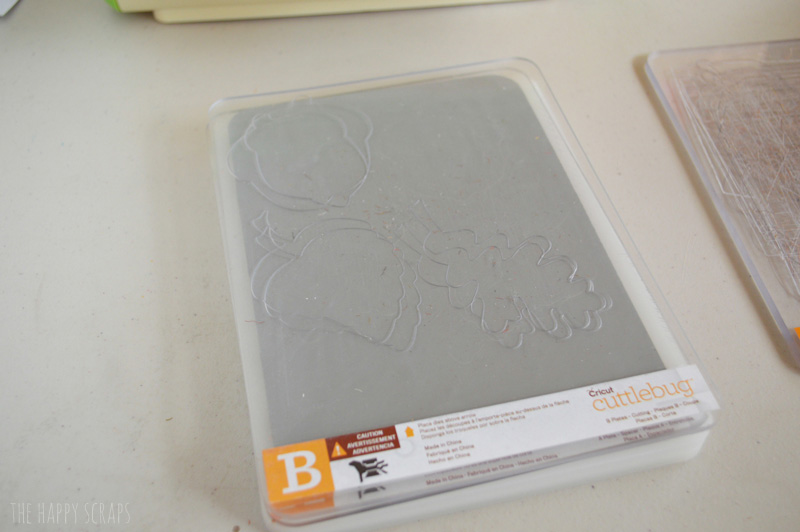
Pull your sandwich apart. Your ornaments should look something like this.
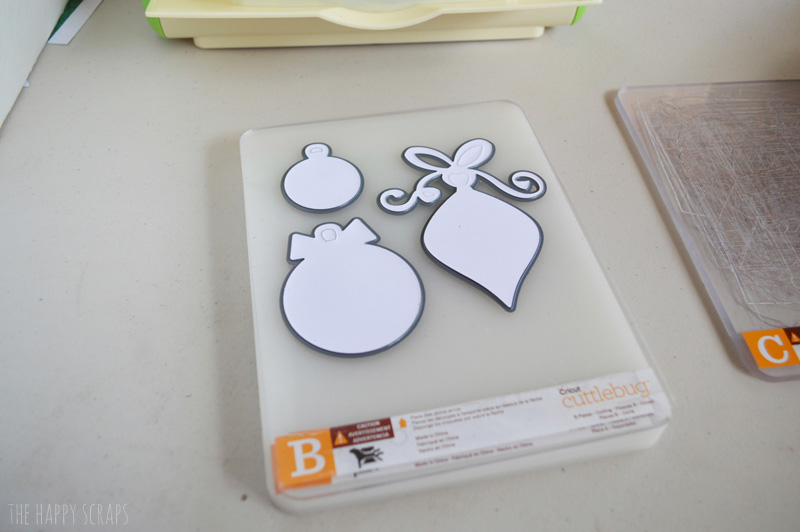
Pull your die cuts out of the dies. You’ll be able to feel the embossing and see it a little bit.

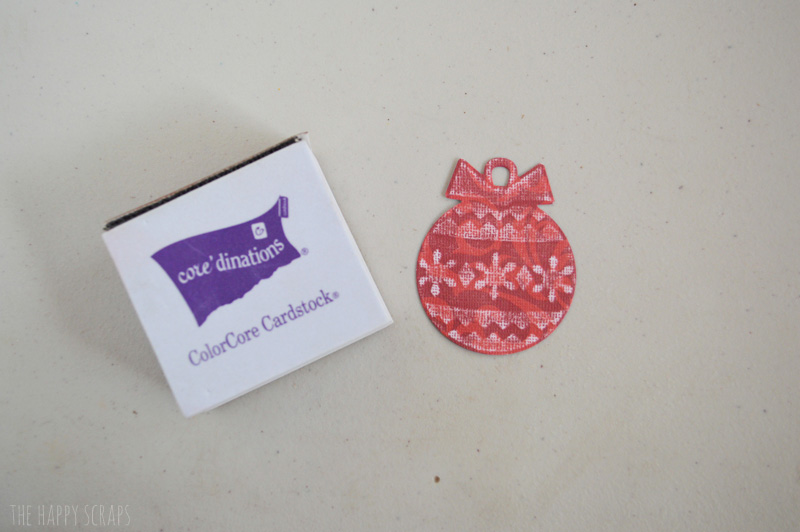
Use the Sand-it Gadget to lightly sand the top of your ornaments. This will bring out the embossed design. (If you used a solid core cardstock, it won’t bring it out like this. I used a white core cardstock.)
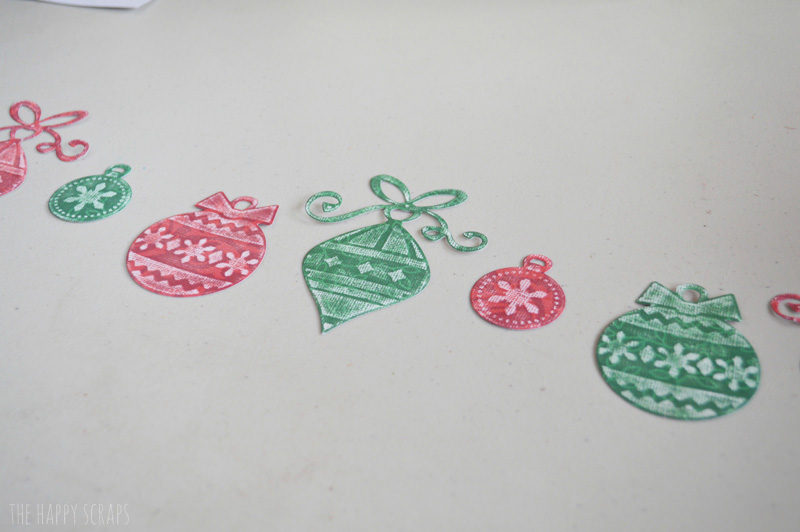
Lay out your ornaments in the design you want them in.
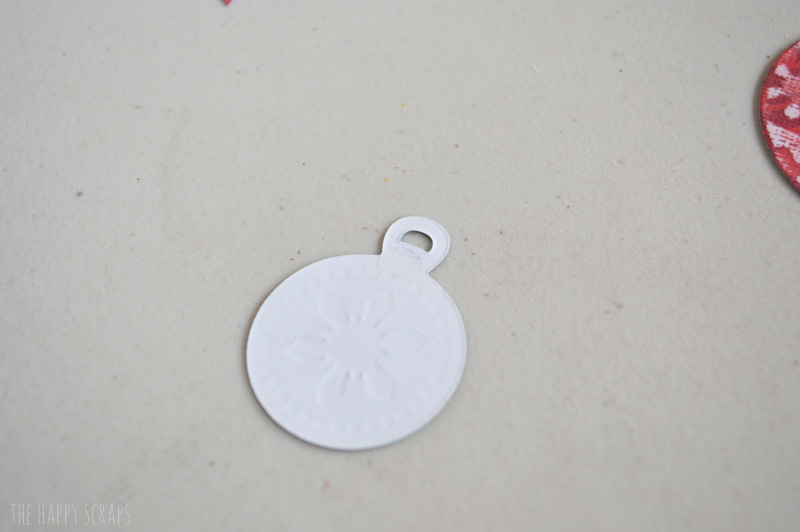
Grab your Glue Dots, and place one on the back of your ornaments.
Then stick them to the baker’s twine where you want them.

This would be so cute to hang from a mantel or shelf, or even put it on your Christmas tree. It’s quick and easy to make too!

What do you like to hang from your mantel at Christmas time? I don’t have a mantel, but I do have a shelf where I love to hang banners and garlands. We hang this project up on our kids Christmas tree.
For more Christmas inspiration, visit my Christmas project gallery.
This is a post that I shared previously on the Darice Blog.

Leave a Reply