This is a sponsored conversation written by me on behalf of Cricut. The opinions and text are all mine.
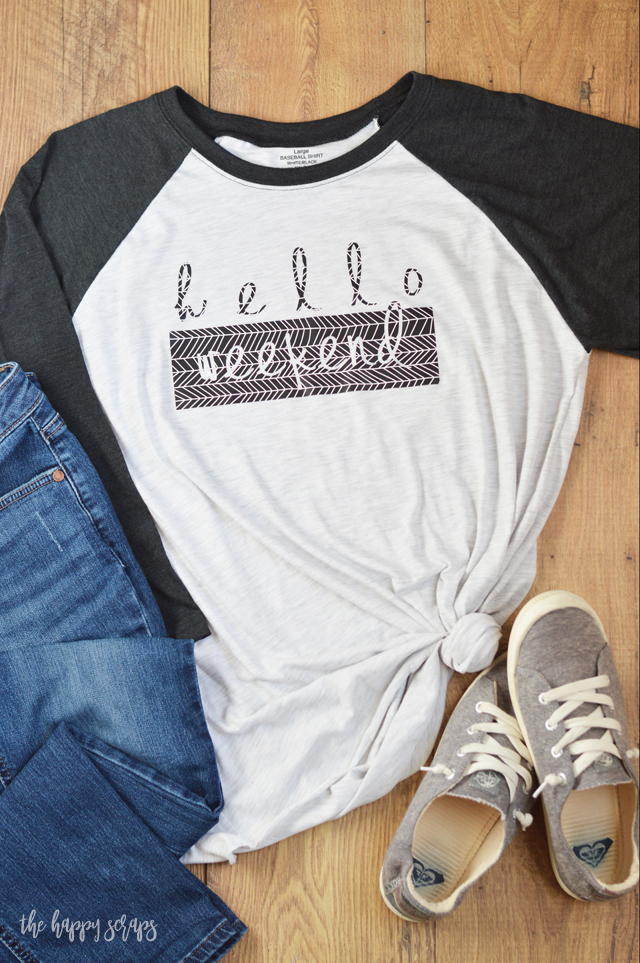
If you were to ask me what has changed the way I craft the very most, I would tell you that it’s my Cricut machines. I’ve been using Cricut machines for 10+ years now, and I’ve loved all of them all along the way. I love that the machines have evolved into what they are today, and I also love that Cricut keeps coming out with fun new materials to cut with the Cricut machines. A couple of the new materials they have just come out with are the Patterned Iron-on and SportFlex Iron-on. I haven’t tried the SportFlex Iron-on yet, but I can’t wait to try it. Everyone that has used it says it’s amazing! The Patterned Iron-on though, I’m totally loving it. I created this Hello Weekend Shirt with Cricut Patterned Iron-on and I love it! Today I’m going to share with you how I made this shirt so you can make one for yourself as well.
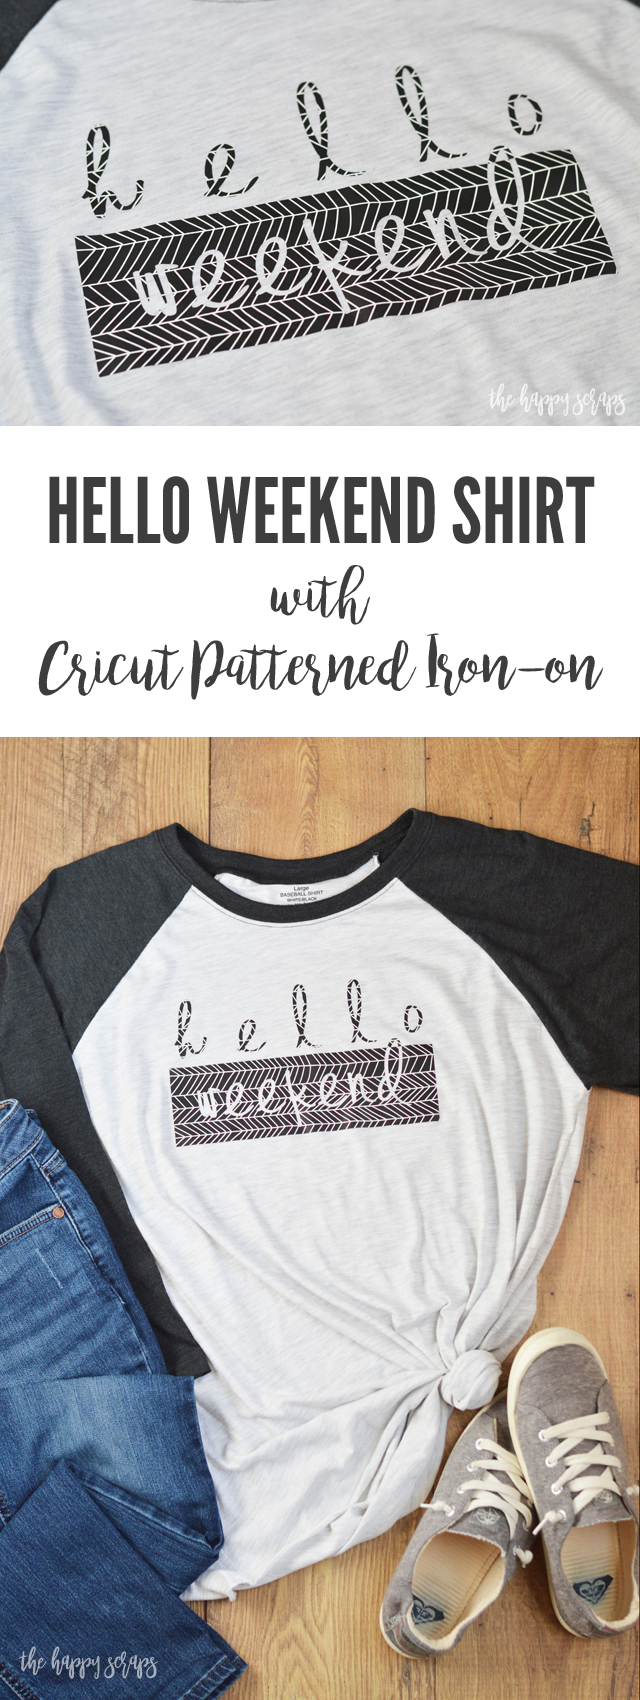
This Hello Weekend Shirt with Cricut Patterned Iron-on post contains affiliate links. If you click on an affiliate link and purchase something, you won’t pay anything extra, but it will help support this blog.
Hello Weekend Shirt with Cricut Patterned Iron-on Supplies:
- Cricut Maker
- Cricut EasyPress
- Cricut EasyPress Mat
- Cricut Patterned Iron-on
- Cricut Weeding Tool Set
- Cricut Design Space Cut File
- Blank Baseball Tee
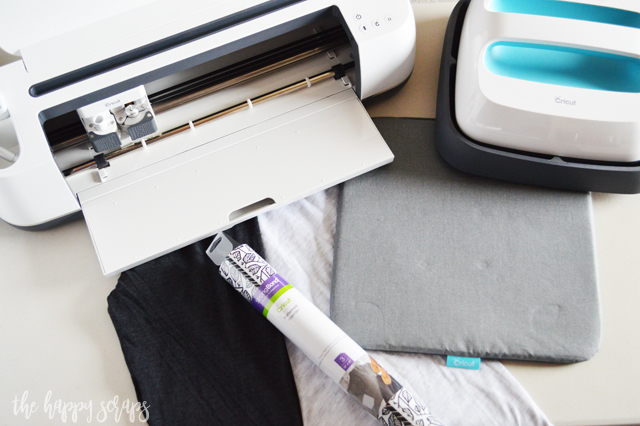
The new Cricut Patterned Iron-on feels different than other Iron-on I’ve used before. The back side feels more textured, and it adheres amazingly well! There are several different sampler packs to choose from right now, so you are sure to find some that you like. Each pack includes 3 – 12″ x 17″ pieces of the iron-on material. Today I’m sharing a shirt design with you, but I can’t wait to try it on a throw pillow or even a tote! Wouldn’t it be so cute to use some Patterned Iron-on on a onesie for a little one? They even have a pack that I think would be perfect for decorating a shirt for a birthday. The possibilities are endless with this fun new iron-on!
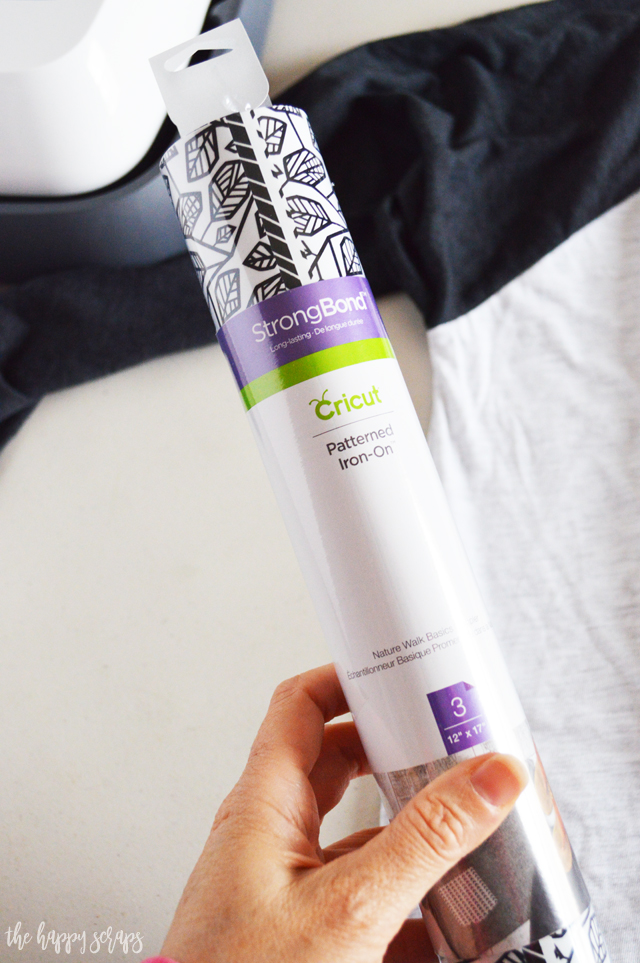
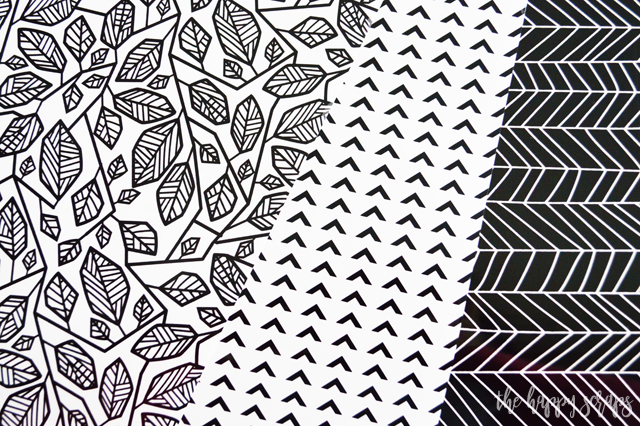
I love the designs in the Nature Walk Basics pack. This is the sampler pack that I found the pattern that I used for this project today. I love that the sampler packs of the Patterned Iron-on all include coordinating patterns, so it makes it easy to mix and match patterns on one project.
Once I had my Hello Weekend design ready, I sent it to my Cricut Maker to be cut. Make sure, because you are using Iron-on, that you mirror your image before cutting. Nothing is worse than getting your design cut, only to realize that you forgot to mirror it, and it happens to all of us!
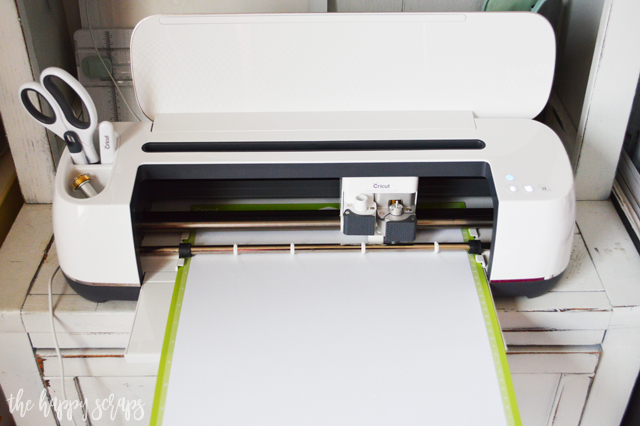
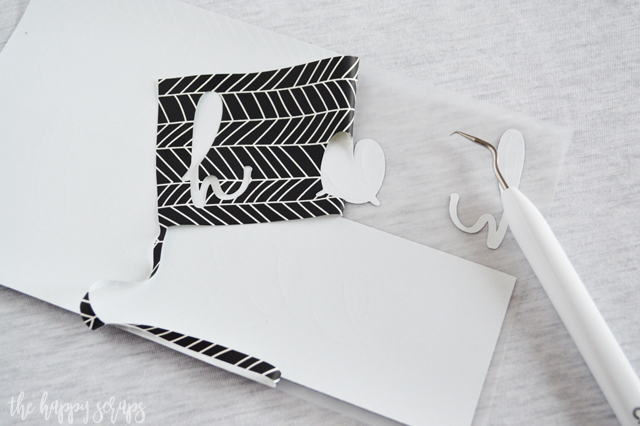
Once I had my design cut out, I used the weeding tools to pull off the parts I didn’t need.
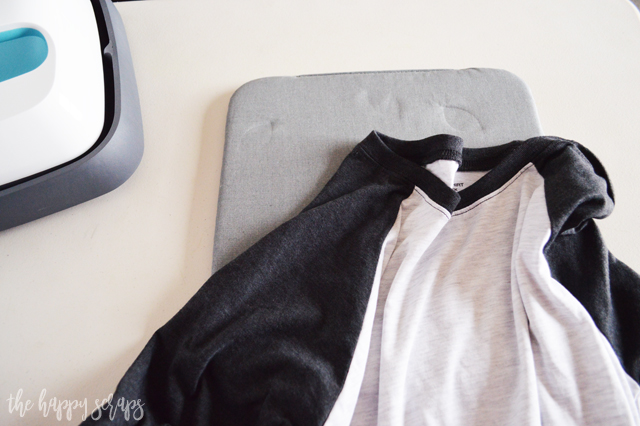
When it was all cut, I got my shirt ready. I placed my shirt over the top of the new EasyPress Mat and made sure that the area that I needed to place the image was over the mat. This new EasyPress Mat is the perfect companion for the EasyPress. It is designed to eliminate moisture and directs the heat to the iron-on design. It also protects your work area from the heat of the EasyPress. I’m so excited to have this to use for my Iron-on projects!
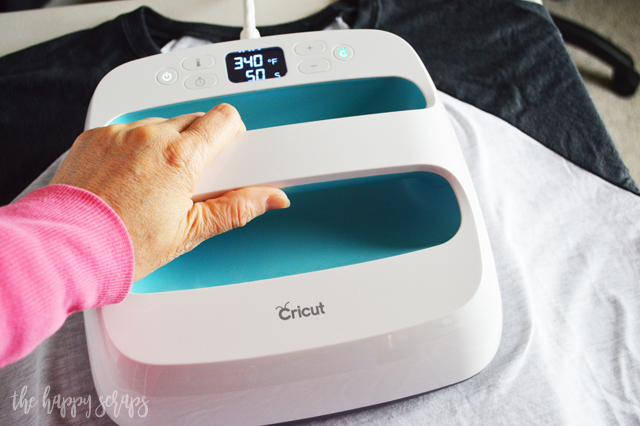
I set my EasyPress temperature and timer for the Patterned Iron-on settings. To press Patterned Iron-on, set your EasyPress to 340 degrees and 50 seconds. Once the EasyPress is preheated, place it on your shirt for 5-10 seconds to preheat the shirt.
Place your Patterned Iron-on design where you want it on the shirt.
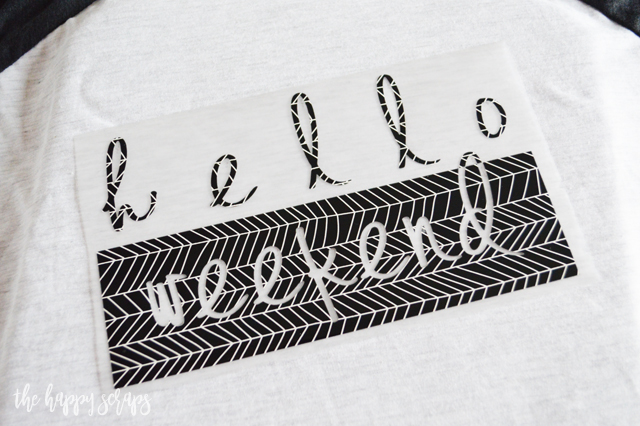
Place your EasyPress over the design and press the Cricut button to start the timer. If your design won’t fit under the EasyPress all the way, do it in two sections. After you’ve pressed the front of the shirt, turn the shirt over and press from the back for 15 seconds.
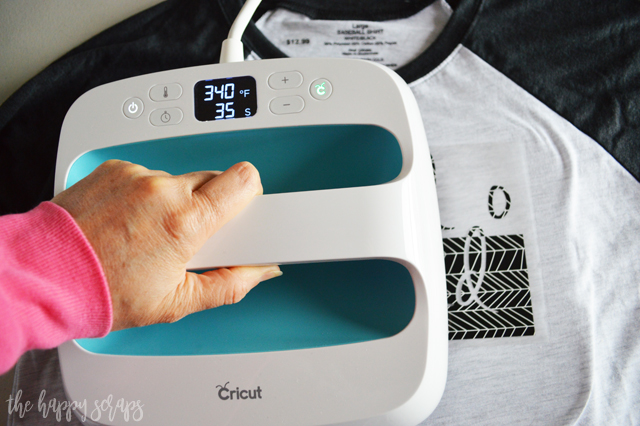
LET YOUR DESIGN COOL COMPLETELY! It is important that you let the design completely cool before you peel the carrier sheet up.
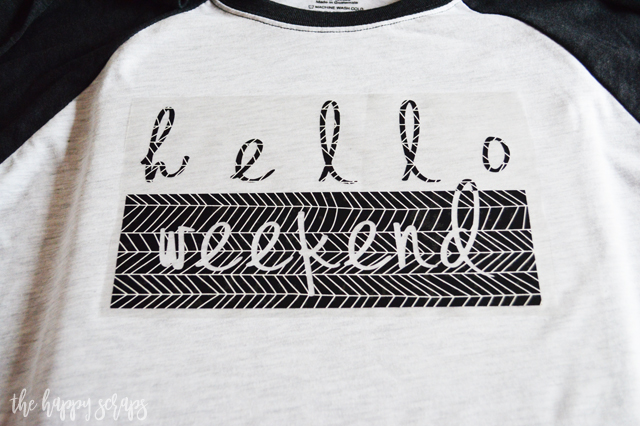
Once it’s cool, peel up the carrier sheet! This was so fun for me, since this is a new material. It was fun to see exactly how it turned out!
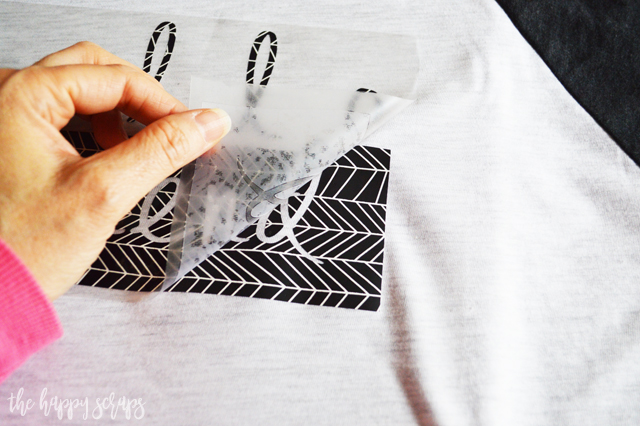
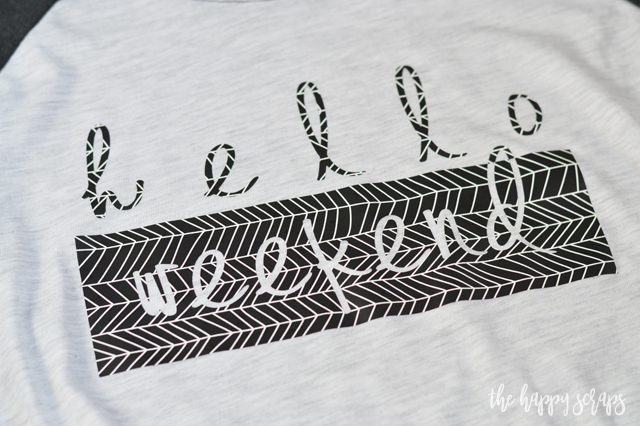
I love how it looks! The design I chose has a mat finish on it, and it turned out perfectly!
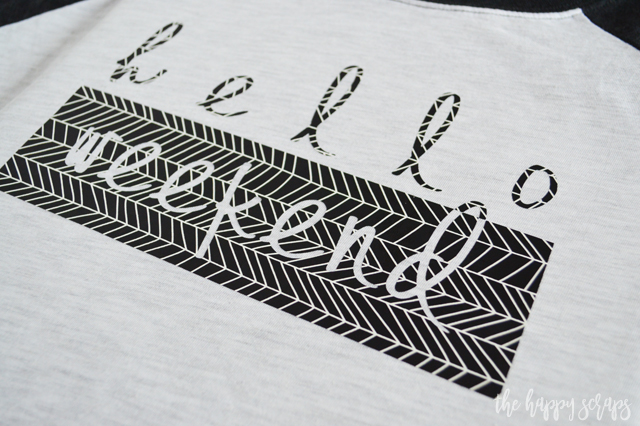
Now all that’s left to do is wait for Friday so I can wear my new shirt! 🙂

I love that this pattern has enough contrast in it for the shirt that it’s on, so it shows the hello as well as the weekend that is cut from the box.
Head on over and check out all the fun Cricut Patterned Iron-on and let me know which sampler pack is your favorite!
If you enjoyed this Hello Weekend Shirt with Cricut Patterned Iron-on and you’re looking for more fun iron-on projects to make with your Cricut and EasyPress, then check out my gallery here.
This is a sponsored conversation written by me on behalf of Cricut. The opinions and text are all mine.

Leave a Reply