You guys! Did you hear? You can now curve text in Cricut Design Space! I’m so excited about this! I’ve gotten around not being able to do it for a while, by designing my own designs in Photoshop Elements, but I couldn’t ever use the draw and cut if I did that. Four years ago, I used the draw and cut feature with my Cricut to make a circular Chore Chart for my kids. You guys. That thing has been awesome. I’ve tried a few different chore charts through the years, but this one really worked! I’ve been using it for four years. I really didn’t want to change it, but since we moved a couple of years ago I’ve needed to. It had four main chores on it for my four boys. We had kitchen, laundry, living room, and bedroom. This worked well in our old house because all four boys shared a bedroom, so one was assigned each week to do that. Since we moved, we have two boys in each room, and they really need to be picked up and kept tidy each day. With the old chore chart it seemed like one would be clean for a week or two and then the weeks that the boys in that room weren’t on bedroom, it wouldn’t get cleaned very well. So, I modified this so that it would work better for this home that we are in now! Creating this was so quick and easy because of the curved text feature that is now in Cricut Design Space. So today, I’m excited to share my new Draw & Cut Chore Chart with Curved Text in Cricut Design Space!
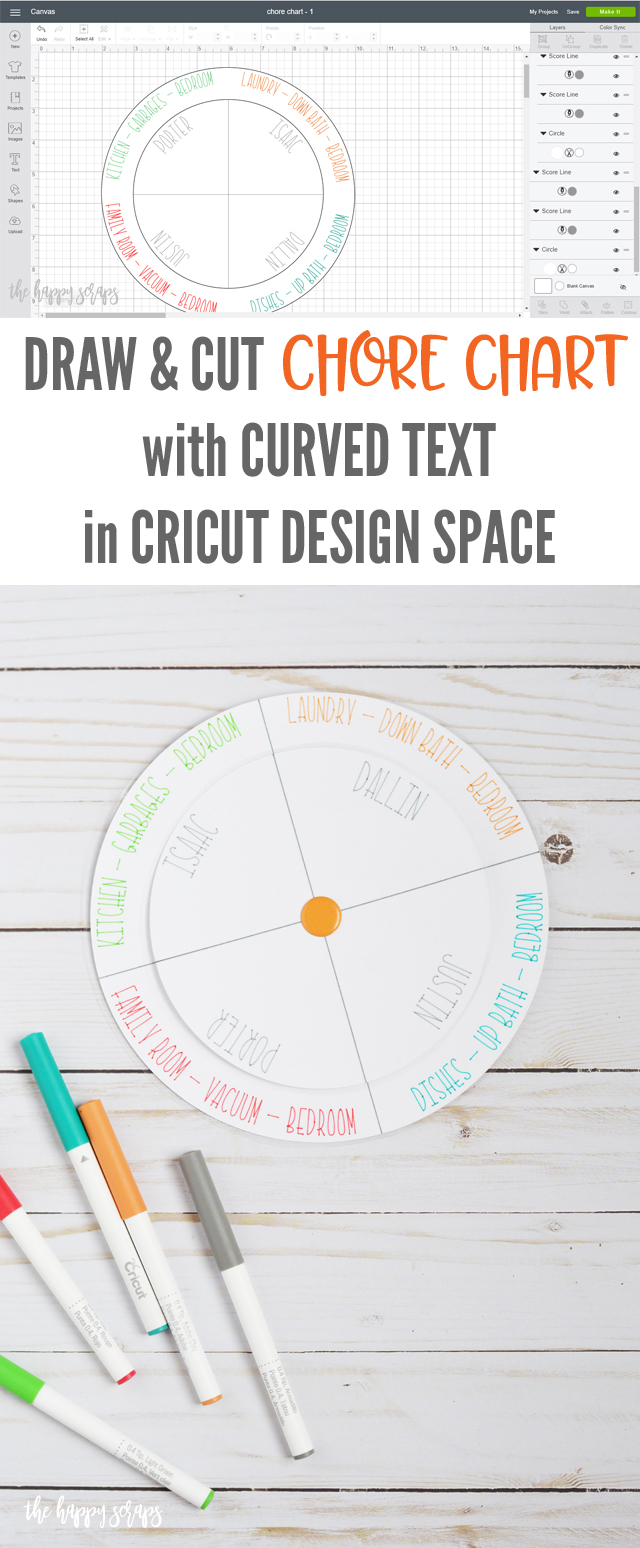
This Draw & Cut Chore Chart with Curved Text in Cricut Design Space post contains affiliate links. If you click
on an affiliate link and purchase something, you won’t pay anything extra, but it will help support this blog.
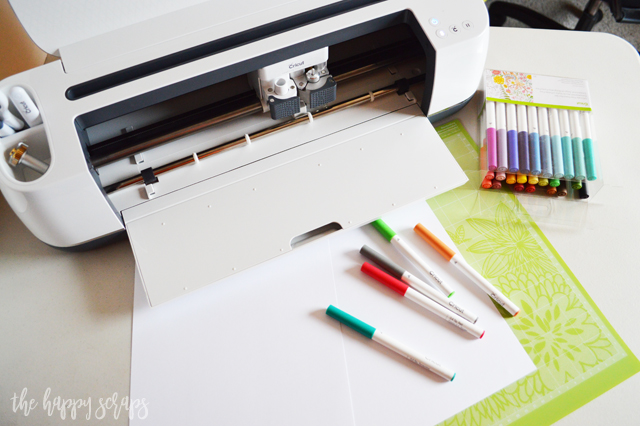
Draw & Cut Chore Chart with Curved Text in Cricut Design Space Supplies:
- Cricut Maker Machine or Cricut Explore Air 2
- Cricut Pens
- Smooth White Cardstock
- Xyron Laminator (Laminate Refill)
- Large Brad
- Hole Punch
- Cricut Design Space File
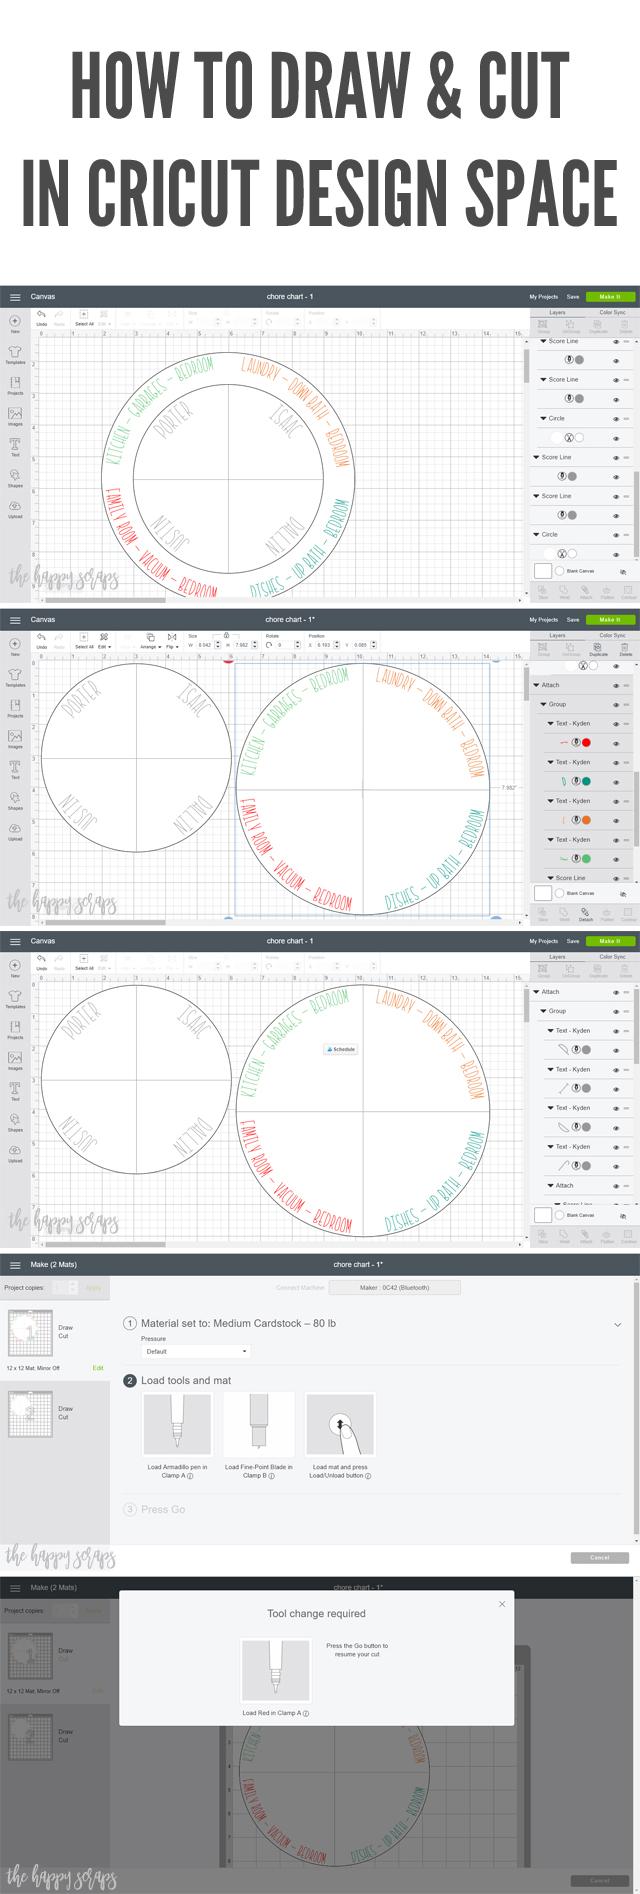
I shared my design above, but realize that what works in our home won’t work in all homes, so let me show you how to make this round design yourself. Select the type tool, and type out the text you’d like curved. Once you have your text, select the font you’d like to use. If you are going to be writing the font like I did, then you need to use the drop down menu under style, and select writing style. Click on curve and use the slider to get the shape of the curve that you’d like. That’s it! SO easy! Then you just place the curved text onto your circles for the chore chart.

Now that you have your text, place it on the chart where you’d like. To make my chart, I used the shapes on the left hand side to select circles, and sized them to what I needed. Then I used the score line, and turned it into a draw line, to create the quarters of both circles. Once I had my circles, lines, and text ready, I separated the designs into the two layers that I needed to draw and cut. I selected the bottom layer text, circles, and lines and attached them together. If you don’t attach them, they will be drawn anywhere on the page, not where you want them. I did the same to the top layer. Once I was to this point, I was ready to Make It! I selected my machine and cut material, and once ready, the machine prompted me to insert the correct color of pen. When it was finished with that color, it prompted me to insert the next color.
I love how it turns out when using the draw and cut on the Cricut.
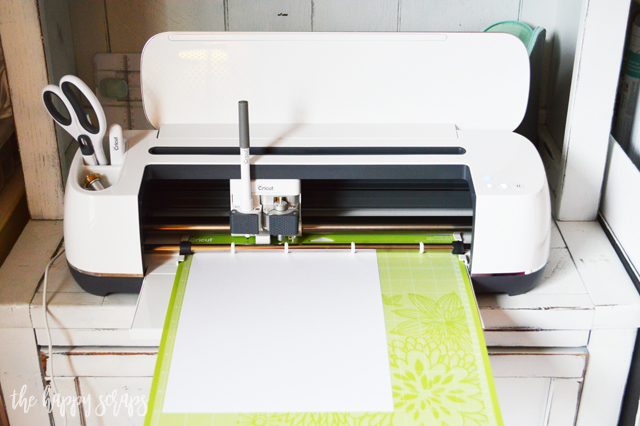
It looks just right and because I used the curve feature, the curve is perfect too. Before I was able to curve text in Cricut Design Space, I was in the process of making this chart, but I had separated all the words to individual letters and was curving them on my own. It was taking FOREVER. That is part of the reason why I hadn’t gotten this simple project done yet.
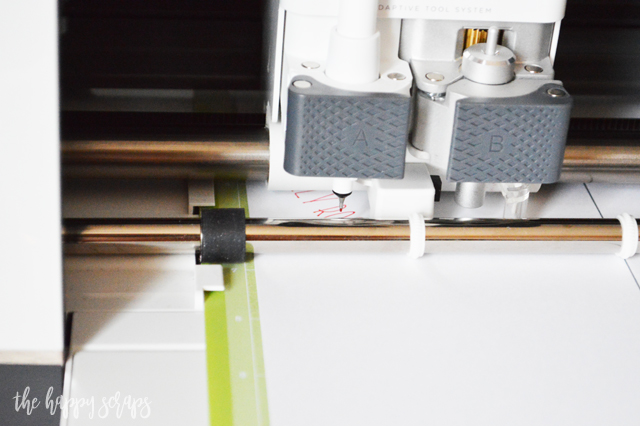
I love that the machine knows when to tell me to change the pen.
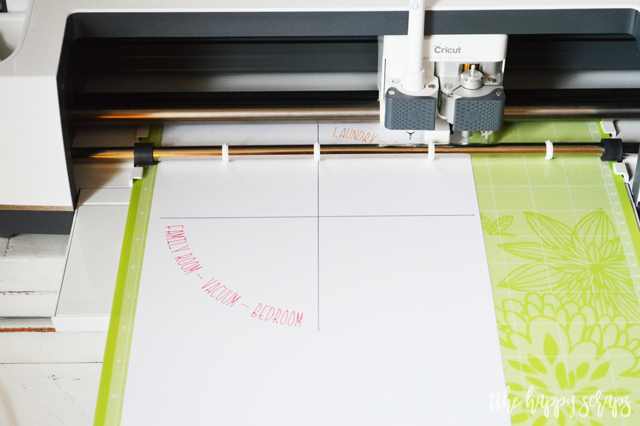
Doesn’t the curved writing look so good?!
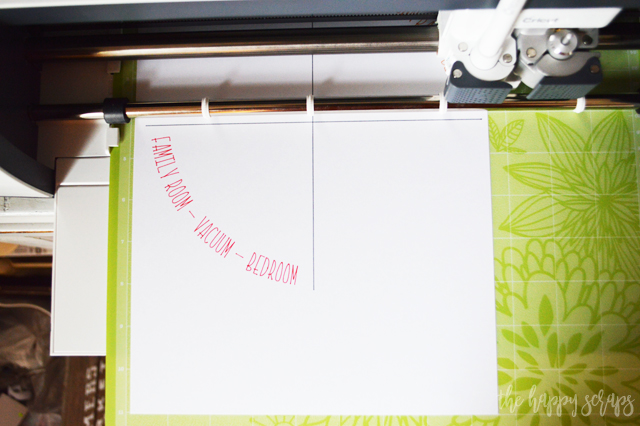
I was so excited when it got done with the first layer!!
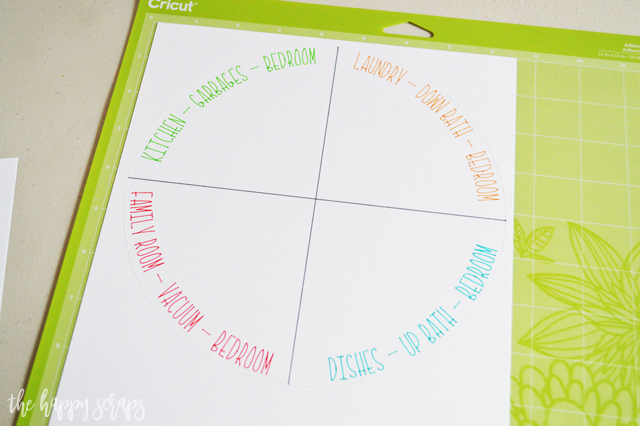
Because I want this to last several years like the last one has, I chose to laminate it with the Xyron laminator. I LOVE this thing!
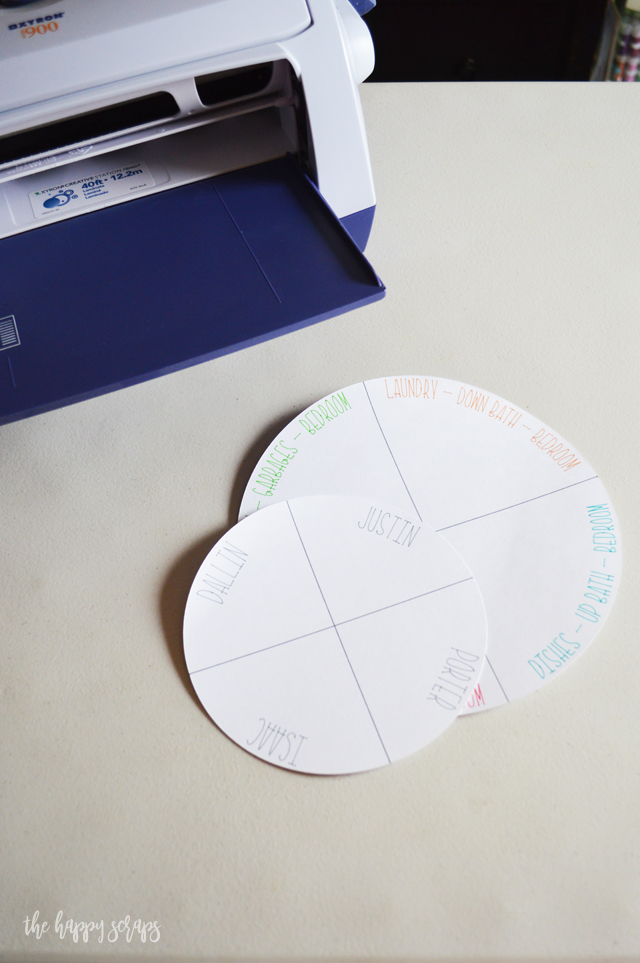
I pulled it out of the laminator and grabbed my scissors.
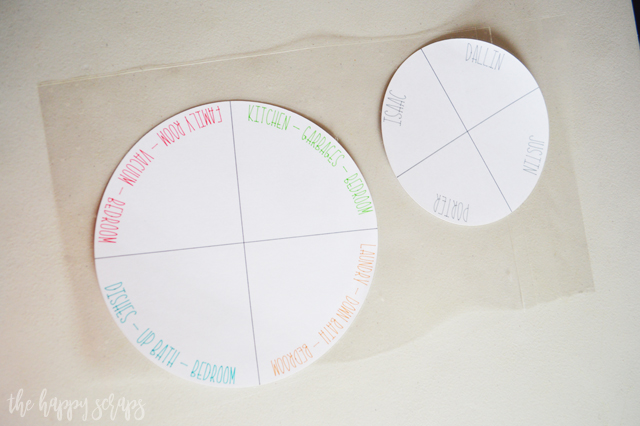
I trimmed the edges.
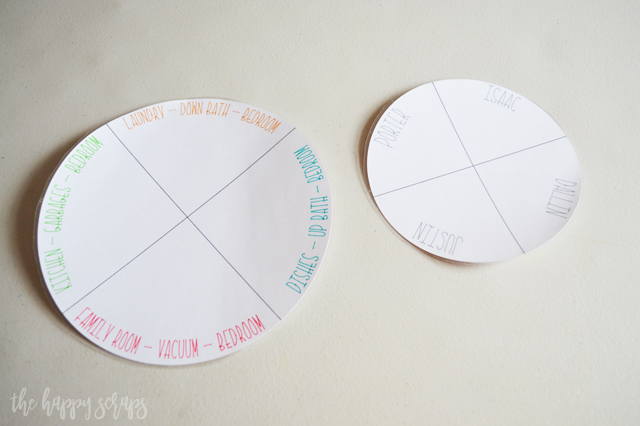
I pulled out my old eyelet punch so I could punch holes in the center. If you have a big bite Crop-a-dile, it would work too. I didn’t cut the hole with the Cricut because I was laminating after I cut and would have to punch a hole anyway.
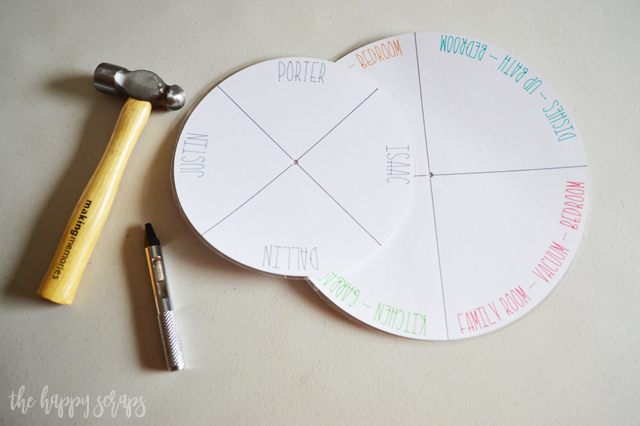
I inserted the large brad, and I was ready to go!

I did add magnets to the back so that I could hang it on the board where we’ve always had it.
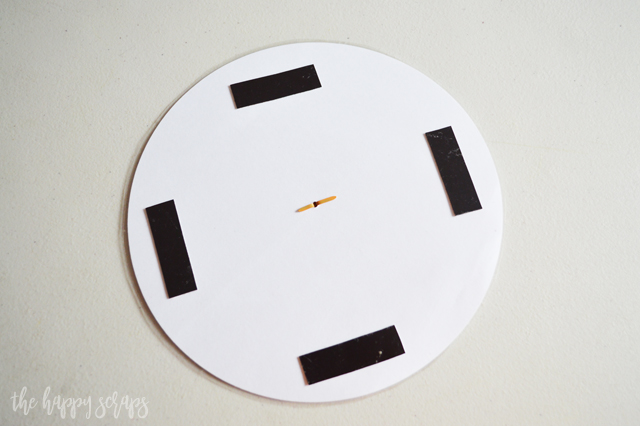
I think my kids are even excited about having a new chore chart, even if it does come with a little more responsibility. 😉
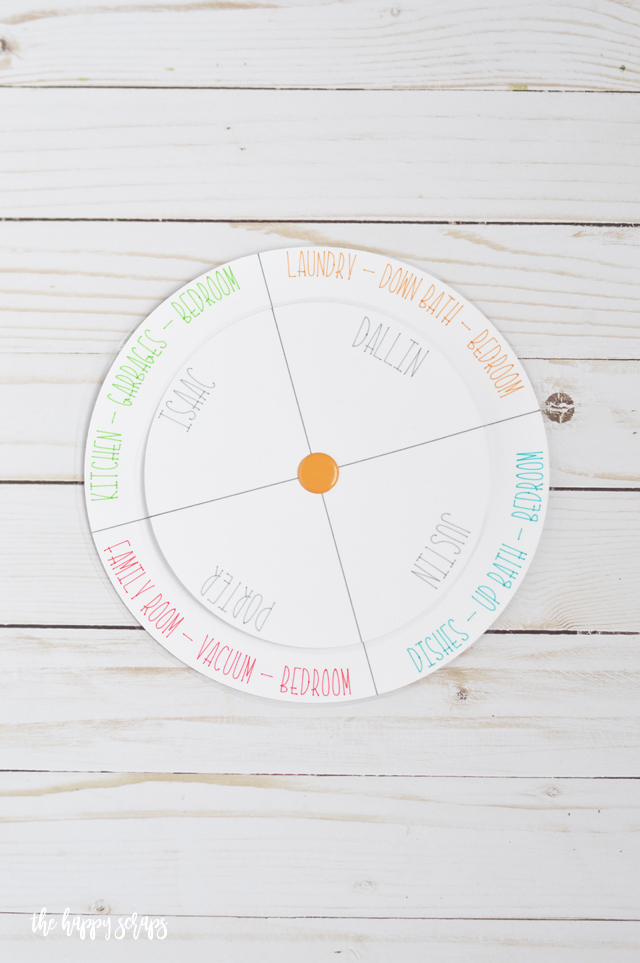
If you haven’t tried the Curved Text in Cricut Design Space yet, you need to. Make yourself a Draw & Cut Chore Chart with Curved Text in Cricut Design Space today.

Leave a Reply