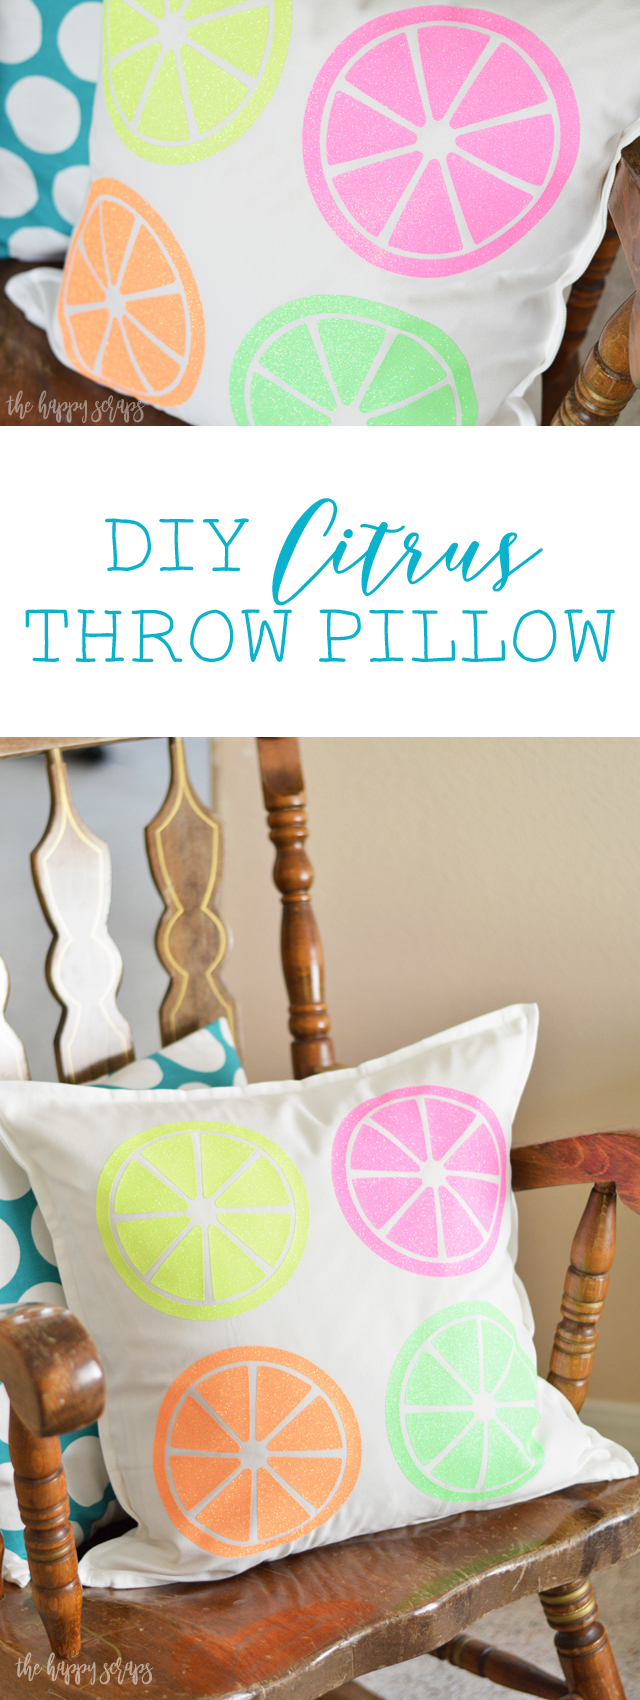
Last year when I made my Hello Summer Front Porch Sign, I knew that I wanted to bring some of that citrus look inside my home. I planned to do it last year, but it just didn’t happen. This year, I’ve been busy working on getting those projects made. I’ve gotten a couple of them done already, and can’t wait to share all of them with you. Today, I’m sharing this DIY Citrus Throw Pillow with you. It’s a quick project that adds some fun color to the home!
This DIY Citrus Throw Pillow post contains affiliate links. If you click on an affiliate link and purchase
something, you won’t pay anything extra, but it will help support this blog.
DIY Citrus Throw Pillow Supplies:
- Cricut EasyPress
- Cricut EasyPress Mat
- Cricut Explore Air 2
- White Pillow Cover
- Glitter HTV in Neon Yellow, Neon Orange, Neon Pink & Neon Green
- Weeding Tool Kit
- Ruler
- Cricut Design Space Cut File
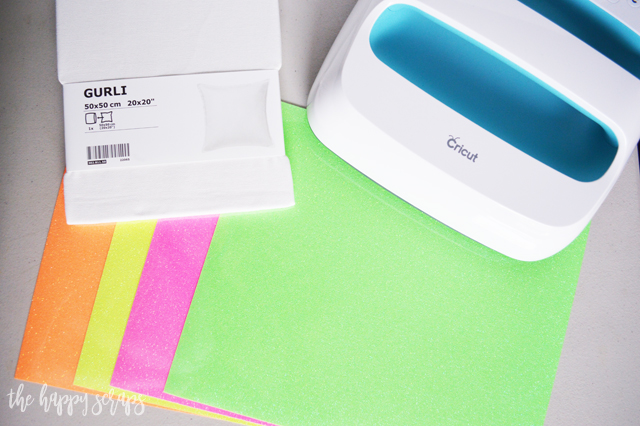
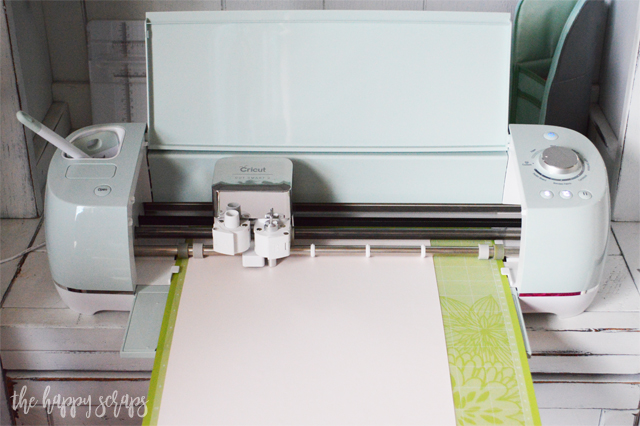
After I had all of my supplies ready to go, I started cutting out my heat transfer vinyl with the Cricut Explore Air 2. When cutting heat transfer or iron-on vinyl, you always want to make sure that the shiny side is down on the mat, and that you mirror your images before cutting. With this project it wouldn’t have mattered much if they were mirrored, but I did it anyway.
Once I had my heat transfer vinyl cut, I grabbed my weeding tool and started weeding.
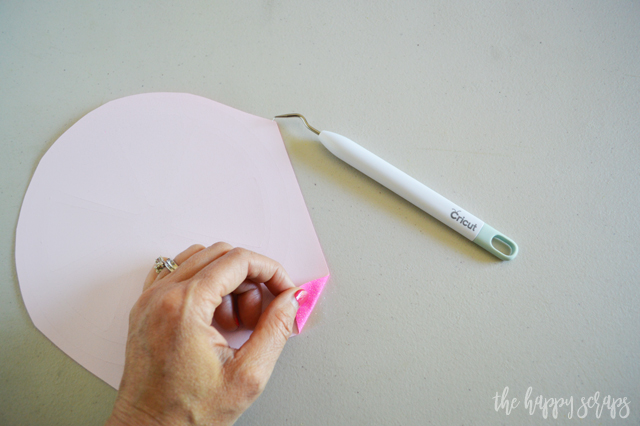
Heat transfer vinyl or iron-on is so easy to weed. Maybe it’s because it isn’t sticky and it’s thicker so it doesn’t pull apart. Anyway, it’s usually pretty quick to weed.
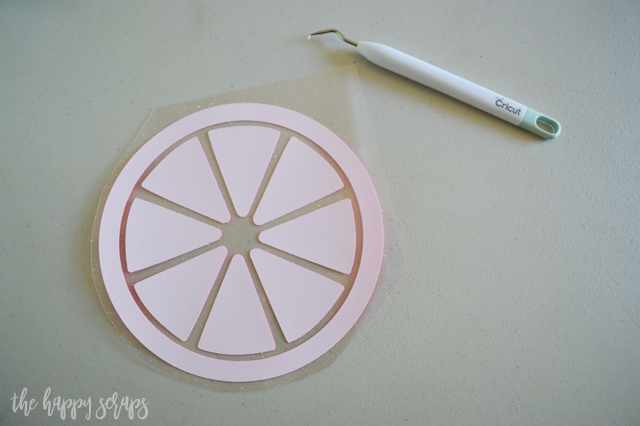
Once weeded, turn it over and you can see the color.
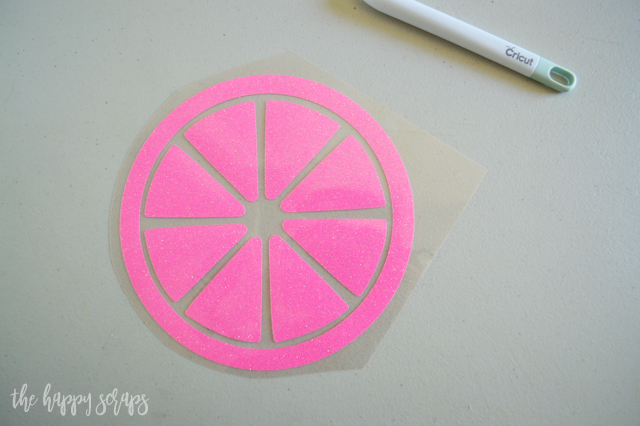
I weeded all of mine, then got the EasyPress turned on so it could start heating up. I used the setting for Cotton and glitter iron-on, which was 340 degrees for 20 seconds. I also got my EasyPress Mat out. I love this mat because it is so lightweight, it protects my table, and I can be set up and ready to go in minutes. I used to pull out a heavy cutting board to use with the EasyPress. This EasyPress Mat is so much easier to use!
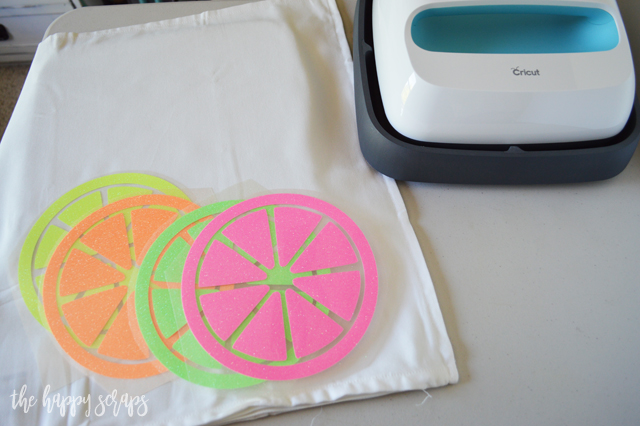
I placed the citrus designs onto the pillow cover about where I thought they needed to be.
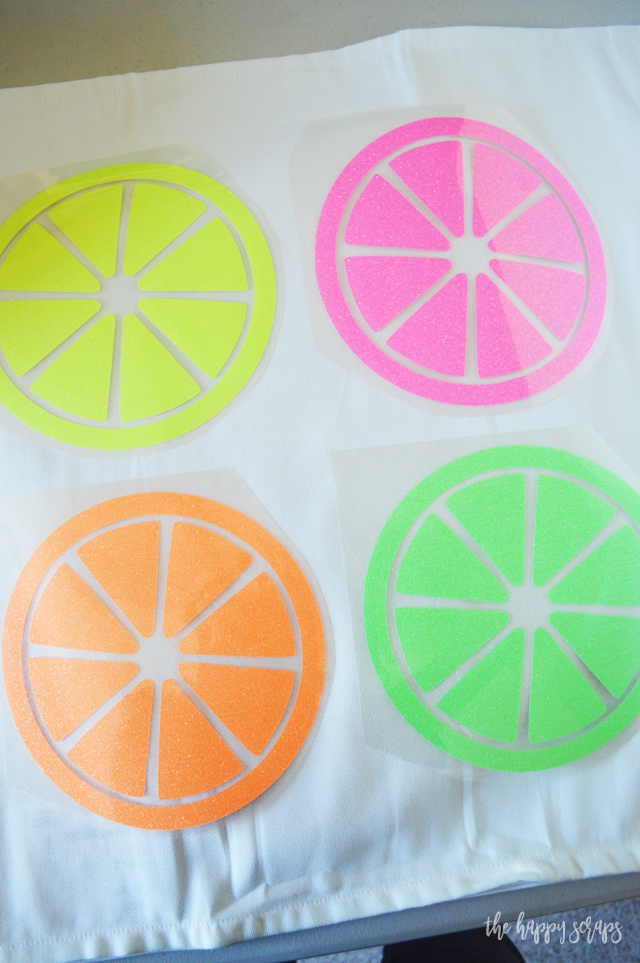
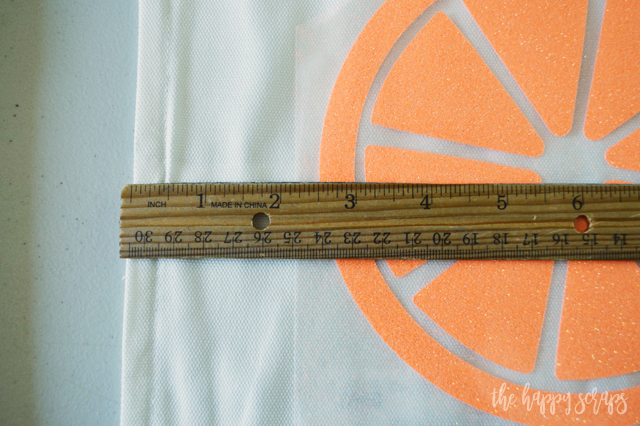
Then I measured them from the sides and top and bottom to make sure they were all at 2 1/2″ in. To make sure they all lined up, I placed them all the same direction too.
I used the EasyPress to press the heat transfer vinyl onto the pillow cover. I did have to move the pillow around a little bit to make sure it was on top of the EasyPress mat while I was using the EasyPress. Once it’s pressed, let it cool slightly and then peel the carrier sheet off.
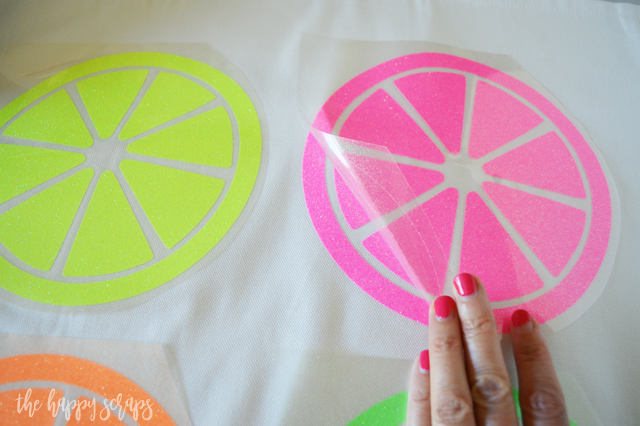
Once you have all of the carrier sheets peeled off, make sure everything is stuck down well, and then you’re ready to put your pillow form in. I love using these pillow covers from Ikea. I just have three or four pillow forms that I change out with the different pillows for different holidays. It saves on storage space for pillows too!
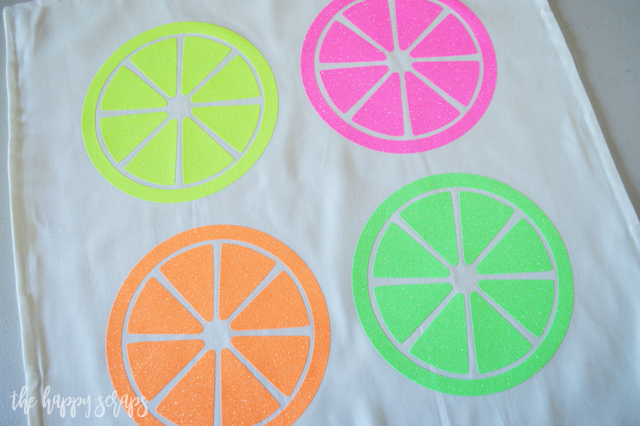
Put that pillow form in, and you’re all set!
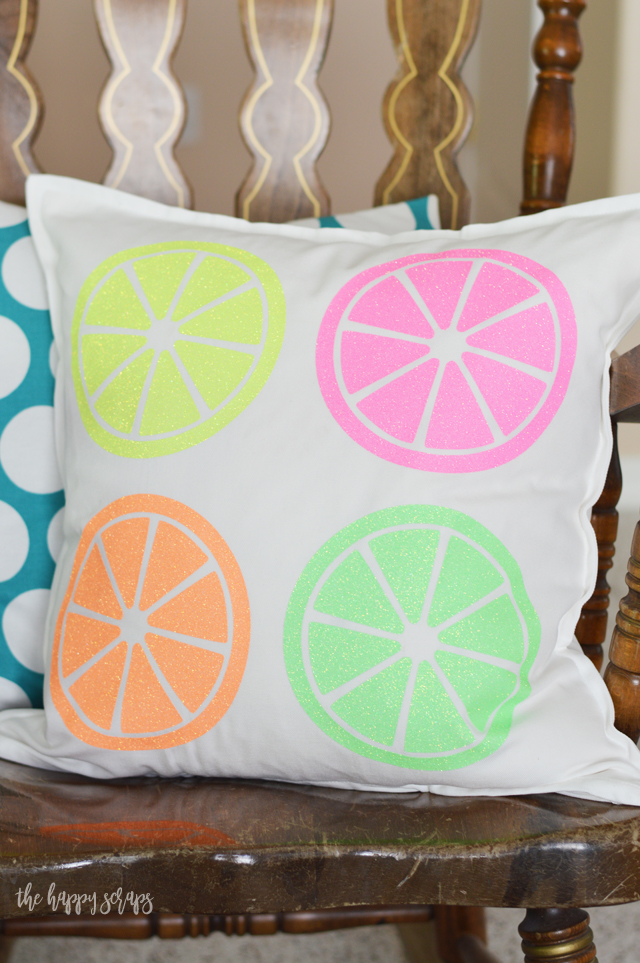
I’ll be honest, this pillow was super hard to get pictures of. These colors are a lot brighter in person.
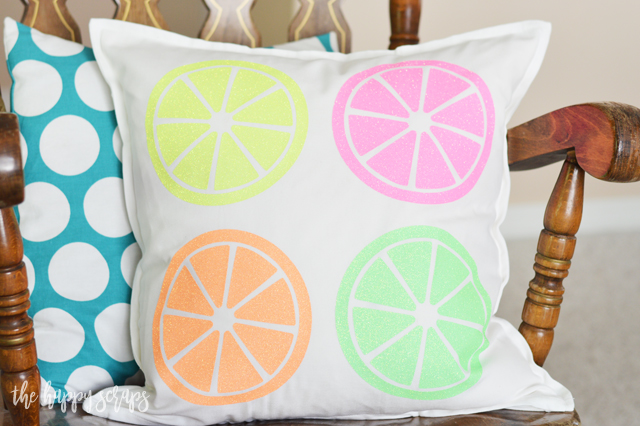
I love the neon colors and the glitter just makes it that much better!
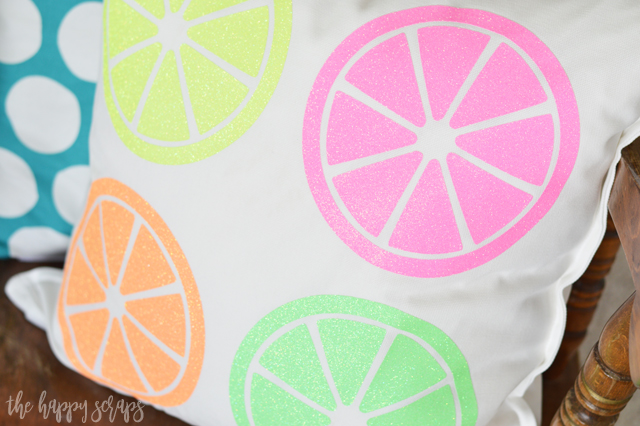
This pillow sits in our living room in my rocking chair, but it would be so cute on a front porch or if you have a bench inside your home too. If the wind didn’t blow so hard all the time at my house, I’d totally put pillows out on my porch.
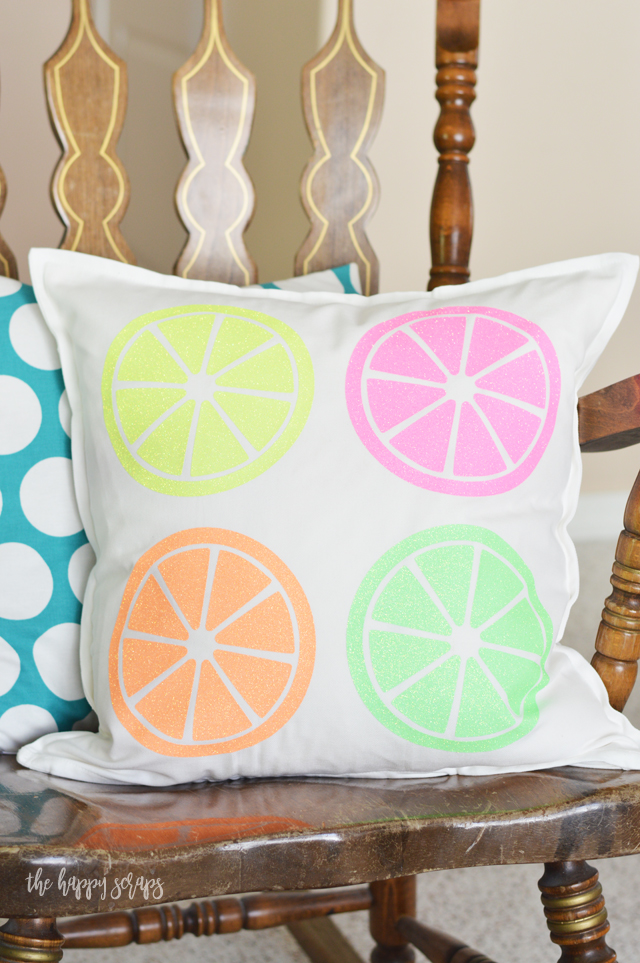
So tell me, where would you put this DIY Citrus Throw Pillow in your home? I’d love to hear!
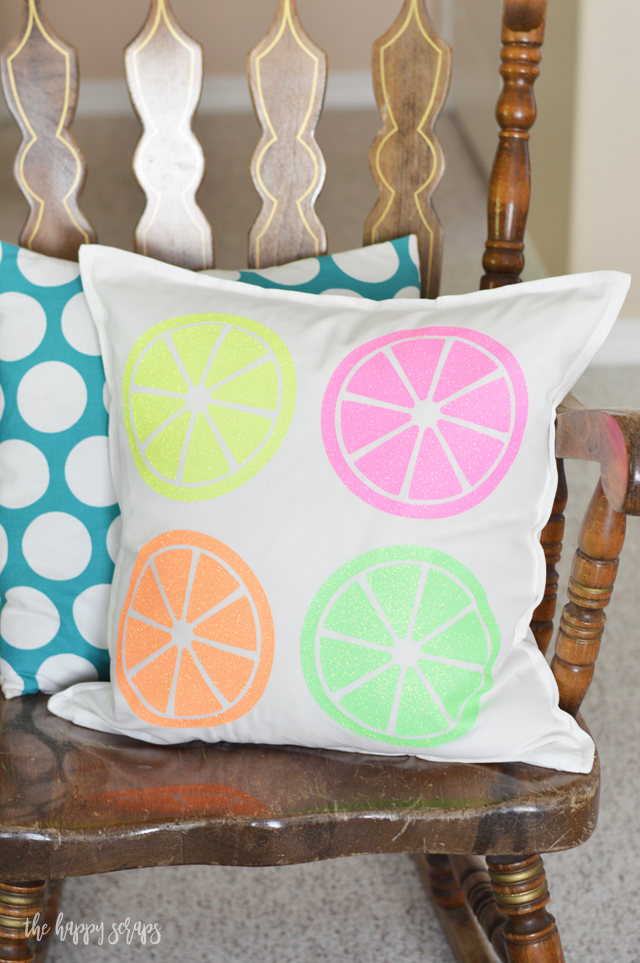
If you enjoyed this DIY Citrus Throw Pillow project, then be sure to check out my other pillows. They are always so fun and easy to make!

Leave a Reply