There have been times along this nine year blogging journey that I’ve had lots of fun coming up with projects, lots of projects that didn’t turn out, lots of projects that I’ve thought of and never made, and lots of projects that I absolutely adore when I get them finished. This Hello Summer Front Porch Sign is one that I absolutely adore. It’s funny, the idea behind the citrus on this sign started out as another project idea (I’m still planning on doing that one). Then I thought I could make a porch sign. I happened to make the wooden part of this months ago, and it’s just been sitting in my garage, waiting for the perfect use for it. Well, I think I found it! This Hello Summer Front Porch Sign was the perfect thing to make with the wood I already had put together, and today, I’m going to show you how to make your own!

This post contains affiliate links. All opinions and ideas are my own.
I used my Cricut machine to create this project, but this is not a sponsored post. I am a Cricut affiliate.
Hello Summer Front Porch Sign Supplies:
- Wooden Sign (Mine is 6′ x 11″, made out of 1 x 6 boards)
- Cricut Explore Air 2
- Vinyl
- Transfer Tape
- Paint (This pack has all the colors you can use, except for Gecko green.)
- Paint Brushes
- Sealer Spary
- Ruler
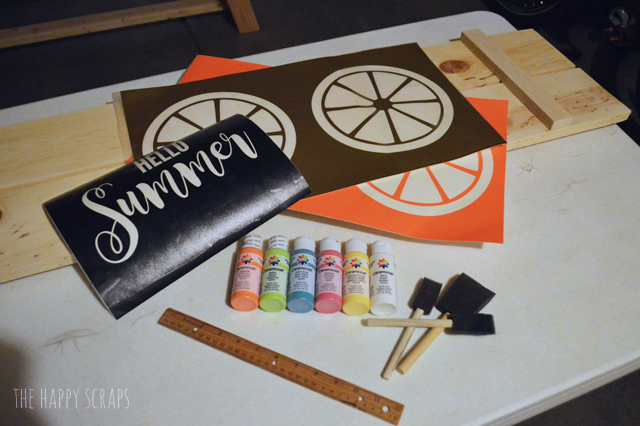
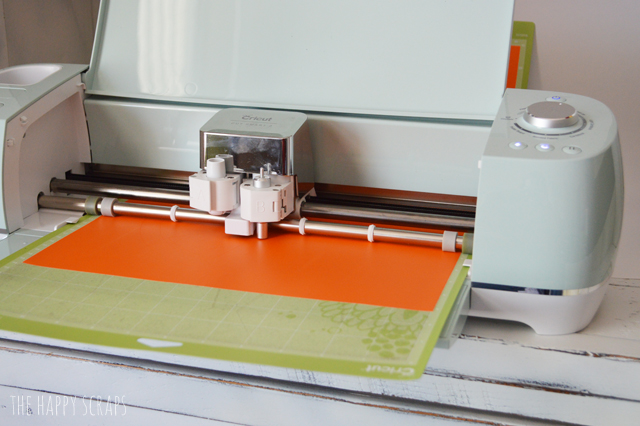
Once I had all the supplies collected, I designed and cut it from vinyl with my Cricut Explore Air 2 and Cricut Design Space. If you’d like the Design Space cut file, you can find it here. The text cut file is here. Just upload this into Cricut Design Space and size it to the size you need.
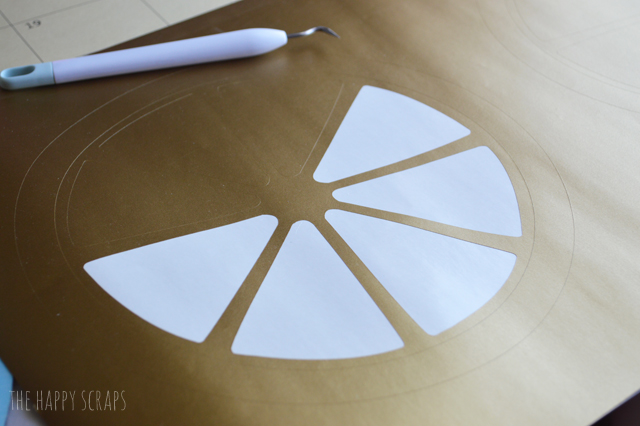
I weeded my vinyl to create the stencils for each of the citrus pieces as well as the hello summer text.
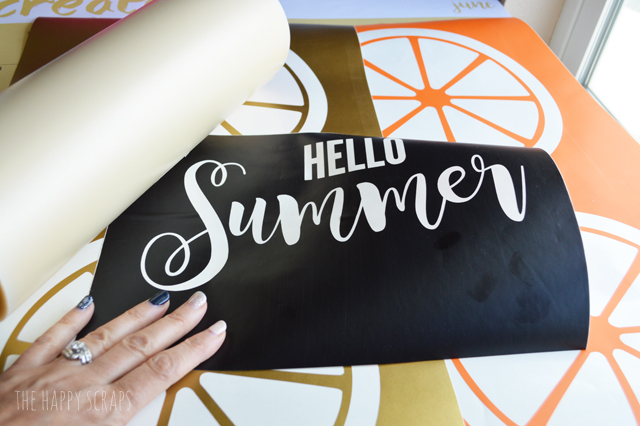
Once I had all the vinyl cut and weeded, I added transfer tape. I’m kind of in love with this transfer tape. I’ve been using the same kind for years, and recently tried this kind, and it works SO well, but it isn’t so sticky that it makes it hard to work with. It’s just perfect! Also, I love that it’s completely see through so you can see exactly where you are placing your vinyl.
Before I started painting my board, I sanded it really well with my electric sander. This helps with the paint not bleeding under the vinyl stencils. Then I painted my board with white paint. I gave it a couple of coats.
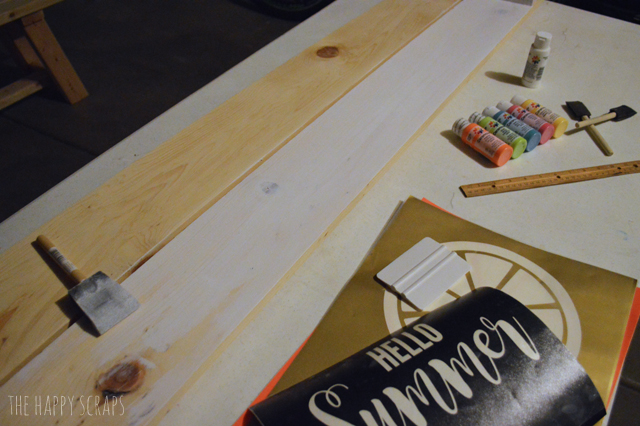
Once I had my board all painted white, I applied my vinyl stencils. I used my ruler to space them evenly with one citrus ring at the top, then my words, then the other three citrus rings.
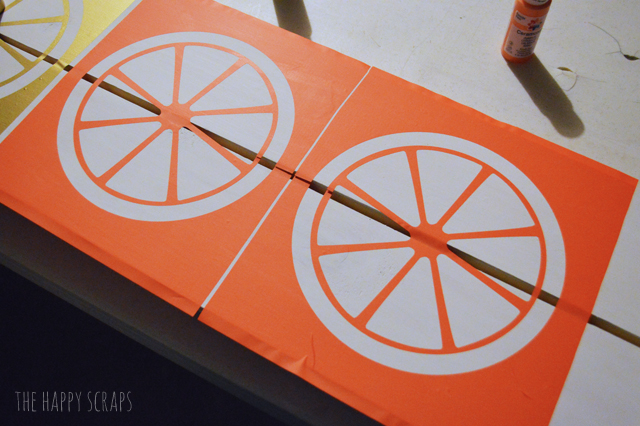
Then I started painting.
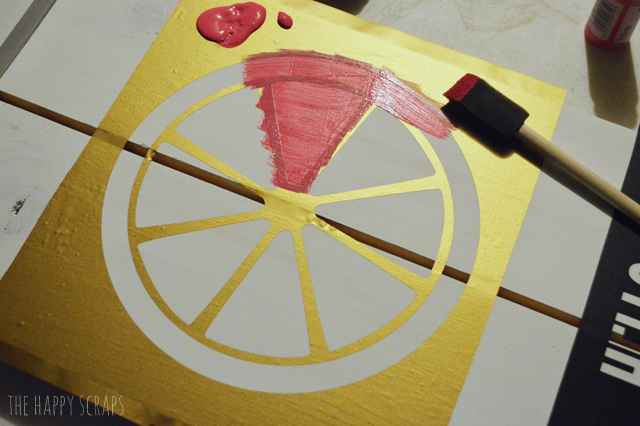
I painted each color with at least two layers of paint.
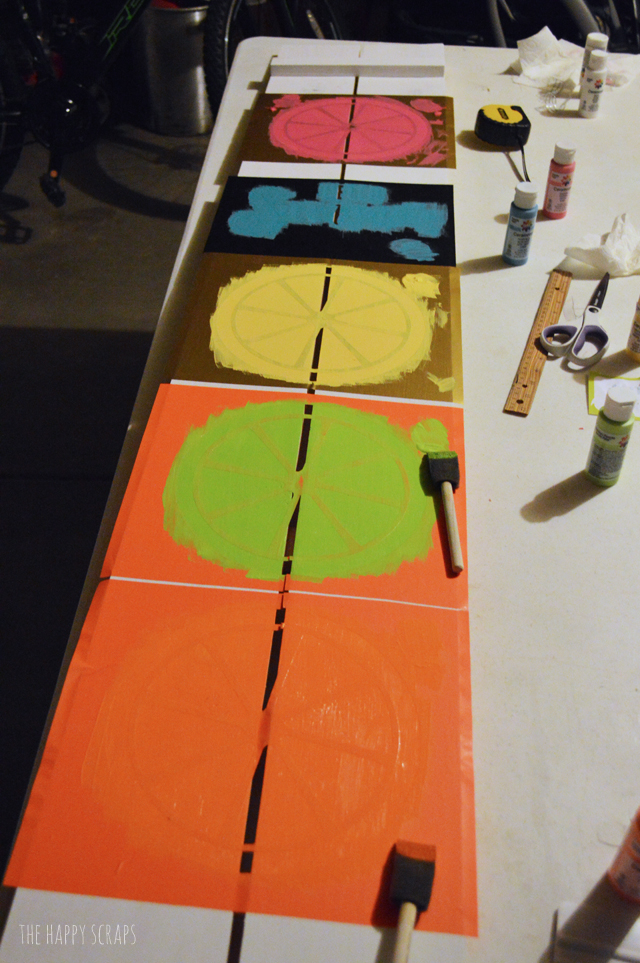
Once it was all painted, I peeled up the vinyl. Isn’t it SO cute?!
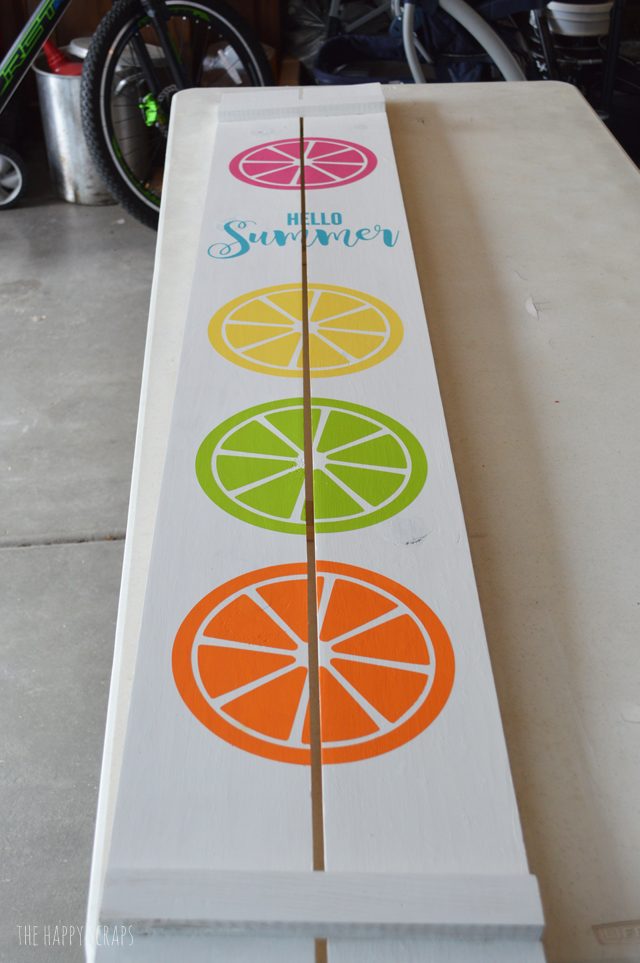
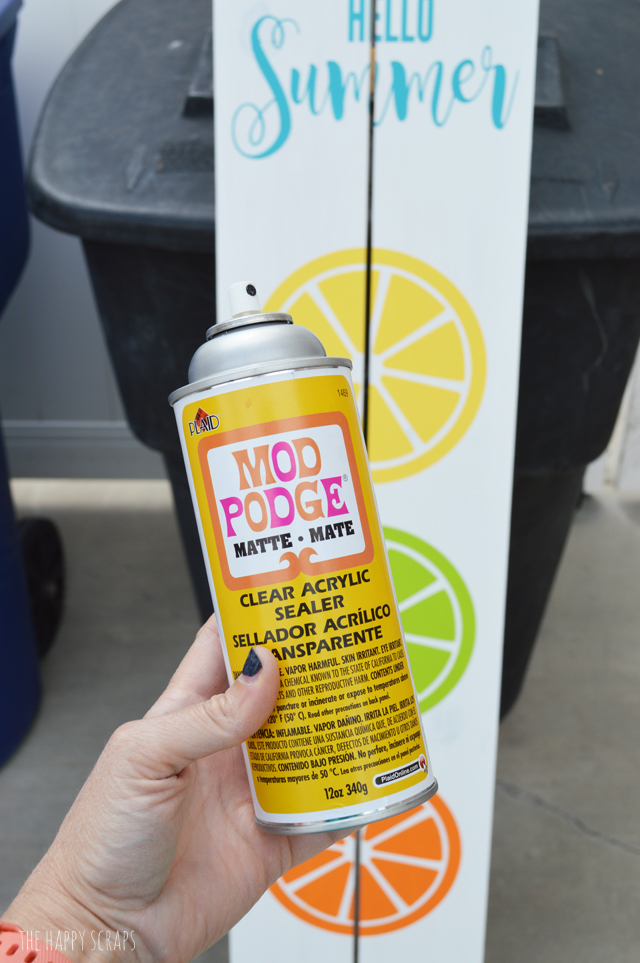
Once I had the vinyl peeled off, I took it outside and sprayed it with my sealer spray. I’ve always had good luck with this Mod Podge Sealer Spray.
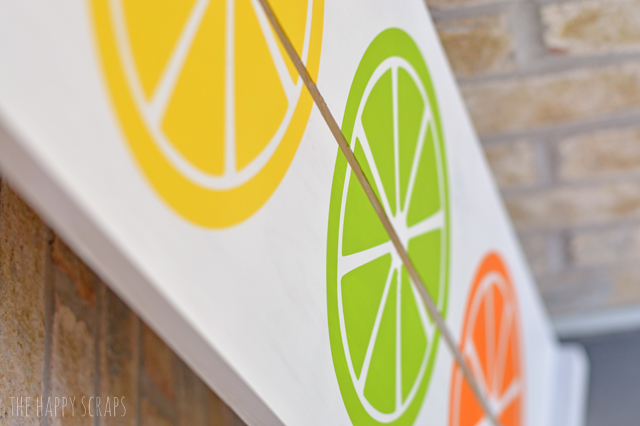
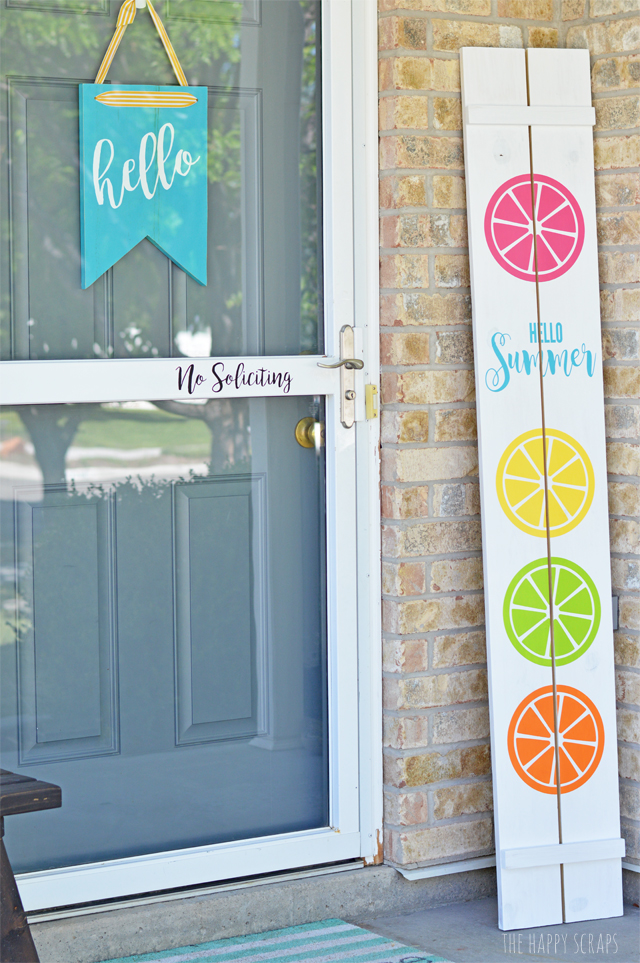
Once the sealer was dry, I took my cute new sign over and set it on my front porch.
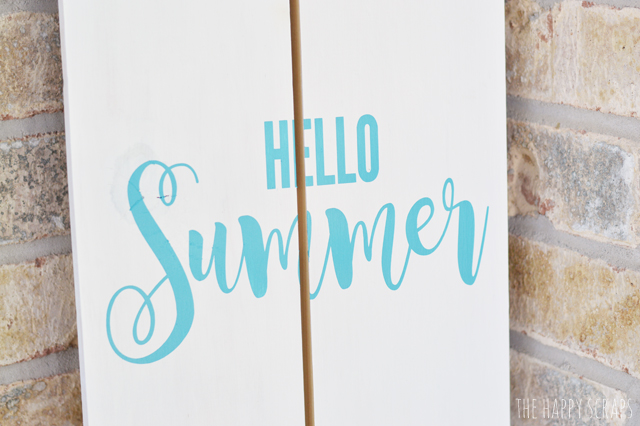
I think this Hello Summer is the perfect way to welcome guests to our home this Summer. Isn’t the font so fun?!
It fits perfectly in the little corner of my porch too!
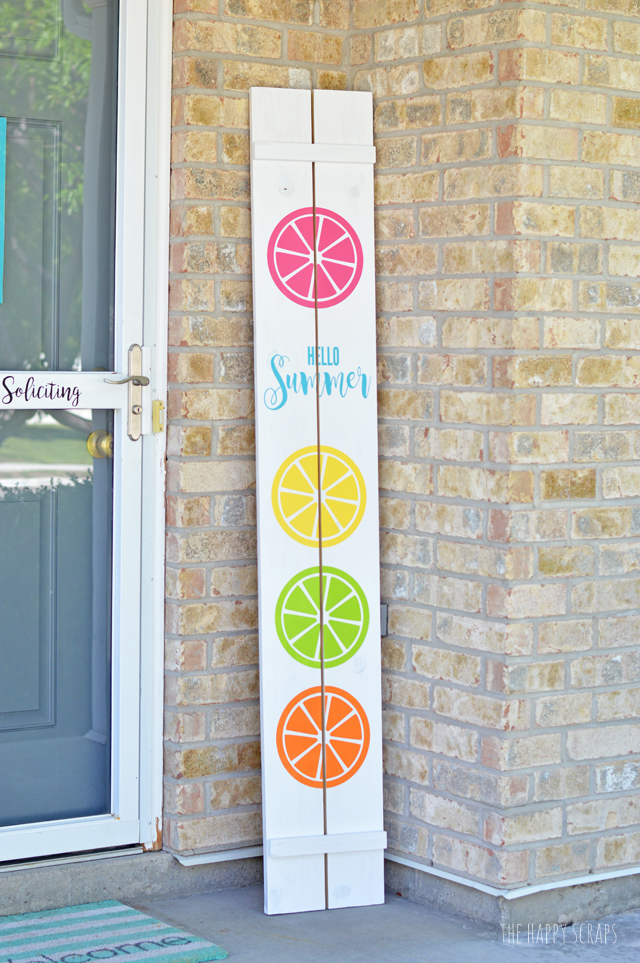
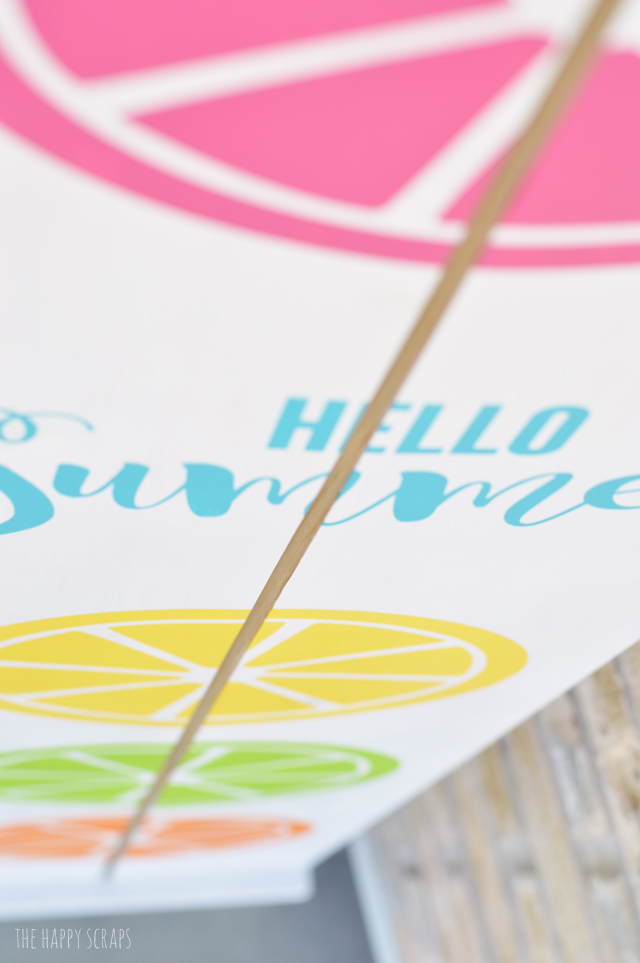
I love how bright and vibrant the colors turned out!
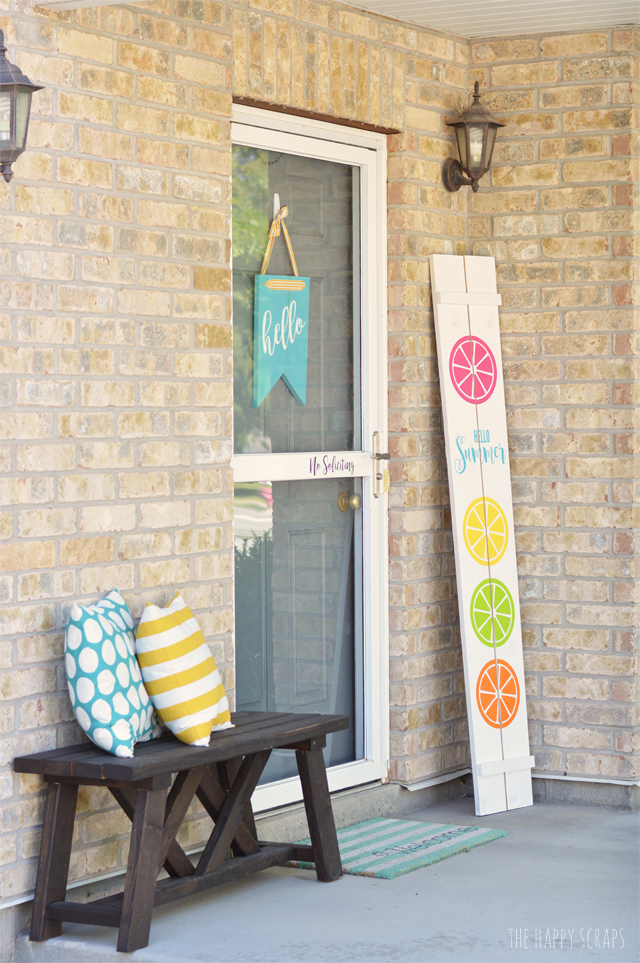
I grabbed a couple of pillows from my living room and put them on the bench, as well as added my Hello Front Door Sign to the door. I love the way it all came together. I honestly wish I could leave the pillows out all summer, but the wind blows so hard and often here, that they’d be gone. 🙁
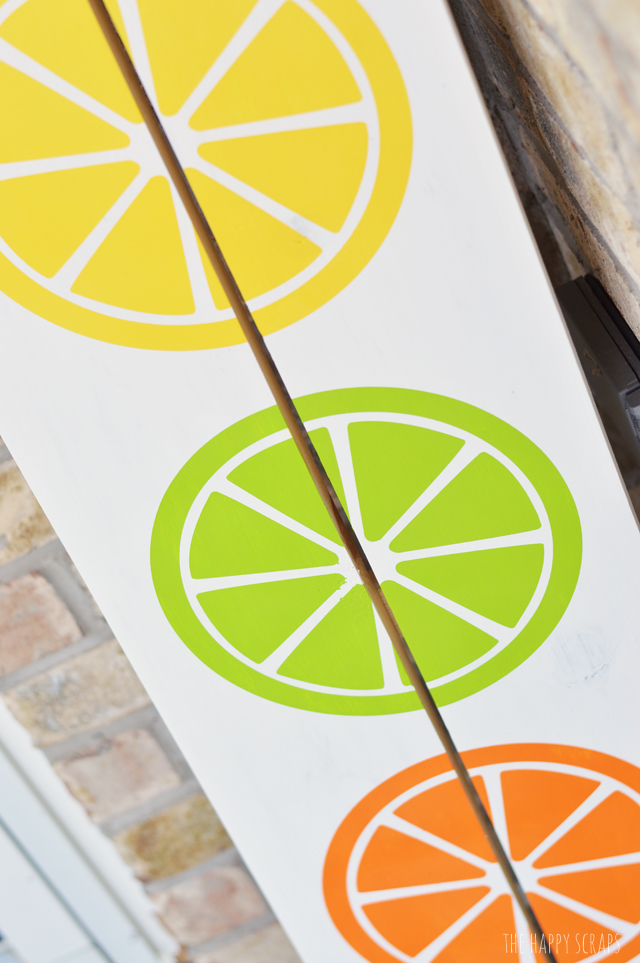
Am I the only one who wants lemonade and popsicles after seeing this? Plus, it makes me smile every time I see it!
I quite like the way the whole porch came together.
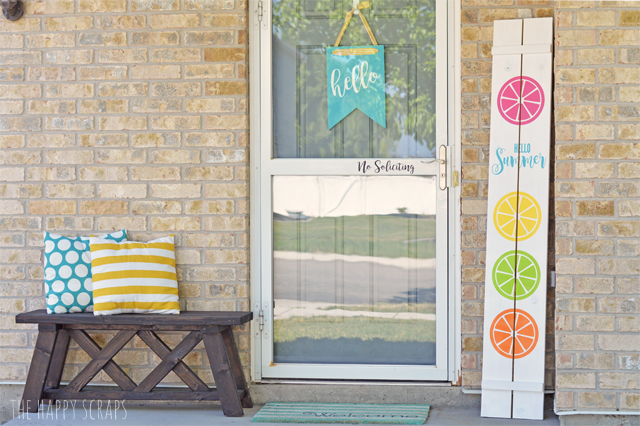
The only thing I could think to add is maybe a banner across the front of the porch. Wouldn’t that be fun. I’ll have to see if I can come up with something. 🙂
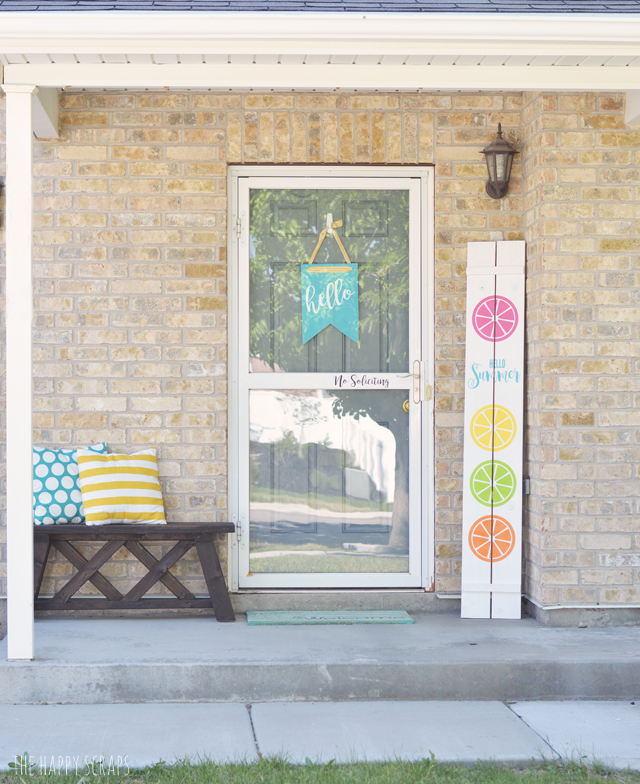
Do you have your porch decorated for summer, Independence day, or something else? I think I’ll have some red, white and blue inside the house this year, but I’ll be leaving this fun summer porch up for a couple of months I think!

Leave a Reply