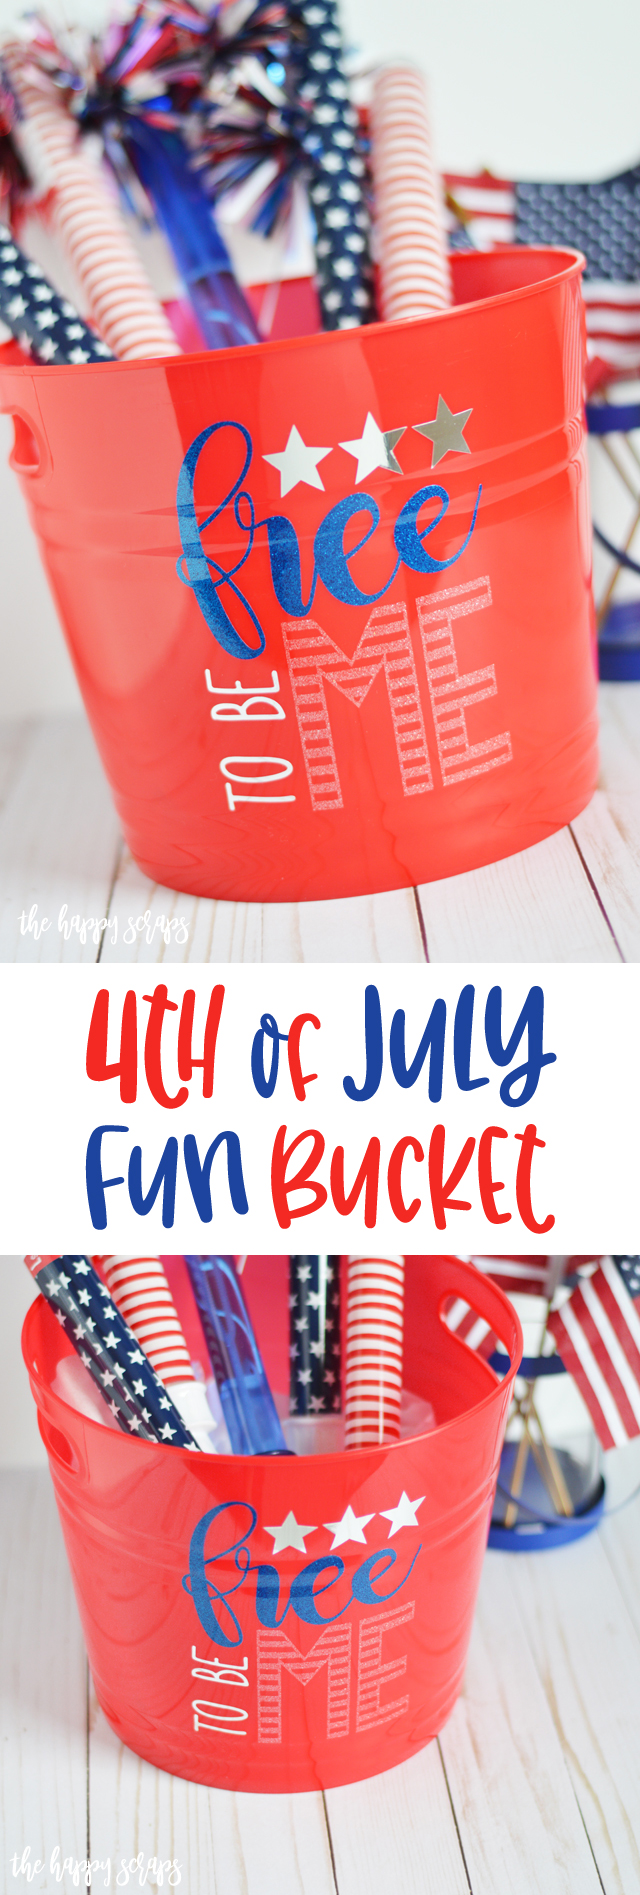
Is anyone else feeling like they can’t believe the 4th of July is TOMORROW?!!! I can’t believe we are half way through 2018 already! It’s crazy to me how fast time is flying. We are still trying to figure out what we are doing for the holiday. Do you have fun plans? I’d love to hear what your plans are. Anyway, if you’re doing last minute prep for your unplanned day 😉 like I am, then this 4th of July Fun Bucket is for you! This seriously took about 15 minutes (if that) to put together start to finish.
This 4th of July Fun Bucket post contains affiliate links. If you click on an affiliate link and purchase something, you won’t pay anything extra, but it will help support this blog.
4th of July Fun Bucket Supplies:
- Burton Avenue Mega Bundle, Free to be Me Cut File (there are so many different options you could do this same thing with)
- Cricut Maker or Cricut Explore Air 2
- Bucket (I found mine for $2 at Michael’s)
- Metalized Vinyl (Chrome)
- Transparent Glitter Vinyl (Blue)
- Glitter FX (Star Dust Translucent)
- Weeding Tools
- Scissors

I uploaded my design into Design Space and separated it to be cut in the different colors I needed. Then I sent it to be cut.
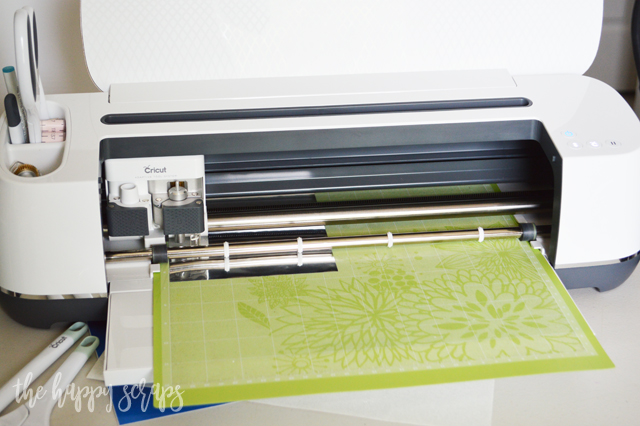
Once I had the three different colors/designs cut, I used my favorite weeding hook/tool to weed out what I didn’t need.
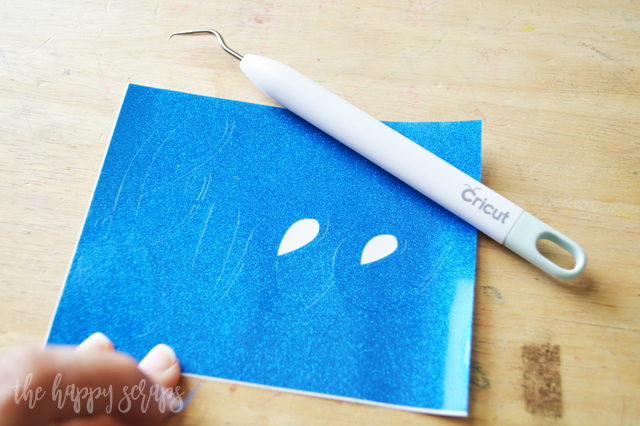
I had them all weeded, but the backing curled.
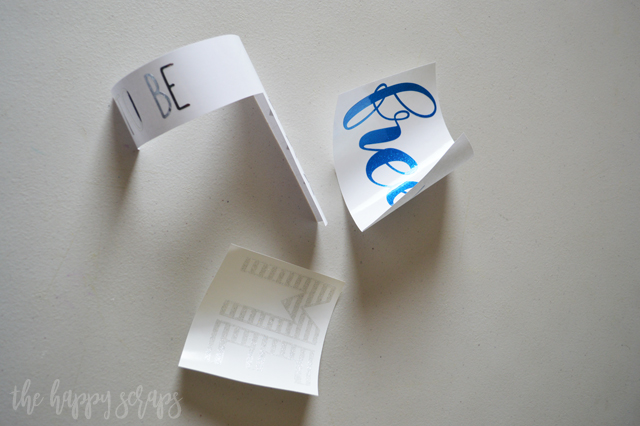
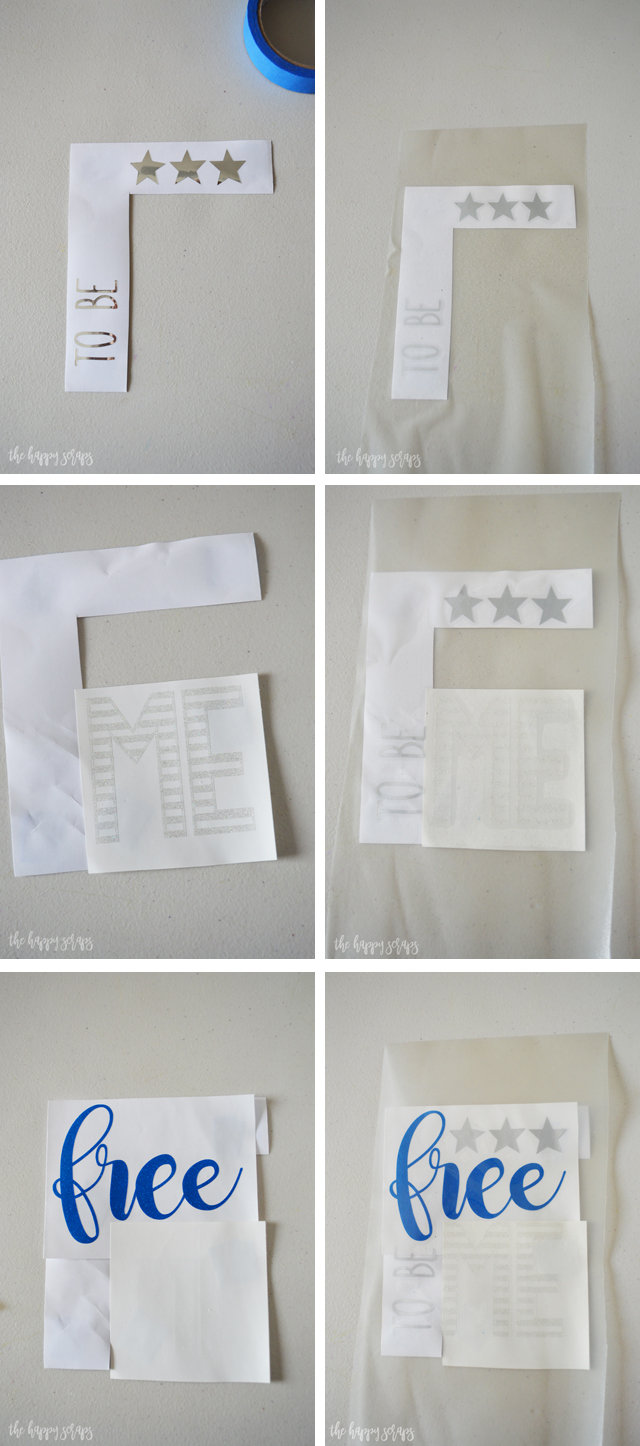
I like to use painters tape to take my vinyl pieces to the work surface.

Once I had my vinyl taped down, I cut a piece of transfer tape big enough for the entire design. I put the transfer tape on the silver layer, then peeled the vinyl off of the backing. Next, I taped the second layer down then taped the backing of the first layer back down. I placed the used backing back down, so that the silver vinyl wouldn’t stick to my work surface. I placed the transfer tape back down. Then I repeated the same steps again for the third layer.
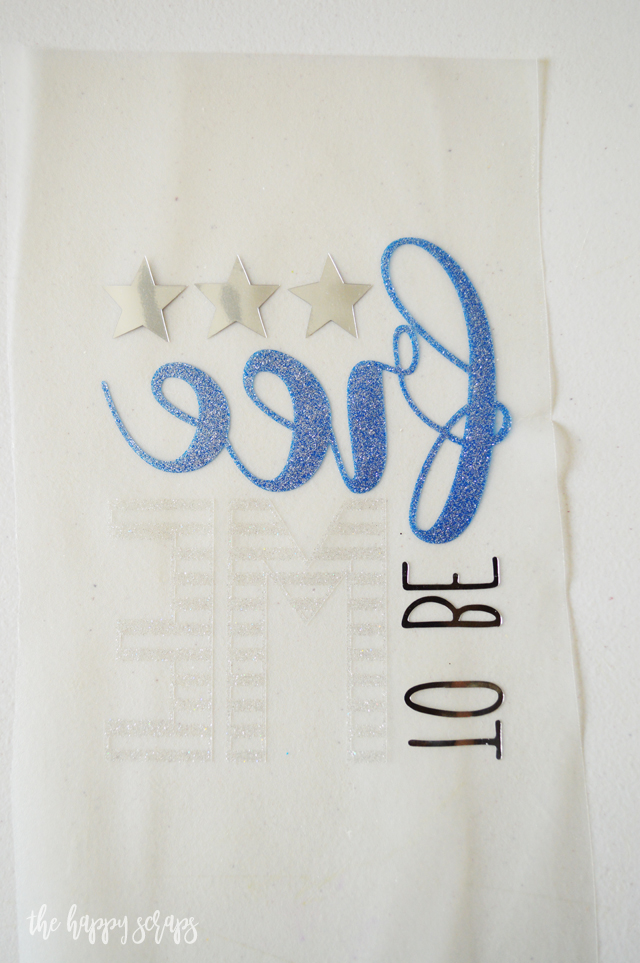
Once I had all three layers on my transfer tape, I was ready to place the vinyl onto the bucket.
I lined the bottom up straight and then set it down.

I started in the center and used my vinyl squeegee to smooth the center and then moved to the edges.
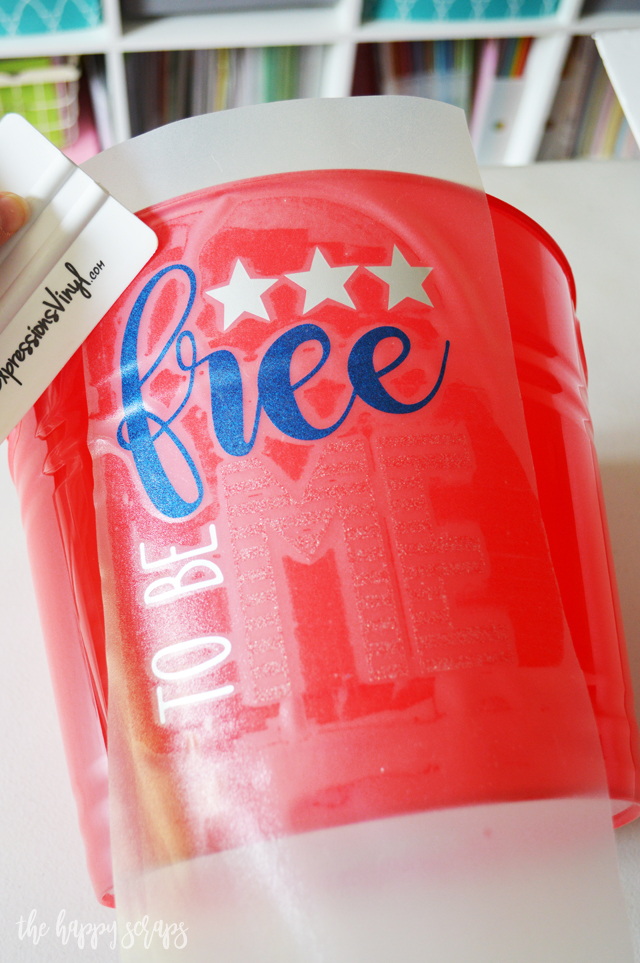
Once I smoothed it all out, I peeled up the transfer tape.
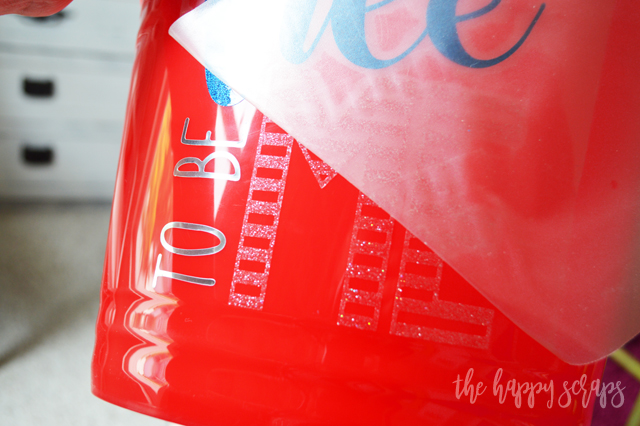
I was so excited with the way it turned out!
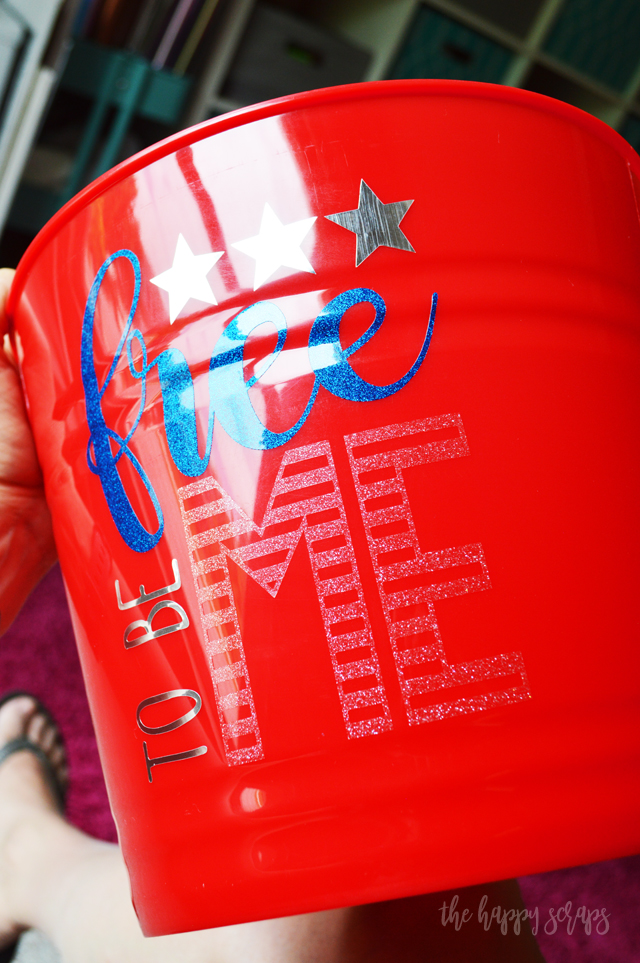
I found some patriotic bubble wands in the dollar spot at Target and I thought they were perfect for this 4th of July Fun Bucket. It would also be fun to put fireworks in.
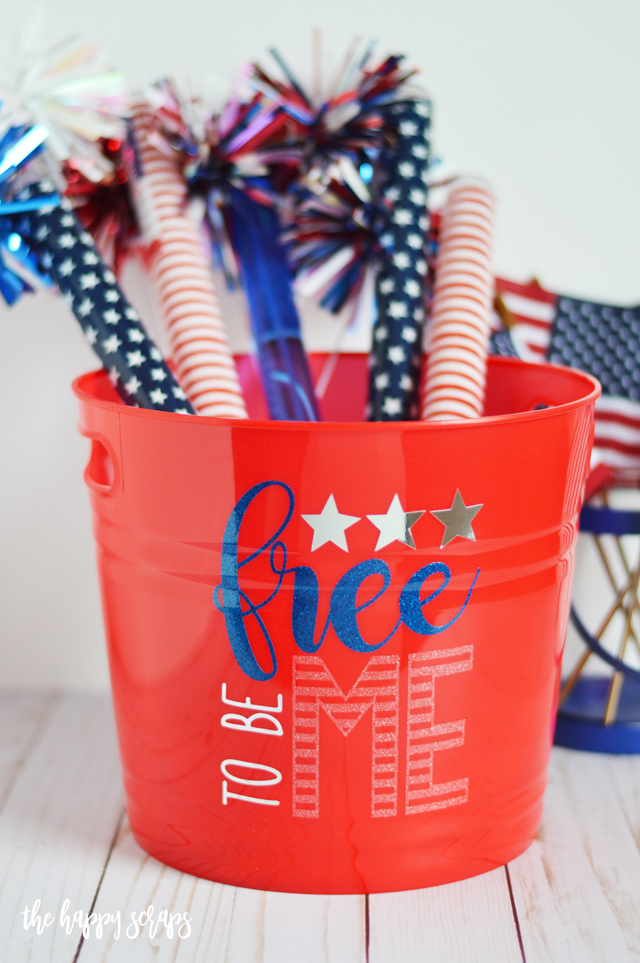
You could also fill it up with drinks. The glittery and chrome vinyls were perfect for this project, right?
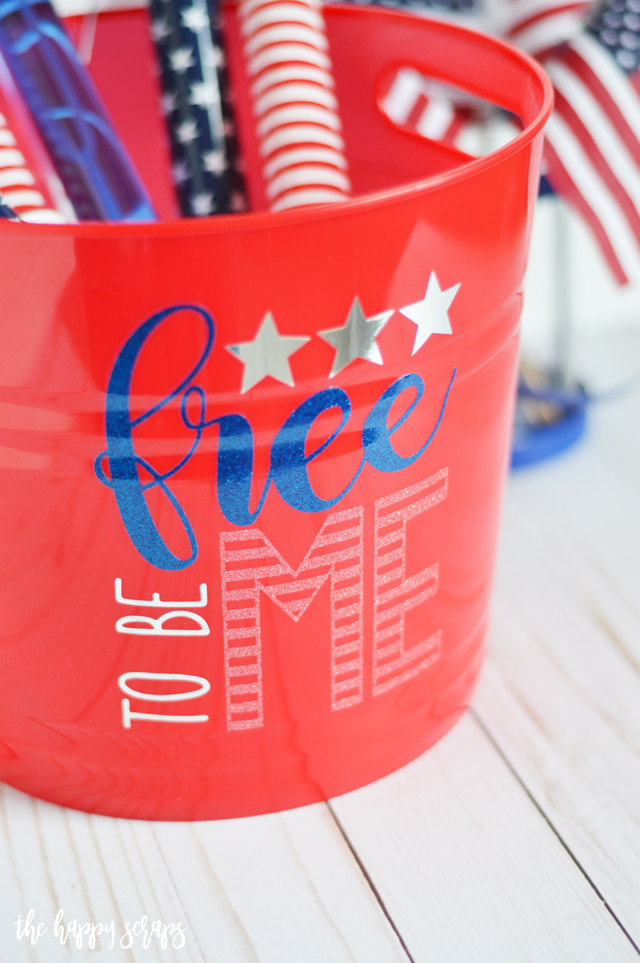
What would you put in your 4th of July Fun Bucket?
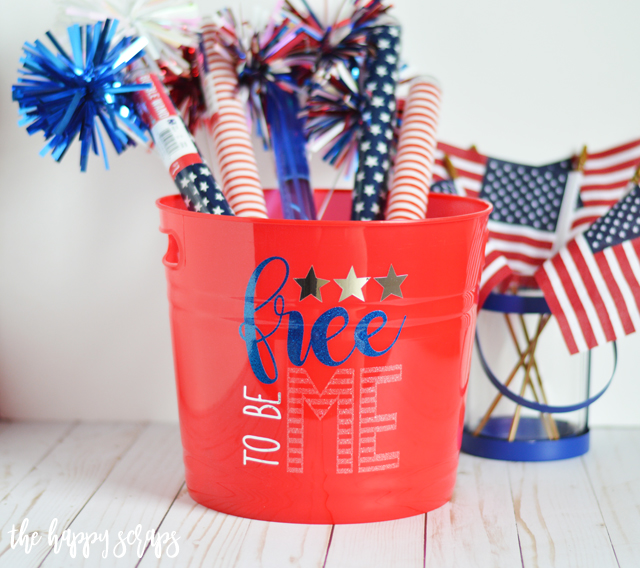
You could also put water toys in it, like squirt guns and water balloons.
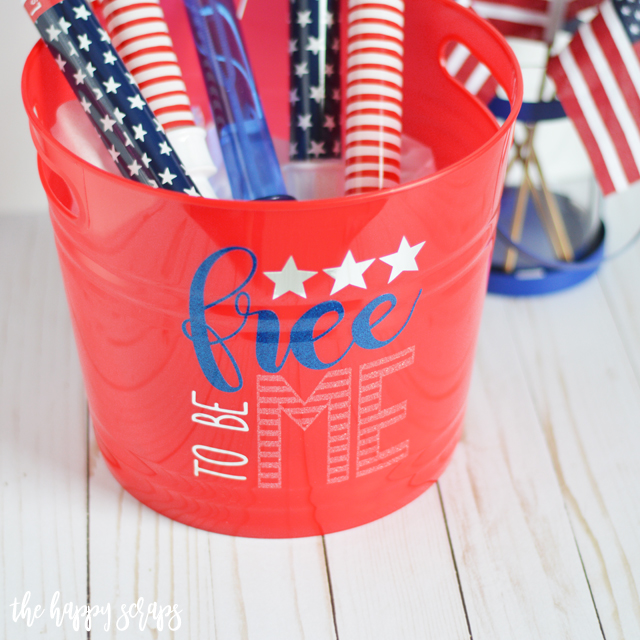
This is such and easy and fun way to add a little something to your 4th of July!
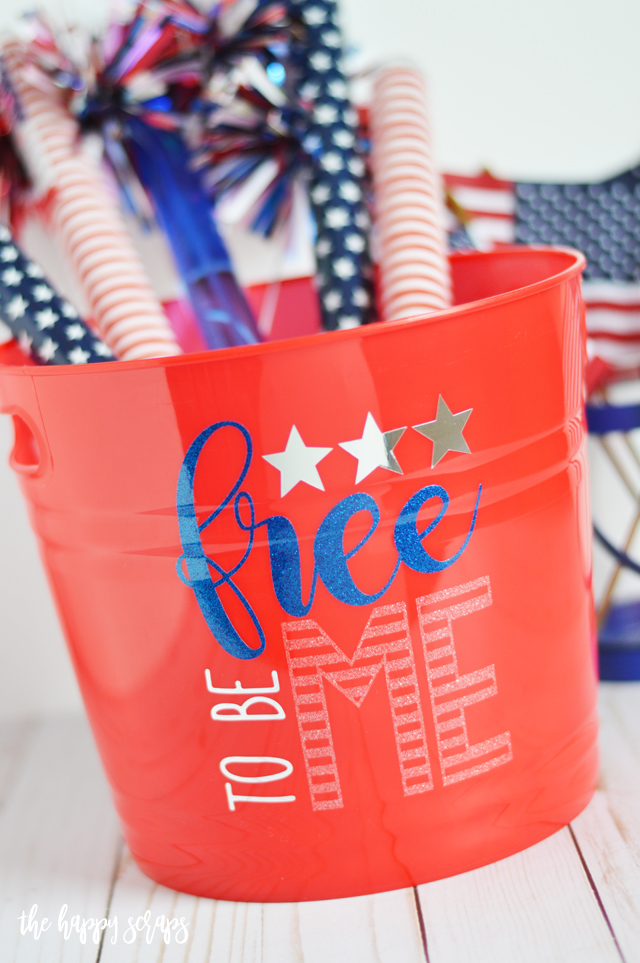
If you’ve enjoyed this 4th of July Fun Bucket idea, then there are a couple of other fun 4th of July projects on my site, that you might enjoy and would still have time to make. Check out my 4th of July gallery here.

Leave a Reply