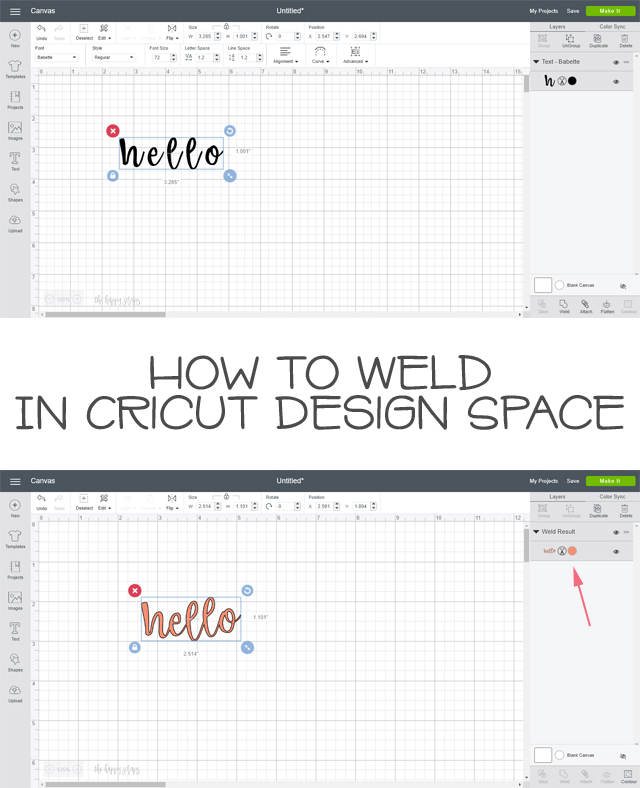
Learning all the ins and outs of using Cricut Design Space can be overwhelming if you are new to using a Cricut. I’ve been using Cricut Design Space for 4.5 years. It has changed slightly over the years, but for the most part it works the same. Today I want to share with you How To Weld in Cricut Design Space. Welding makes it so much easier to create vinyl decals, create paper elements that are all one piece, and anything else that is all connected.
This How to Weld in Cricut Design Space post contains affiliate links. If you click on an affiliate link and purchase something, you won’t pay anything extra, but it will help support this blog. All ideas and opinions are my own.
I remember several years ago, before I had any kind of computer program to use with my Cricut or the ability to weld, I created a few signs like this. I cut each letter individually, then lined them up and connected them by hand and with transfer tape. It was basically a nightmare…I much prefer being able to weld the letters together. I love being able to weld when I’m using a script or cursive type font. Today I’m going to show you how easy it is!
How to Weld in Cricut Design Space
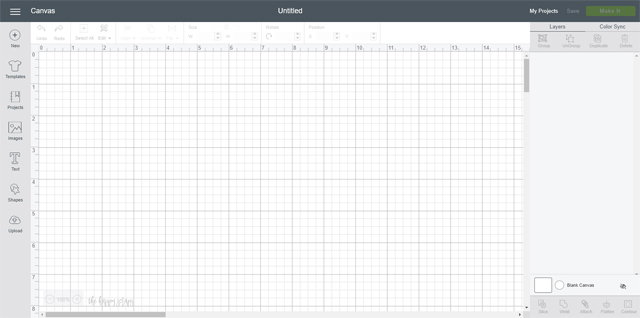
Once you have Cricut Design Space opened, create a new project.
On the left hand side, click “text”.
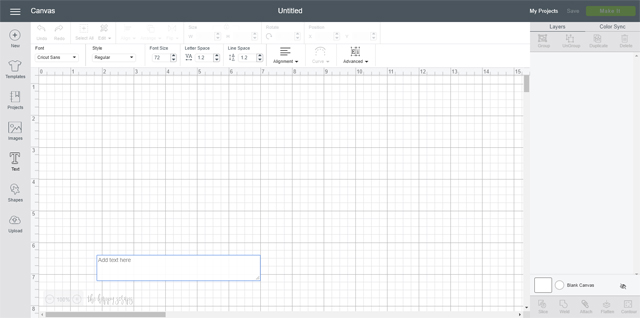
Type you lettering or word into the text box. It will show in both places when typing.
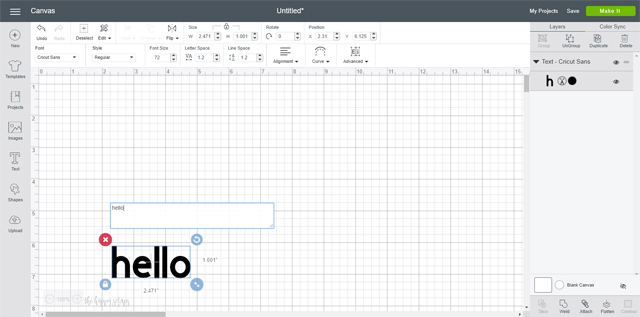
On the top left, click on the drop down under fonts. There are so many different fonts to choose from as part of Cricut Access.
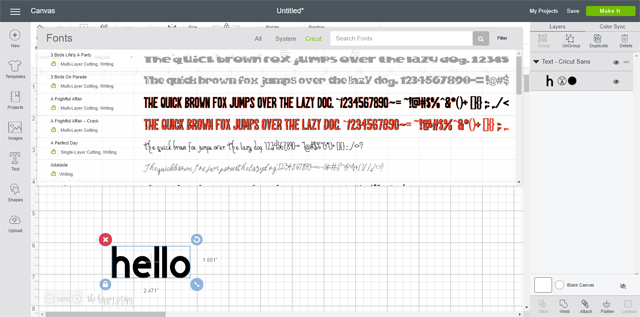
Select the font that you want to use. I selected Babette. It’s a fairly new font to join Design Space, and it has become one of my go-tos. 🙂
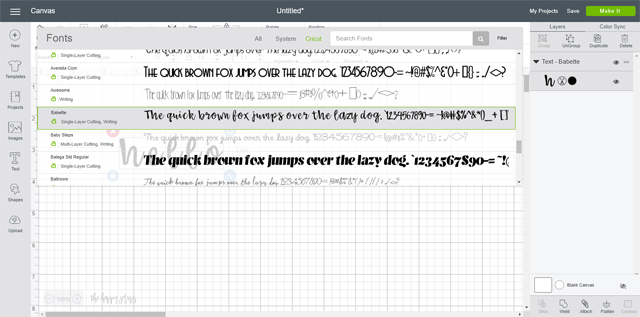
Your lettering will change to the font you select.

At the top of your screen, adjust your letter spacing to be closer together. Sometimes you can get the perfect adjustment using this, but I generally have to adjust my letters even more, to get them just where I want them.
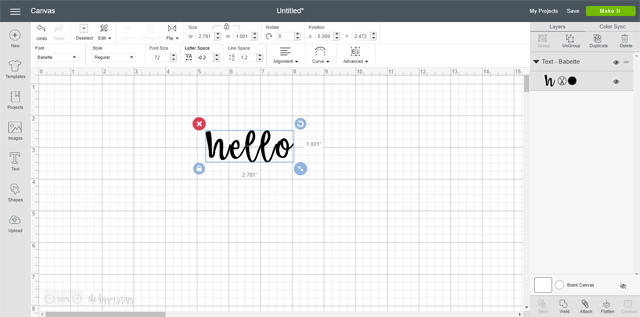
Once the letters are pretty close to where I need them, I click the drop down arrow by “Advanced”. Then I click “ungroup to letters”.
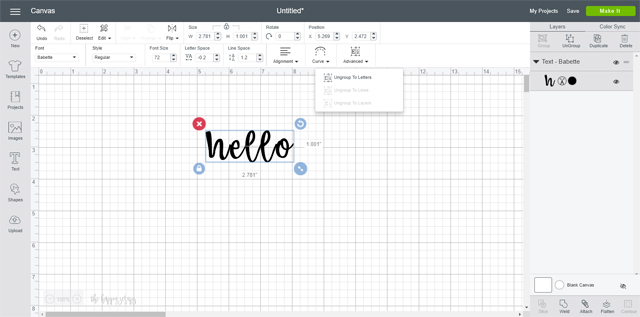
This makes each letter be on its own layer and lets you move them individually to get them just right.
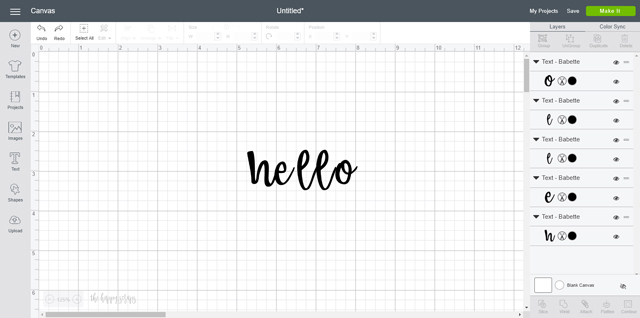
Move your letters to where you need them. With a font like this one, and because there are two l’s in a row, I try to move one up or down to give the design a little character.
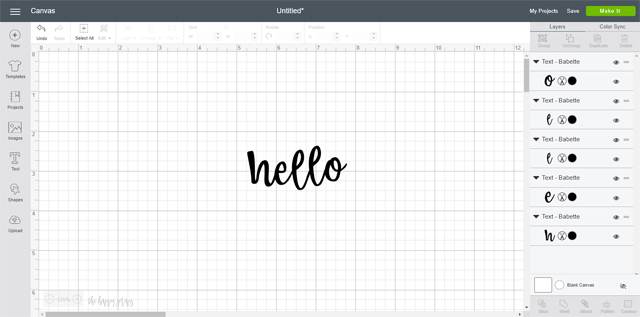
Once I have my design just how I want it, I select all the layers that I want to weld together.
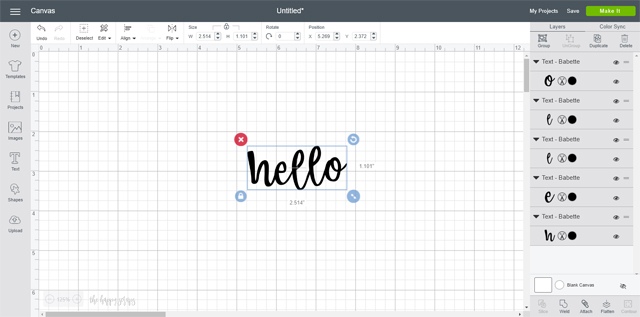
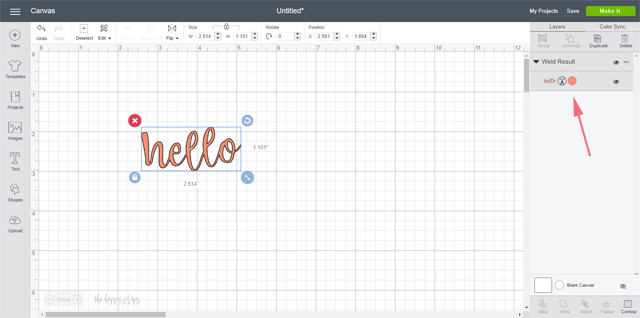
Then I click weld in the bottom right hand corner. This puts all the letters back into one layer. It is no longer editable like this.
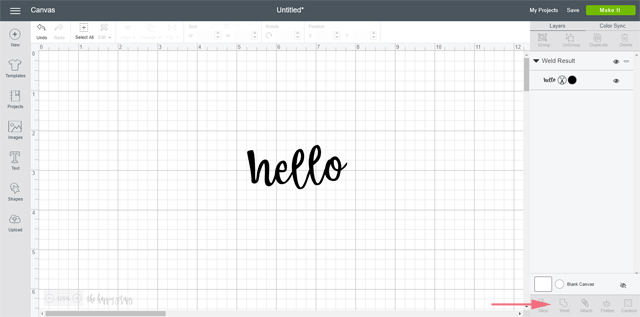
Now you can change the color if you’d like as well. I decided that I wanted to cut this out of the holographic pink vinyl.
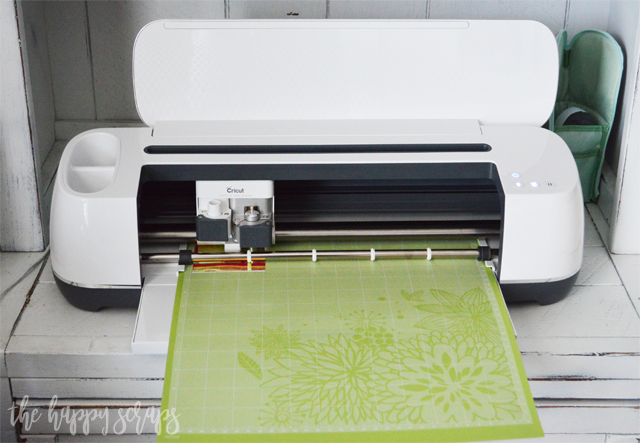
I sent it over to the Cricut Maker to be cut.
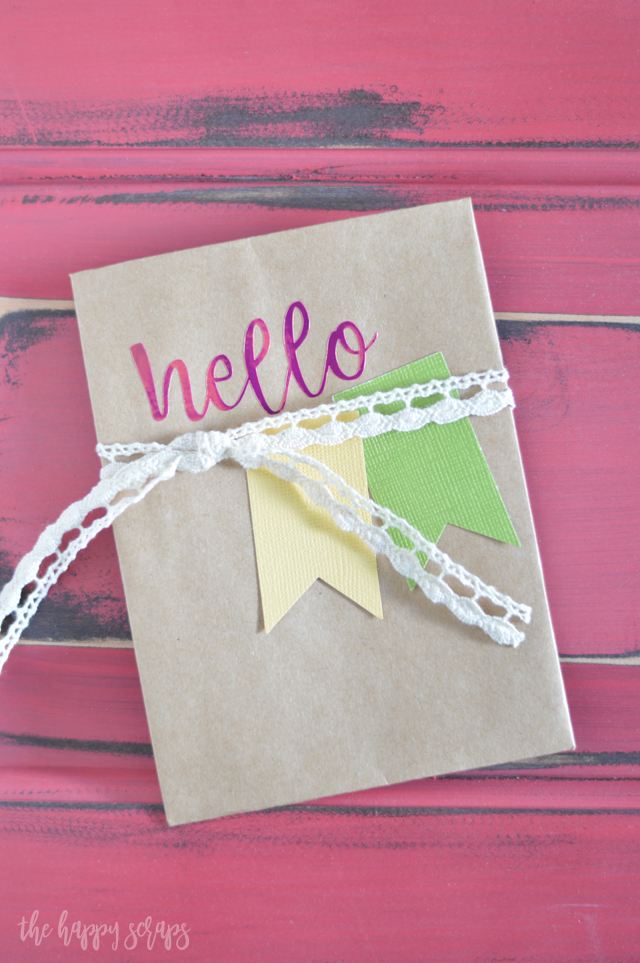
I placed it on this envelope that would be perfect for just about anything!
Now that you know How to Weld in Cricut Design Space, I’d love to hear what you plan to create with this tip. I love being able to connect letters and space them just right for pillows, shirts, and other fun iron-on designs.


Leave a Reply