This DIY Leather Notebook post is a sponsored conversation written by me on behalf of Cricut. The opinions and text are all mine.
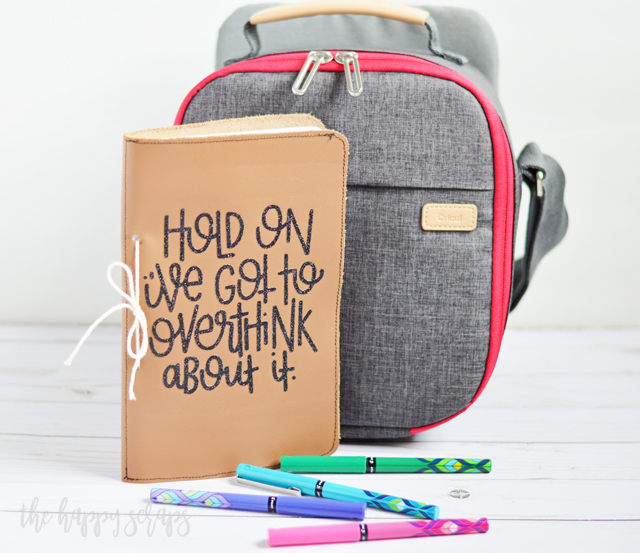
Yesterday I tried something new. Something I hadn’t ever tried before. Do you ever try new things? It’s kind of hard for me to try something new at times. I thought this DIY Leather Notebook would be a fairly simple project, but I did run into a few snags. I’ll share those with you so hopefully when you make your own it will be smooth sailing! 😉 I am pretty excited with how this DIY Leather Notebook came together though. It will be fun to keep this in my purse or church bag so I can grab it and write things down quick. Also, I love the quote I used for the front of it. I’m definitely one of those women that overthink things!

This DIY Leather Notebook post is sponsored content written on behalf of Cricut. I received product in exchange for this post. This post contains affiliate links. If you click on an affiliate link and purchase something, you won’t pay anything extra, but it will help support this blog. All ideas and opinions are my own.
DIY Leather Notebook Supplies:
- Cricut Maker with Fine Point Blade, Deep Cut Blade, and Scoring Wheel
- Cricut EasyPress 2 with Cricut EasyPress Tote (sold separately)
- Cricut EasyPress Mat
- Cricut Genuine Leather
- Cricut Glitter Iron-on Vinyl
- Cricut StrongGrip Mat
- Hole Punch
- Large Twine
- Design Space Cut File

After getting all of the supplies together, I designed what I wanted to cut. You could certainly design your own or use the one that I have put together. You can find the Design Space Cut File here. If you have Cricut Access, these designs are included with it.
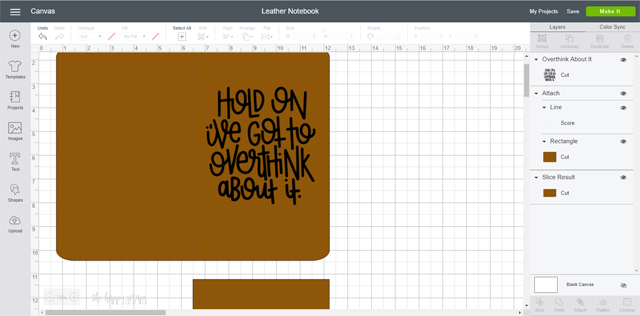
Click the “Make it” button, mirror the design for your text. For the text, I used the glittered black iron-on vinyl. You could use so many different combinations of colors for this project.
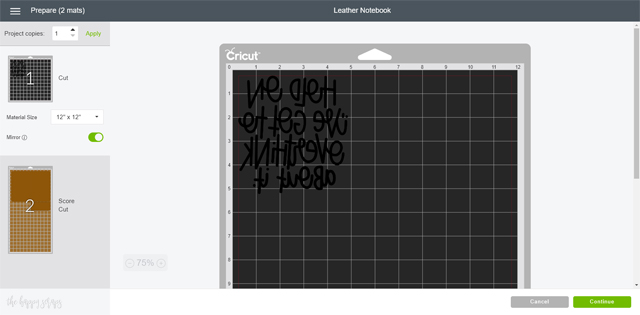
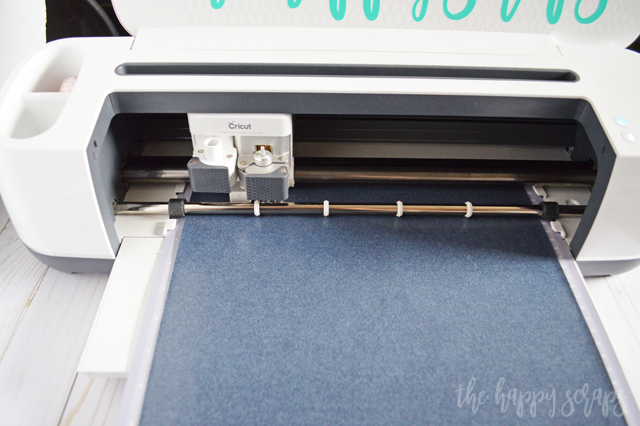
Placing your iron-on, shiny side down, on your mat, you’re ready to cut. Send the design to be cut from the computer. You can find more tips for Cricut EasyPress Mat.
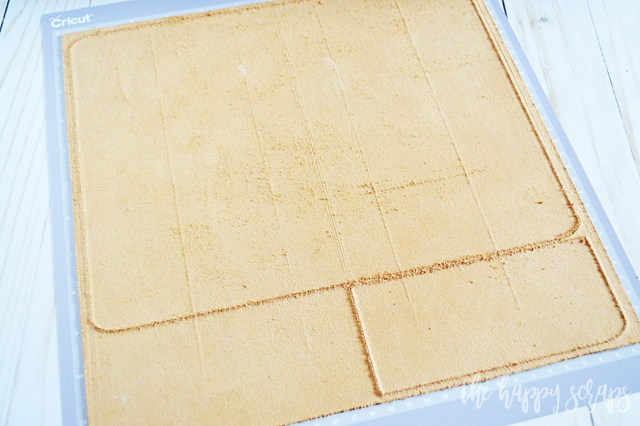
Once your iron-on is all cut, place your leather, top down, onto a StrongGrip Mat. This is one of the times I had a little snag. Make sure you use a new StrongGrip Mat and move your star wheels to the side. (I forgot to move the star wheels, and while it didn’t leave any marks on the front of the leather, it did leave track marks on the back. Not a bit deal. Also, I ended up putting two star wheels on each side, since I was cutting 11.5″ wide. The track marks missed where I was cutting this way.) While cutting, my leather did shift just a little but, causing the Cricut Maker to stop. Once I transferred to a brand new StrongGrip Mat, it worked like a charm! Inserting the Scoring Wheel, I scored the center of the leather.
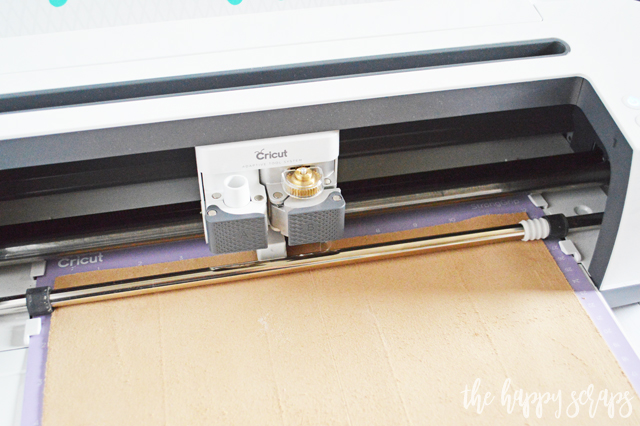
Then I was prompted to insert the Deep Cut Blade. The Deep Cut Blade worked great, once I was using a new StrongGrip Mat that would hold the leather in place well. Also, I would check to make sure that the leather cut all the way through before you take it out of the machine, just to make sure you don’t need to double cut it. (Note: Design Space will tell you that one of your items is larger than 11.5 x 11.5 and you need 12 x 24 material. I click OK for that but only used a 12 x 12 piece of leather on a 12 x 12 mat and it worked just fine.)
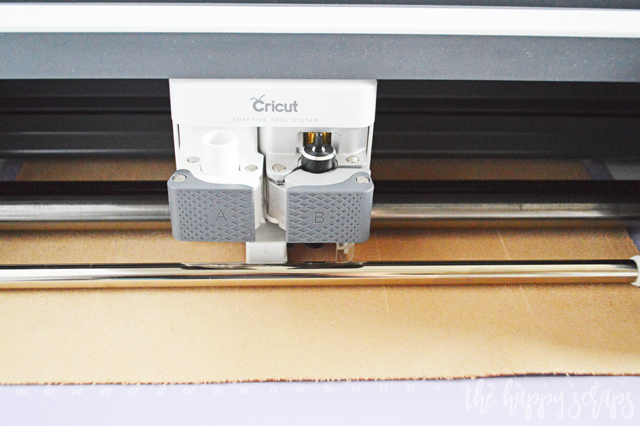
Once you know your leather is cut all the way through, pull it off the mat.
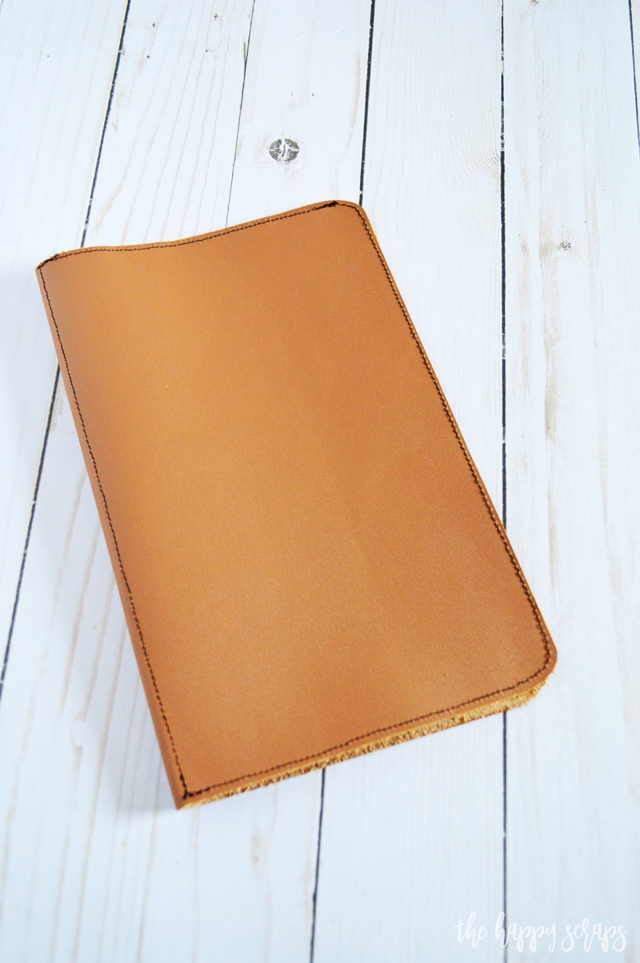
I wanted to add a little bit more texture to the front of my notebook, so I pulled out my sewing machine to attach the pocket. Because I was putting black lettering on the front, I used black thread.

Stitching around the outer edge of the front of the DIY Leather Notebook is a fun touch to add.
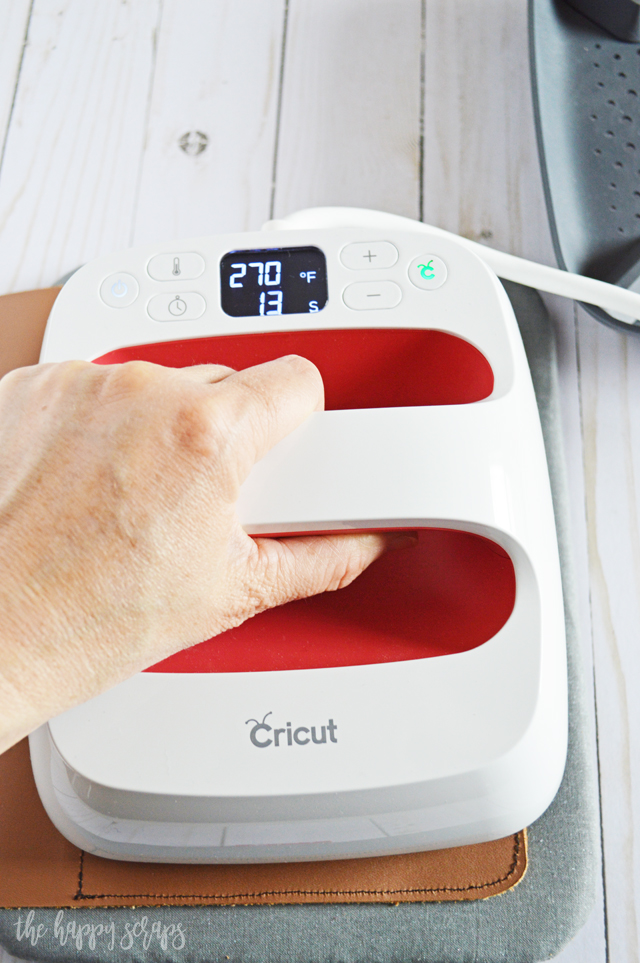
Place your leather onto the EasyPress Mat, then place your decal onto the leather. Heat your Cricut EasyPress 2. I heated mine to 270 degrees.
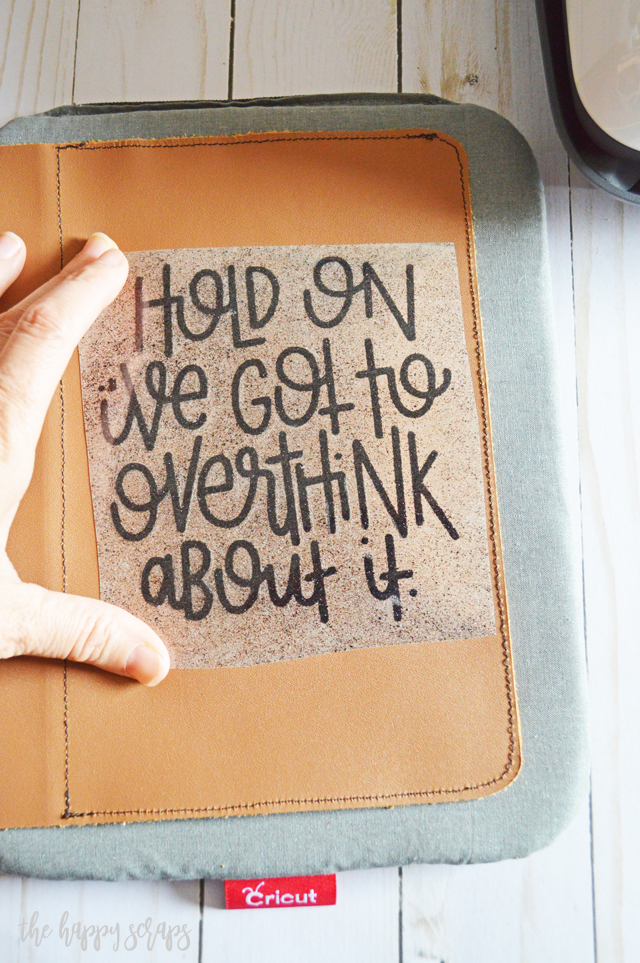
Press your design. I was having a hard time getting the design to adhere, so I bumped my heat up to 310 degrees. I did have to press this several times to get it to stay. I pressed for 20 seconds each time. I carefully lifted the carrier sheet between each press to see if it was staying.
Once I got it all pressed and it was staying put, I was able to put the carrier sheet off. I do think that the heat caused the leather to shrink just a little bit, so I applied heat to the back, so that all the leather could shrink a little bit. I covered it before I applied the heat, just to be safe.
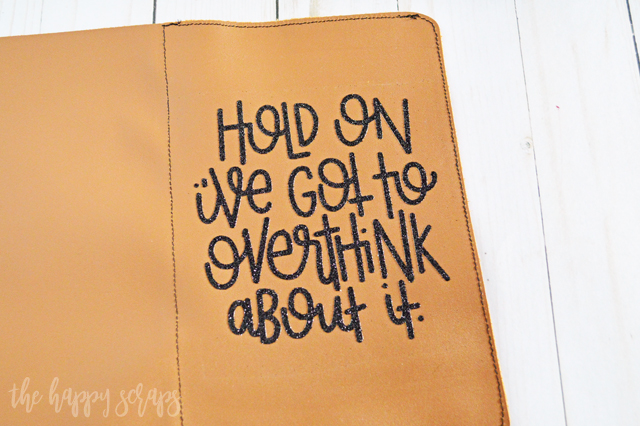
After deciding where I wanted my holes to be, I used my crop a dile to punch the holes.
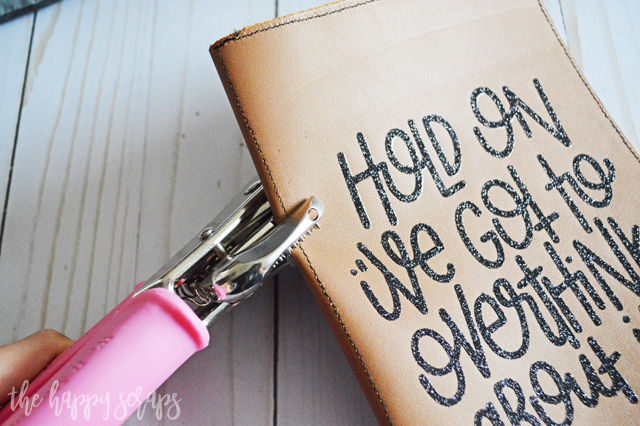
Using 8.5 x 11 sheets of paper, I folded in half to use for the inside of the notebook. I folded two or three sheets for each set. I punched holes in each of them, making sure that the holes all lined up with the cover.

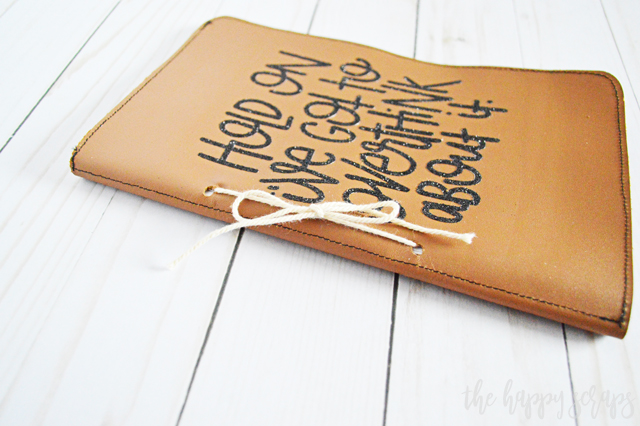
I lined up all of my paper, and laced twine through the holes, tying it at the front. The great thing about this is that I can refill the notebook when I run out of paper.
When I had the notebook all done, I put my Cricut EasyPress 2 away in the EasyPress tote! If you missed my last post about the Cricut EasyPress totes, be sure to check that out. Here is a quick run down of putting the EasyPress away. I really love that it only has to cool for 5 minutes before placing it in the tote.
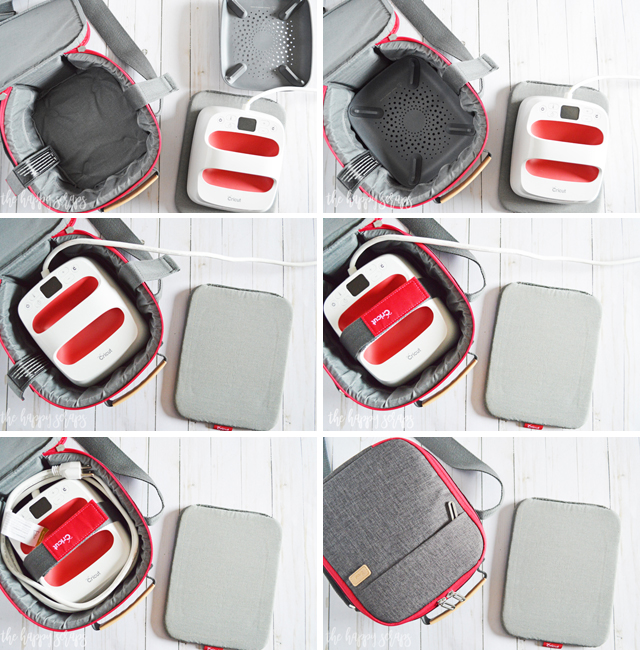
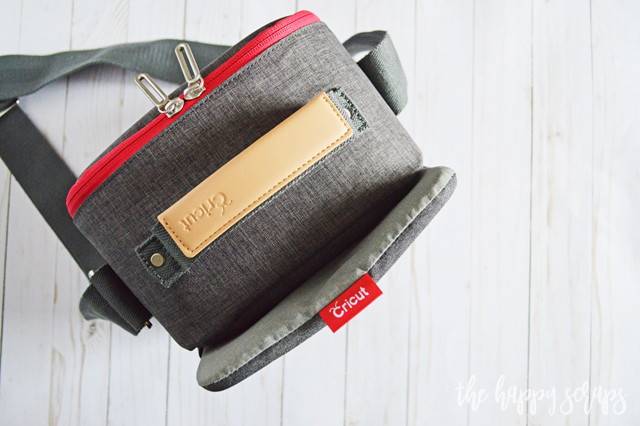
Once the EasyPress is securely in the tote, slip your EasyPress Mat into the back of the tote. I love storing my Cricut EasyPresses and Mats this way!
Even if I did have a few snags in creating this project, I really love the way it turned out. Plus, now I know what I should and shouldn’t do the next time I use iron-on vinyl on leather. It was for sure a fun thing to do and I’ll be making more projects with these materials for sure!
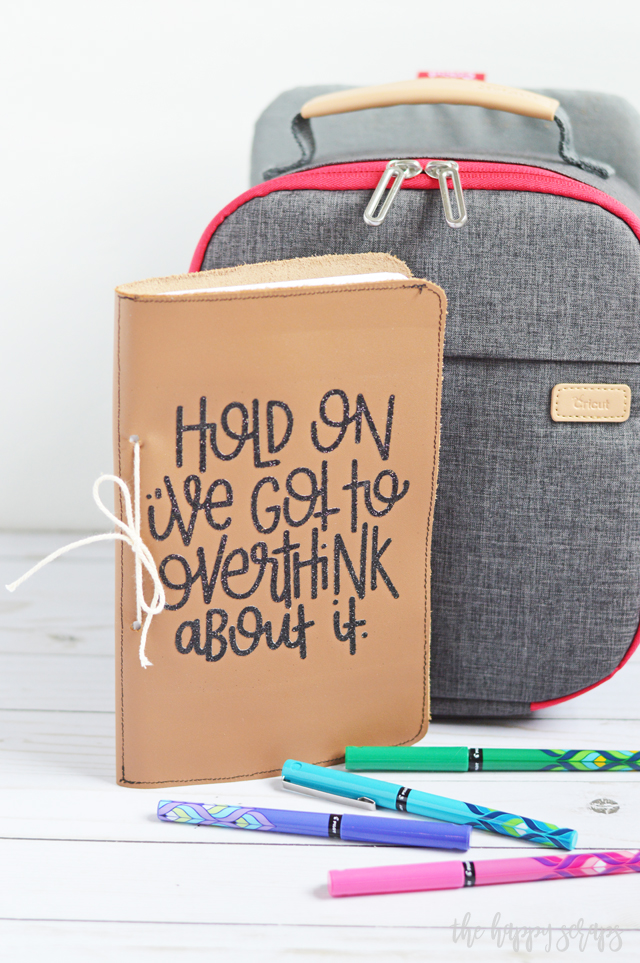
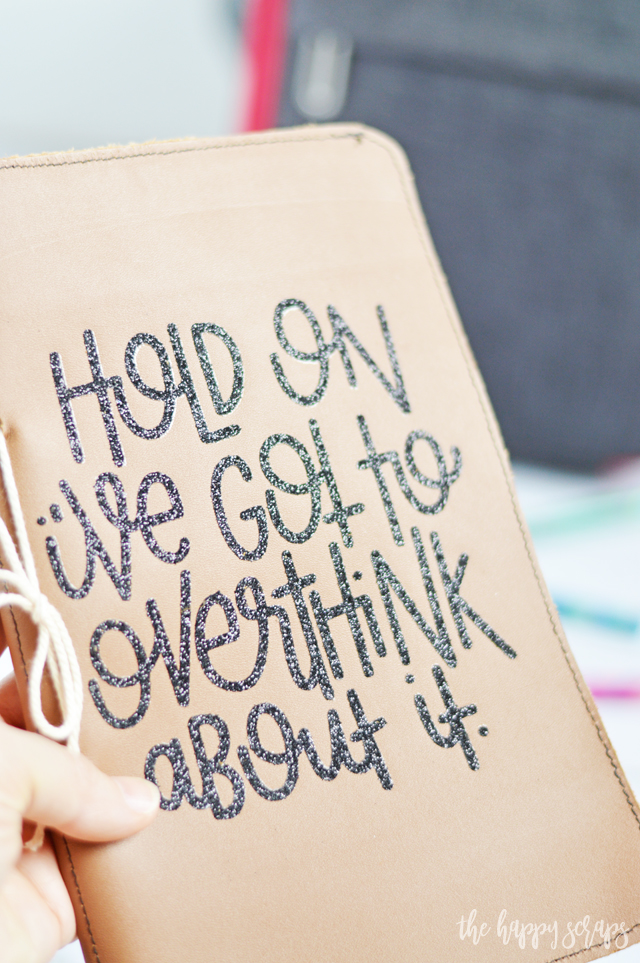
Everything is always better with a little bit of glitter, right? This DIY Leather Notebook is no exception! I really love what the glitter adds!
I can’t wait to take notes in this fun new notebook!
If you’re looking for more fun projects to create, I’ve got lots of Cricut, EasyPress, and Iron-on projects here on the blog. Check them out!

Leave a Reply