I don’t think it’s really a secret around here that I love my Cricut. I’ve been using Cricut machines for more than 10 years now, and I’ve loved everyone of them. I especially love the newer machines that I can use along side of my computer, tablet, or phone. Anyway, one of the features of the newer machines that I’ve never gotten on board with using is the Print then Cut feature. I’ve used it here and there, just with uploaded files, but I’ve never really used it with designs available in Design Space. Recently I used it to make some large sticker labels for the front of some folders, and YOU GUYS! I feel like I’ve been missing out super big time by not using it! It is opening up so many new possibilities! If you haven’t used it yet, you totally need to. I’ll show you a few tips on how to here in this post, but really, get into Design Space and play around. The “flatten” tool will be your best friend for using the Print then Cut feature, and it is AH.MAZ.ING!!! Anyway, I realize that I kind of went off a little here, but today, I’m showing you how to put this super cute + EASY Happy Easter Treat Bag together!

This Happy Easter Treat Bag post contains affiliate links. If you click on an affiliate link and purchase something, you won’t pay anything extra, but it will help support this blog. All ideas and opinions are my own.
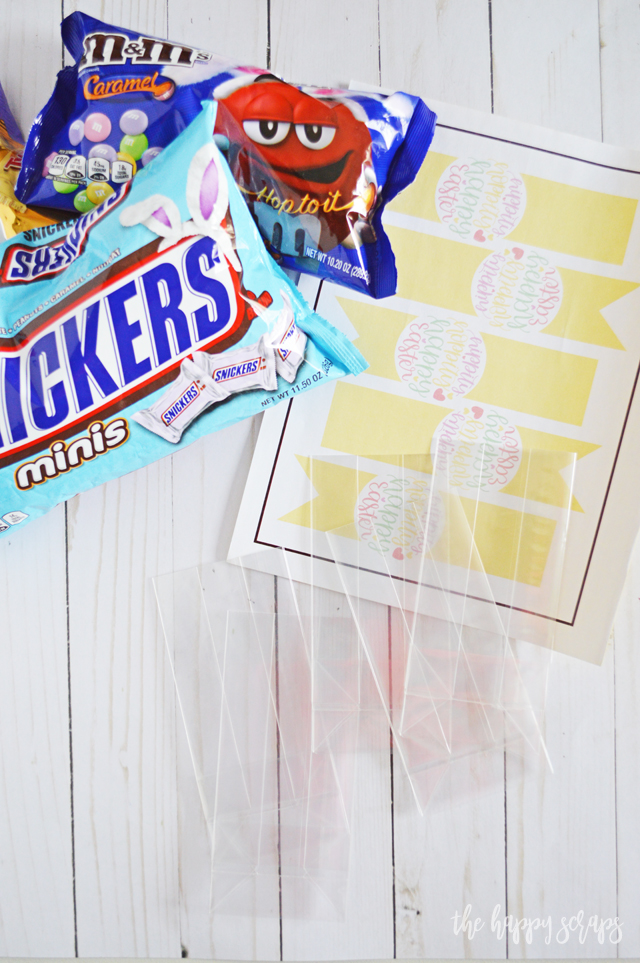
Happy Easter Treat Bag Supplies:
- Printable Labels
- Cellophane Bags
- Easter Candy
- Printer
- Cricut Maker or Cricut Explore Air 2
- Design Space Cut File
Print Then Cut your Labels
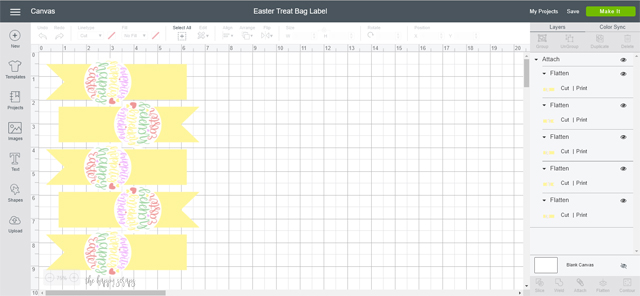
Pick out the design you want to Print then Cut, and get it into Design Space. I chose an Easter design in there then added a banner/flag behind it. Once I had the design how I wanted it, I selected all of it, and clicked “flatten”. I knew I wanted to make five of these, so I duplicated and arranged my designs so that they would all fit on one sheet when I was ready to Print then Cut them. Once you have your design ready in Design Space, you will click the “Make It” button.
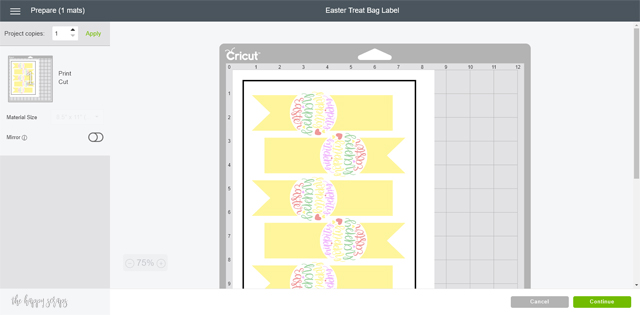
Your preview will show the designs with the registrations marks around them. Click “Continue”.
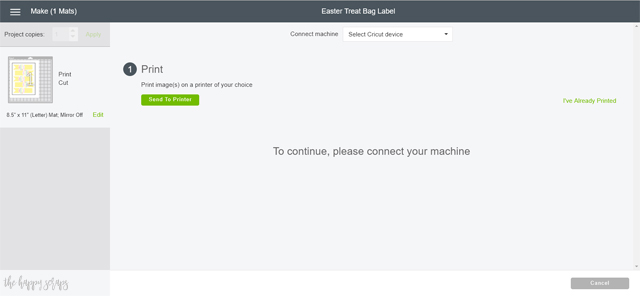
You’ll be prompted to select the machine you are using to cut this. I used my Cricut Maker, but the Explore Air 2 will work as well. (For the Air 2, turn the dial to custom and select washi tape as the cut material.) I used the Washi Tape setting to cut these labels, and it worked great, but you can also use the “paper” setting. Click the “Send to Printer” button.
You’ll get a box that is the Print Setup. Because I squished the designs together to fit five to a page, I turned the bleed off. Once I was ready, I clicked “Print”.

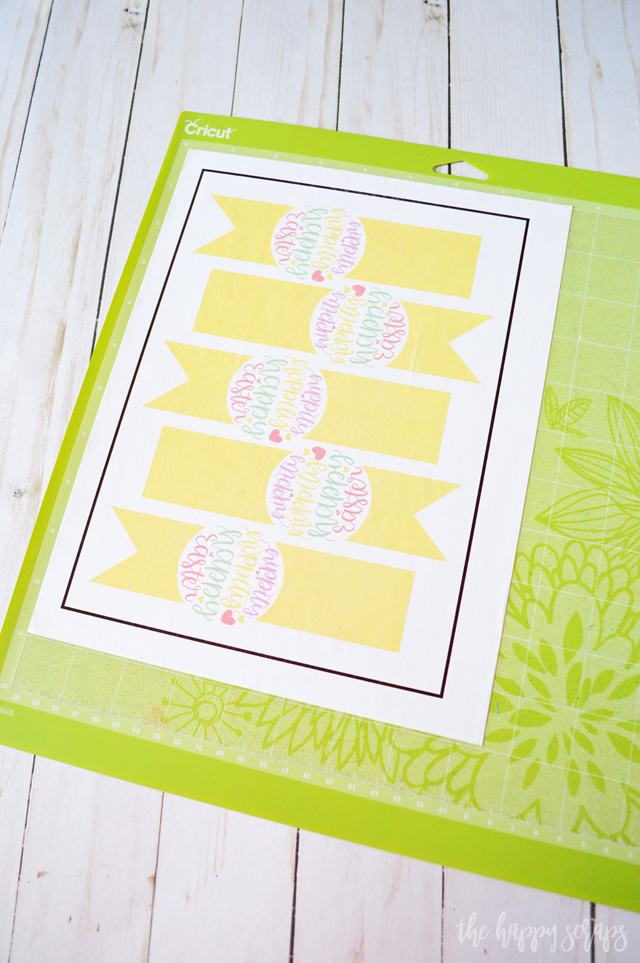
I pulled the printed design from the printer and placed it on the cutting mat.
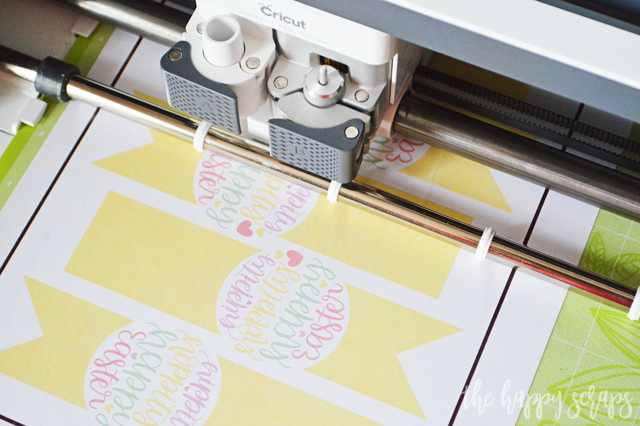
When I loaded it into the machine, the Cricut Maker read where the registration marks were, so it could cut around each design.
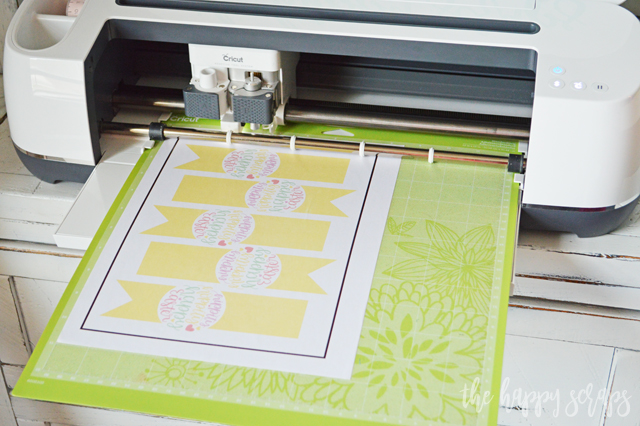
It never gets old watching the Cricut cut different designs!
Assembling the Happy Easter Treat Bags
Once the tags were all ready, I got my bags ready. I tried this a couple of different ways, and this seemed to be easiest. I left the bags folded flat.
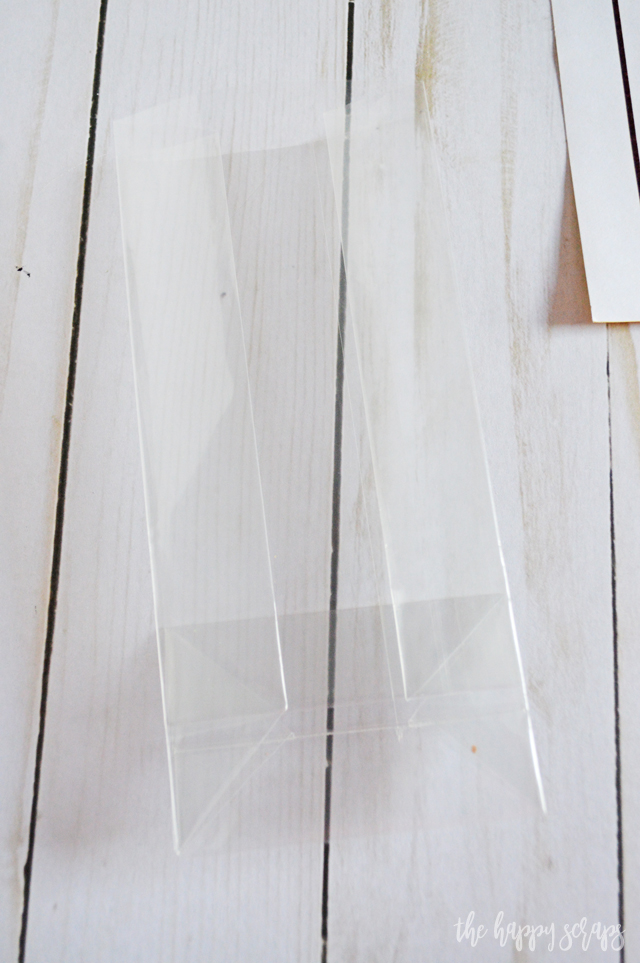
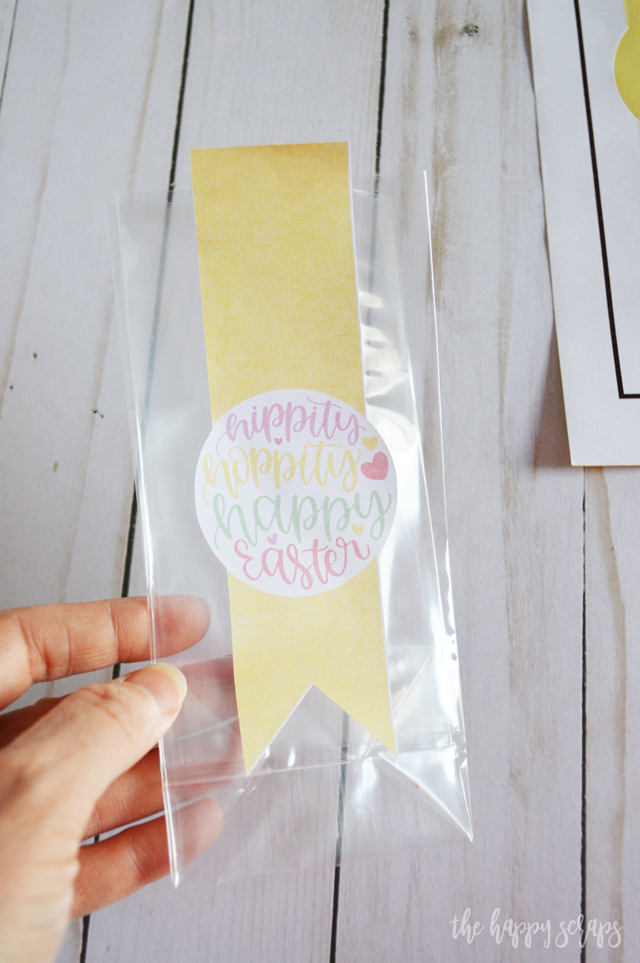
Place the sticker onto the bag, leaving a .5″ or so above the top of the bag.
Fill your bag with the treats you want.

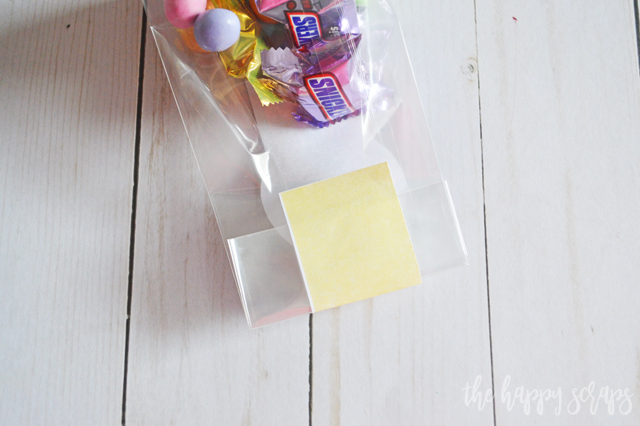
Lay the bag down, front side down, and fold the top over, closing the bag by sticking the part you left above the bag, to the back of the bag.
That is it! These cute Happy Easter Treat Bags will have your friends thinking you spent a long time creating them, but really, your Cricut machine did most of the work. 😉 I seriously love the way these turned out!
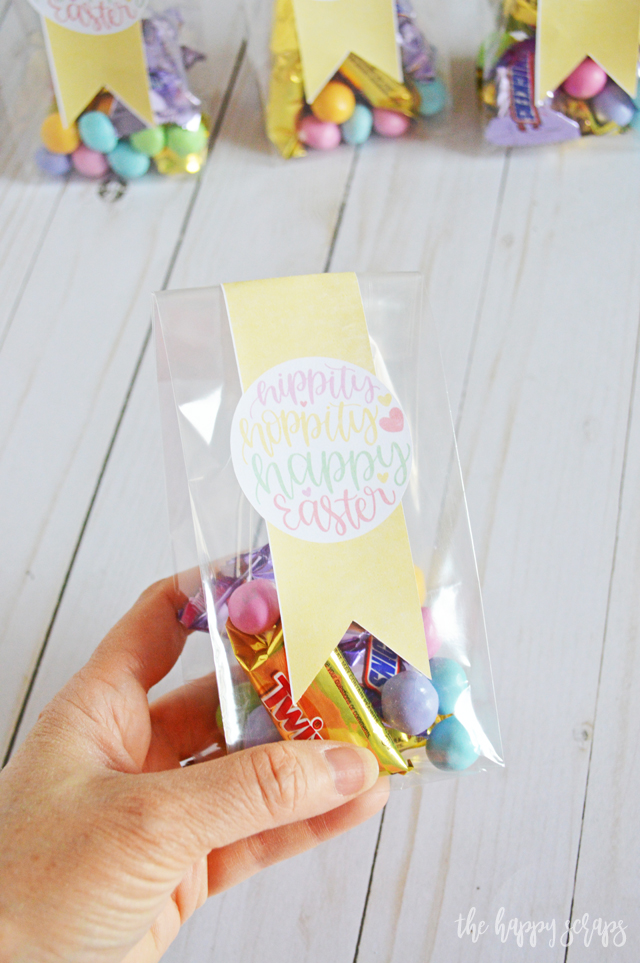
Isn’t this Hippity Hoppity Happy Easter design just so cute?!
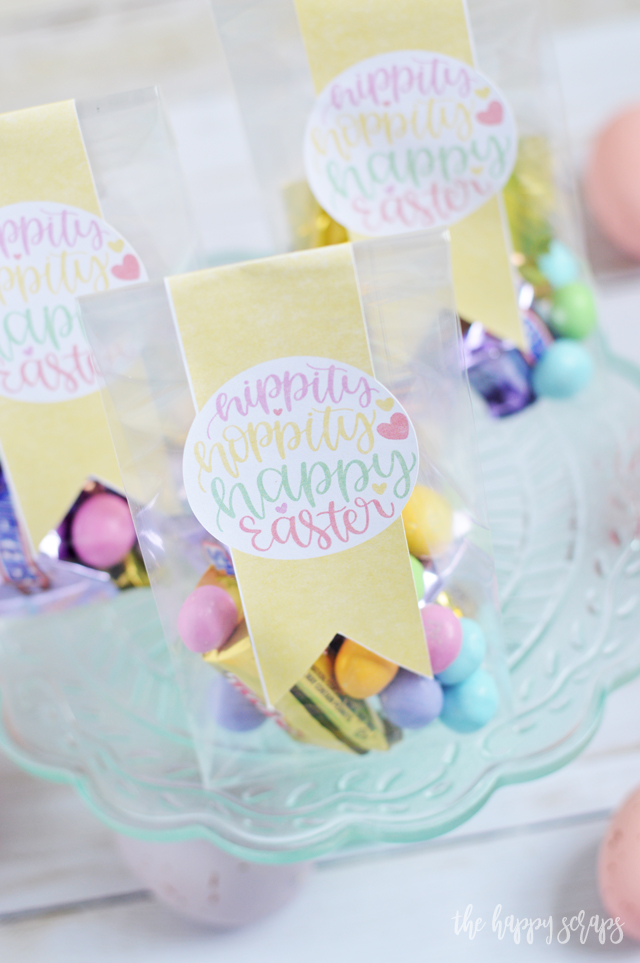
I adore it, and I also adore that I could use it as a Print then Cut design for this Happy Easter Treat Bag!
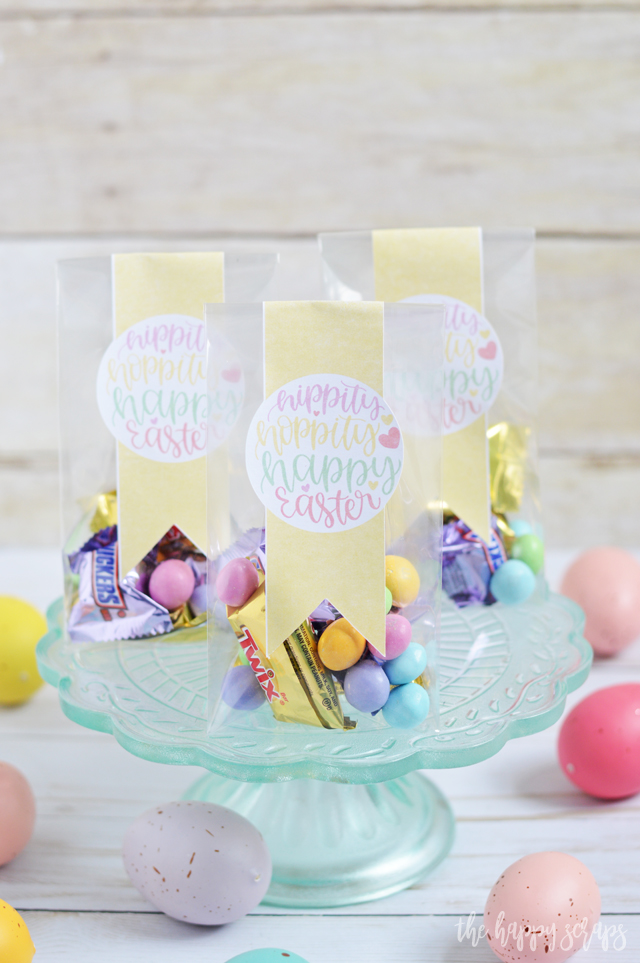
I’ll be giving these to my kids for Easter. Who will you be giving them to?
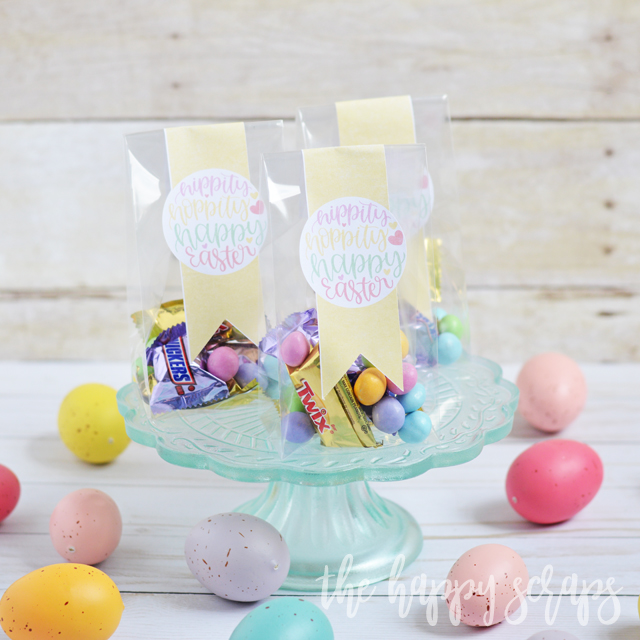
Does this just make you think of all the possibilities of things you can create with the Print then Cut feature on your Cricut now?
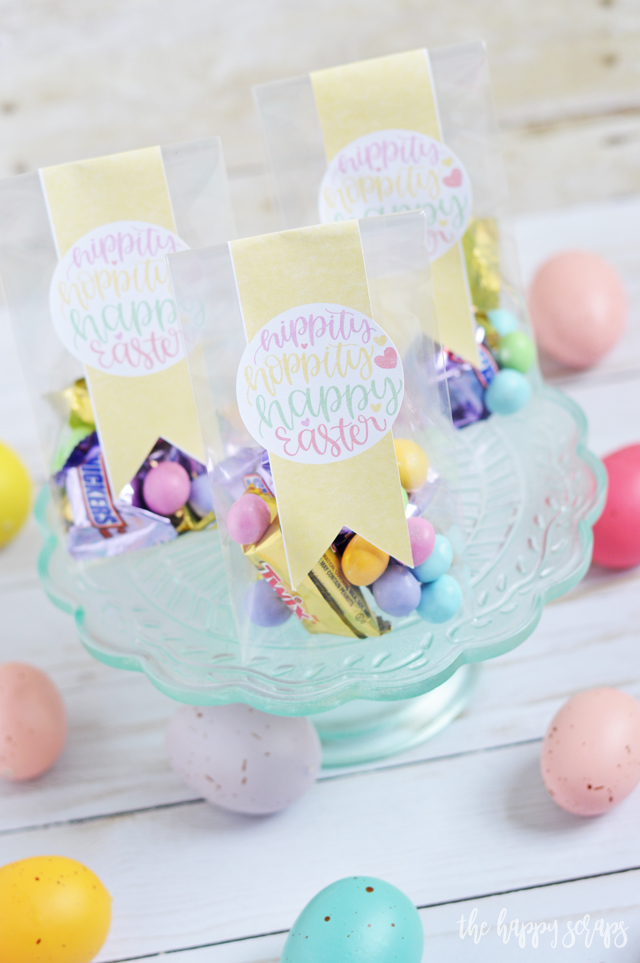
If you create some of these fun Happy Easter Treat Bags, or use this design for another fun project, be sure to tag me @thehappyscraps on Instagram so I can see!
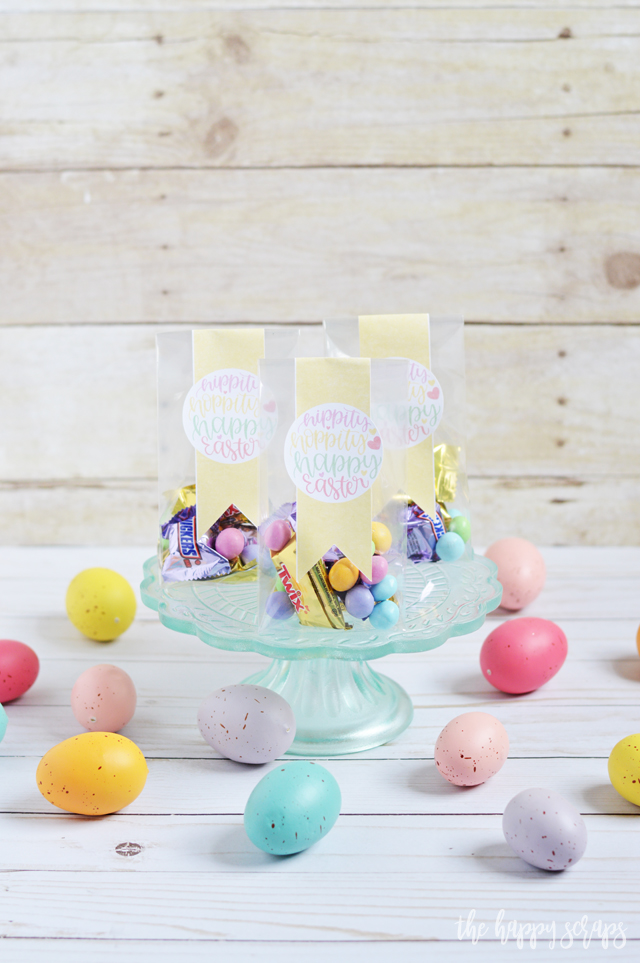
If you’re looking for more fun Easter projects of gifts, then be sure to check out my Easter Gallery!

Leave a Reply