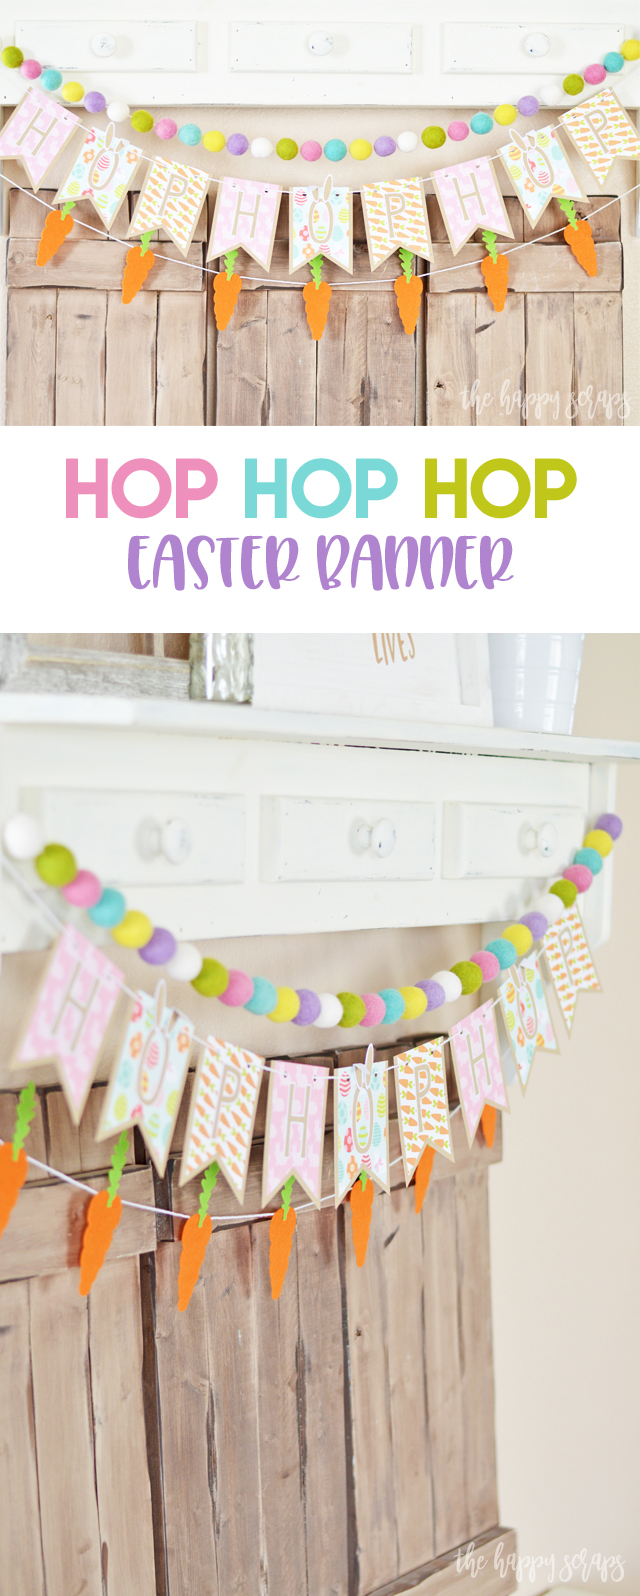
Oh man, I’ve been so tired lately, anyone else? I’m not sure if it Spring allergies that I’ve been dealing with and they are making me tired, or what. I do know that my three year old boycotting his nap time isn’t helping, because even if I could take the time for a nap, I can’t because he doesn’t nap anymore. Sigh. I guess I just need to get to bed earlier every night. Does anyone else feel that way? What is your standard bedtime? I’m usually in bed around 10 pm, but some nights I don’t go to sleep until 11 pm or so. Anyway, maybe if I wasn’t so tired, I’d be able to spend more time creating, right? 🙂 I am excited to share this Hop Hop Hop Easter Banner with you today. If you follow me over on Instagram, you might recognize the paper I used for this banner. Last week, I took a poll in my IG stories and asked which paper I should use for a project, and this paper won! So here is the project!
This Hop Hop Hop Easter Banner post contains affiliate links. If you click on an affiliate link and purchase something, you won’t pay anything extra, but it will help support this blog. All ideas and opinions are my own.
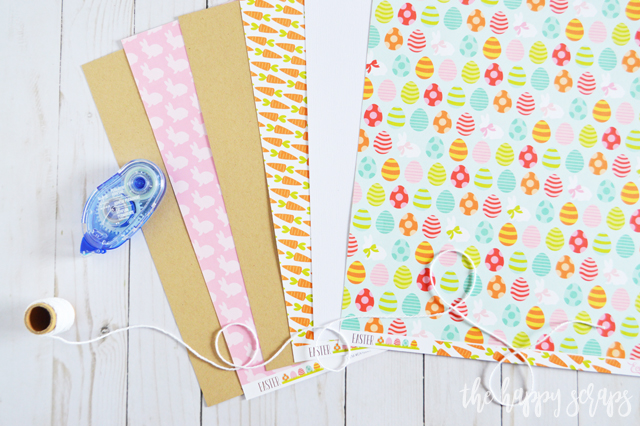
Hop Hop Hop Easter Banner Supplies:
- Patterned Easter Paper
- White Cardstock
- Kraft Cardstock
- Large Twine
- Xyron Creative Station
- Adhesive
- Cricut Scraper
- Cricut Maker or Cricut Explore Air 2
- Design Space Cut File
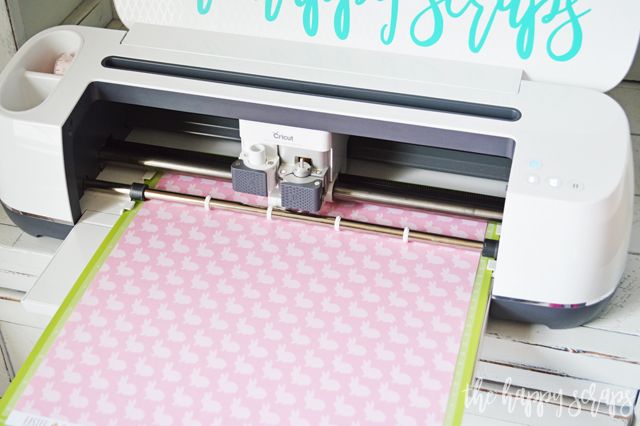
After you have your supplies collected, send your designs to be cut on your Cricut machine. Because this project only uses paper/cardstock, it can be cut on any Cricut machine that uses Design Space. If you have Cricut Access, all of these designs are included in your subscription as well.
When you have everything cut out for your project, pull out your Xyron Creative Station. You can put everything through the Xyron, except the Kraft cardstock banner pieces and the white bunny ear pieces. You won’t want adhesive on the back of those. 🙂
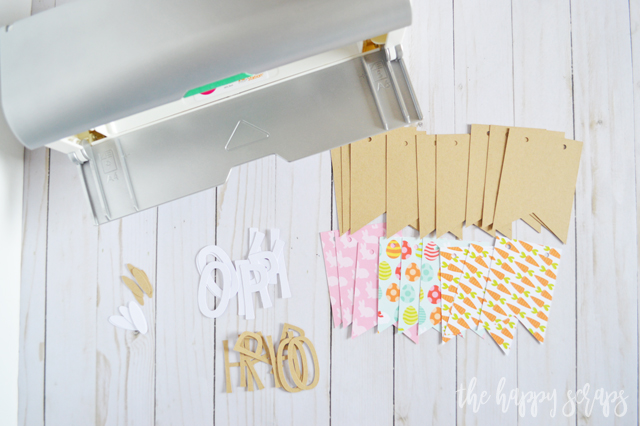
Slide your pieces into the Xyron and roll the handle on the side. I try and place my items in as close together as possible so get the most use out of the sticker cartridge.

Once I have everything put though it, I use the cutter on the back of the Xyron and pull all of my pieces out, all on one sheet. It will have a plastic covering over the top of it. I like to use my scraper to smooth out any edges and make sure the adhesive stays where it is supposed to when I pull up the plastic off of the top.
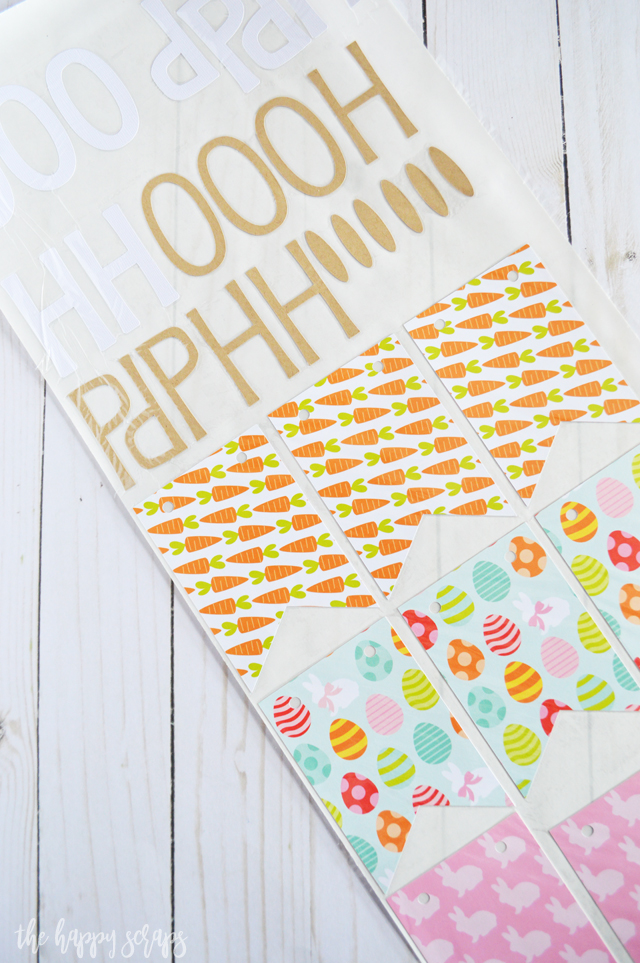
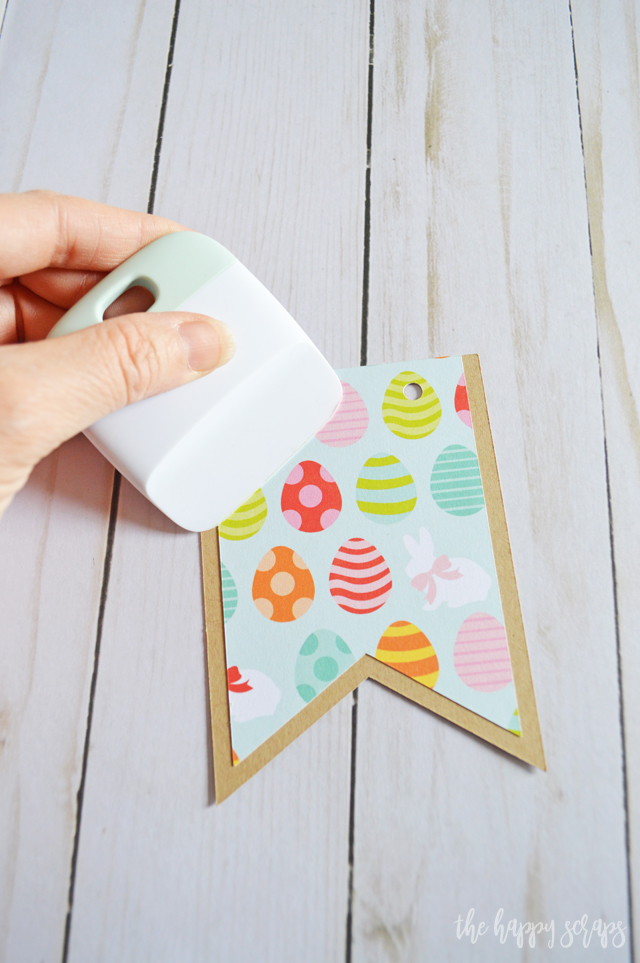
Peel off the patterned banner pieces and place them down on the Kraft pieces.

Use the scraper to make sure that they adhere well.
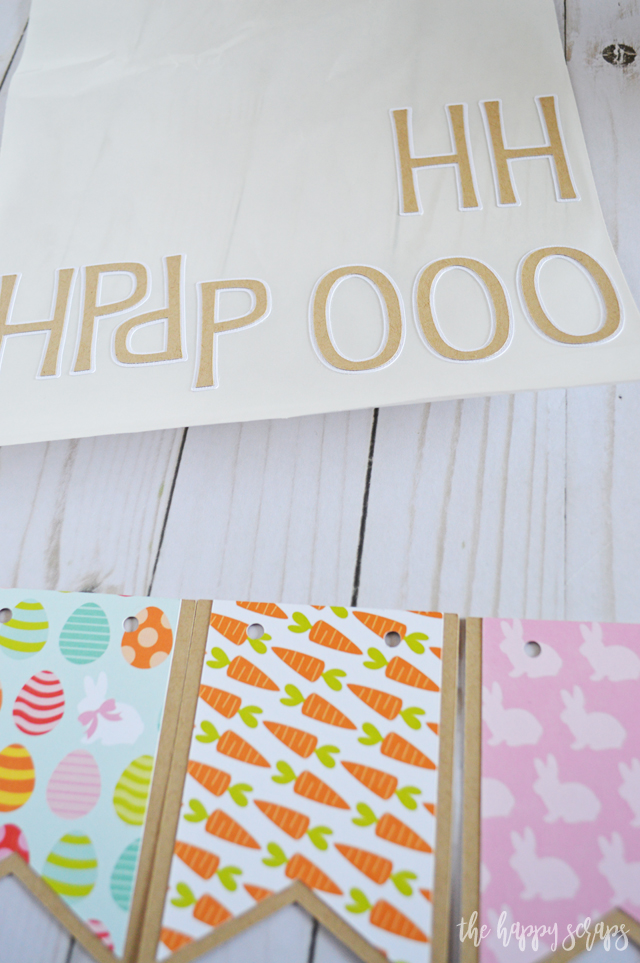
Layer all of your letters while they are still on the Xyron paper backing.
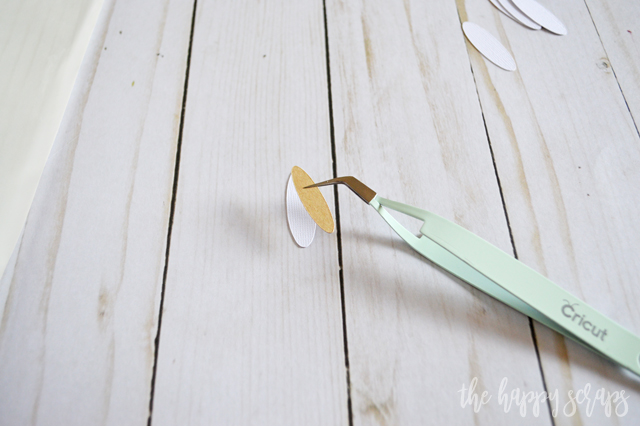
Place the Kraft cardstock pieces for the ears on to the white pieces. I used my Cricut tweezers for this because I was having a heck of a time getting them to line up when I was just using my fingers. 🙂
Place your letters onto you banner pieces followed by the ears. I used the small adhesive runner to put adhesive onto the back of the ears to attach them.
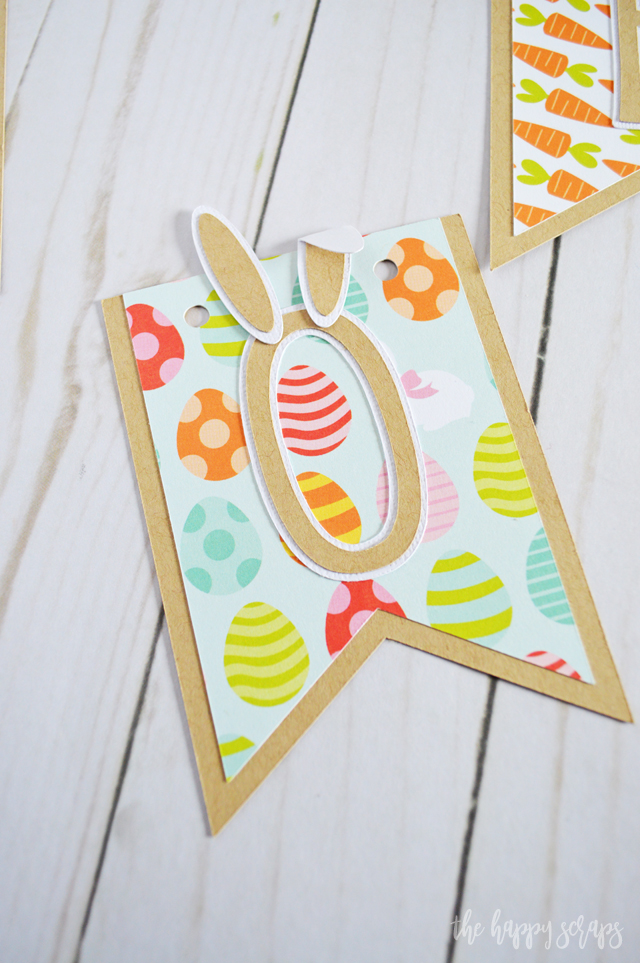
Once you have all of your letters and ears placed on the banner, you are ready to string it together.
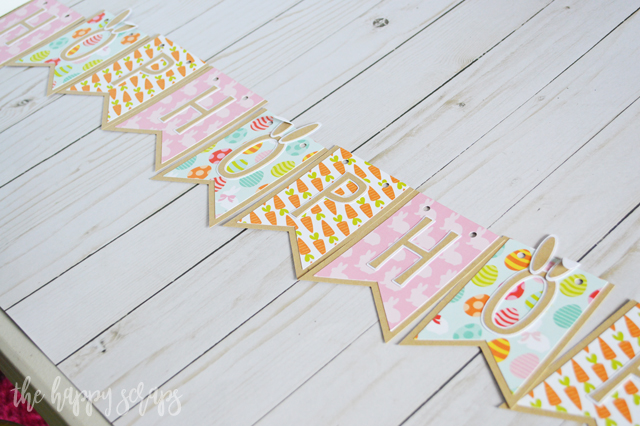
If you have a specific place to hang a banner like this, make sure you leave enough string on the ends to hang it with.
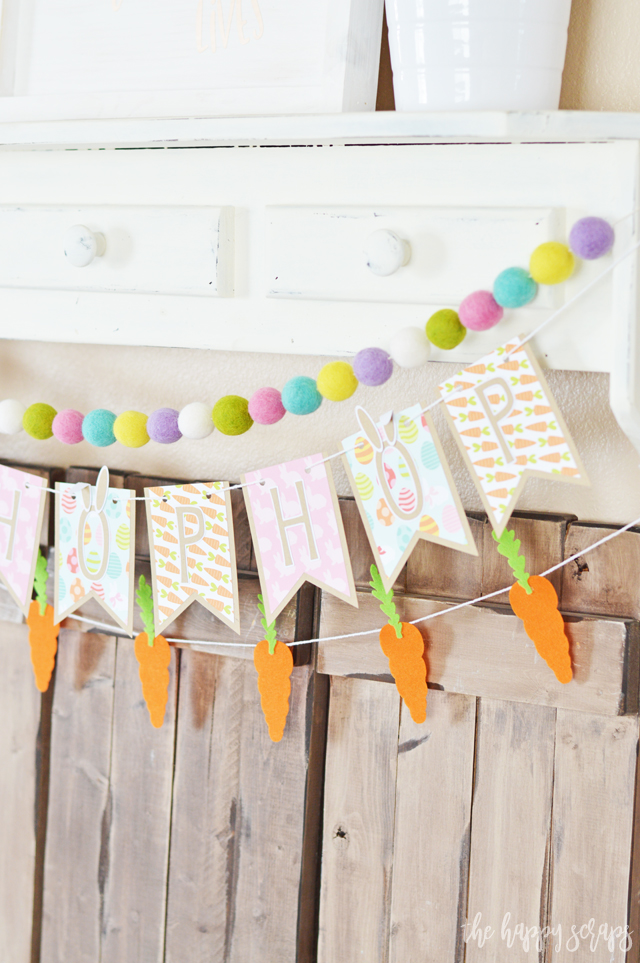
I got a few of my Easter decorations out, made a few new ones, and I’m hoping to make a few more new ones this year too.
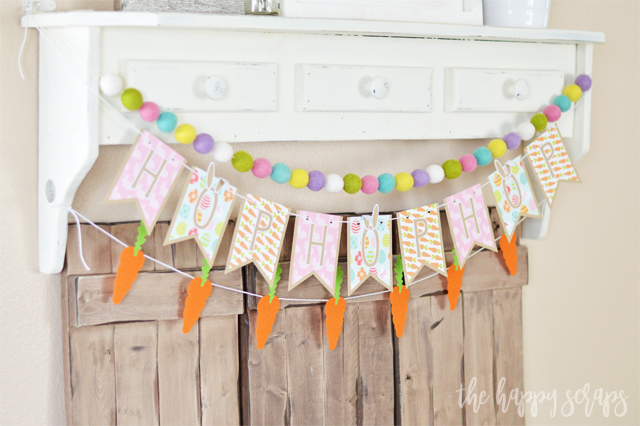
Do you decorate for Easter, or do you decorate for Spring? I have stuff for both, but I feel like I’m getting kind of lazy and want to leave decor up longer than a few weeks anymore. 🙂 I just got my St. Patrick’s Day decorations put away last Saturday, so just a couple weeks after the holiday. Ha!
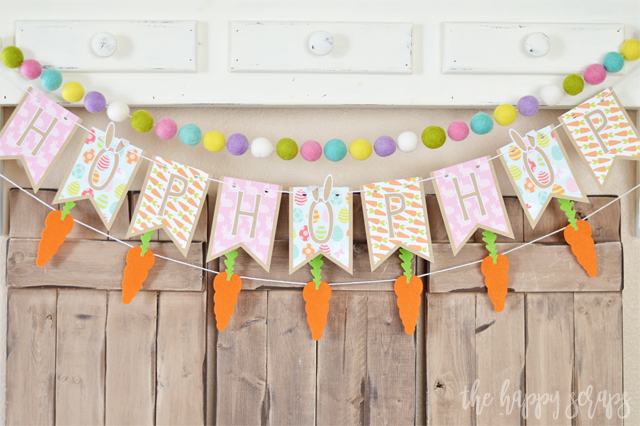
I really love how this Hop Hop Hop Easter Banner turned out and I love how it pairs with the felt ball garland and felt carrot banner too. Watch for that tutorial later this week.

I’m still working on adding more color to the top of the shelf, I feel like it needs it. What would you add?
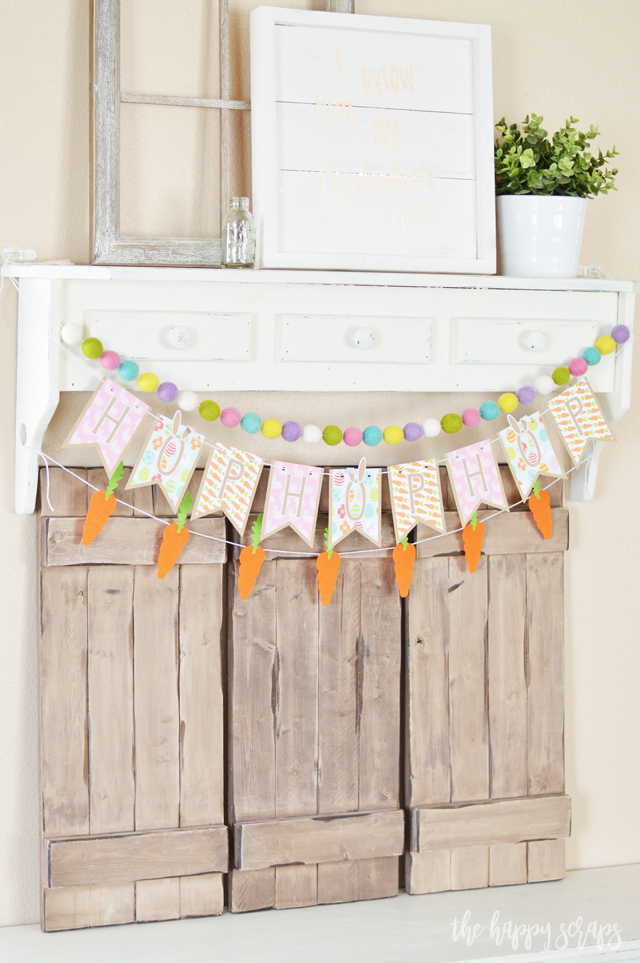
If you’re looking for more fun Easter projects, then be sure to check out my Easter gallery. There are so many fun projects over there. 🙂

Leave a Reply