This New Tools for the Cricut Maker post is a sponsored conversation written by me on behalf of Cricut. The opinions and text are all mine.
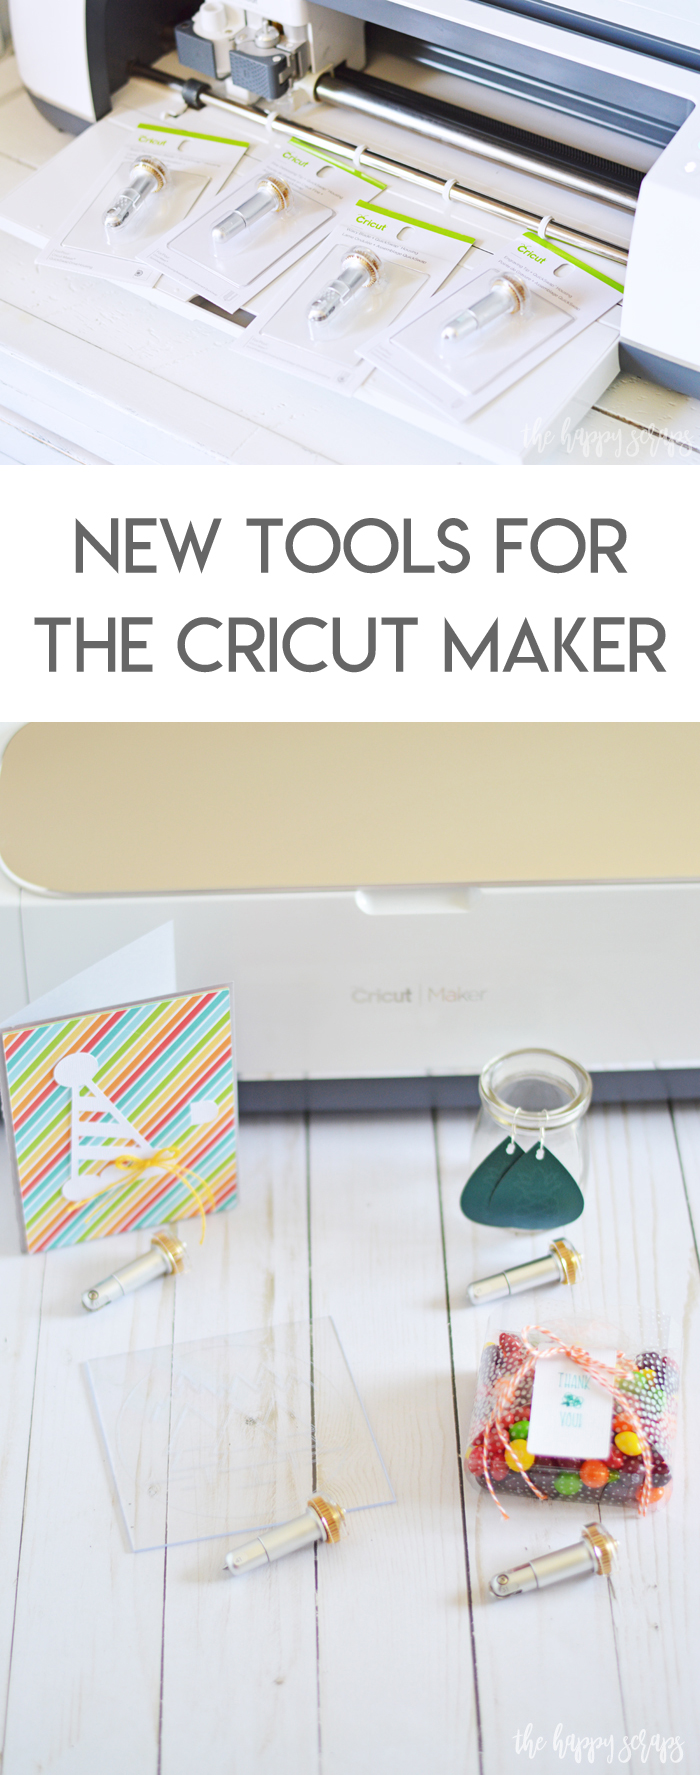
One of my favorite things about the Cricut Maker machine is the growing number of Adaptive Tools. It is just so cool to have one machine that can use so many different blades and tools to do different things. Today I’m sharing the four New Tools for the Cricut Maker that Cricut recently released, the Engraving Tip, Fine Debossing Tip, Perforation Blade, and Wavy Blade. While I love all four of them and have had so much fun working with them recently, I think my favorite are the Fine Debossing Tip and the Engraving Tip. I can’t wait to play more with those and see all that they can do! I especially had fun with the Perforation Blade while creating the project that I’m sharing today. I hope you’ll come along and check out these fun project!
This New Tools for the Cricut Maker post is sponsored content written on behalf of Cricut. I received product and compensation in exchange for this post. This post contains affiliate links. If you click on an affiliate link and purchase something, you won’t pay anything extra, but it will help support this blog. All ideas and opinions are my own.
Each of the projects that I’m sharing today are included with Cricut Access! If you don’t have Cricut Access, then check it out and see if it is something for you.
This first project uses the new Engraving Tip. This tip is so fun to use to get precise designs engraved into acrylic, leather, metal and more. You’ll be hooked as soon as you use it!
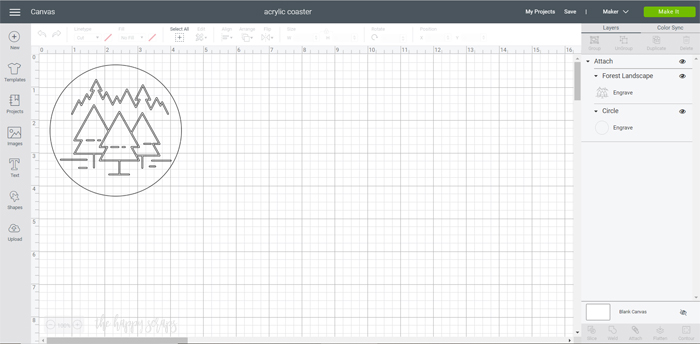
If you caught my Instagram stories last week, I shared how I created this fun Engraved Acrylic project. When I designed it, I had a coaster in mind, but now I just want to display it. I found the design I wanted to use, and set the line type to Engrave. It was SO easy to do and so fun to watch the Cricut Maker create this project. Here is a link to this Acrylic Coaster project in Design Space.
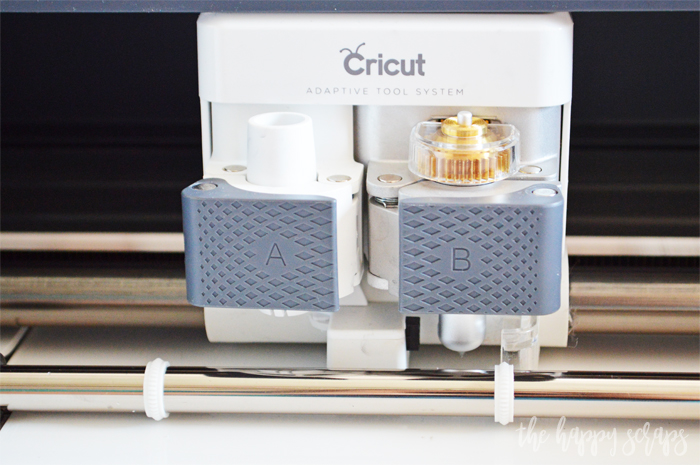
Not only is the Engrave Tool one of the four new tools, but it also uses the QuickSwap housing making it so easy to change blades or tool! You can use the same housing for the Engrave Tool, Fine Debossing Tool, Perforation Blade, Wavy Blade and the Scoring Wheels.
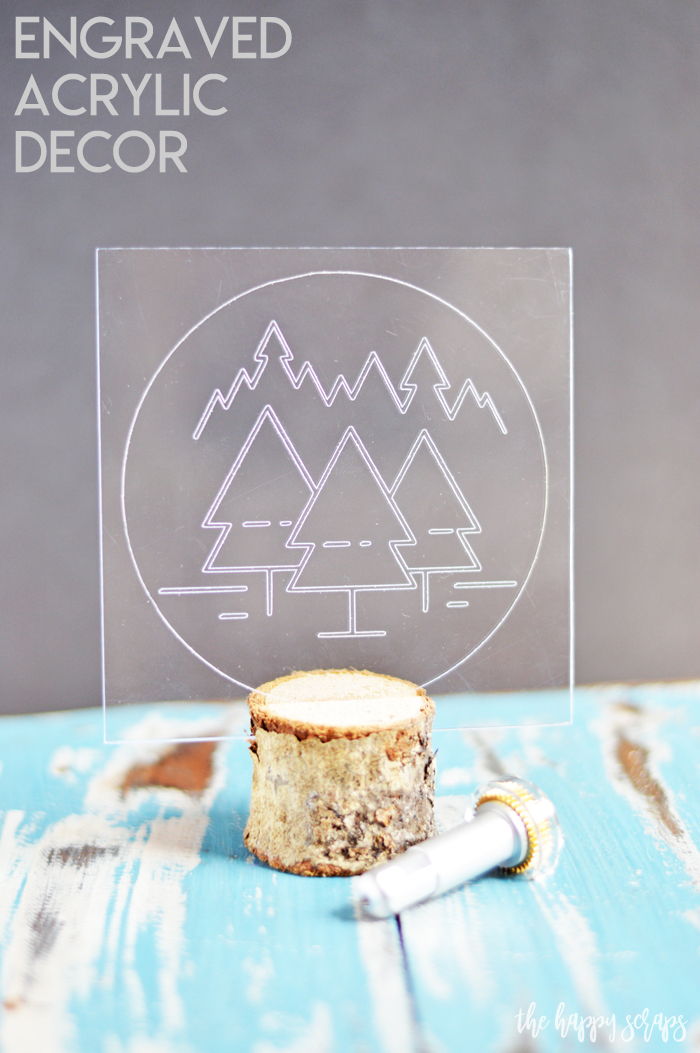
When I got finished with this fun mountain scene being engraved, my mind started racing with all kinds of fun ideas! I can’t wait to create more!
Next up? The Wavy Blade. Use this blade to create a fun wavy edge on a variety of materials and projects!
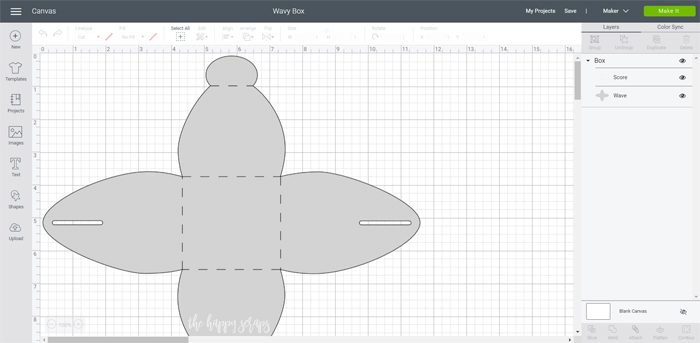
When I first learned about the Wavy Blade, I’m not going to lie, I was kind of skeptical. I thought, why would I want to use that? But the more I’ve played with it, the more I love it! You can add that fun wavy detail to so many different things. I used it to cut some crepe paper tassels and then I cut this fun favor box out of acetate. To use it, you set the line type to wavy. Here is a link to this project if you’d like to give it a try.
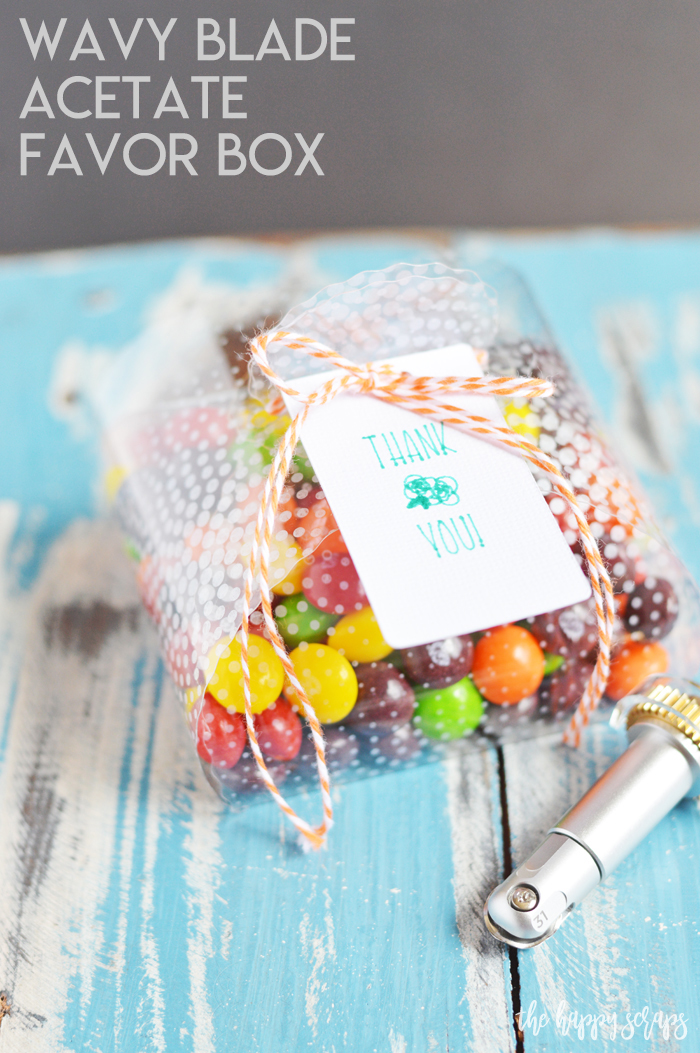
Here is a closer look at the blade. It is similar to the rotary blade, but it is wavy. It really is fun to use!

Can you see that wavy detail on this Acetate Favor Box? I love the added detail!
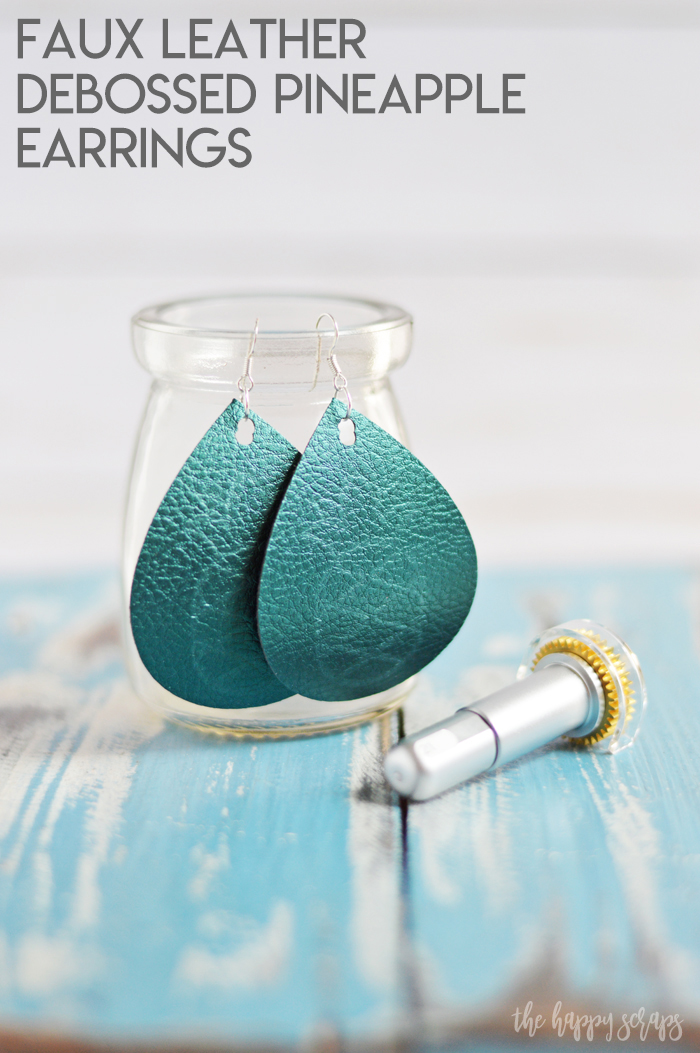
Ok, this project was such a fun one! I didn’t know how well it would work, but I love the subtle-ness of the design on the faux leather! For this project, I used the Fine Debossing Tip. One of my favorite things about this tip is that you don’t need any folders to create the designs and you get crisp, detailed lines.
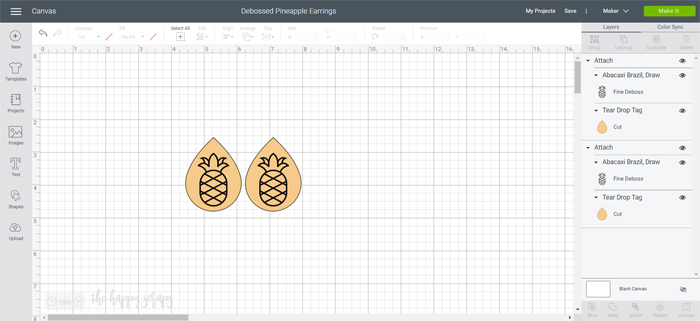
For this project you’ll need:
When I sent this project to be debossed and cut with the Cricut Maker, I was a little worried it wouldn’t work because Cricut Design Space said to mirror the image and place the faux leather on the mat, shiny side down. That wouldn’t work because I needed to deboss the front of faux leather. So I gave it a shot and it worked! Once the design was ready to go in Design Space, I sent it to the Cricut Maker. First, the machine did the debossing. Don’t those pineapples look so good?! Once they were done, Design Space prompted me to insert the fine point blade. Then it cut the tear drop shape. I punched holes in the top, then attached the earring hardware.
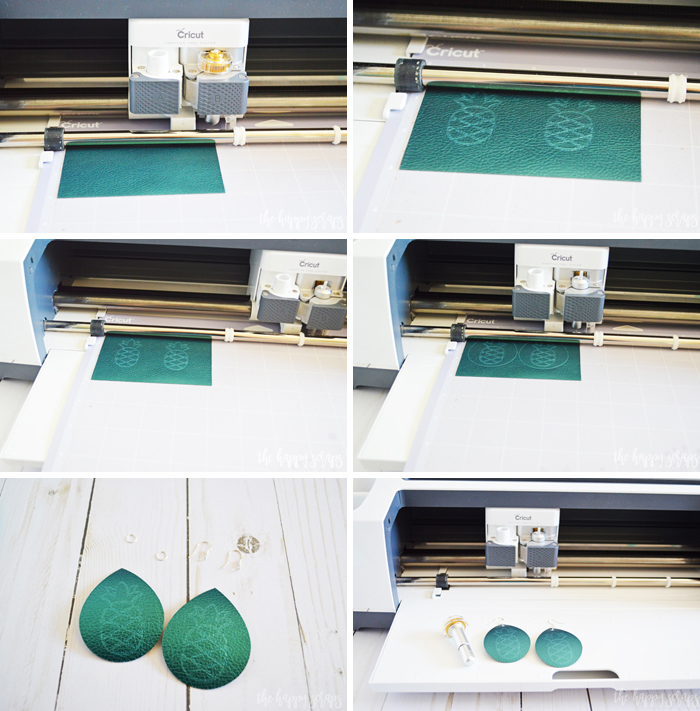
Aren’t they so fun?! I love the shimmer they have and the subtle pineapple design on it.
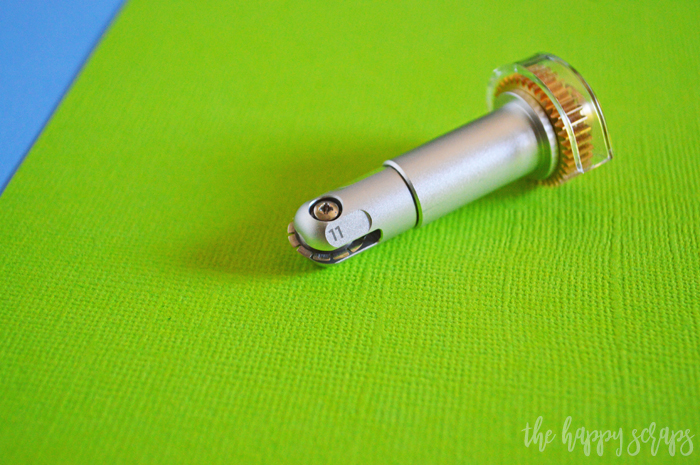
I have to say that this project is definitely my favorite of all I’m sharing today! It uses the new Perforation Blade. With this blade you can create projects with perfect tear-off, using several materials like paper, cardstock, acetate, and more!
For this Perforated + Layered Birthday Card you’ll need:
- Perforation Blade
- Cricut Maker
- TrueControl Knife
- Cricut Pen
- Cardstock in colors of choice
- Confetti (or get creative!)
- Dimensional Adhesive Tape
- Adhesive
- Twine
- Cricut Design Space Cut File

Do you ever have an idea but have a hard time getting it to come together on the screen? That was kind of how this Perforated + Layered Birthday Card project went. I wasn’t sure if it was going to come together the way I wanted it to once I had it all cut out, but it did! Once the design was ready, I sent it to the Cricut Maker.

Design Space prompted me to insert the Perforation Blade.
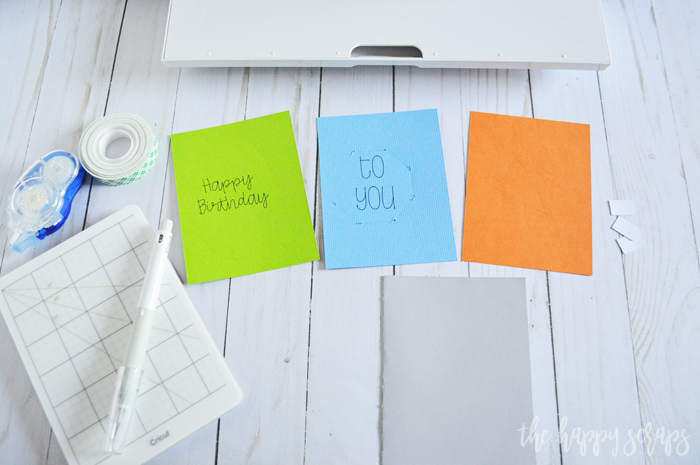
After all the pieces were cut, I started assembling the card.
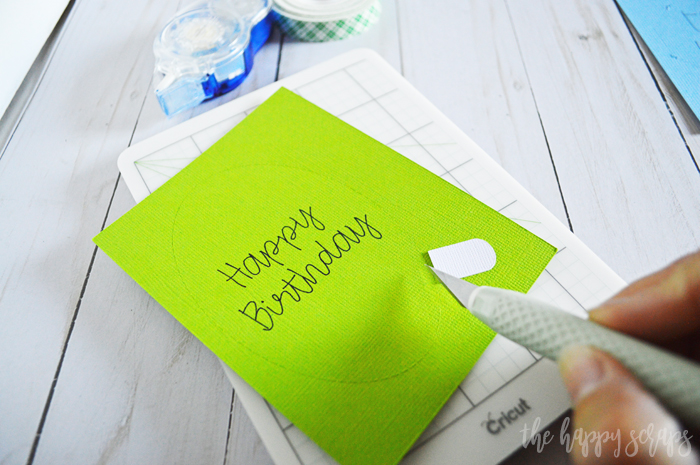
Cutting a small slit into the perforated area using the TrueControl Knife, I inserted and attached the pull tabs.
Once I had the pull tab on each layer, I added dimensional adhesive to the orange star layer, creating an enclosed area. I place confetti inside of the area, then peeled the adhesive backing off. I grabbed the card base, and centered it over the orange and stuck it down, creating that pocket of confetti. I added adhesive to the blue, green, and striped layers, and then pressed them together. NOTE: Fold the pull tab onto the perforated portion that you’ll be pulling out, so it doesn’t get stuck under the upper layers. Once I had the layers on, I added the party hat to the front.
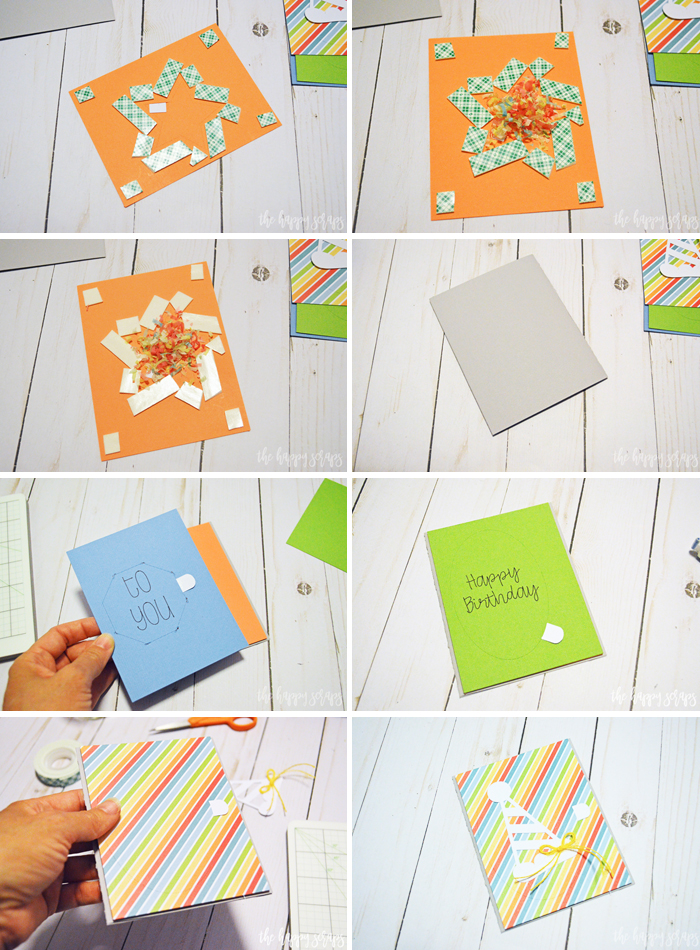
You can see how all the layers come together here. The only layer with the dimensional adhesive is the confetti layer, so the card doesn’t turn out too thick.

Now, I can’t just leave it without showing you just how fun it is to open the card. I am sharing it in my Instagram stories today, and will save it as a highlight. 🙂
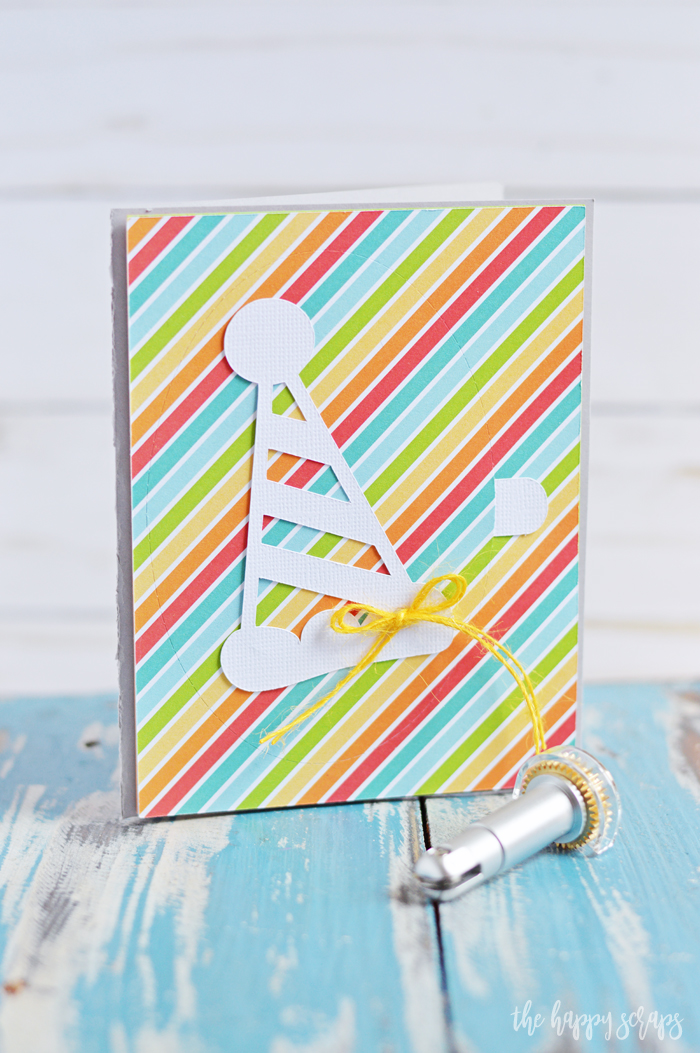
But here is picture of it also. I can’t even tell you how fun it was to pull this apart! The perforation was perfect too!

So next time you need a birthday card, you’ll know what to do!

All of these projects were so fun! Each of these projects are part of the growing Adaptive Tool Set that Cricut keeps expanding, and it is always fun to see the next thing they are coming up with! There are so many different mediums that you can use with these tools as well. One of the things I can’t wait to try is engraving on some metal. I also love that each of these tools and blades are compatible with the QuickSwap housing, so you only need one of those.
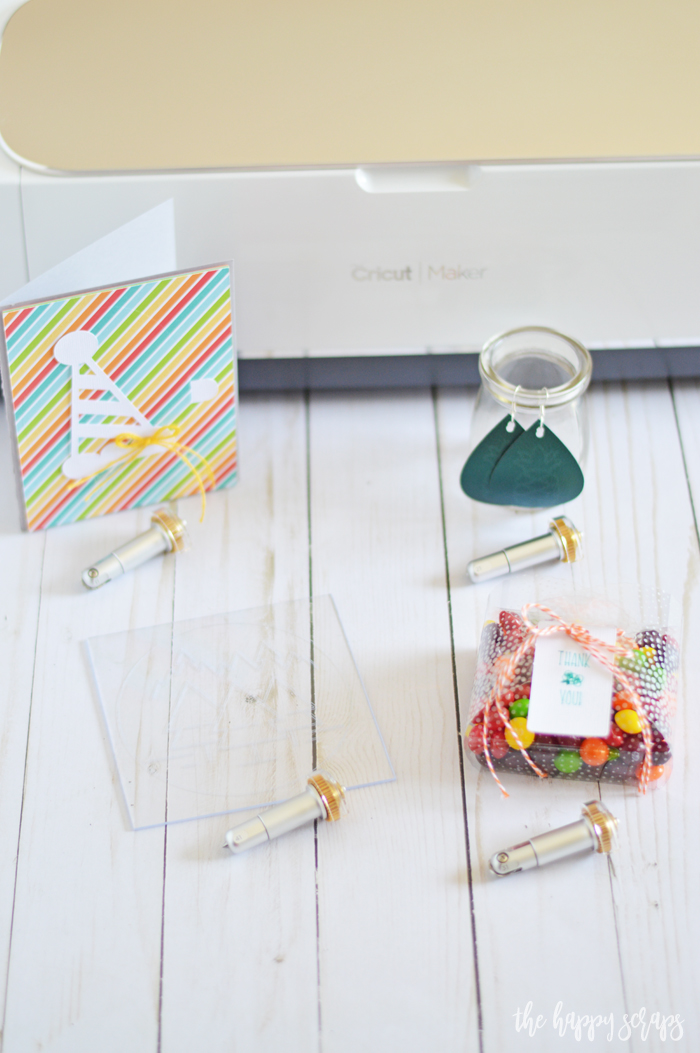
Which of the four New Tools for the Cricut Maker is your favorite? I love them all and can’t wait to use them for more fun projects! If you’re looking for more fun Cricut projects, then be sure to check out my Cricut Gallery.

Leave a Reply