Fall is in full swing! We’ve been having a fun October, how about you? We doorbell ditched some treats to neighbors and friends, we had a fun fall break deer hunting, and now we are gearing up for Halloween. We’ll be carving pumpkins and I need to finish up getting all the costumes for my boys figured out. We’ve got a good jump on that though. I can’t believe how quickly this fall season is flying by! With Halloween passing by this week, it will be Thanksgiving before we know it. I put this fun Fry Box Turkey – Thanksgiving Favor together and adore it! These cute boxes could be used for place settings (though they might be a little big) or you could use them like I did, for a little gift for those you minister to.

This Fry Box Turkey – Thanksgiving Favor post contains affiliate links. If you click on an affiliate link and purchase something, you won’t pay anything extra, but it will help support this blog. All ideas and opinions are my own.
Fry Box Turkey – Thanksgiving Favor Supplies:
- Cuttlebug
- Feather Die
- Fall Colored Paper
- Fry Boxes (I had mine on hand, a paper supply or craft store should have these, or cut your own with your Cricut)
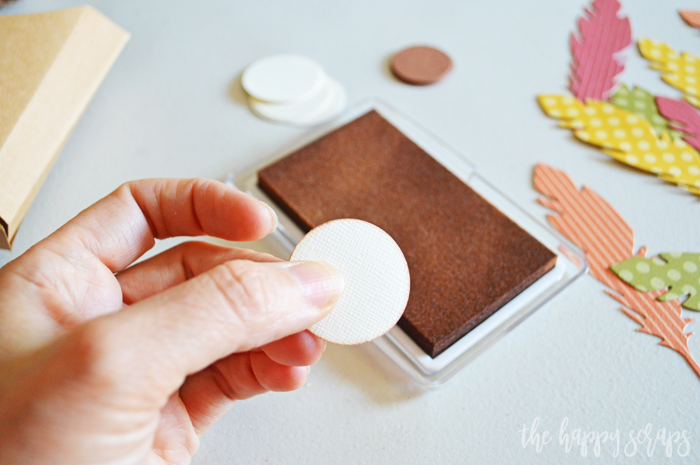
- Brown Ink Pad
- Circle Punches
- Cellophane Bag
- Jute Twine
- Adhesive

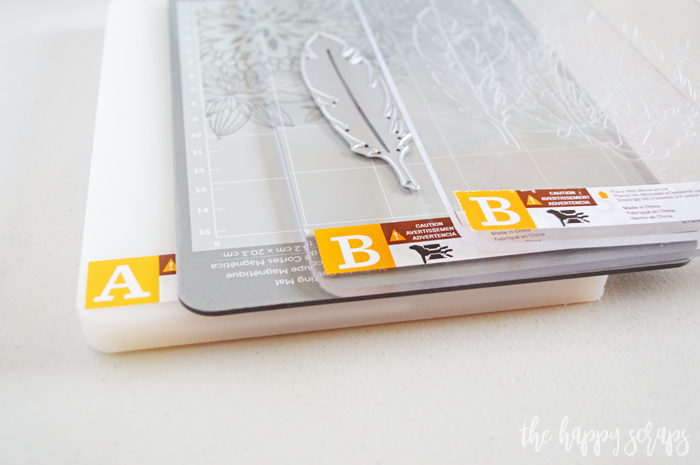
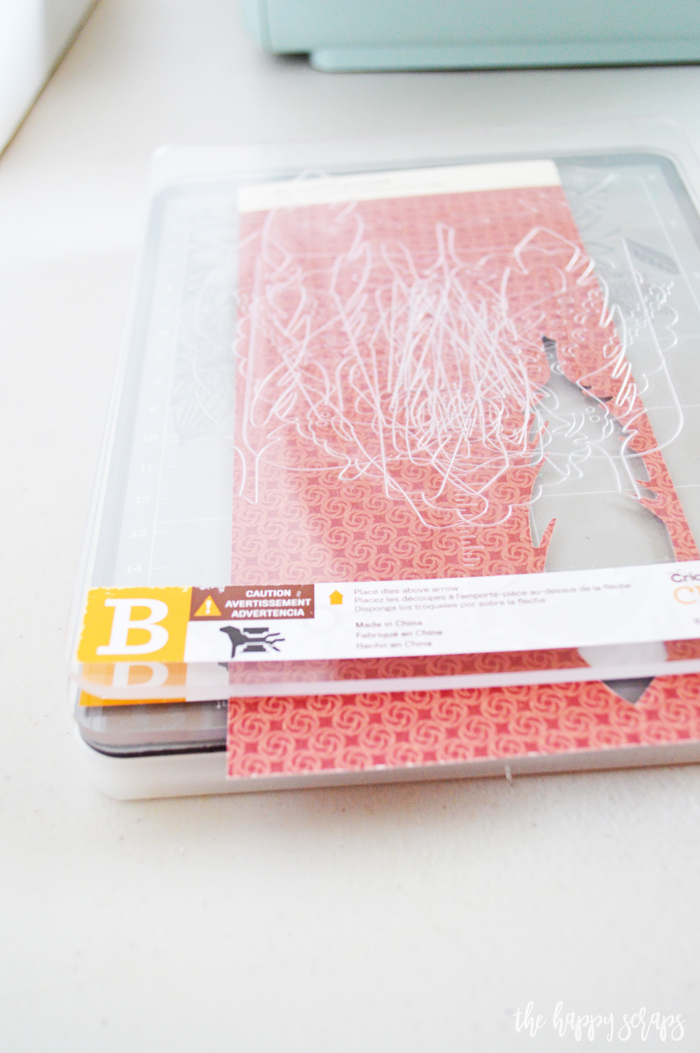
Once you get all the supplies collected, you’ll have this project put together in no time! Start by creating your sandwich for cutting the feathers. Because I was using the Magnetic Mat for the Cuttlebug, this is how the layers of my sandwich looked. The Magnetic Mat keeps the feather in place. Place the paper between the top B plate and the feather.
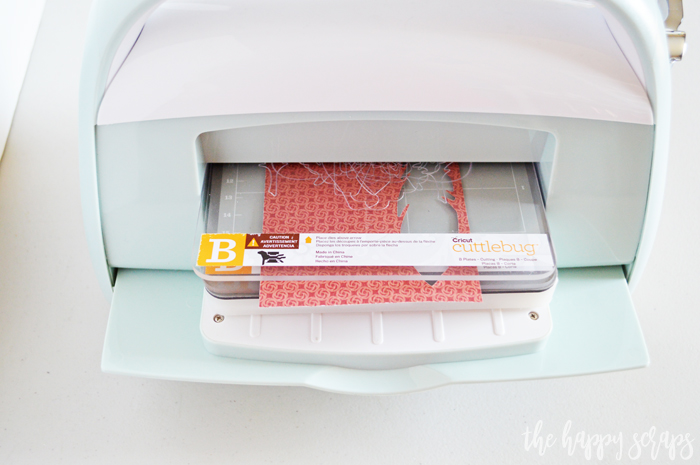
When you have your layered sandwich ready, you can roll it through the Cuttlebug.
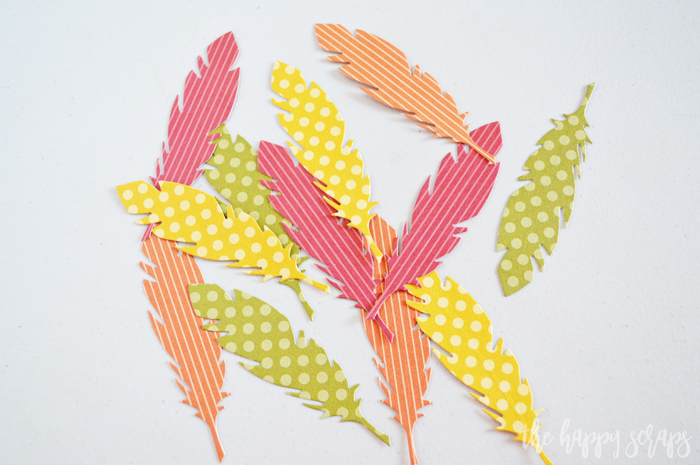
Repeat this process several times until you have the amount of feathers/colors that you need.
The feathers pop right out of the die, but if by chance they don’t, you can use a paper piercer to push it out with the small holes in the die.
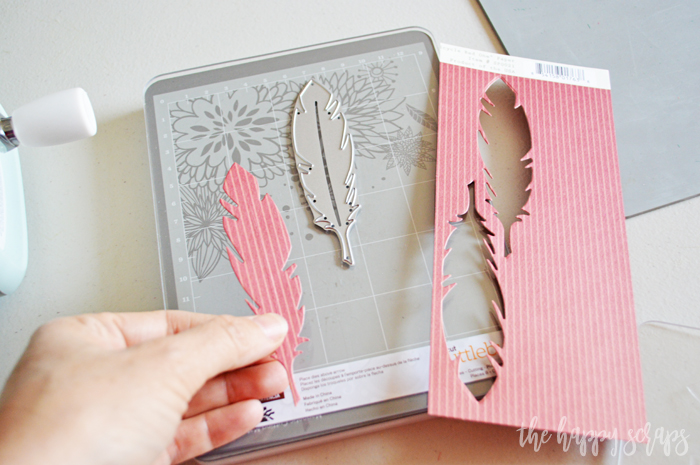
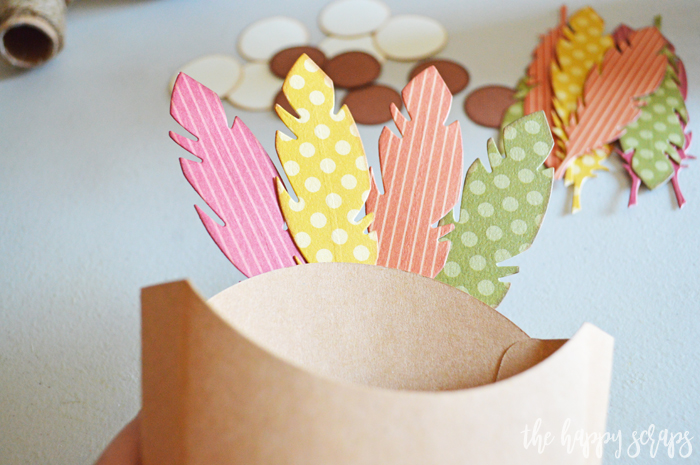
Here are all the feathers once they were cut.
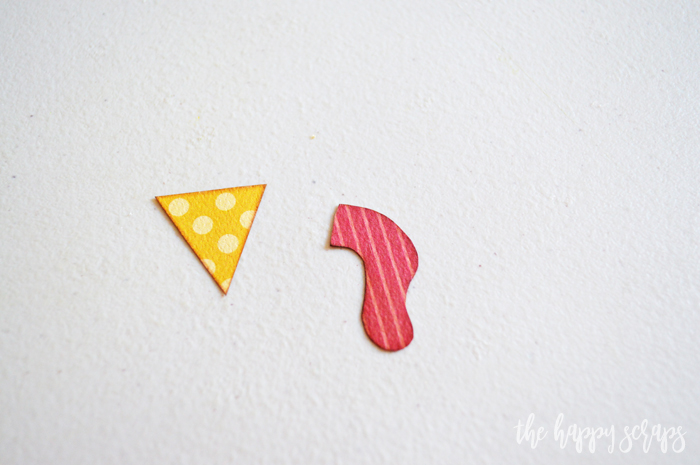
Using scissors, hand cut the beak and wattle with scraps of the feather paper.
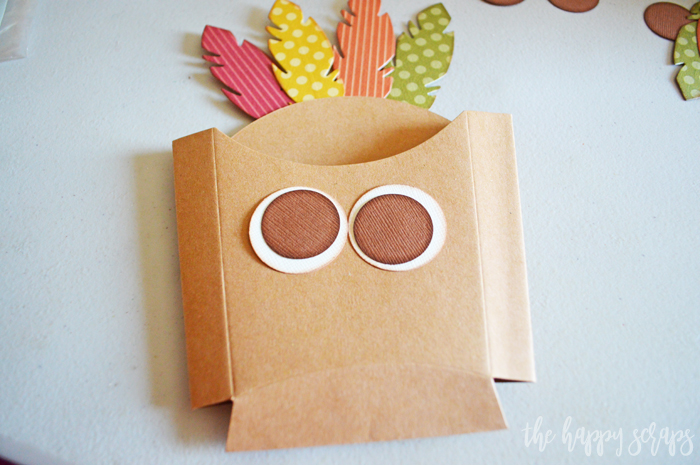
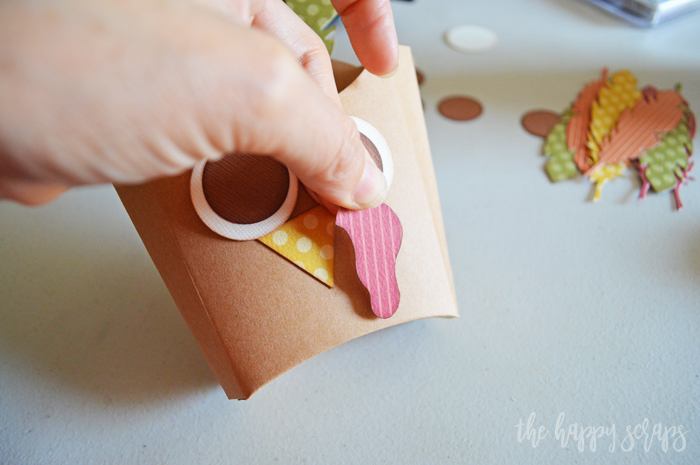
Punch out cream and brown circles to use for the eyes. Using the ink pad, ink the edges of the eyes, feathers, beak and wattle.
Using some adhesive, glue the eye layers together like shown.

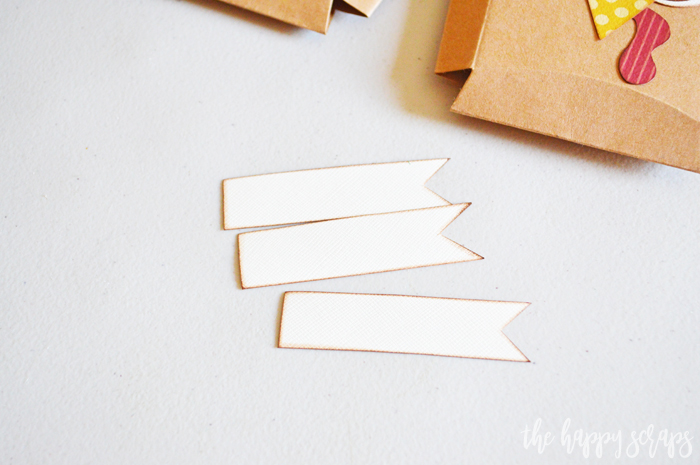
Cut out and ink the edges of the tags. Punch holes in the end of them so they can be attached with jute twine.
Using adhesive attach the feathers to the back of the fry box.
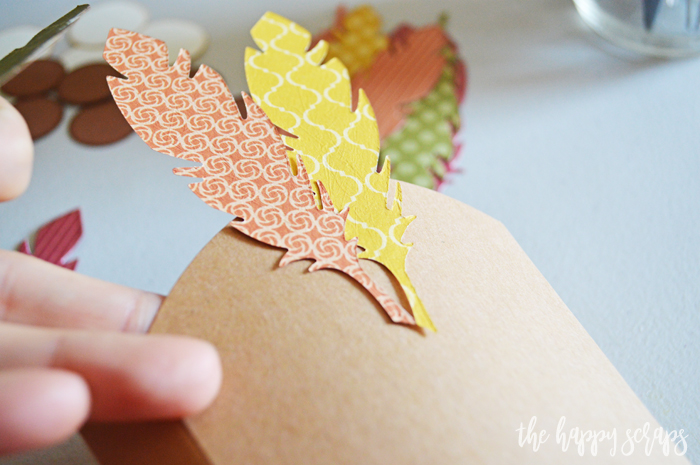
Four feathers were plenty for this size of fry box that I was using.
Attach the eyes to the front of the box.
Place the beak under the eyes.
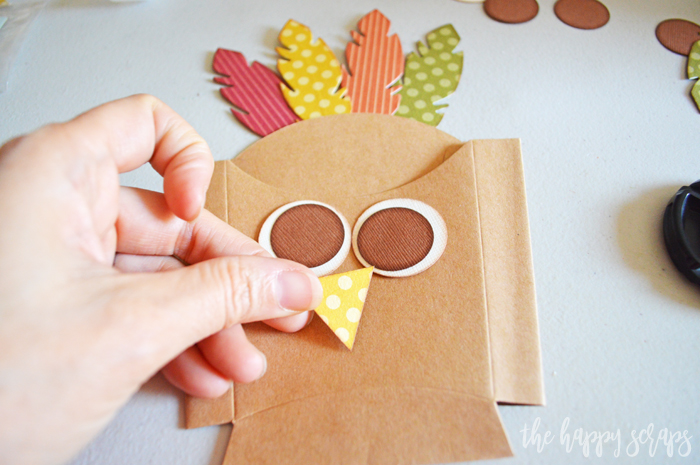
Place the wattle next to the beak.
Place a cellophane bag inside the fry box. If the bag is too tall, trim the top.

Place your cookie or whatever kind of treat you want inside the cellophane bag.

Write names on the tags, then tie them onto the top of the cellophane bag with the jute twine.

Whether you need one Fry Box Turkey – Thanksgiving Favor, or you’re whipping up a bunch of them, you can have them all made in no time! If you want them for Thanksgiving day, get them all put together now and just fill them with the treats the day before of the day of.

I used these to give to the sisters that I minister to. It is an easy and cute way to give a treat as well as let someone know that you care.

The whimsical face on the Fry Box Turkey – Thanksgiving Favor is so fun, and so easy to put together too!

Who are you planning on creating these for? Will you be using them for Thanksgiving day or using them as gifts before hand?

If you whip up this Fry Box Turkey – Thanksgiving Favor, I’d love to see it it. Tag me on Instagram @thehappyscraps! Check out my Thanksgiving Gallery for more Thanksgiving ideas.

Leave a Reply