This What I Love About the Cricut Explore Air 2 post is a sponsored conversation written by me on behalf of Cricut. The opinions and text are all mine.
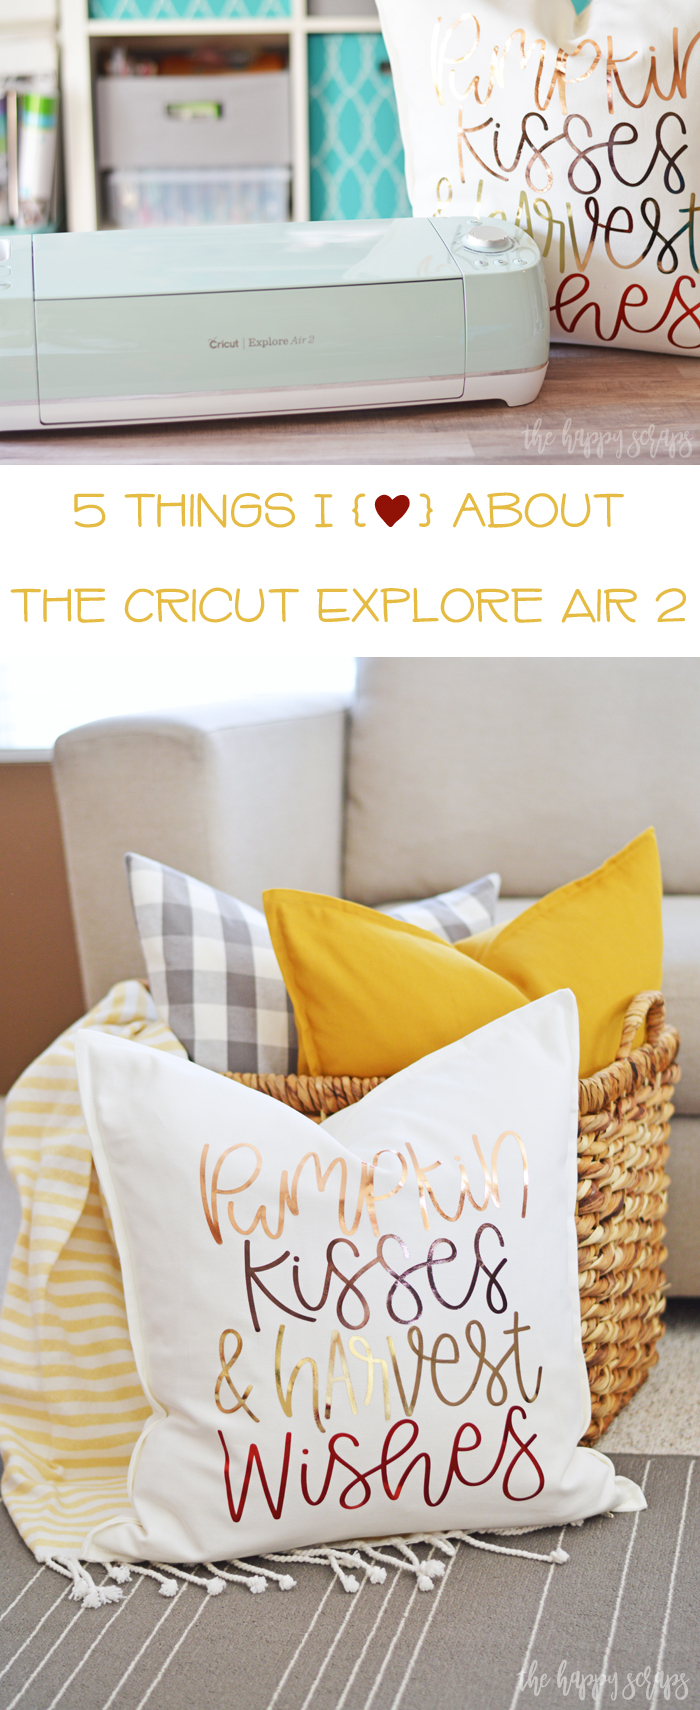
It’s no secret that I’ve loved all of my many Cricut machines through the years. Eleven plus years ago when I started this blog, the first projects I shared were made using my original, six inch wide Cricut machine. I’ve upgraded several times over the years but I haven’t ever gotten rid of the old machines. 🙂 So I still have six Cricut machines. Anyway, there are only two that I use now and I love the changes that Cricut has made with their machines over the years. Today I want to share with you What I Love About the Cricut Explore Air 2 + this fun Fall Harvest Pillow that I made using the Air 2.
This What I Love About the Cricut Explore Air 2 + Fall Harvest Pillow post is sponsored content written on behalf of Cricut. I received compensation in exchange for this post. This post contains affiliate links. If you click on an affiliate link and purchase something, you won’t pay anything extra, but it will help support this blog. All ideas and opinions are my own.
Beside the fact that this machine is completely amazing in all that it does, it can cut 100+ materials and can cut faster than other machines. I really love the speed that the Air 2 cuts and the precision of those cuts are perfect! Like I mentioned above, I’ve used several Cricut machines but the Air 2 is my favorite for getting perfect, clear cuts. It makes weeding easier to get done when the cuts are just right.
Having the storage tray on the front of the Cricut Explore Air 2 machine is great for keeping my matching mint tools in. It keeps the tools handy, right where I need them while I work on projects. I also love that I can keep my extra blades in the smaller tray next to this one.

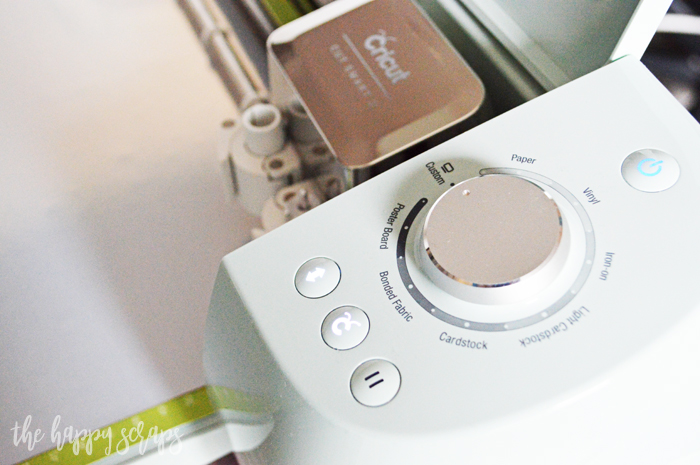
Some might call me crazy, but I actually really love the Smart Set Dial on the Cricut Explore Air 2. This is not something that is on the Maker, but I love this dial because if I’m cutting a project that uses cardstock and vinyl, I don’t have to go back to my computer to change the settings, I can just turn the dial and continue with the cutting. PLUS, if I do need to use the custom setting, it’s easy to switch it to that and then change the material setting on the computer. Either way is simple to do, but I love the option of turning that dial.
I remember back when I was using the original Cricut Explore machine, and I was always connected to the computer with a cord. Then the Bluetooth wireless technology was introduced, and oh man, I love this! I’ve had my machine downstairs and been able to send projects to cut from the computer upstairs. That isn’t how I generally do it, but I love that it’s an option. I love that I’m not climbing over extra cords as well when I am in my craft room and I am cutting.
Because I’ve been using the Cricut machines for so many years, I have a few cartridges. Some of them are linked to my account, but not all of them yet, so I love that there is a slot for those cartridges right on the Cricut Explore Air 2 machine. It makes it so easy to link them!

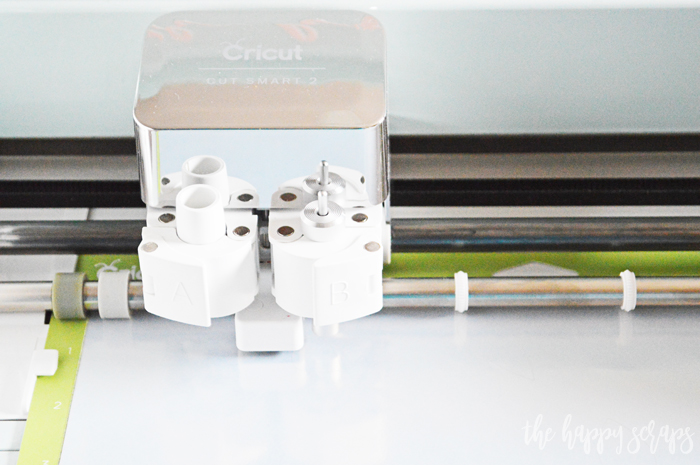
Maybe this one shouldn’t come as a surprise, but one of my favorite things about the Air 2 machine is that it can use pens, scoring stylus, etc. at the same time as the blade. No need to change the blade out for a pen. It works like a charm and the designs line up perfectly every time!
In addition to what I’ve already mentioned, I can’t go without saying that I LOVE being able to upload own images. It’s a game changer! Anymore, because I have Cricut Access, I tend to check for designs similar to what I’m looking for right in Cricut Design Space before I get to uploading a design. I love having the option to upload designs, but there are SO many amazing designs available right in Design Space. This pillow project that I’m sharing with you today is a design that is right in Design Space. So, lets’s get to the tutorial!

What I Love About the Cricut Explore Air 2 + Fall Harvest Pillow Supplies:
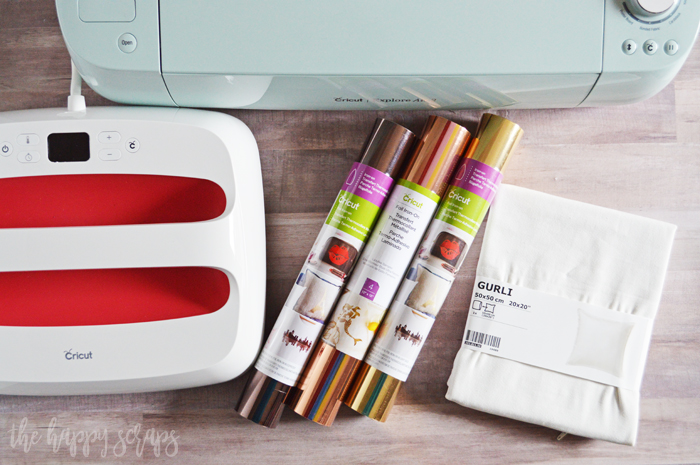
- Cricut Explore Air 2
- Foil Iron-on in Espresso, Red, Rose Gold, & Light Gold
- EasyPress 2 (10×12)
- EasyPress Mat
- Weeding Tools
- Scissors
- 20×20 Pillow Cover Blank
- Cricut Design Space Cut File
Open up the Cricut Design Space Cut File. If you’re using the same size pillow blank, then this is already sized for you.

Open your Iron-on Foil and get your colors ready.
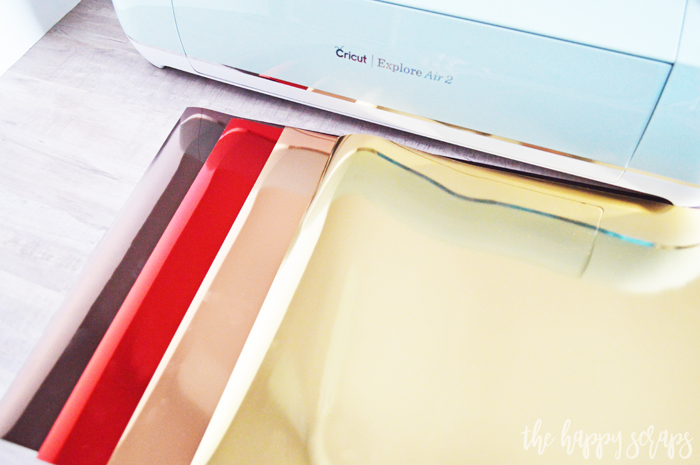
Click “Make it” in Cricut Design Space. Your designs will be separated into mats by color.

Mirror your images.

Turn the Smart Set Dial to Custom, then select Iron-On from the drop down menu.

Scroll down to find Foil Iron-On.

Now the machine is ready to cut.

Place your material, shiny side down onto your cutting mat. Insert it into the machine and cut your designs.

Using the scissors, trim your cut design away from the unused portion of the foil iron-on.

Grab your weeding hook and weed the designs.

When I got to this point, I was getting so excited about this finished pillow! The shine of the foil iron-on adds such a fun design element to any project and look how clean those cuts are from the Cricut Explore Air 2.

Using the scissors, trim the edges of the cut designs so all of the layers can be pressed at the same time.

Place all of the pieces onto the pillow, making sure that the Foil Iron-on isn’t underneath any of the carrier sheets for each layer.

Using heat resistant tape is optional, but I used a little bit to help keep each layer in place on the pillow cover.

Once you have your design in place, get your EasyPress 2 ready. I love being able to look up the settings with the Cricut Heat Guide.

Once you selected your materials, it tells you the temperatures, time and whether to warm or cold peel.

Press your design.
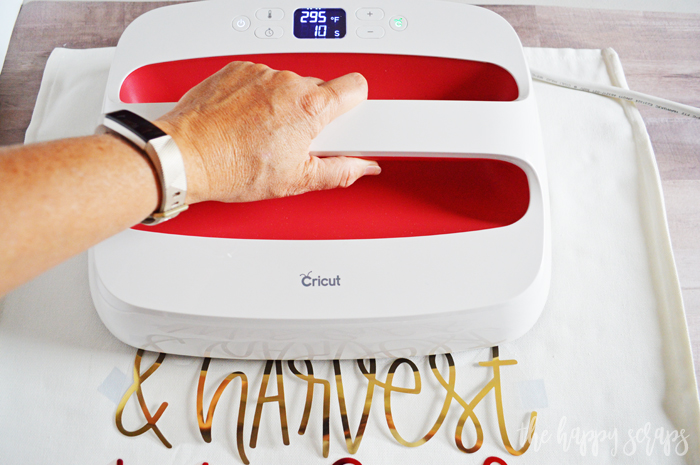
Because foil iron-on requires a cold peel, once pressed, let it cool.

Carefully peel the carrier sheets up once it’s all cooled.
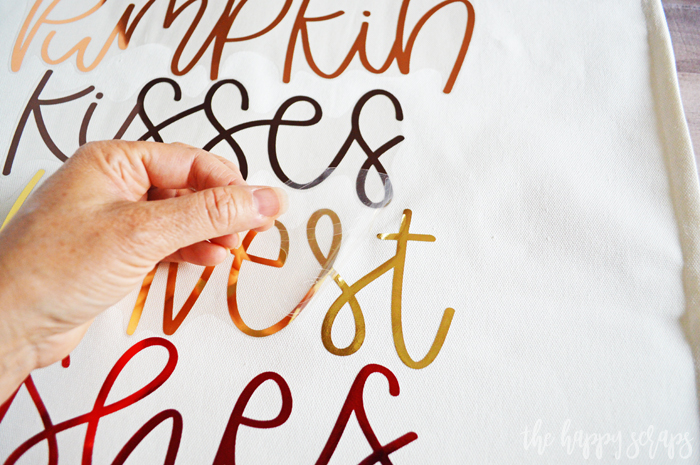
Isn’t this such a fun design? It’s so fun to use multiple colors for a project like this one! All there is left to do now is put your pillow form in it.
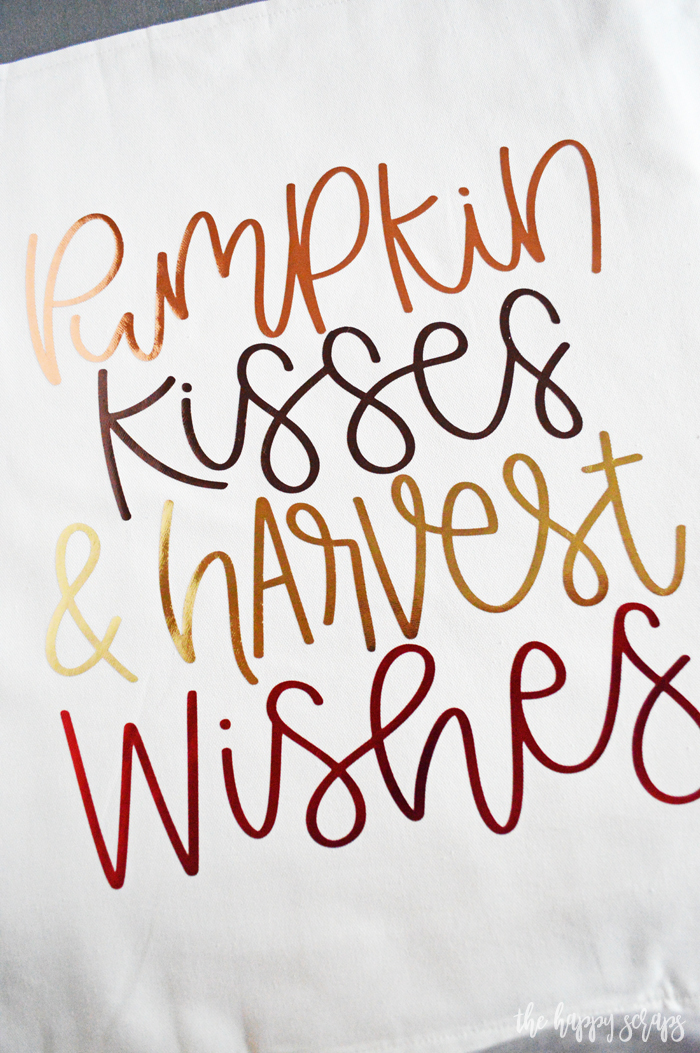
Do you see that shimmer?! So perfect, right?
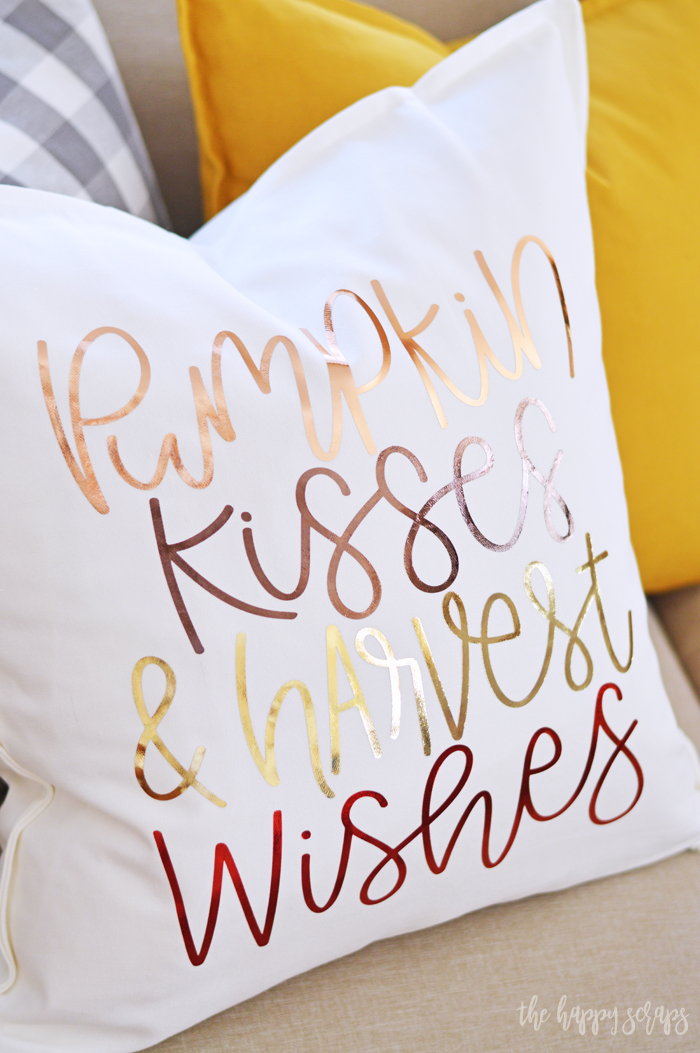
This color combination of the Foil Iron-On are perfect for this Fall Harvest Pillow and the Cricut Explore Air 2 is the perfect machine to use for creating this.
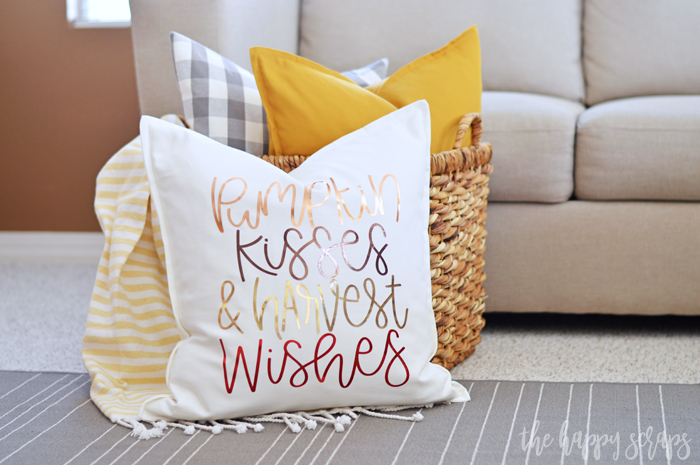
Do you have your home all decked out for Fall? This Fall Harvest Pillow is the perfect addition that can be used from September through November.
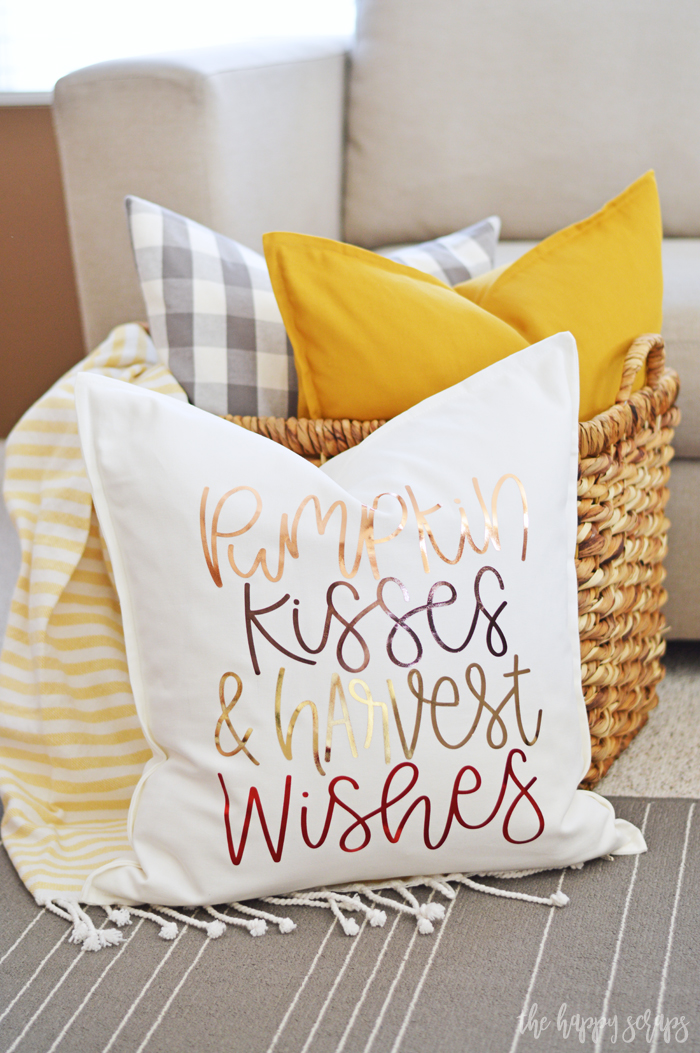
Pull out your Cricut Explore Air 2 machine plus a few supplies and you’ll have this fun Fall Harvest Pillow put together in no time!

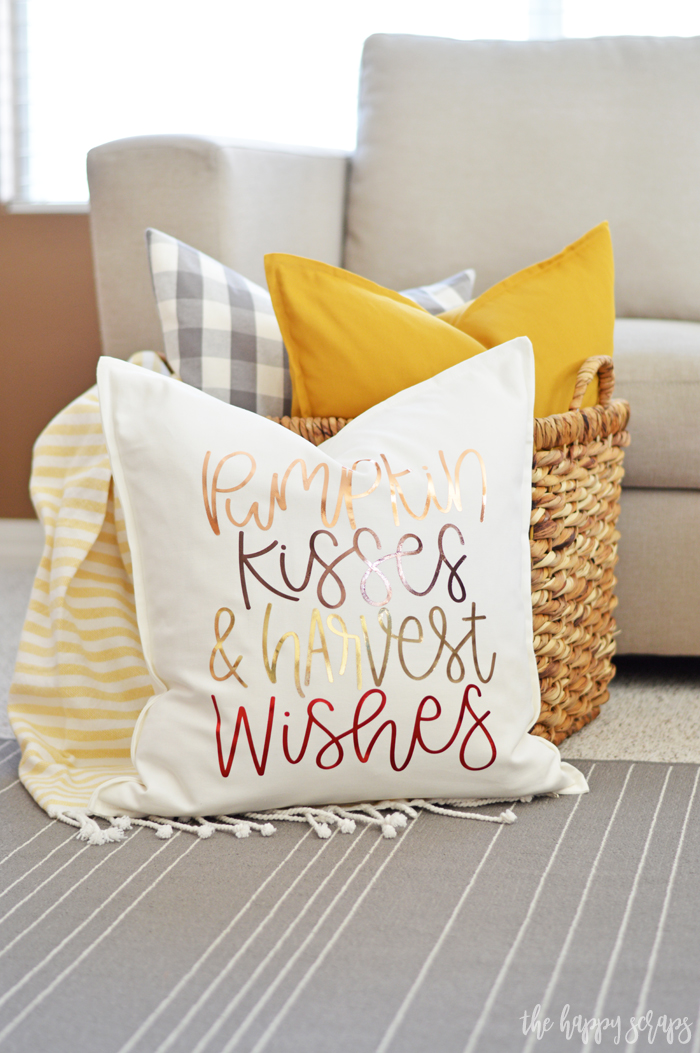
If you’re looking for more fun projects that you can create with your Cricut Explore Air 2, then check out my Cricut Gallery here.

Leave a Reply