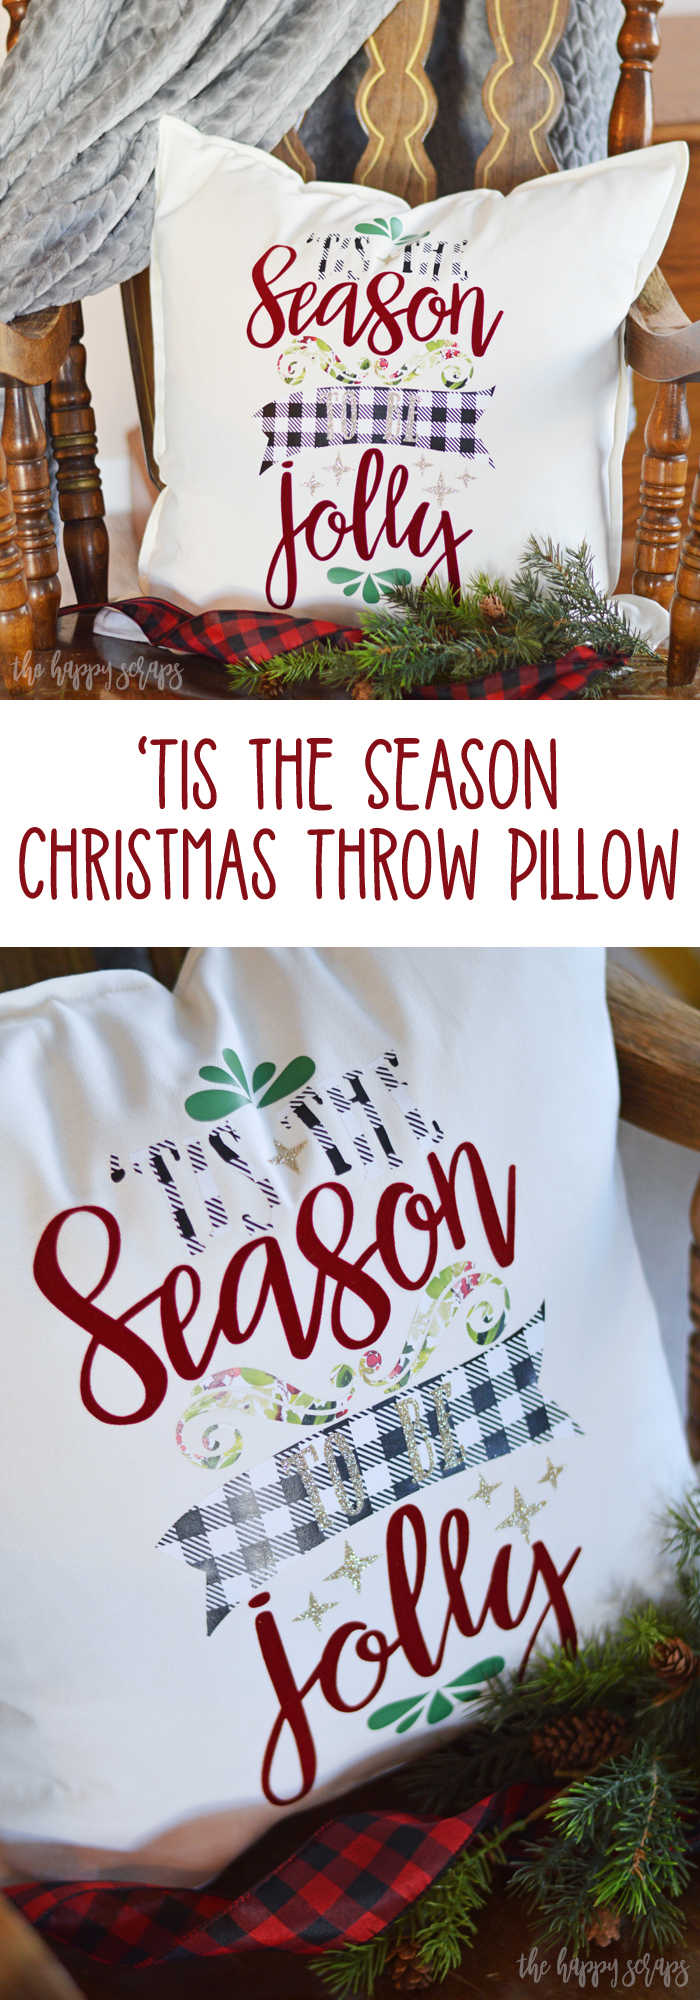
Have you started decorating for Christmas yet? I have not, but I’d be lying if I said I didn’t want to have it up. I’ve always been one to wait until after Thanksgiving, this year is different and I don’t know why. I was in stores the end of September and seeing Christmas and Fall, and I was so not excited about Fall decor, but Christmas, I was loving it and excited about it then. Maybe it’s because we bought a new Christmas tree after the season (discount!) last year and I’m excited to use it this year. I picked up another Christmas tree last week that was a great deal, so I’ve got all kinds of trees waiting for me! I can’t wait to get them all up! I’ll wait until at least the week before Thanksgiving for sure, but it may not happen until after. I need my husbands help to get all of the Christmas stuff out, and while I’m sure he would do it whenever I asked, I don’t think he would love having it all up very soon. 🙂 ANYWAY, I did put this fun ‘Tis the Season Christmas Throw Pillow together yesterday, and while it totally has me excited for Christmas, it really is the only thing that is out. Let me show you how I put it together!
This ‘Tis the Season Christmas Throw Pillow post is sponsored content written on behalf of Expressions Vinyl. I received product in exchange for this post. This post contains affiliate links. If you click on an affiliate link and purchase something, you won’t pay anything extra, but it will help support this blog. All ideas and opinions are my own.
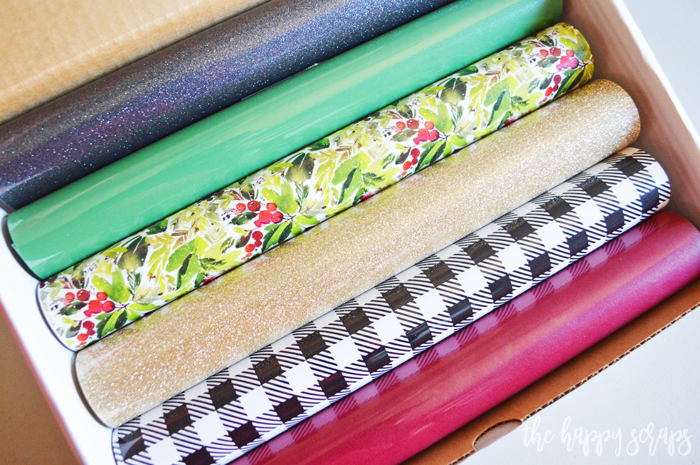
This all started with the fun November Mystery Box from Expressions Vinyl. They sent this box to me and I knew as soon as I opened it that there would have to be a Christmas pillow made from the fun heat transfer vinyl included in the box. This is the top layer in the box.
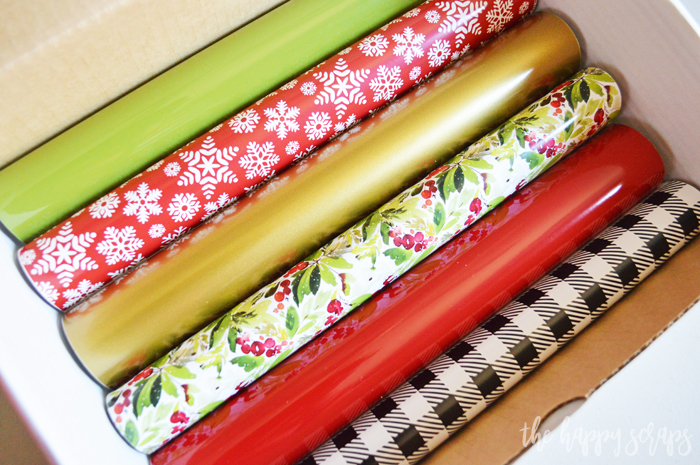
Then all this amazing adhesive vinyl is in the bottom. I love all the patterns and colors. I can’t wait to make something with all of these! Pretty sure I’ll be making some Christmas Ornaments.
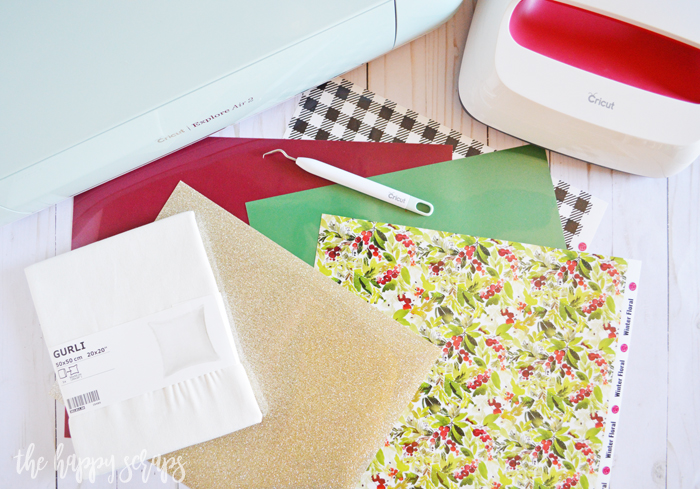
‘Tis the Season Christmas Throw Pillow Supplies:
- November Mystery Box OR
- EasyWeed Cadette Green
- Glitter HTV in Champagne
- Red Stripflock Pro
- Large Black & White Buffalo Plaid HTV
- Winter Floral HTV
- Cricut Explore Air 2 or Cricut Maker
- EasyPress
- EasyPress Mat
- Weeding Tools
- Pillow Cover Blank
- Design Space Cut File
When this mystery box arrived, I knew that I wanted to create a fun holiday pillow, I just wasn’t sure what I wanted on it. I searched through Cricut Design Space and found this fun file that is included in Cricut Access. I modified the colors a little bit to see if it would work like I wanted it to.
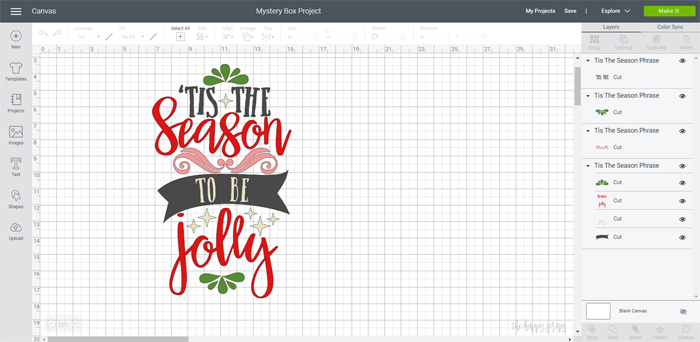
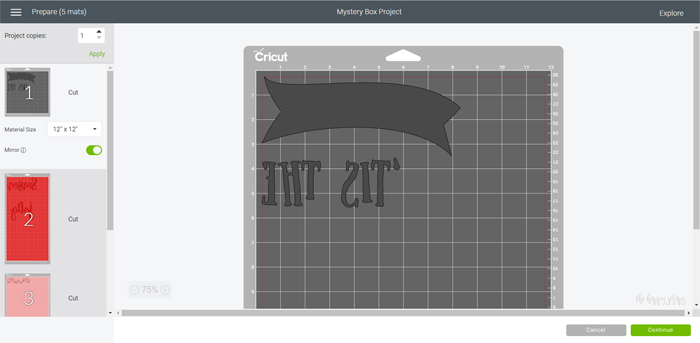
Once the design was ready to be cut, I clicked “Make it” and then made sure to mirror everything on the mats.
Cutting the HTV
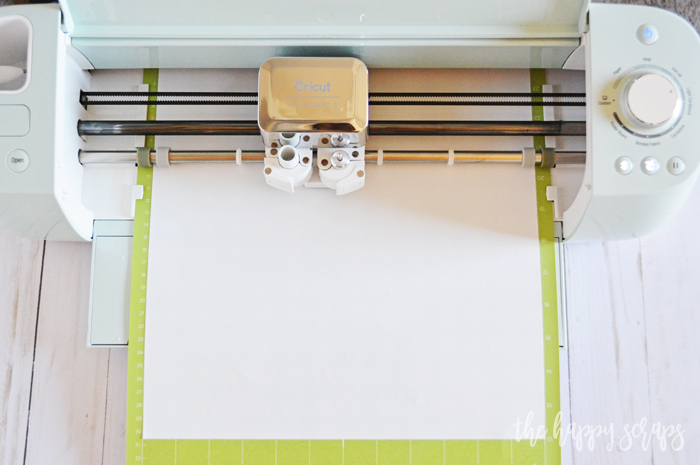
When your machine indicates that it is ready, load your mat with the vinyl into the machine to start cutting.
Once all of the designs are cut, weed the designs. (I cut the stripflock too deep, making it cut all the way trough the carrier sheet. It still had the carrier sheet on the front of it, so I could still use it, but I wouldn’t recommend cutting all the way through.)

Assembling the Design on the Pillow Cover
Because of all the different pieces, it can be a little bit tricky to find where the design needs to go. Place all of the layers onto the pillow, and determine where each one should sit, then figure out which layer to apply first. I started with this layer.

Continue to build onto each layer, making sure to remove the carrier sheets between each one. Also, always make sure that you’re covering the design with parchment, teflon sheet, or some kind of protective material so the layers already on the pillow cover don’t melt.
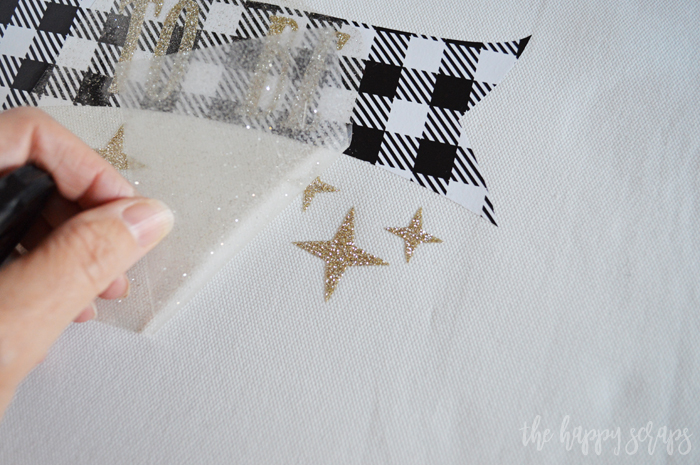
Keep adding more layers.
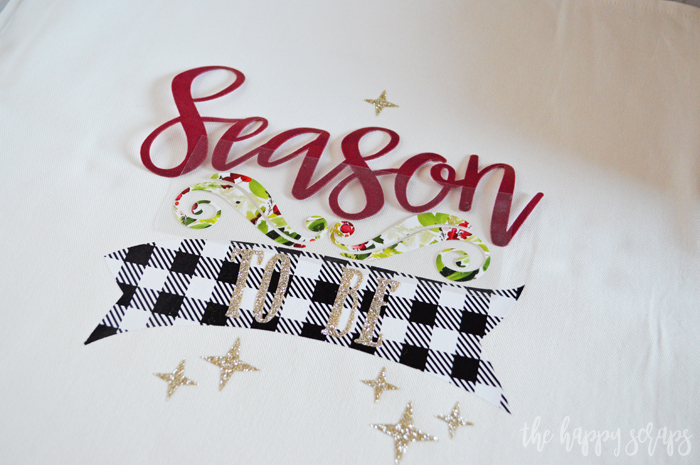
Some of the layers are cool peel, so make sure the layers cool if they need to before the carrier sheet is pulled off of them.
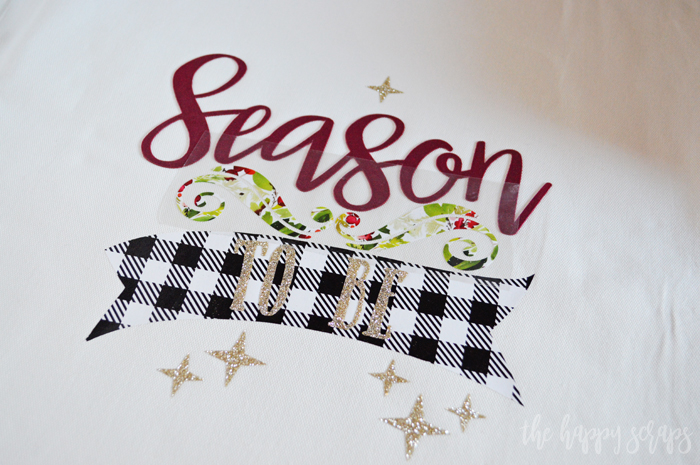
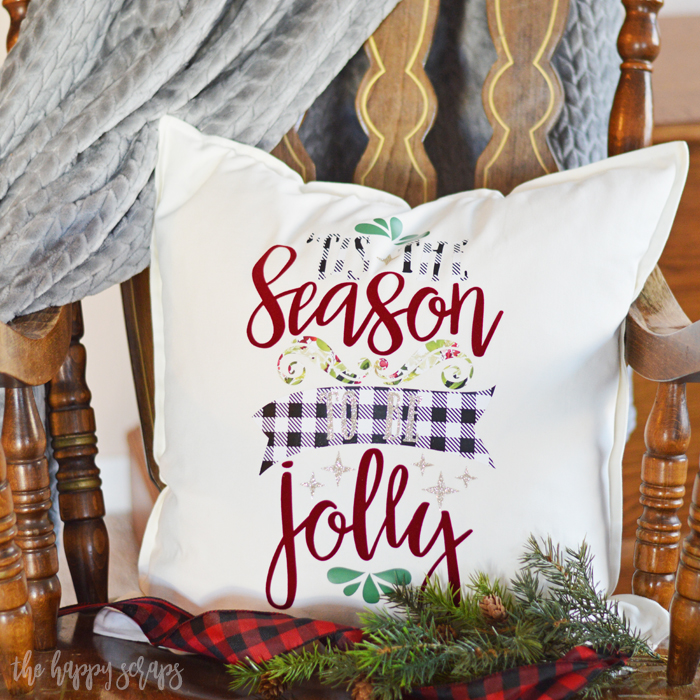
Pretty quick, you’ll have all of the layers applied and you’ll have this fun ‘Tis the Season Christmas Throw Pillow ready for the Christmas season!

While this ‘Tis the Season Christmas Throw Pillow has so many different layers of HTV, it does take time to get it all together, but it really doesn’t take that long. Once I had it done and I looked at it, the only thing I think I would have done differently is add something darker behind the “‘Tis the” so that it could be read a little better.

I adore the way this turned out and the combination of everything is perfect. The November Mystery Box was amazing! The Mystery Boxes are a great deal too for all you get in them. So next time there is a Mystery Box available, you should totally grab one, you won’t regret it! I recommend the combo box, it is the best deal!
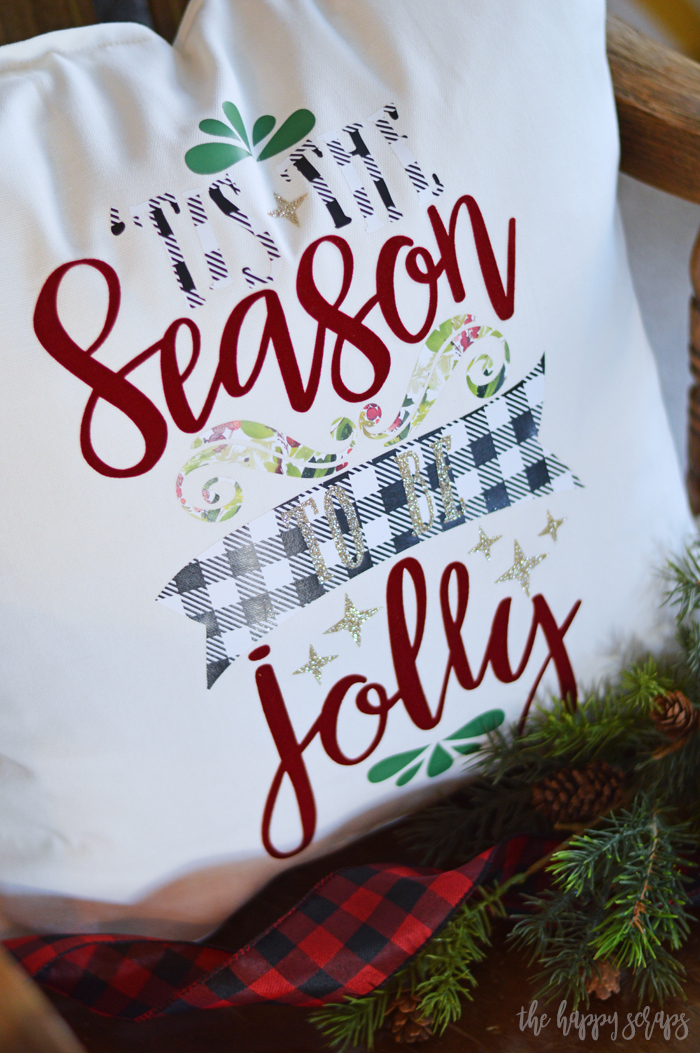
And after making this pillow, it totally makes me want to get all the decorations out for Christmas, but I’m being patient and will wait a little while longer. 😉
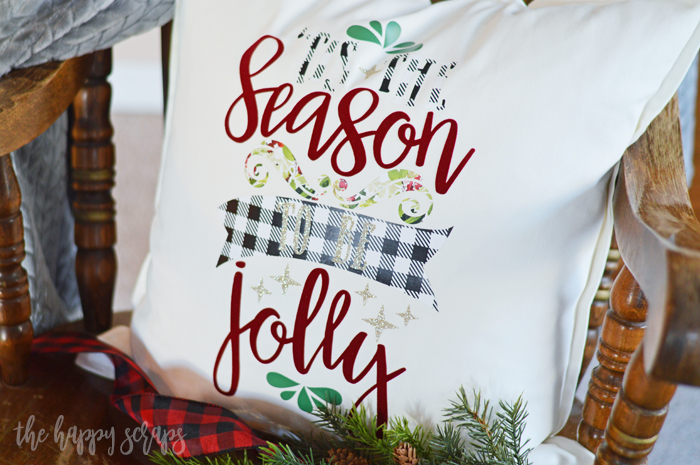
Do you have the perfect place for this fun pillow?
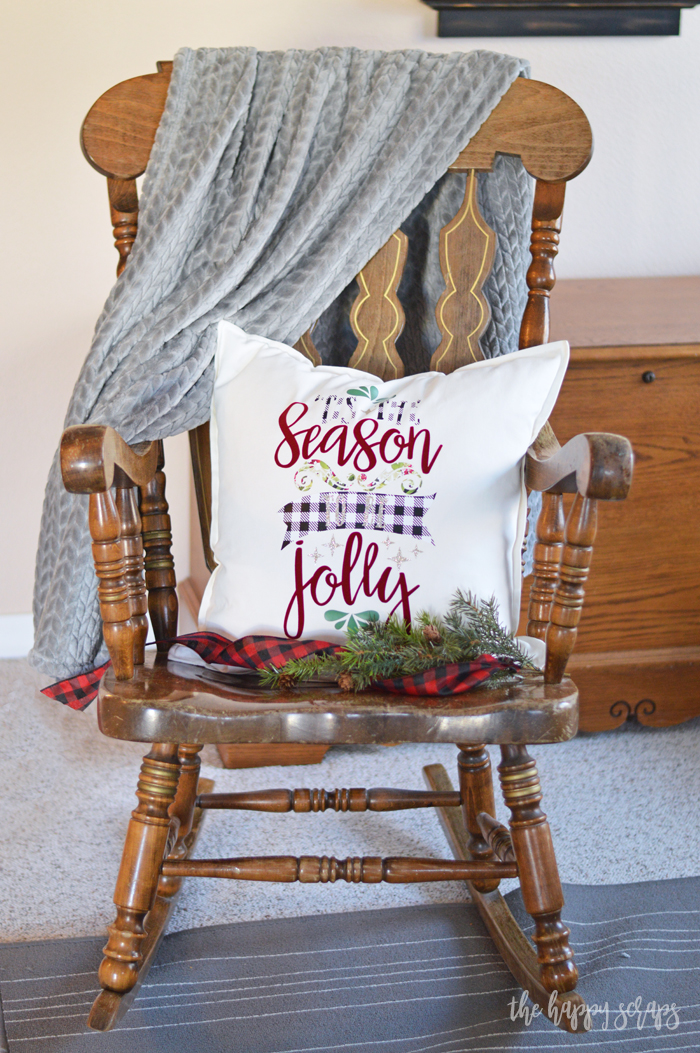
If you create this ‘Tis the Season Christmas Throw Pillow for yourself, be sure to share over on Instagram and tag me @thehappyscraps.

Or, do you have some other fun ideas to use this Mystery Box for?
If you enjoyed this tutorial, then be sure to check out all of my projects using Expressions Vinyl.

Leave a Reply