This Personalized Christmas Pajamas with the Cricut Explore Air 2 post is a sponsored conversation written by me on behalf of Cricut. The opinions and text are all mine.
Growing up, receiving Christmas pajamas was not something that my family did. When my husband and I got married, I learned that his family had the tradition of receiving Christmas pajamas on Christmas Eve. This is one of the traditions that we have done with our own kids as well and I think it is such a fun one. For years, I’ve wanted to create pajamas that were more personalized, but it just didn’t ever happen, until now. I’m excited to be able to give these Personalized Christmas Pajamas to my family this year, and today I’m going to share with you just how easy it is to do!
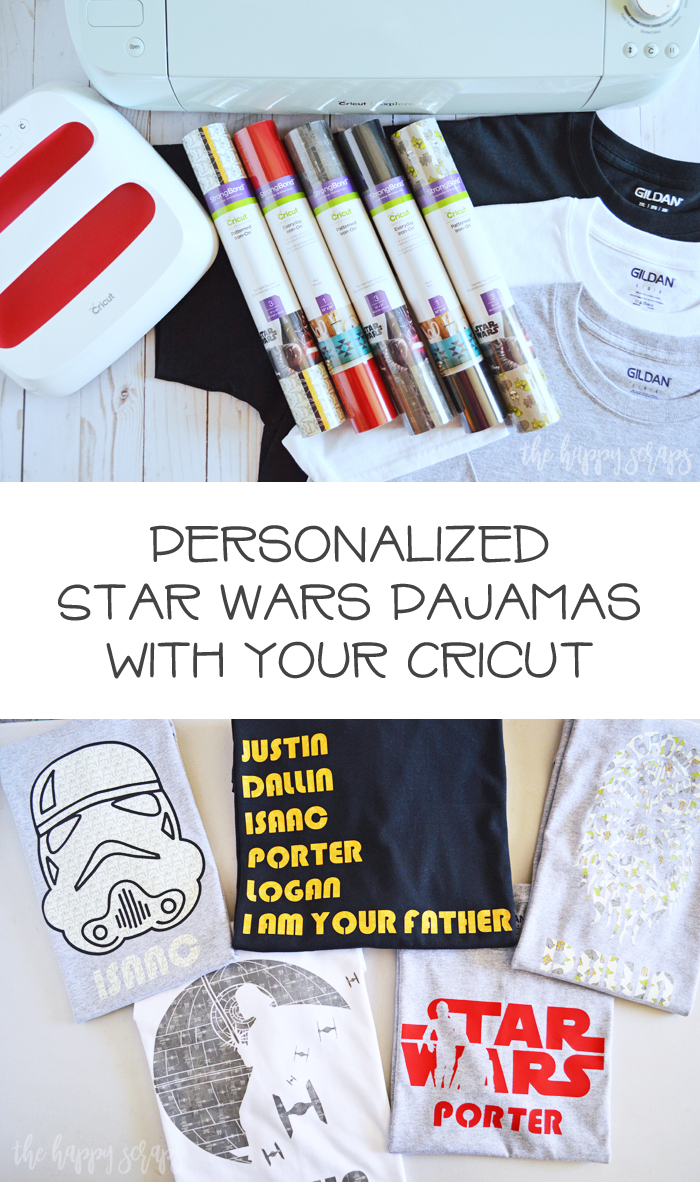
This Personalized Christmas Pajamas with the Cricut Explore Air 2 post is sponsored content written on behalf of Cricut. I received compensation in exchange for this post. This post contains affiliate links. If you click on an affiliate link and purchase something, you won’t pay anything extra, but it will help support this blog. All ideas and opinions are my own.
Personalized Christmas Pajamas Supplies:
- Cricut Explore Air 2 or Cricut Maker
- Cricut EasyPress 2
- Cricut EasyPress Mat
- Star Wars Patterned Iron-on Vinyl
- Black & Red Everyday Iron-on Vinyl
- Weeding Tools
- Blank T-shirts
- Cricut Design Space Cut File

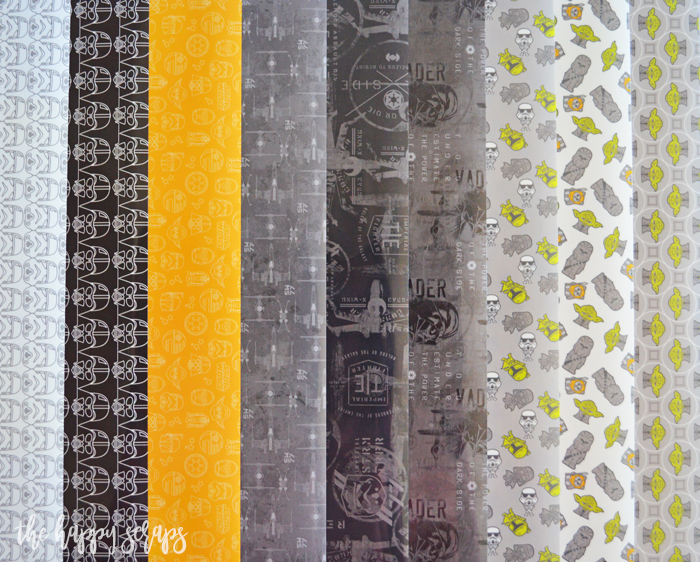
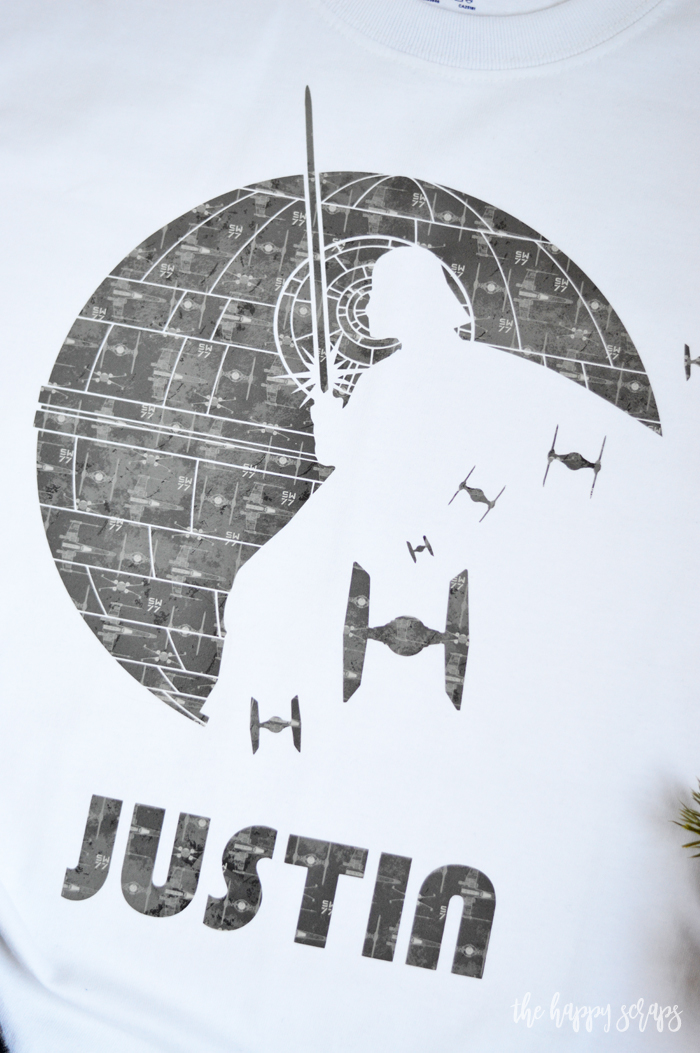
One thing about my boys is that they love Star Wars. I knew that they would love to have some Personalized Christmas Pajamas that included Star Wars, so I knew that the patterned iron-on vinyl from Cricut would be perfect. Once I had the designs ready, I pulled out the patterned iron-on vinyl to see the patterns better and decide for sure which ones I would be using.
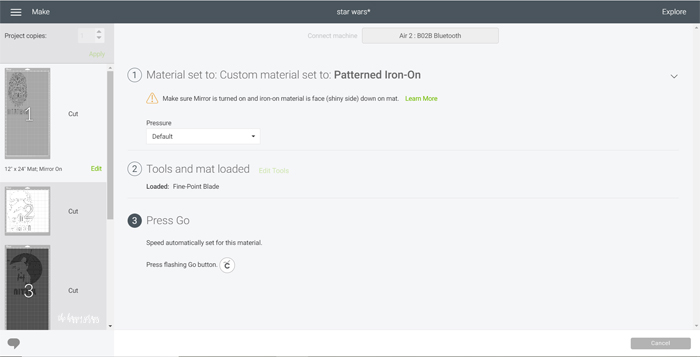
Click the link above to load the design from Design Space. You’ll need to edit the designs so they have the names you’d like on them. Once the designs are ready, click “Make it”. Mirror all of the images, turn the Smart Set Dial on the Explore Air 2 to Custom and select Patterned Iron-on from the drop down menu.
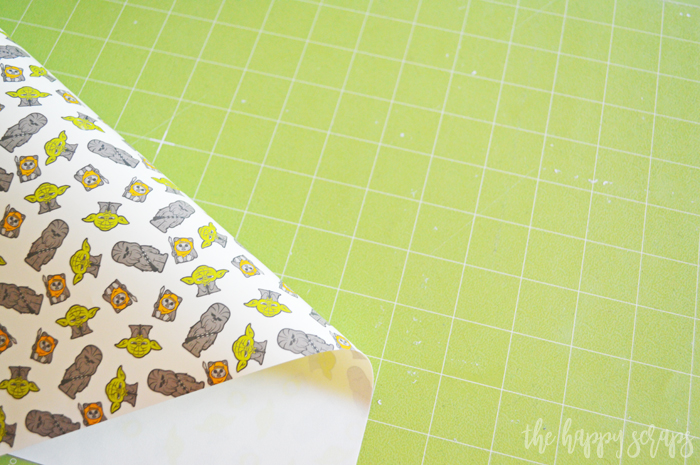
Place the patterned iron-on right side down on the mat.
When the Explore Air 2 indicates it is ready, by the flashing arrow light, load the mat and cut all of the designs.

Use the weeding tools to weed each of the designs.
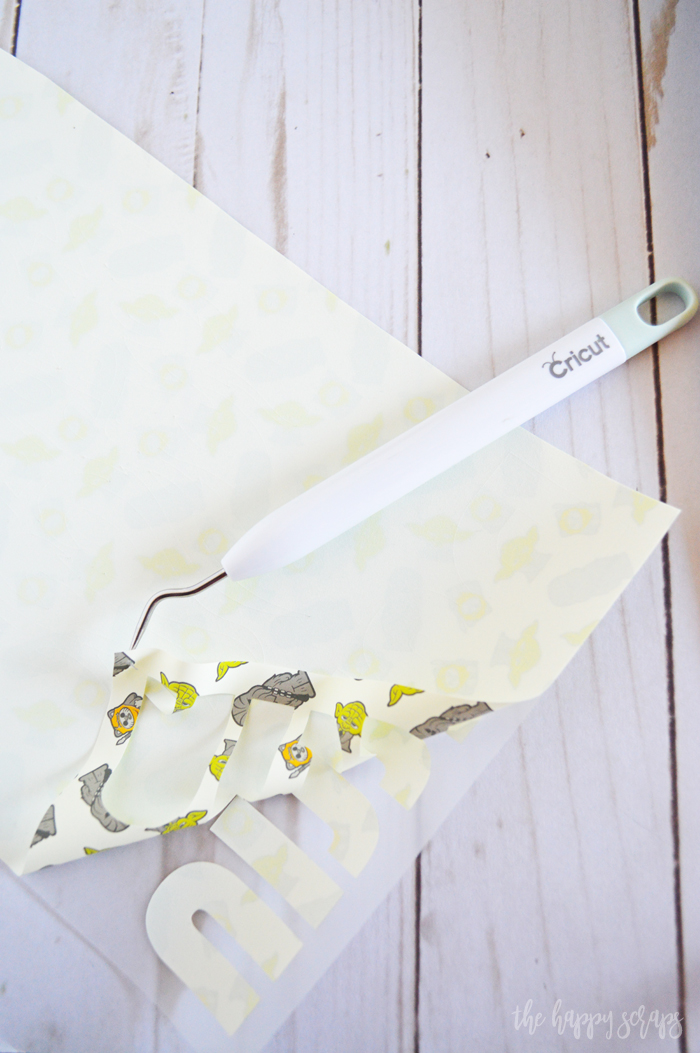
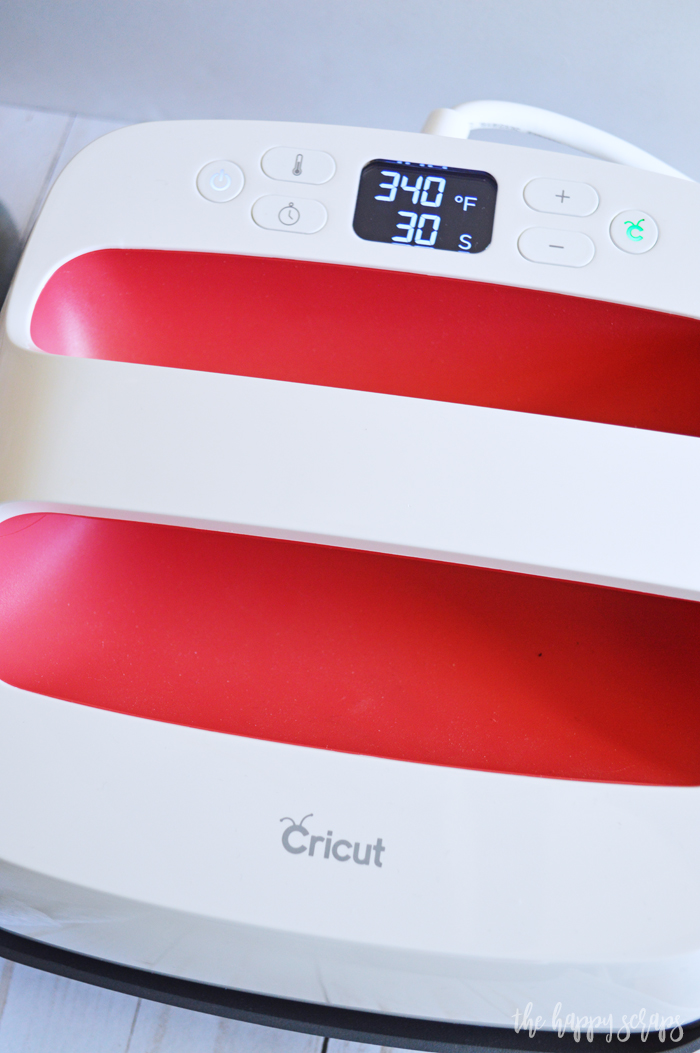
Preheat the EasyPress 2. Check the Heat Guide to see what settings you need to use.
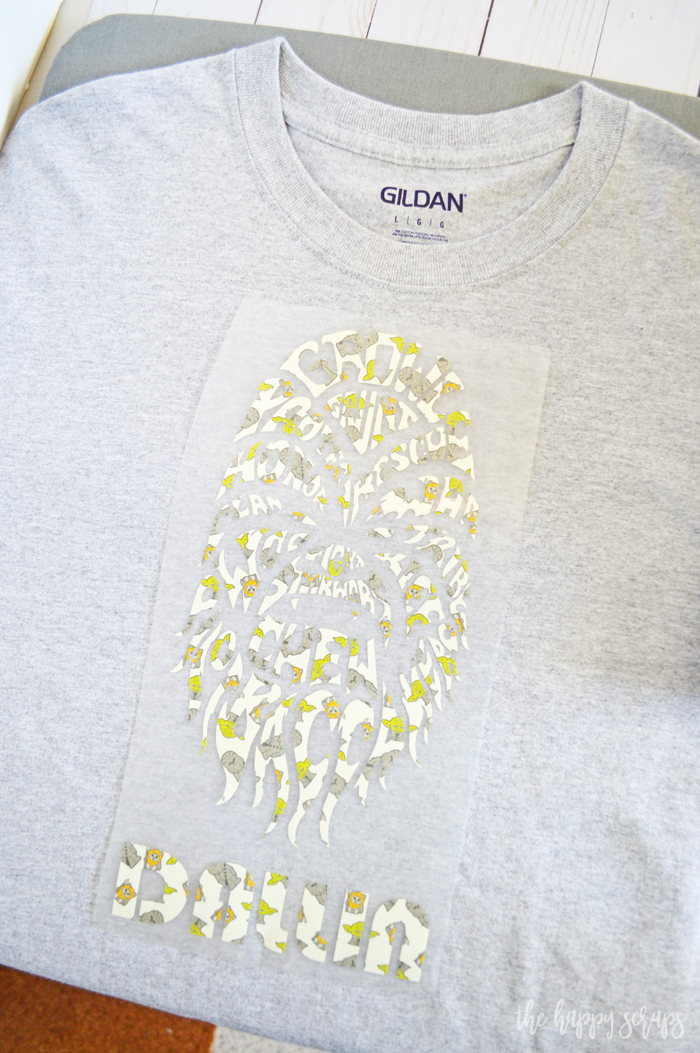
Place your design onto the shirt where you’d like it.
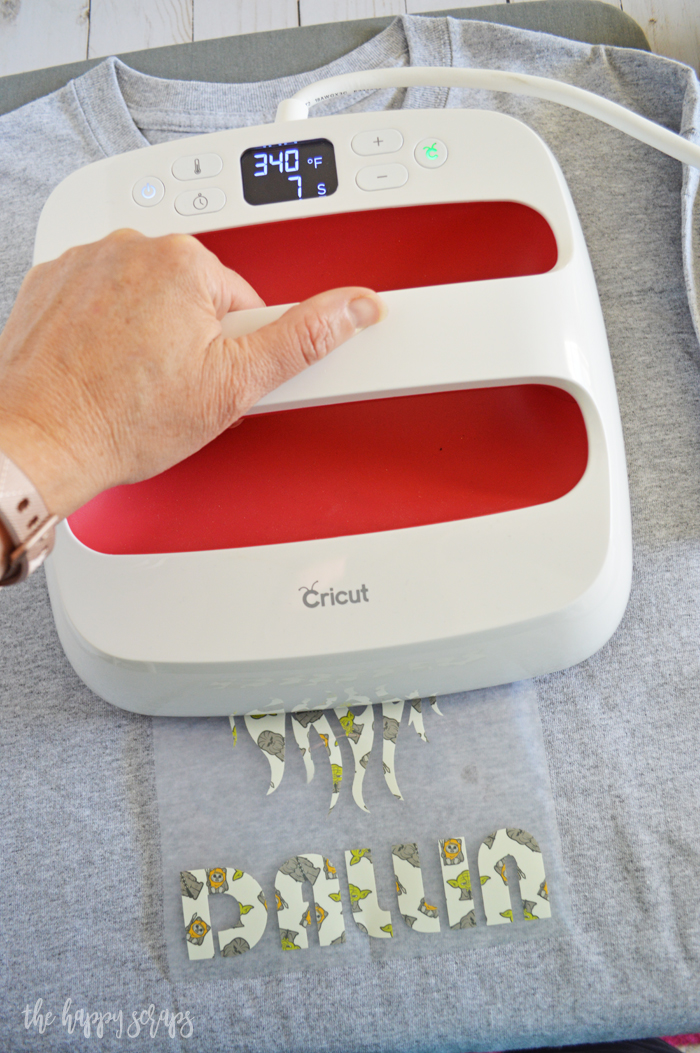
Once the EasyPress is ready, press the design. Depending on the size of the design and the size of the EasyPress 2 you’re using, you may need to press more than once.
If you’re using patterned iron-on, then you need to let it cool before you peel the carrier sheet off.
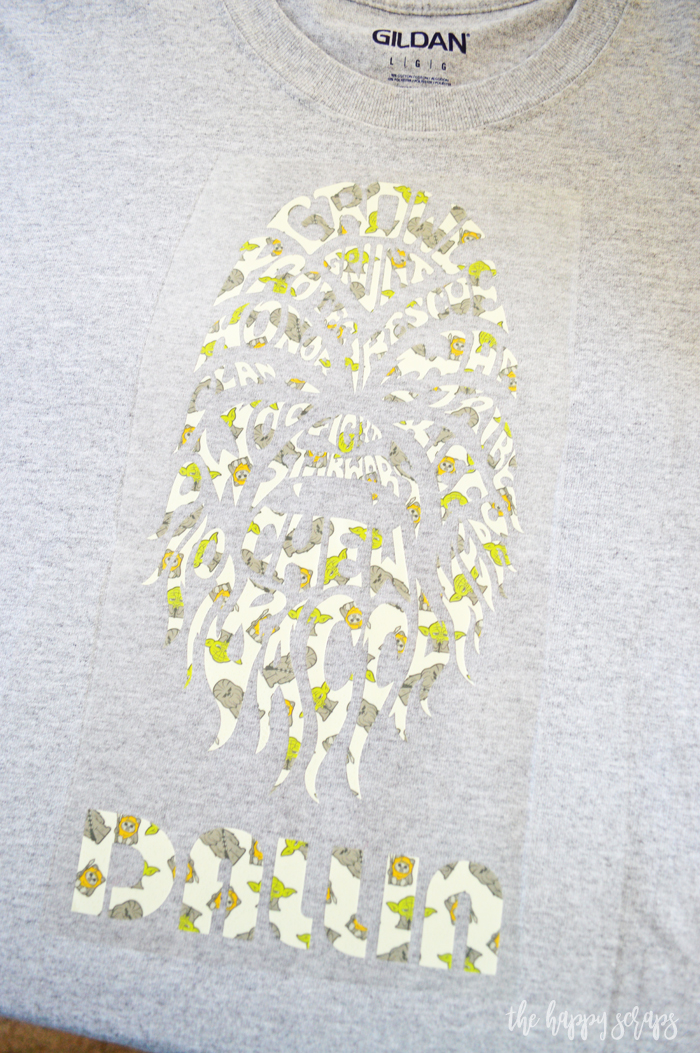
Once it has cooled, pull the carrier sheet off carefully.

Pick up some coordinating pants to go with your Personalized Christmas Shirts, or you could find blank pajama pants and use some fun iron-on for those as well. The possibilities are endless when it comes to Personalized Christmas Pajamas!
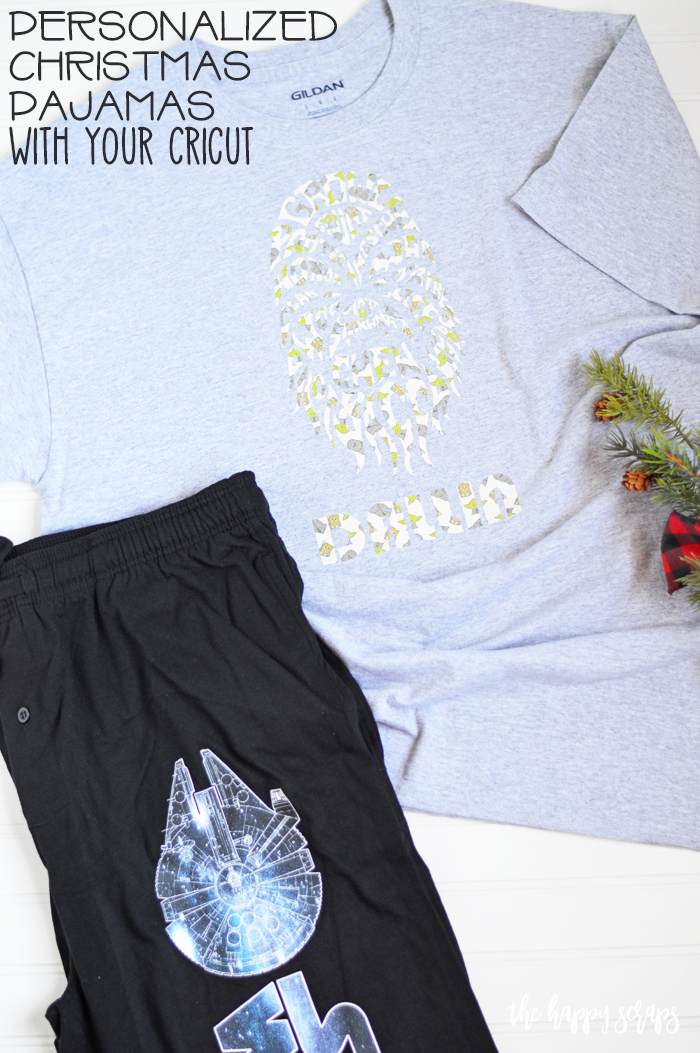
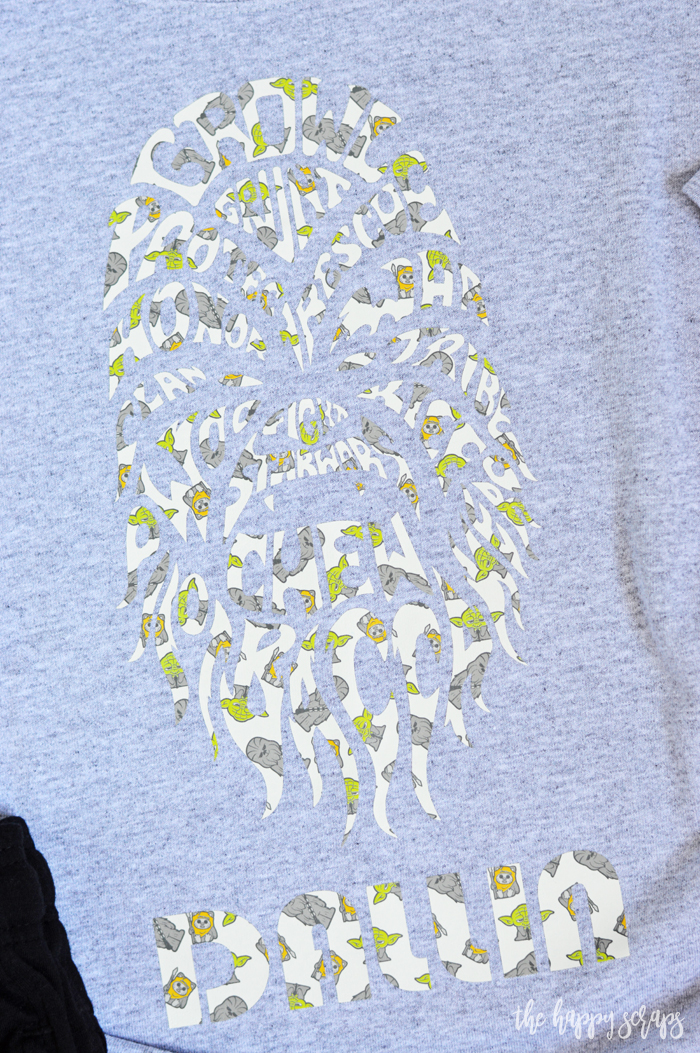
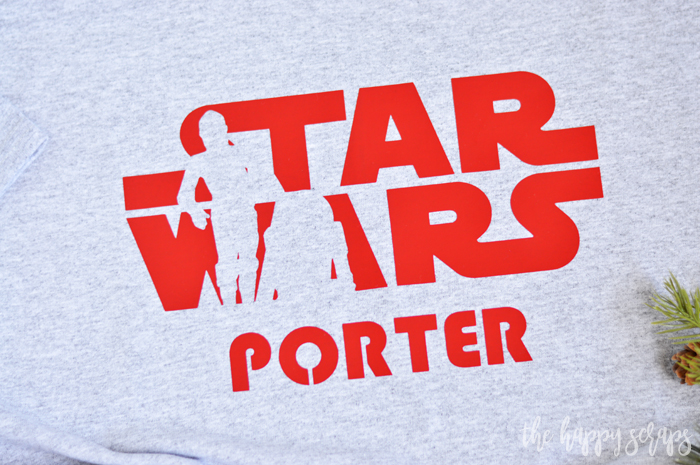
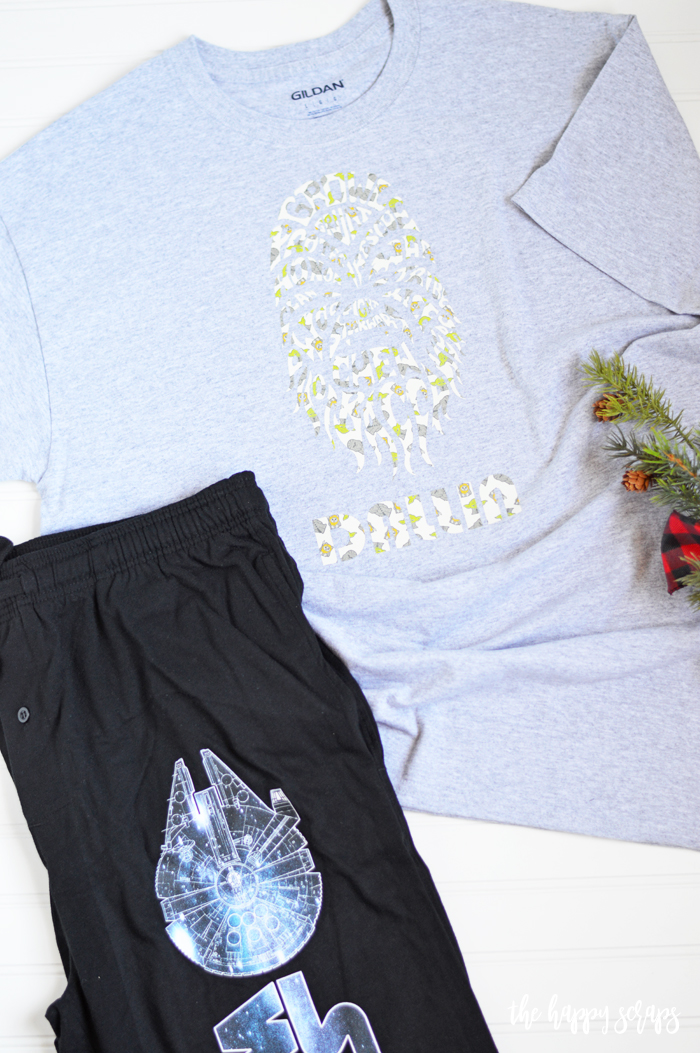
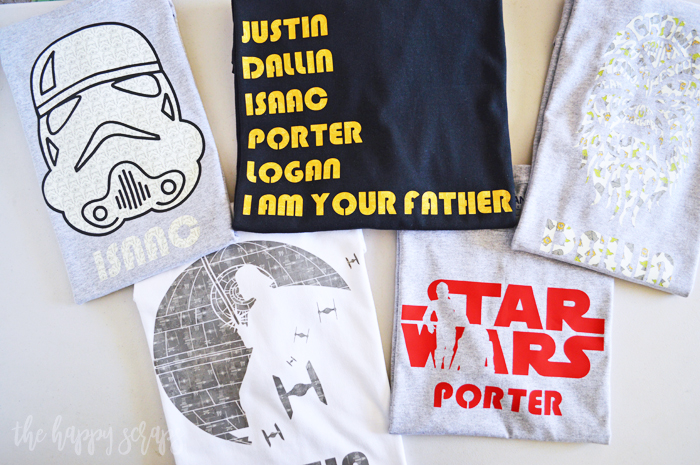
This is such a fun pattern with all of the little guys on it. I thought this design of the Chewbacca made out of words was so cool. If I were to do it again, I’d probably use a darker colored shirt. I love having the names of each of my boys on these shirts. It will make it easier to remember which one belongs to who when it comes to doing the laundry too! 🙂
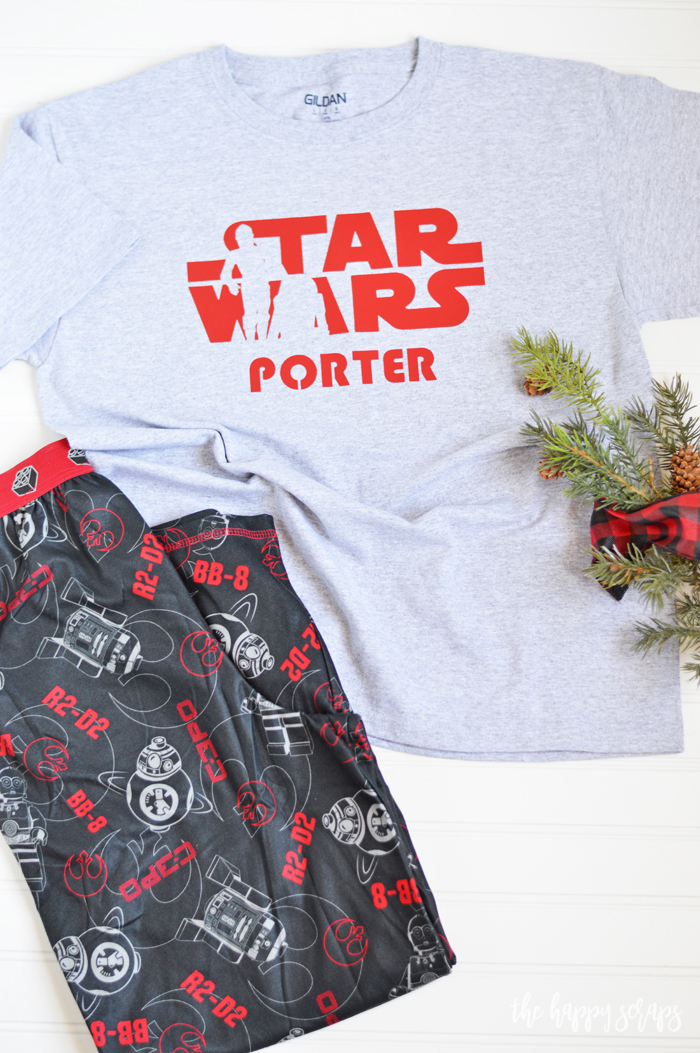
I adore the way this one turned out. It’s so perfect and matches so well with the pants I found!
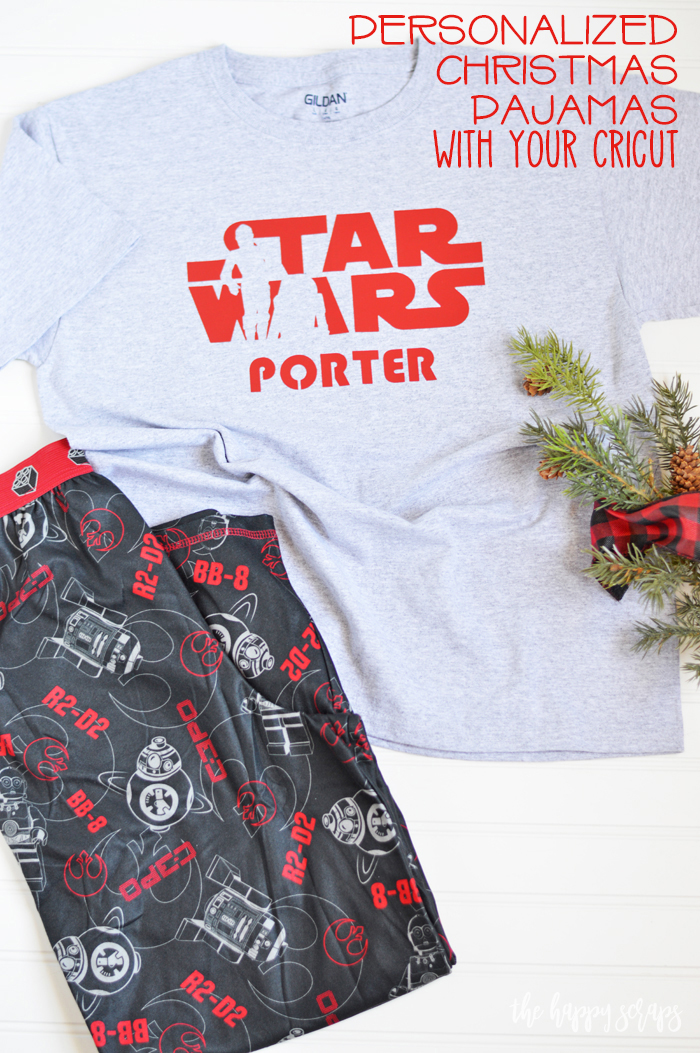
You can never go wrong with C-3PO and R2-D2 when it comes to Star Wars, and this design was perfect!
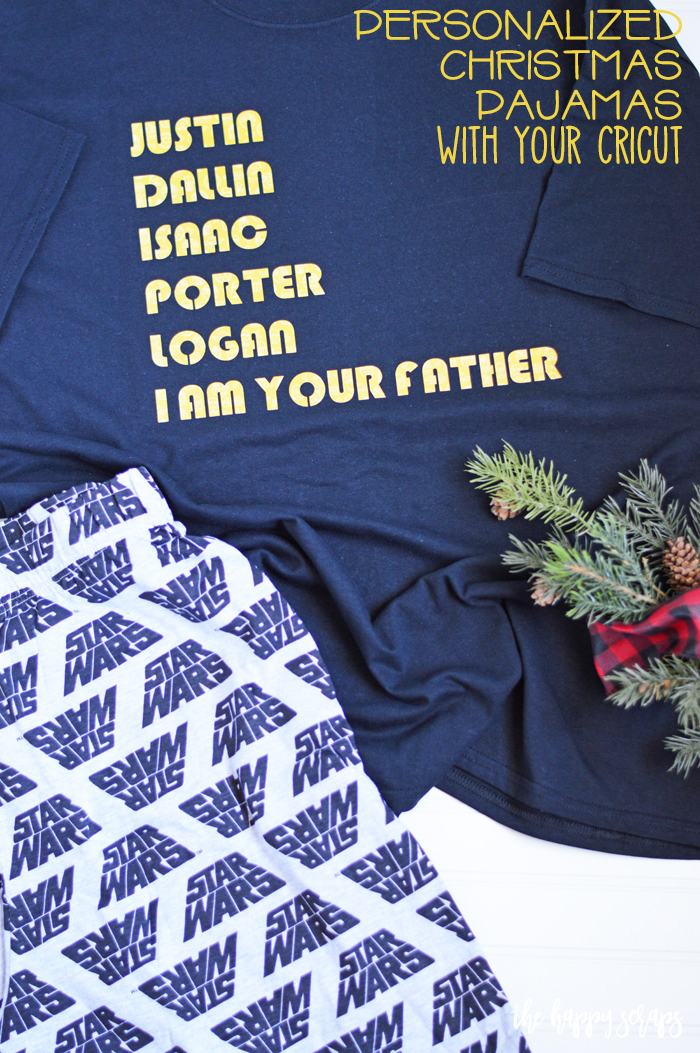
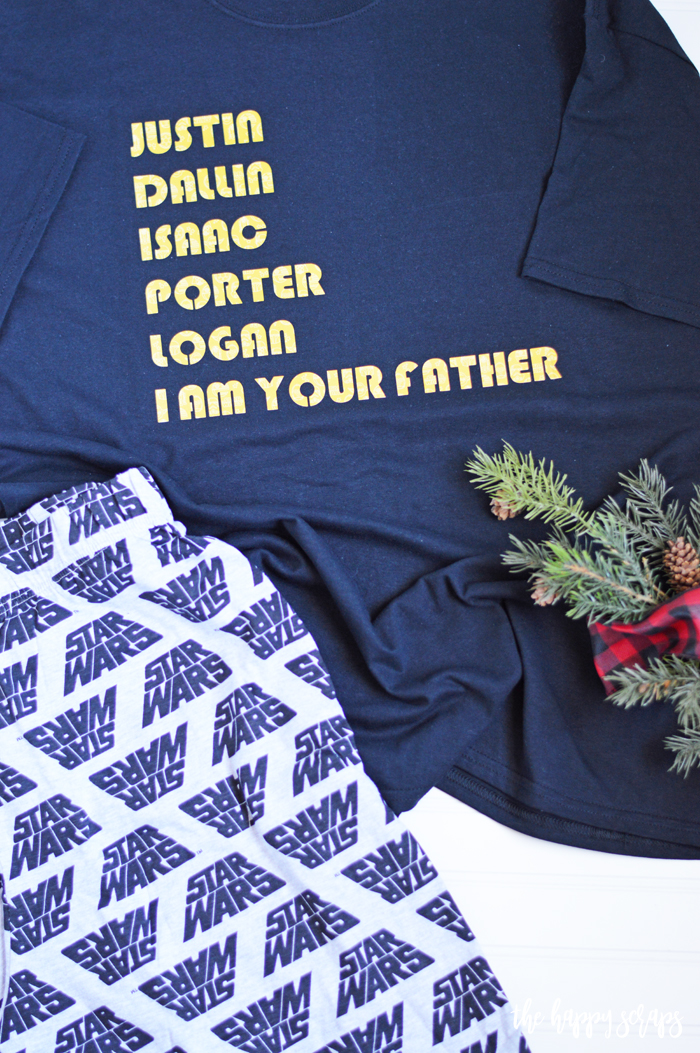
This shirt for my husband might just be my favorite! It lists all of our kids names on it and I think it’s funny!
Isn’t the print on this patterned iron-on the best?!
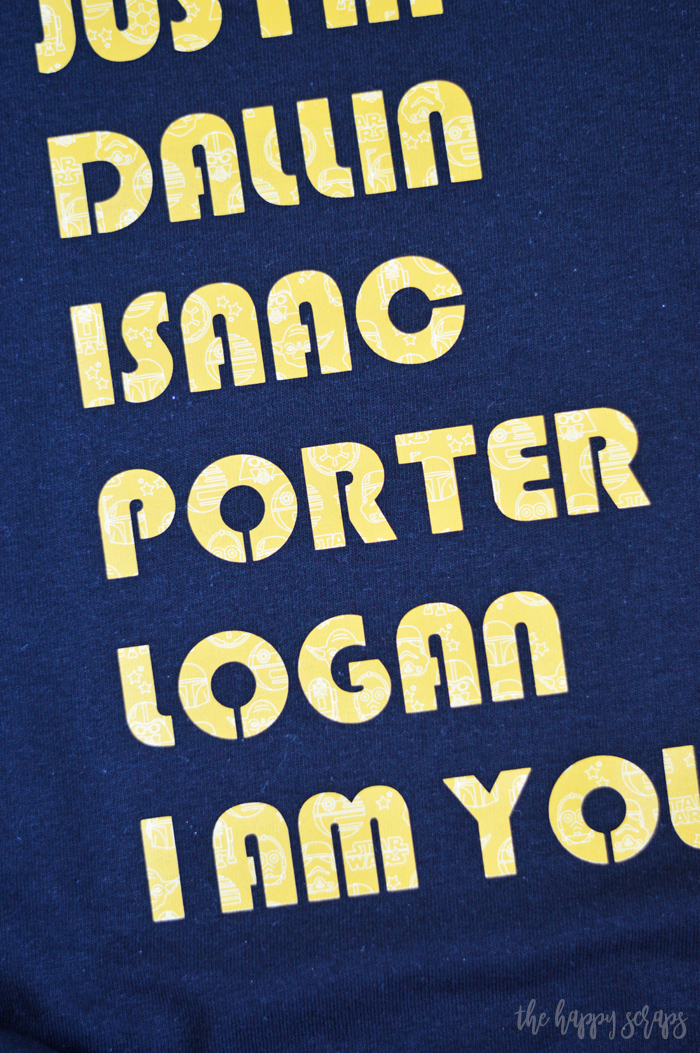
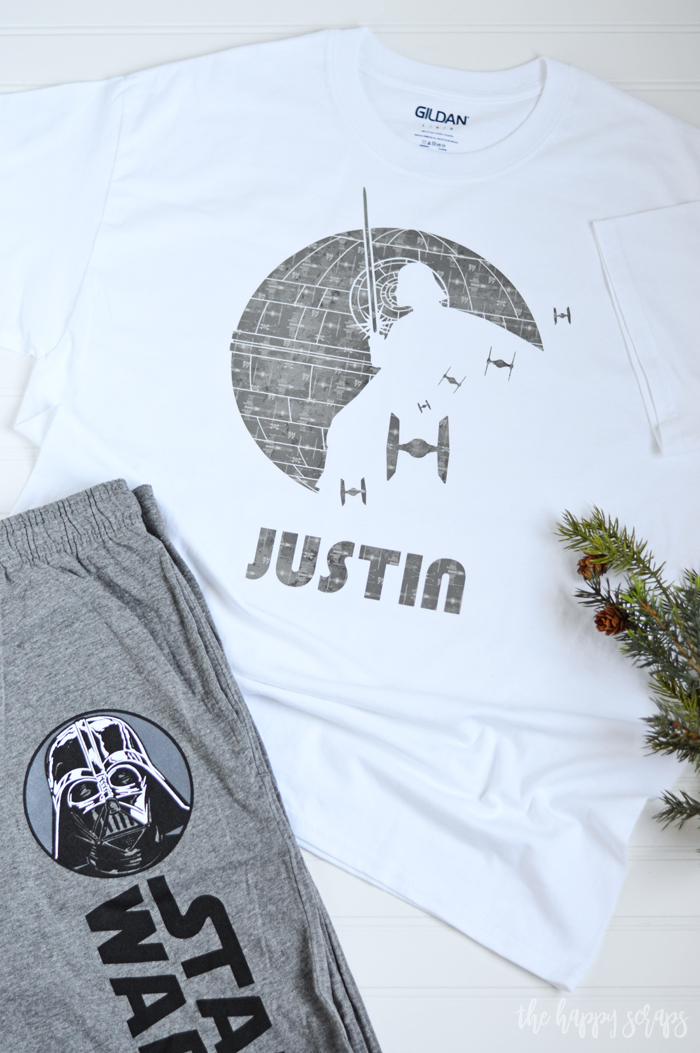
This shirt turned out pretty awesome, although, some of those small pieces didn’t want to weed very well. It was a little tricky keeping track of all of the little pieces while weeding, and I did lose a piece or two, but thankfully, I was able to find them.
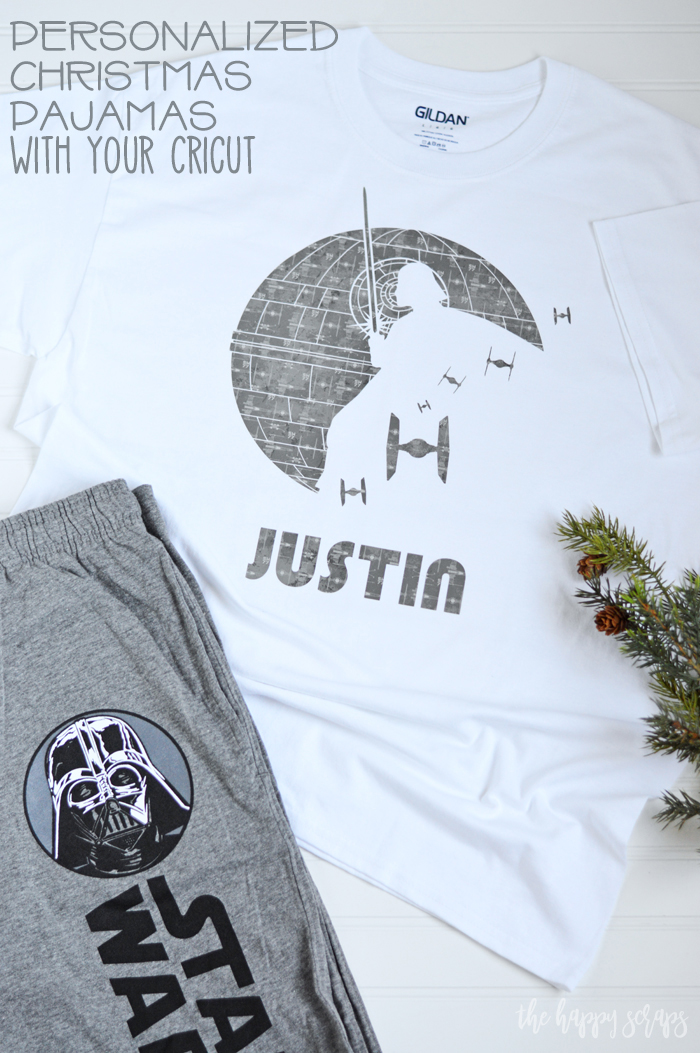
Again, this pattern was such a fun one to use for this design, and I think my son will really like it.
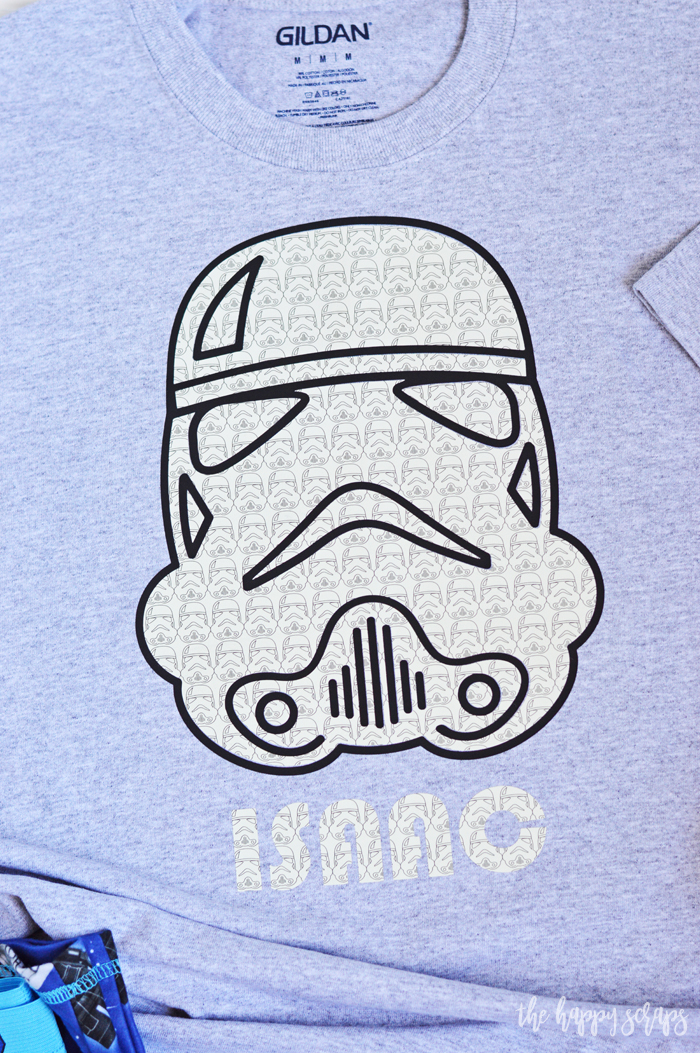
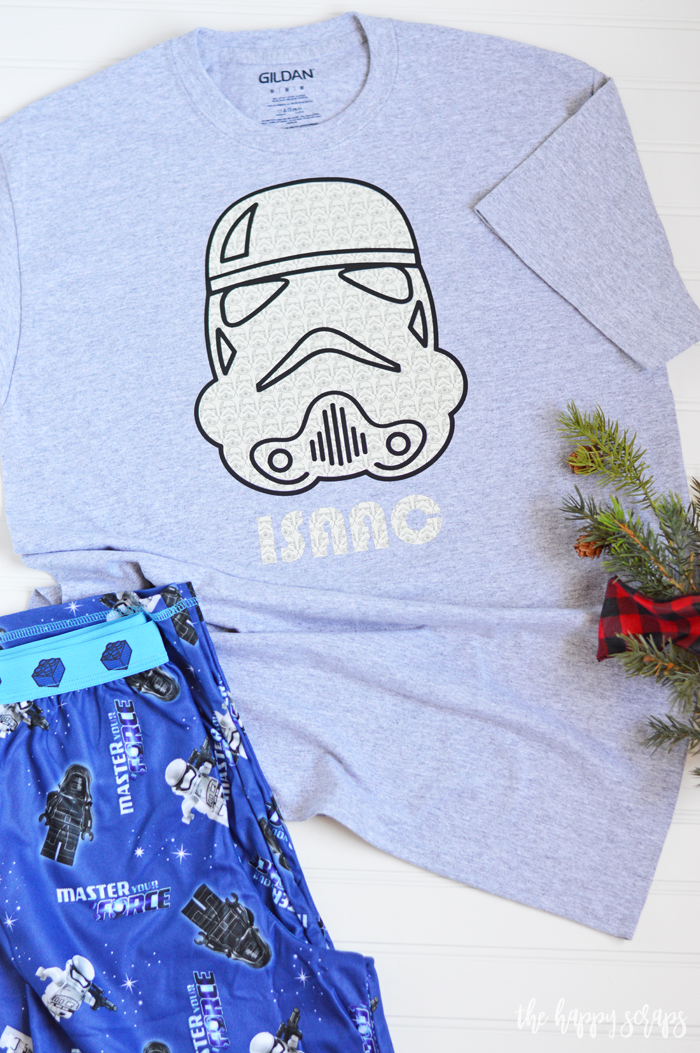
This was so fun to use the Stormtrooper patterned iron-on to cut a Stormtrooper out of. I’m really glad that I did the black outline on this one, making it easier to see the design too.
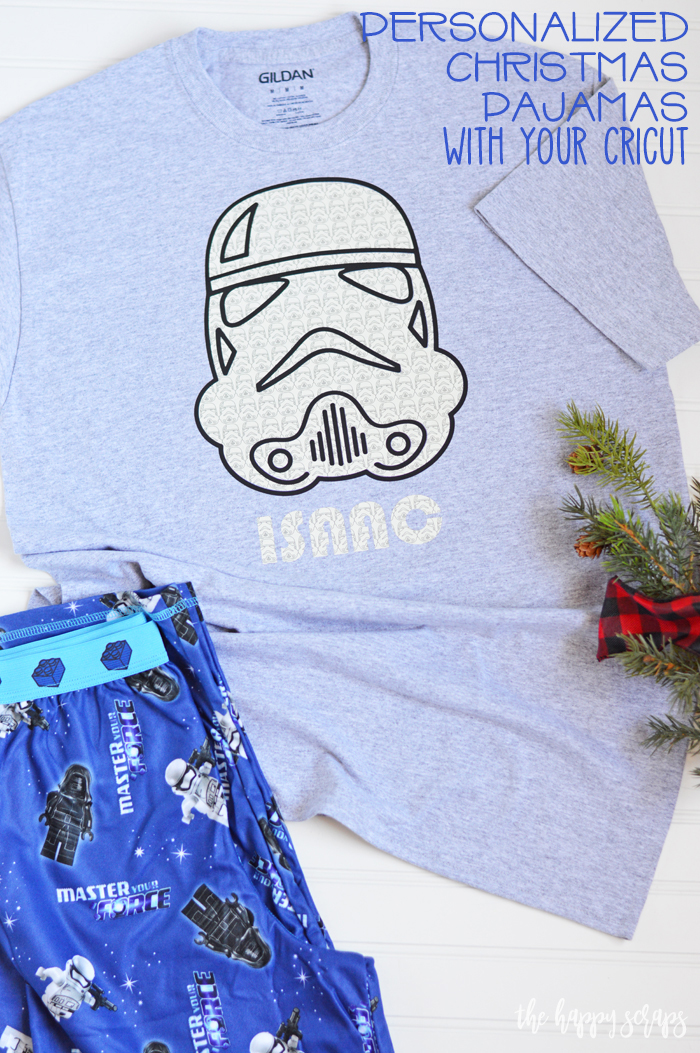
This design goes really well with the pants as well.
Do you have family members who love Star Wars as well, that would love some Personalized Christmas Pajamas? Using the Cricut Explore Air 2 makes personalizing gifts such a breeze! It can cut up to two times faster than other machines, it comes in so many pretty colors and it is amazing at cutting iron-on materials! I love mine! It is just what you need if you’re wanting to create personalized gifts for any occasion.
Who will you be making Personalized Christmas Pajamas for this year?
When you make some, I’d love to have you share them with me over on Instagram. Just tag @thehappyscraps to share with me. If you enjoyed this Personalized Christmas Pajamas tutorial, then be sure to check out my other Cricut tutorials that I share here on the blog.

Leave a Reply