It’s no secret that I love my Cricut! I’ve been using Cricut machines for years! I got my first Cricut in 2007 and have been in love with them ever since. I have almost all of the different machines. I did miss a couple though. I will say that I love love love that I can use my own designs and other peoples designs now, and I don’t just have to use the images and fonts on cartridges. I am able to cut any and everything I want to with my Cricut machines now! One of my very favorite things to do is to create my own designs in Photoshop Elements and then upload them into design space. Sometimes though, I create large scale designs that are larger than the 11.5″ x 23.5″ cutting area. Because of that, I have to slice my designs. Today I’m sharing with you How to Slice Designs in Cricut Design Space. This works well for large scale designs as well as if you want to cut a design with different colors without having to cut the entire design more than once.
This How to Slice Designs in Cricut Design Space post contains affiliate links. If you click on an affiliate link and purchase something, you won’t pay anything extra, but it will help support this blog.
When I design cut files in Photoshop Elements, I generally design them all as one color. I don’t have the ability to create .svg files, so I create .png files. These files are all saved as one image, not several different layers. Once I design the image, I upload it into Cricut Design Space. Sometimes I want to cut them all as one color, but sometimes I don’t. So, I slice them. Let me show you how!
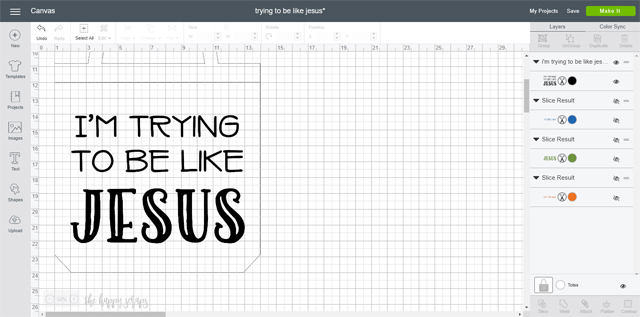
How to Slice Designs in Cricut Design Space
Once I have my design, I click on the shapes button on the left hand side. I choose the best shape for what I’m working on. In this case, I selected the square. Once the square was on the work area, I clicked the lower left corner to unlock the square. I sized it to be about the size of the top line of text.
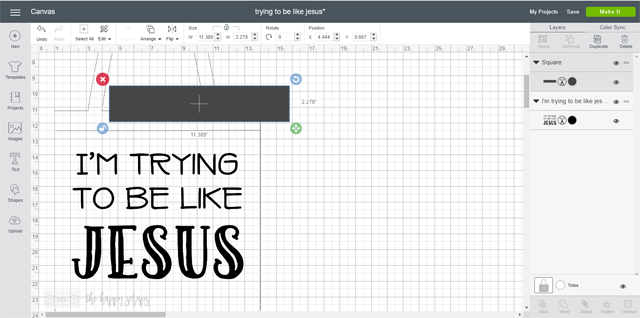
Once sized, I moved it over the top of the top line of text. With it selected, I also selected the design/text/image. Once both layers are selected, click on slice in the lower right hand corner of the screen.
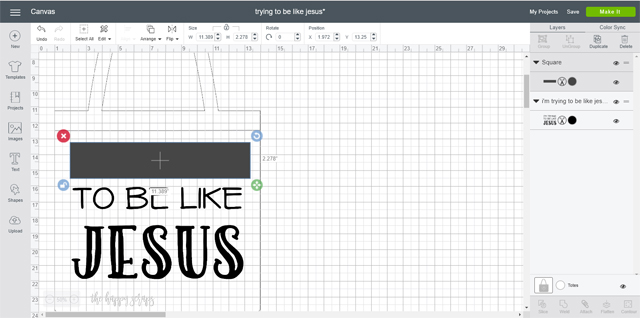
Once sliced, you will have a few new layers. I delete all the extra layers and just leave the one layer I need.
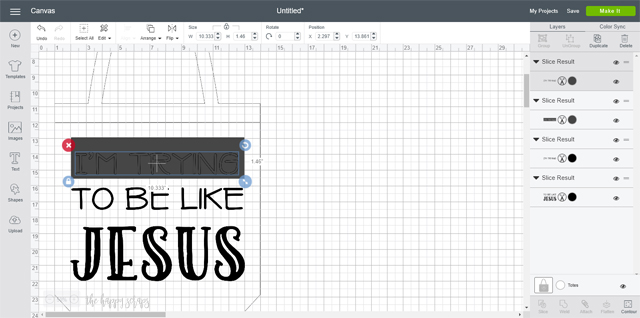
I usually change the color so I know it has already been sliced. If I need to slice more, then I repeat the previous steps. Create a rectangle box, place it over the top of the second line of text.
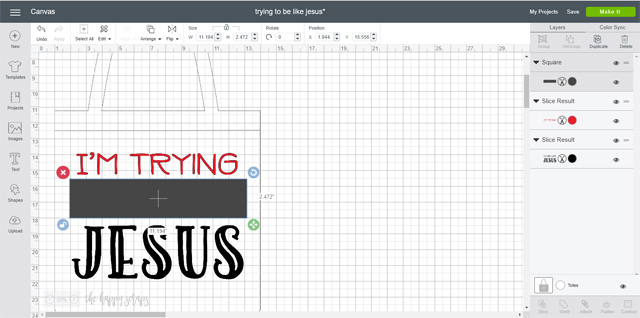
Select the rest of the design/text/image, and then slice it.
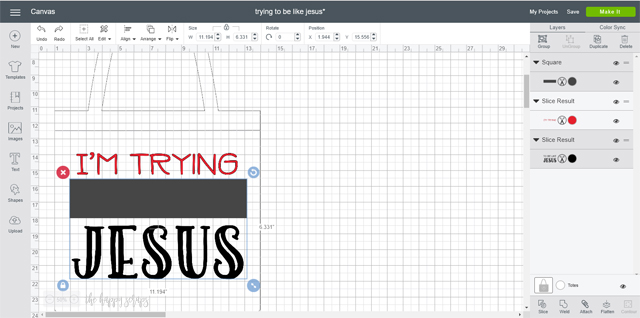
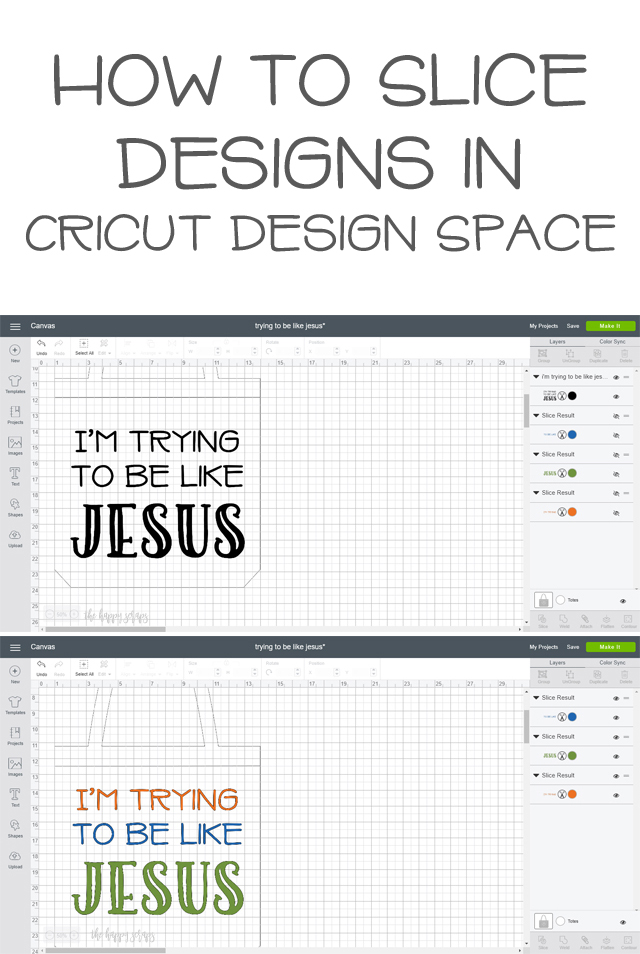
Once the image is all sliced, you can play with the colors and change it to what you’d like it to be. Once you send it to your Cricut Machine to cut, it will show three different mat because of the three different colors used.
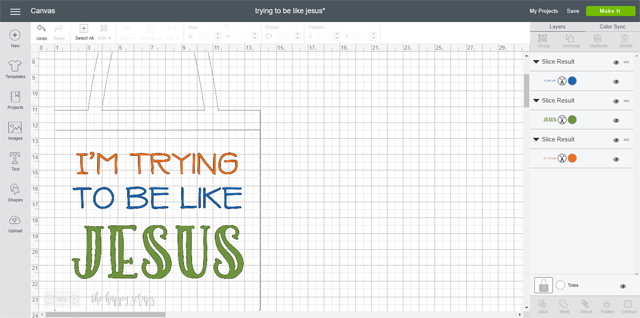
Now, you might be thinking that it would just be easier to type out this text in Cricut Design Space and set the colors there. For this particular design, that may be the case. However, when it is something large, or a cursive type font, I find this method to be much faster to get the end result that I’d like.

Do you enjoy creating your own designs to cut with your Cricut? I hope this tutorial for How to Slice Designs in Cricut Design Space is helpful. Please let me know if you have any questions. Also, the project pictured in these images will be coming to the blog next week! Be sure to check it out!

Leave a Reply