This Three Little Things to Make with the Cricut Joy post is a sponsored post written by me on behalf of Cricut. All opinions are 100% mine.
Have you heard about the new little BIG thing from Cricut yet? The Cricut Joy is an amazing little machine that can do BIG things! I’ve had the chance to play with one for a few weeks now, and I am in love with this little machine! Today, I’m going to share with you Three Little Things to Make with the Cricut Joy as well as share with you why I love this little machine so much!

The Cricut Joy is so cute! The small size makes it so easy to take with you anywhere around your home or on the road! I totally intend on using this fun machine in my car! My car has an outlet in it, and I can’t think of anything better to do on a road trip! The Cricut Joy is so portable because you can cut matless with the Smart Vinyl, Smart Iron-on, Smart Label vinyl, along with other things. If you take your card mat and Insert Cards along, then you’re all set for lots of crafting, right from the app on your phone, while traveling! No craft room is needed with this amazing little machine!
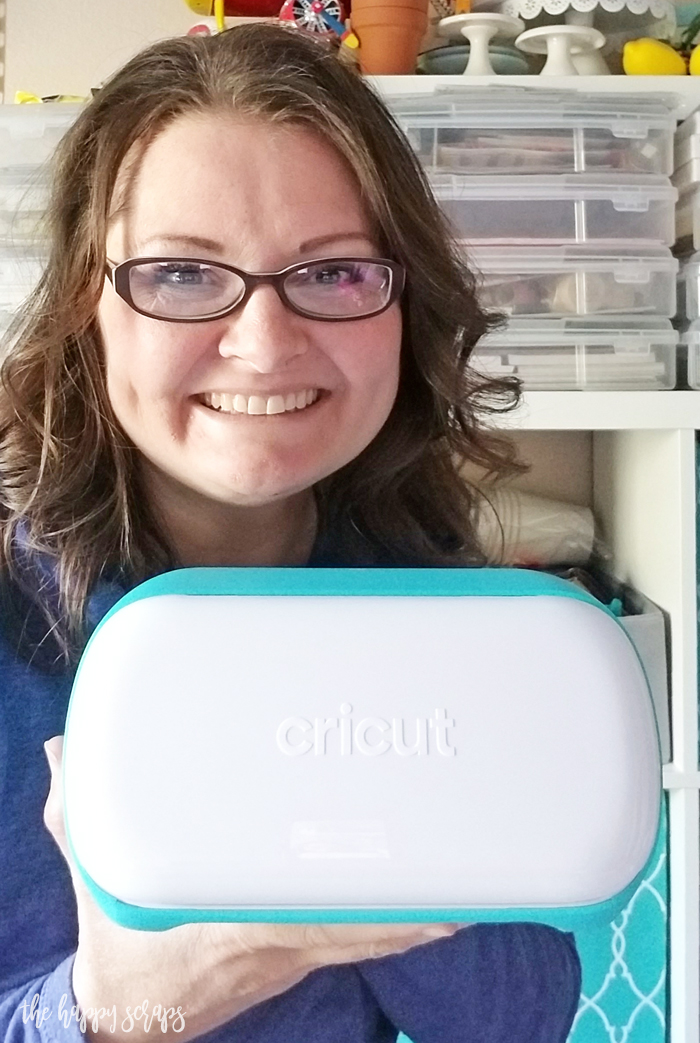
Along with all the Smart materials that are available to use with the Cricut Joy, you can also use regular materials with the mats that can be used with the machine. There is also the Cricut Joy Tote that makes taking it on the go even easier.
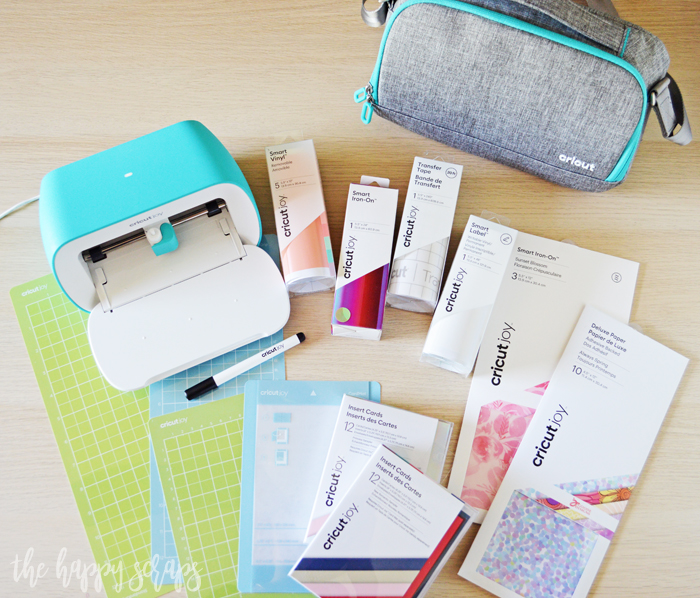
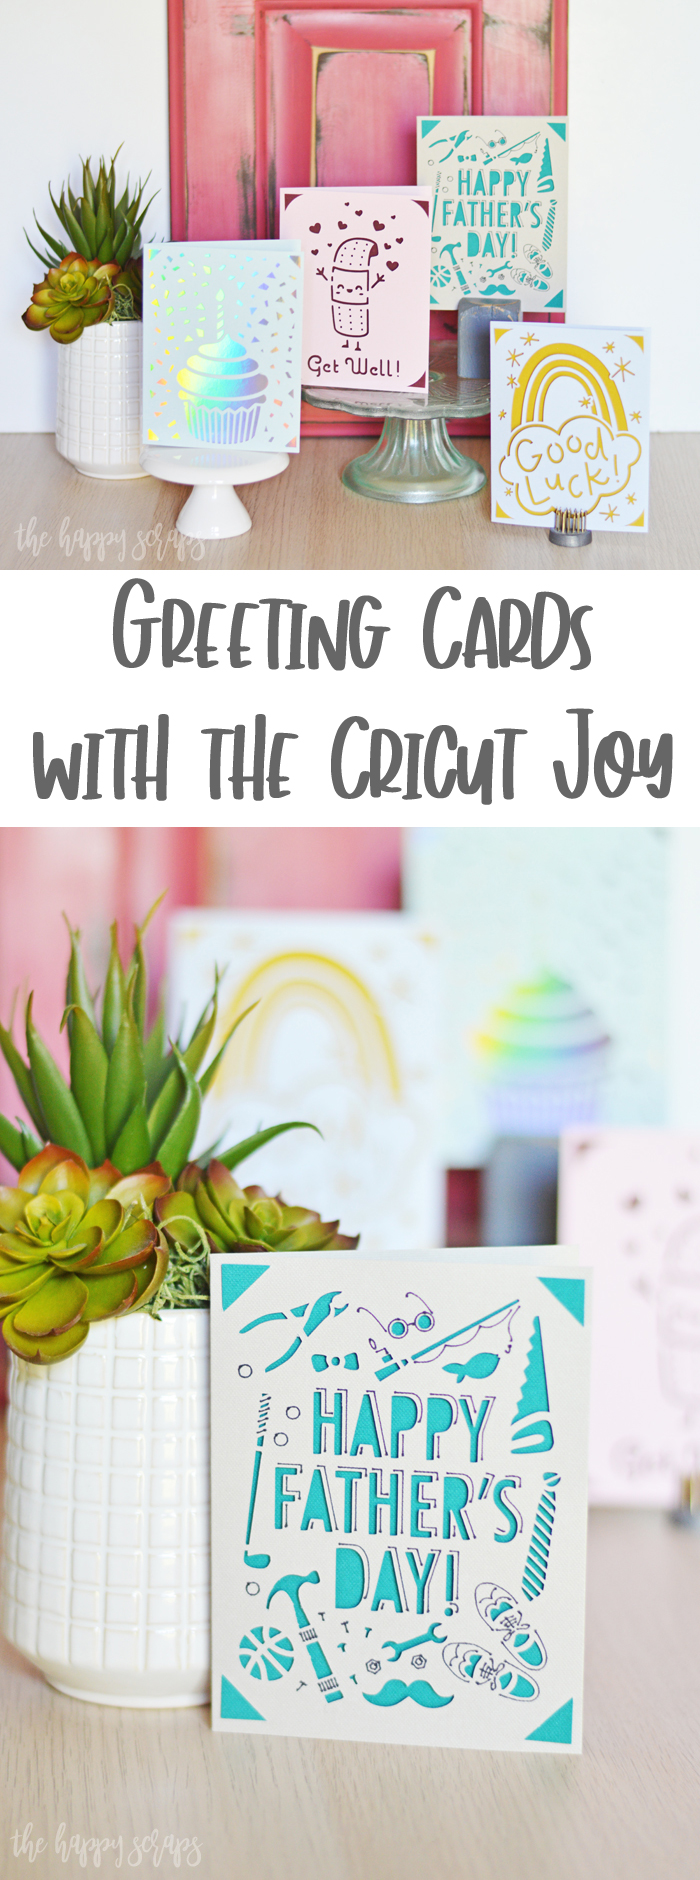
Today I want to share with you Three Little Things to Make with the Cricut Joy! These cards are all so EASY, FAST, and FUN to make! I had a hard time wanting to stop making cards! You can mix and match all of the Insert Card sets to make any color combination that you can think of!
Greeting Cards with the Cricut Joy Supplies:
- Cricut Joy Machine
- Cricut Joy Card Mat
- Cricut Joy Pen
- Cricut Insert Cards
- Cricut Joy Starter Tool Set
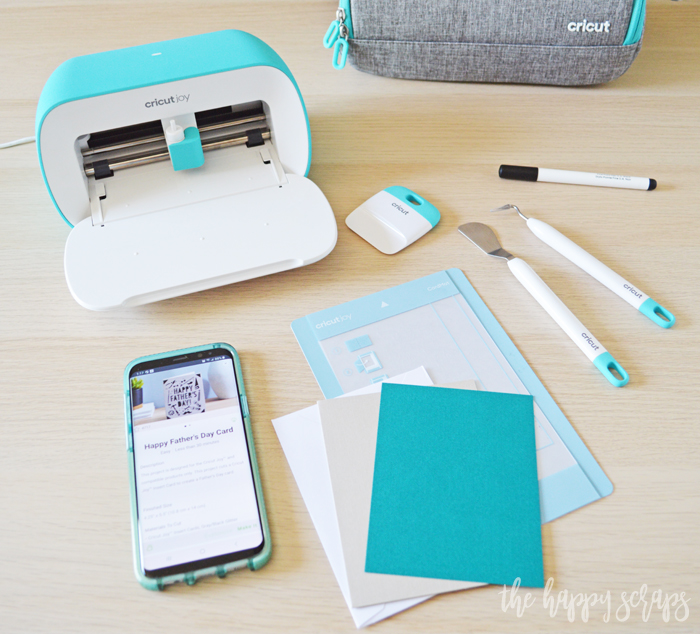
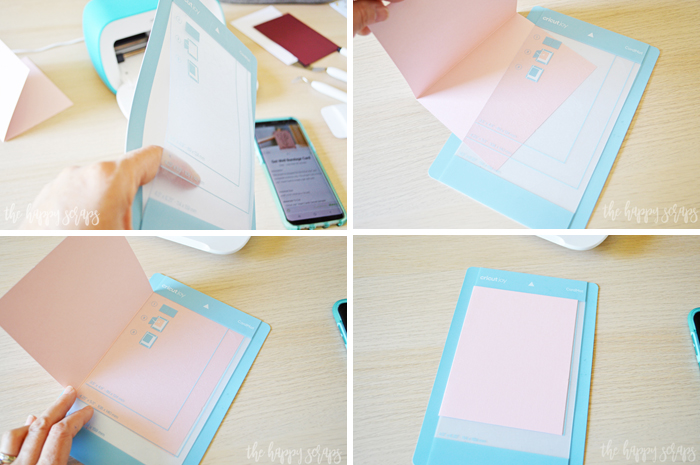
Start by getting your card placed on the card mat. You’ll remove the film from the top, then open up the top layer. Slide the back of the card into the mat, making sure it is at the top. Slide it in, then secure the top of the card to the top of the mat.
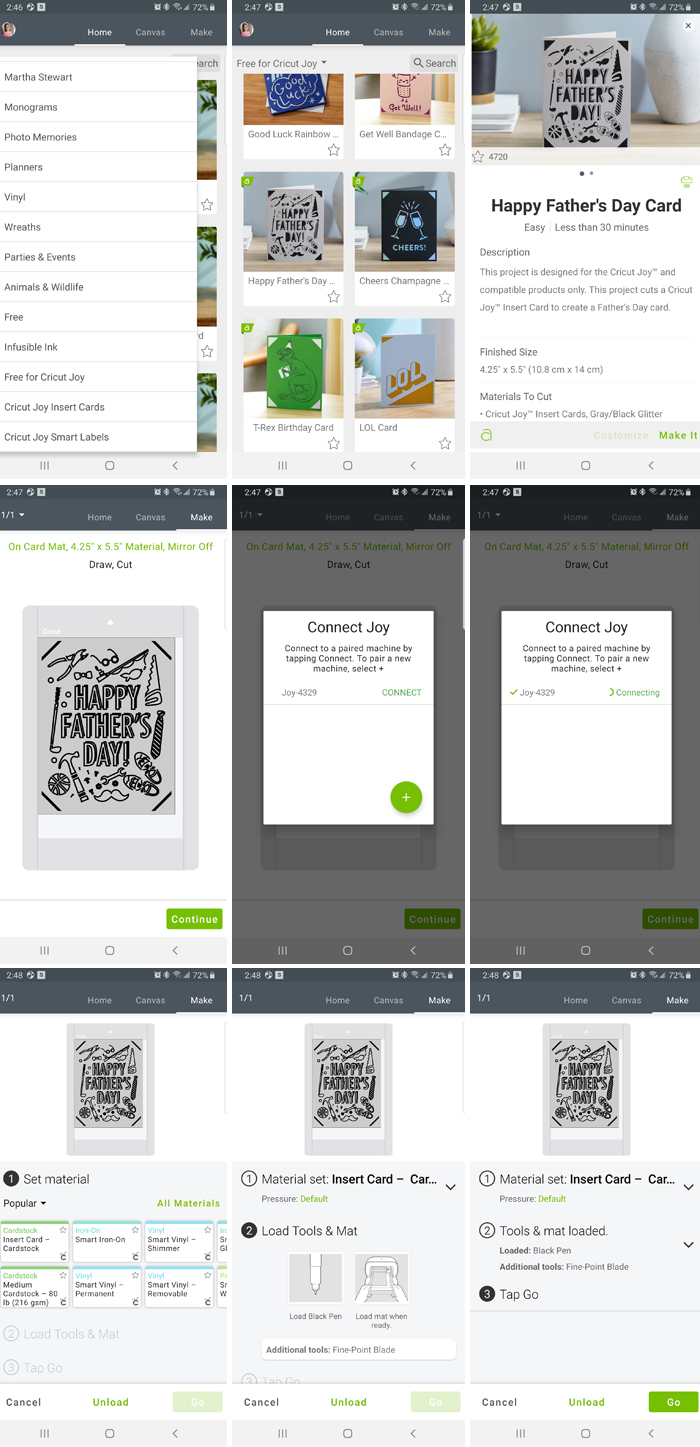
Once you have all your materials together, you’ll open the app on your phone. Click “All Categories”, scroll down to “Free for Cricut Joy”. Scroll down until you find the card you’d like to create. I decided on this Happy Father’s Day Card. Click “Make it”. A preview will come up, indicating you’ll be using the card mat then click “continue”. You’ll be prompted to connect your Cricut Joy via BlueTooth. Click “Connect”. It will recognize that it is connecting. Next, you’ll select the material you are cutting, “Insert Card – Cardstock”. The screen will let you know that you need to insert the pen, then insert the mat. Then when you’re ready, tap “Go” on the screen.
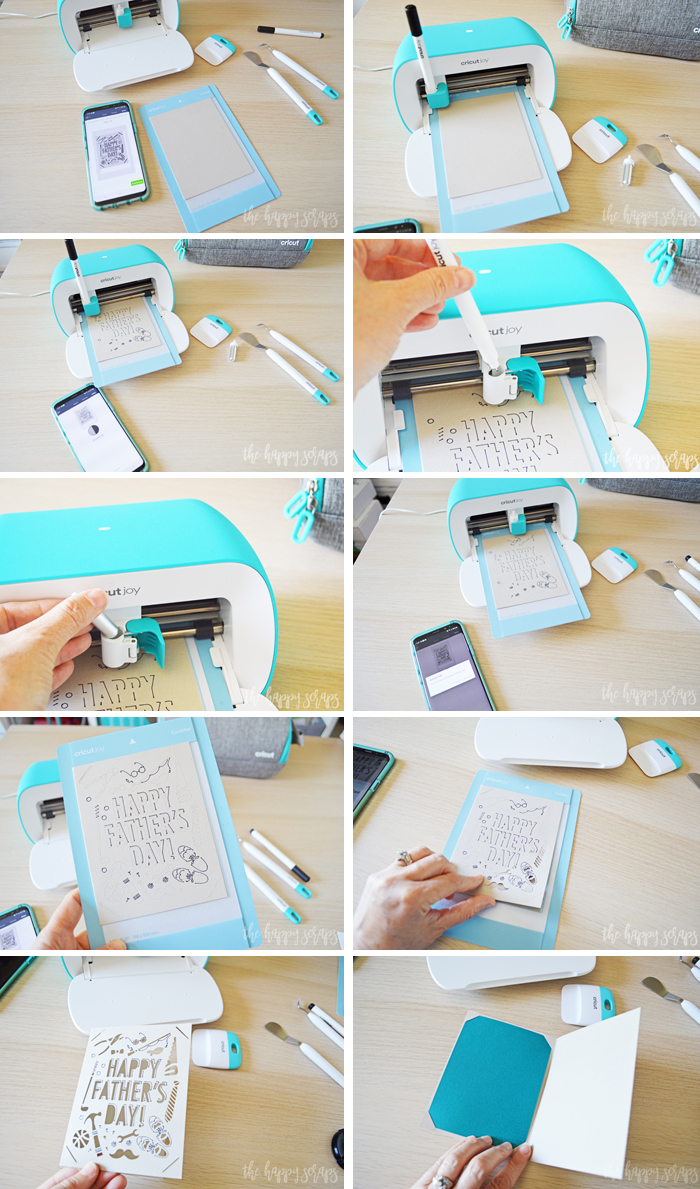
Once the card mat and pen are inserted into the Cricut Joy and you have told the machine to “Go”, it will start drawing the design it needs to. Once the drawing it finished, you’ll be prompted to take the pen out, and insert the blade. The Cricut Joy will then cut the design. Once cut, you’ll be prompted to unload the mat. This is done, in this case, on the phone screen. You’ll carefully release the front of the card from the card mat. Make sure you have all of the cut pieces out of the card, and then you can insert the cardstock insert into the back of the card.
Once the insert is in, the card it done!
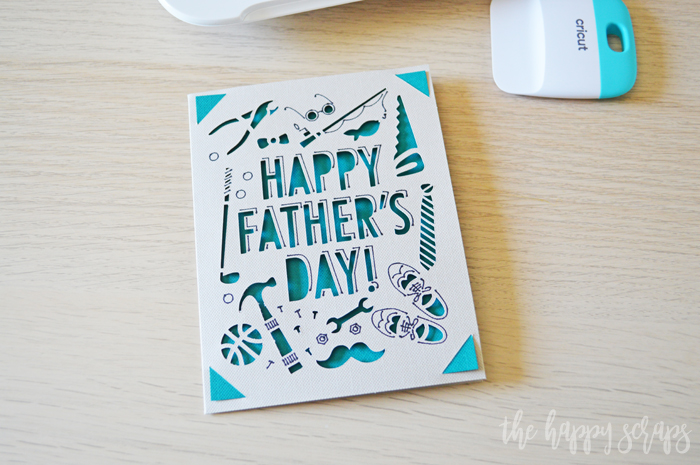
This Happy Father’s Day card is perfect for any men in your life!

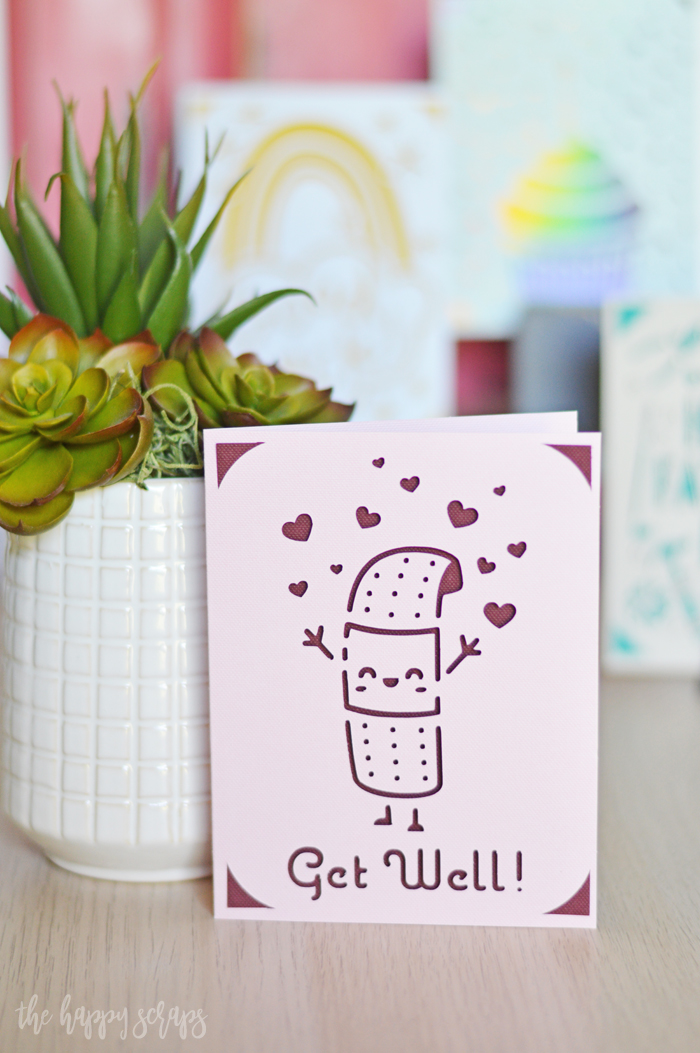
Do you know anyone who would love to recieve this cute Get Well card?
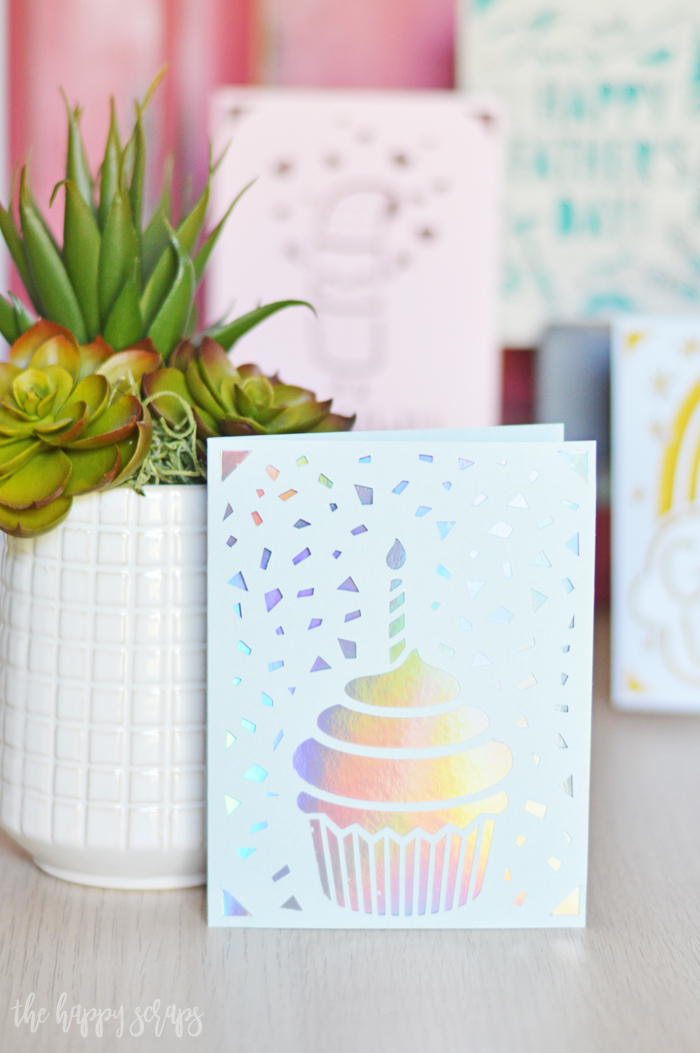
These cards are SO quick and easy to put together that you can create them for any occasion at a moments notice! This cupcake card is perfect for birthday celebrations.
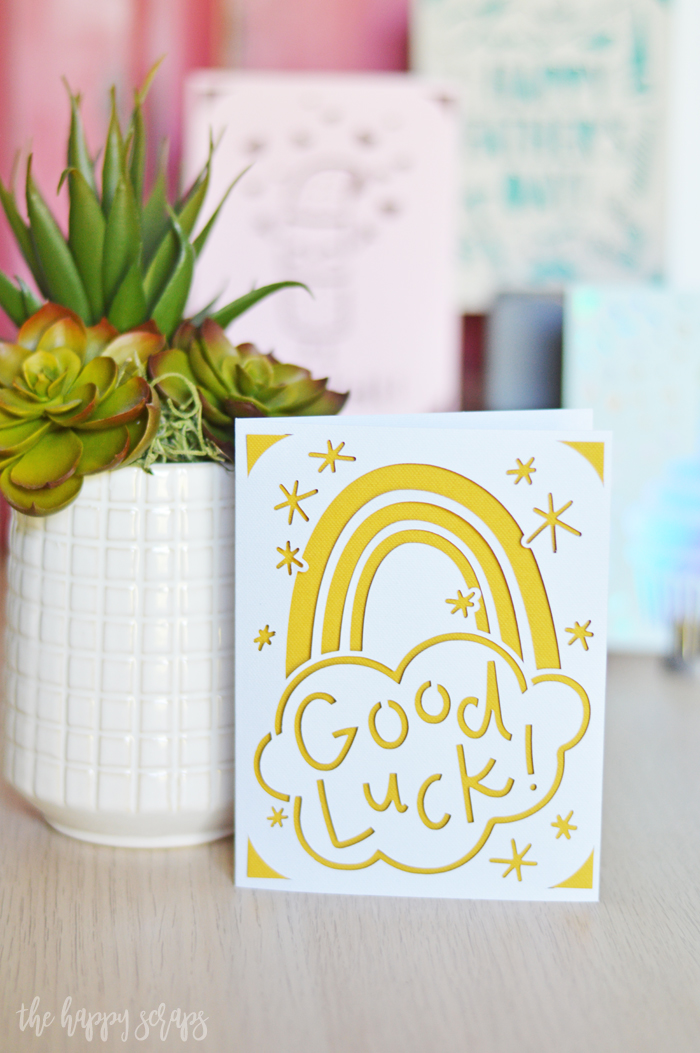
This Good Luck card would be fun for a graduate or anyone who is taking on a new adventure!
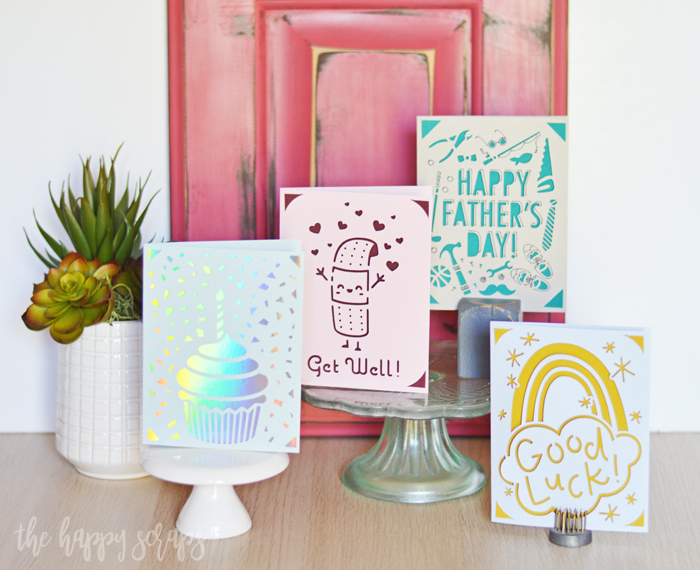
This is just a small sampling of all the amazing cards that are available to make with the Cricut Joy! These cards really are so fun!
Next, I want to share with you how easy it is to make Pantry Labels with the Cricut Joy. A couple of things about having labels is it helps to keep the pantry organized and it looks awesome! Using the Cricut Joy to create them is so easy because you can take the machine right to the kitchen and cut the labels without a mat, and put them right onto the buckets.

Pantry Labels with the Cricut Joy Supplies:
- Cricut Joy Machine
- Cricut Joy Smart Vinyl in color of choice
- Cricut Joy Transfer Tape
- Cricut Joy Starter Tool Set
- Blanks for whatever you’re labeling
We’ve had these pantry buckets for years, but slowly we’ve aquaired more and more of them, and even though we have different colored lids, we still have a hard time remembering what is inside of them. I decided that this was the perfect quick project for the Cricut Joy! I found these labels in the Free for Cricut Joy section as well, but this time I was using my computer rather than my phone. Also, there was not a label for bread flour, so I modified the flour design so I could have one that says bread flour. To cut these, select your Cricut Joy machine, then click “Make It”. Your preview should reflect the selection of the Cricut Joy machine. Click “Continue”. Select the material you are cutting. I used Smart Vinyl – Removable for my project. You’ll click “Go” then you’ll be prompted to load your material into your machine.
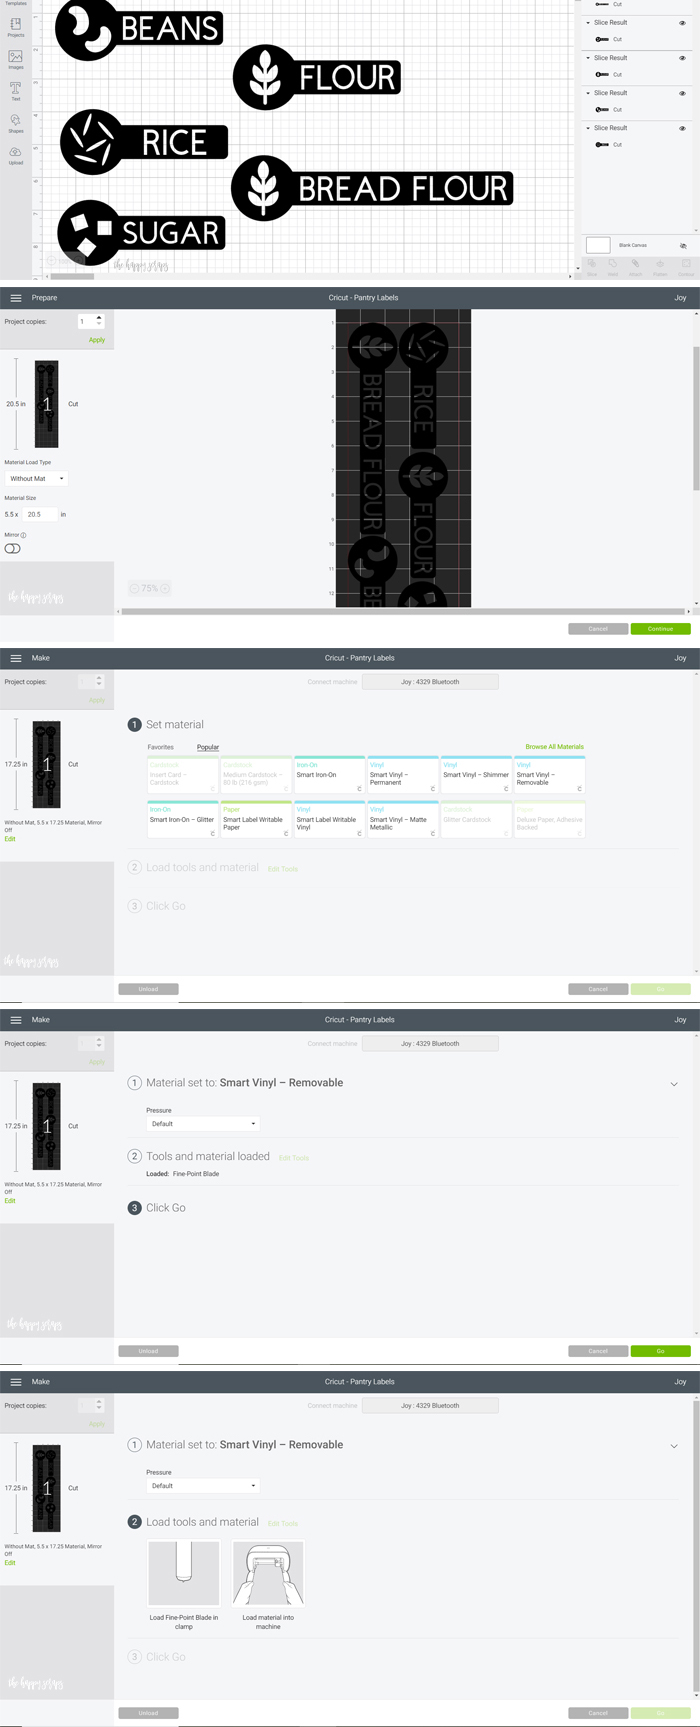
Once loaded into the Cricut Joy, your vinyl will be cut. The Cricut Joy measures the material to make sure there is enough there, before it even starts cutting! I love this because if the piece I put in is too small, it will tell me, and also, I don’t have to precut my material! Once cut, you’ll weed the design with the weeding tool, apply transfer tape, cut the design apart, then you’re ready to apply the designs to your buckets. Using the scraper, rub the top of the design firmly. Then rub the back of the design firmly. Peel the backing off, place design where you’d like it. Use the scraper to rub the top of the design onto the bucket. Carefully remove the transfer tape from the front of the design.
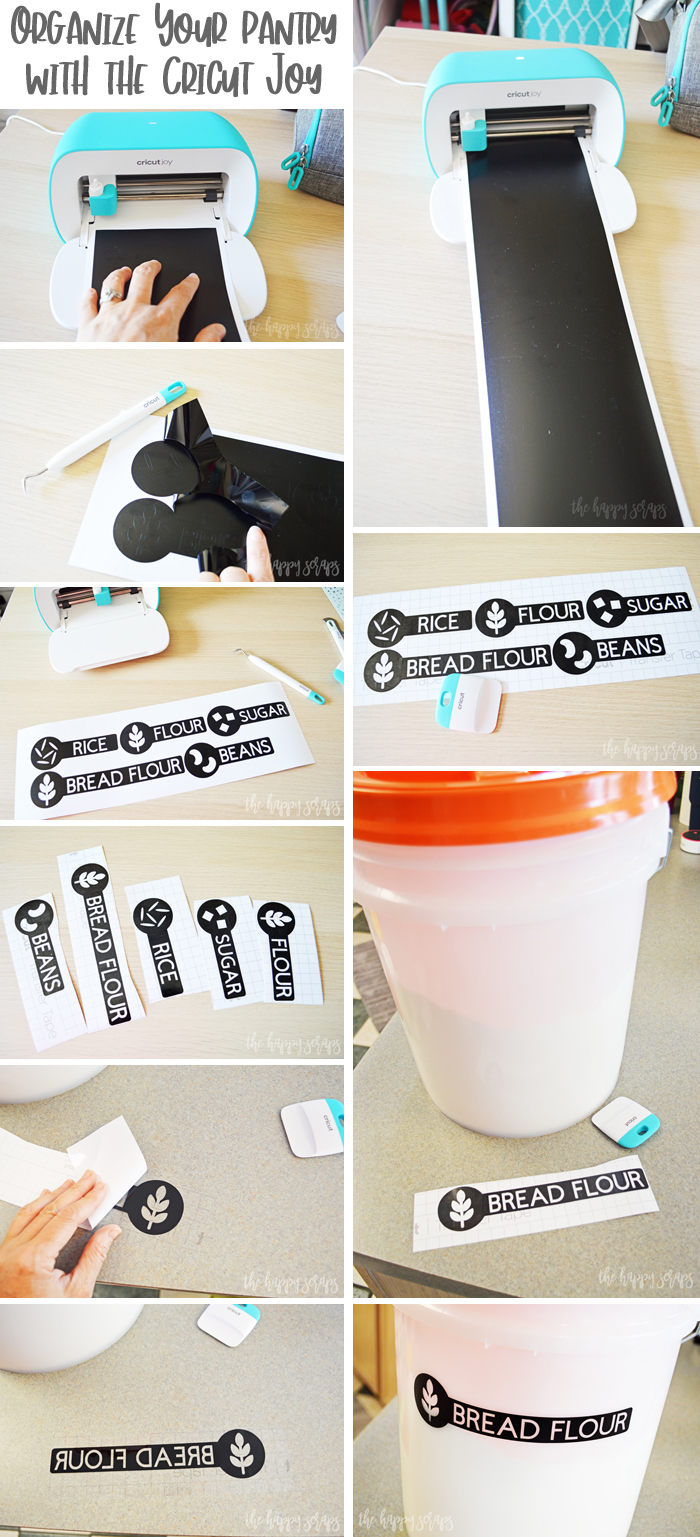
Once the transfer tape is removed, check to make sure it is all smooth, and make adjustments as necessary.
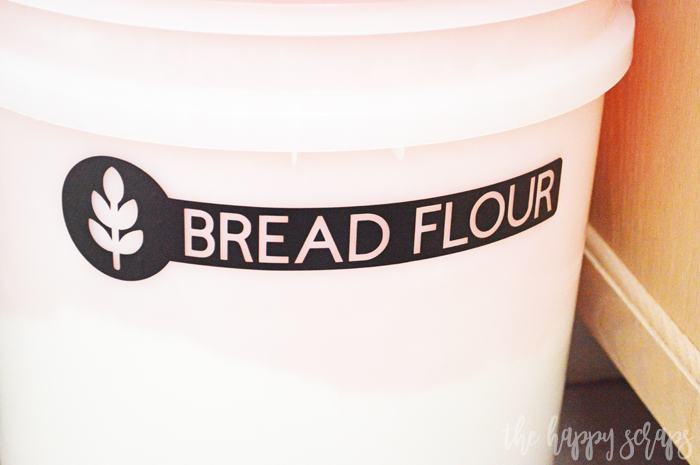
Having labels on the buckets in the pantry will make life so much easier and it looks great too! This project was done in about 30 minutes. Using the Cricut Joy made it so quick!
When I got the Cricut Joy, I decided that it needed a cute new home! I had this cart that I picked up from Michael’s and just knew it would be the perfect thing to dress up! Since the Cricut Joy can cut vinyl without a mat I decided I’d use it to decorate the front of the cart. It also has the Smart Label Writable Vinyl, which made creating the labels for the cart so easy!
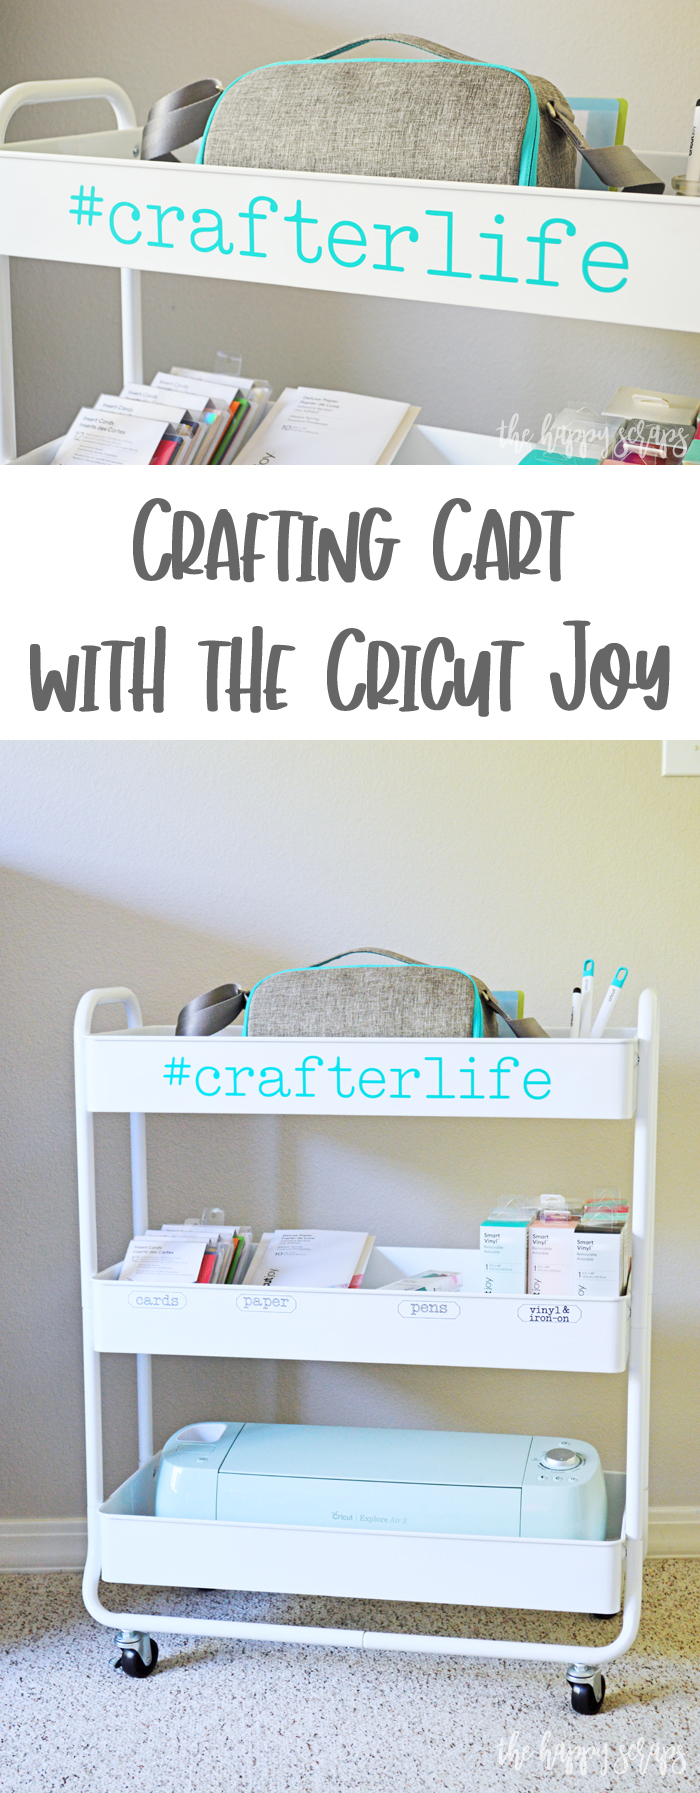
Crafting Cart with the Cricut Joy Supplies:
- Cricut Joy Machine
- Cricut Joy Smart Label Writable Vinyl
- Cricut Joy Pen
- Cricut Joy Smart Vinyl in color of choice
- Cricut Joy Transfer Tape
- Cricut Joy Starter Tool Set
For this project, I found a free label to use, and then I used the font Typewriter Std Regular. If you have Cricut Access, this font is included (along with lots of other things). Once you have the design ready, insert your pen, and follow the prompts on the screen for cutting your labels.
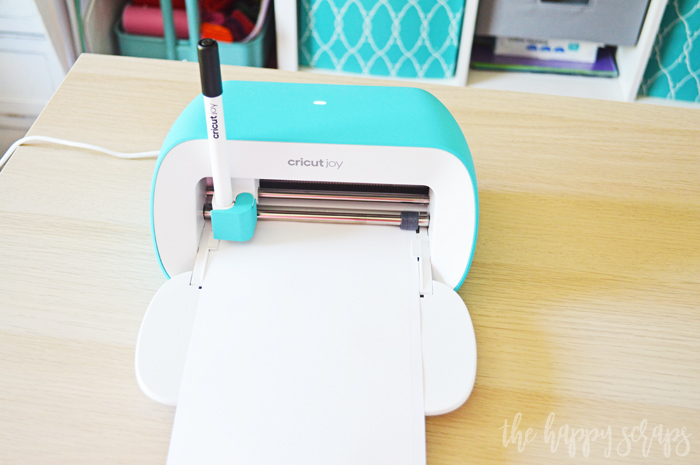
Once the labels are cut, weed the design with the weeding hook.

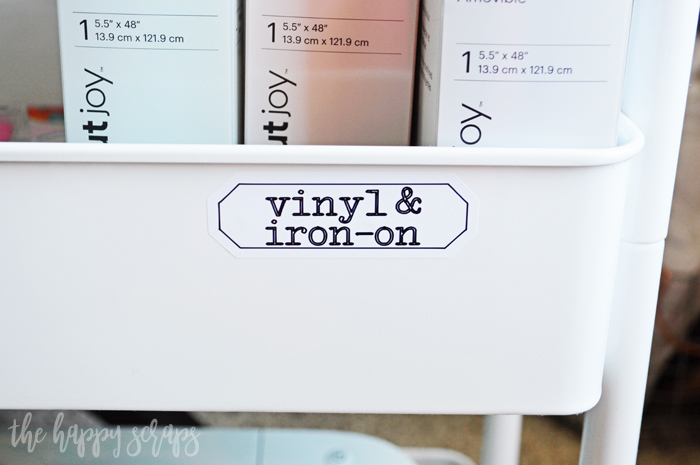
You’re ready to apply your labels. For these I chose not to use transfer tape, but you certainly could!
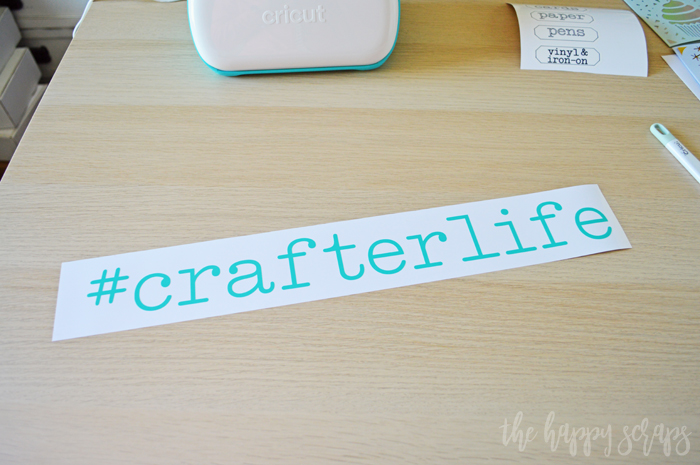
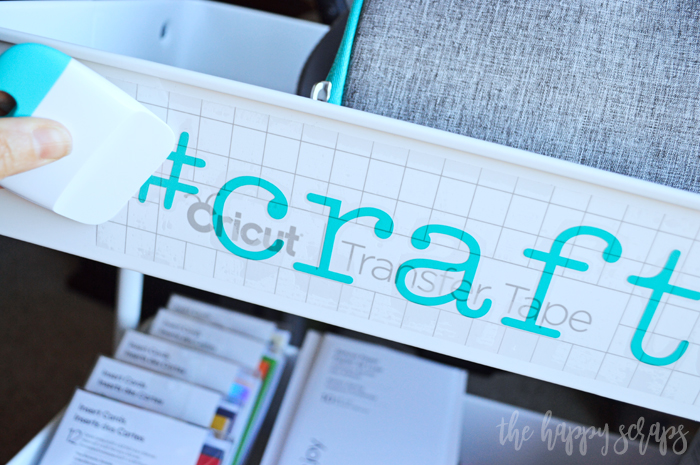
For the large #crafterlife design, type it out in Cricut Design Space and select your font. I used Typewriter Std Regular for this one as well. Size it to what you’ll be placing it onto. Follow the prompts on the screen again for cutting this design. Once cut, weed the design and apply transfer tape.
Peel the backing from the transfer tape, then place the design on your cart of other item you’d like it on. Use the scraper to rub the top of the design firmly. Peel off the transfer tape.
Now you’re all set to roll this cart around your home to where ever you’d like to create! Everything you need is right at your fingertips. And how fun are the designs on it?!

Having labels on the front of the cart will be so helpful in keeping me organized and being able to find the things I need.
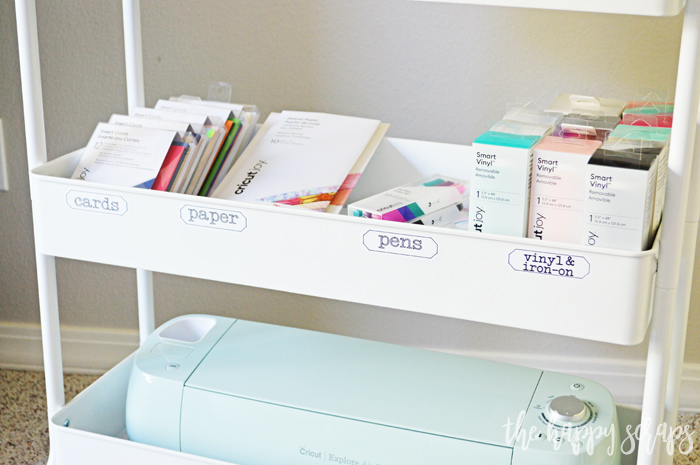
Seeing all these supplies in this craft cart makes me giddy!
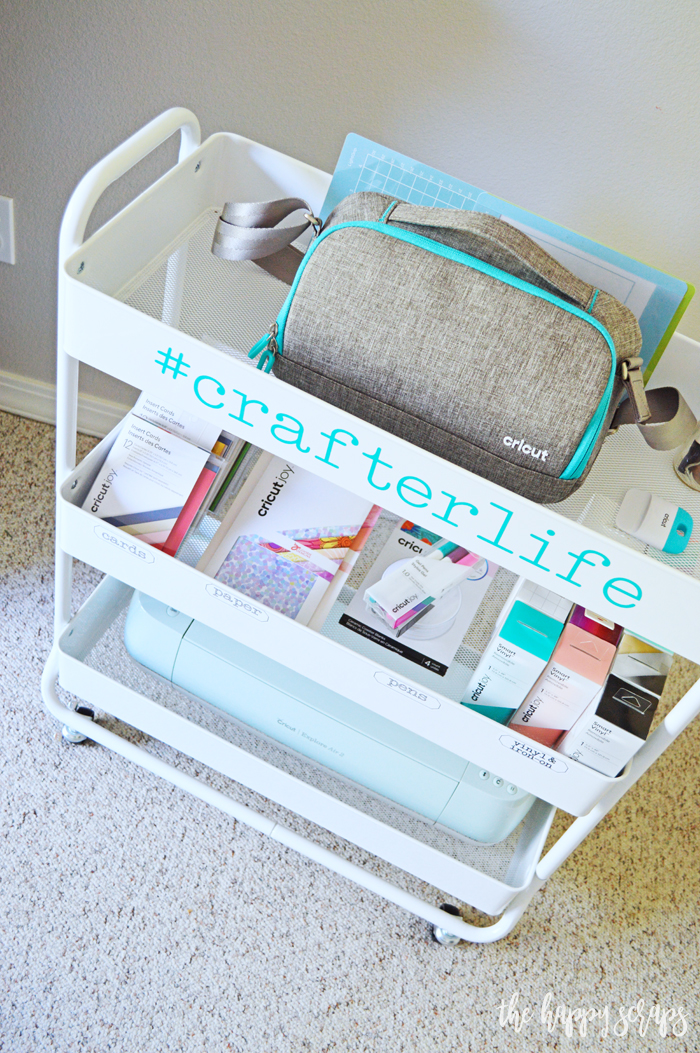
Where would you roll this cart to so you can create?

With the Cricut Joy, you can create so many fun and quick projects in 15 minutes or less. It is quick to pull out and set up is quick. Plug it in and open it up. Open the app, and start cutting. You can have greeting cards cut in about two minutes. The Cricut Joy can cut a 48″ design repeated up to 5 times, cutting a 20′ design. So amazing!
The Cricut Joy is a perfect companion to the larger Cricut Explore Air 2 and Cricut Maker machines because you can create small projects where ever you are. No need to take the whole craftroom with you.
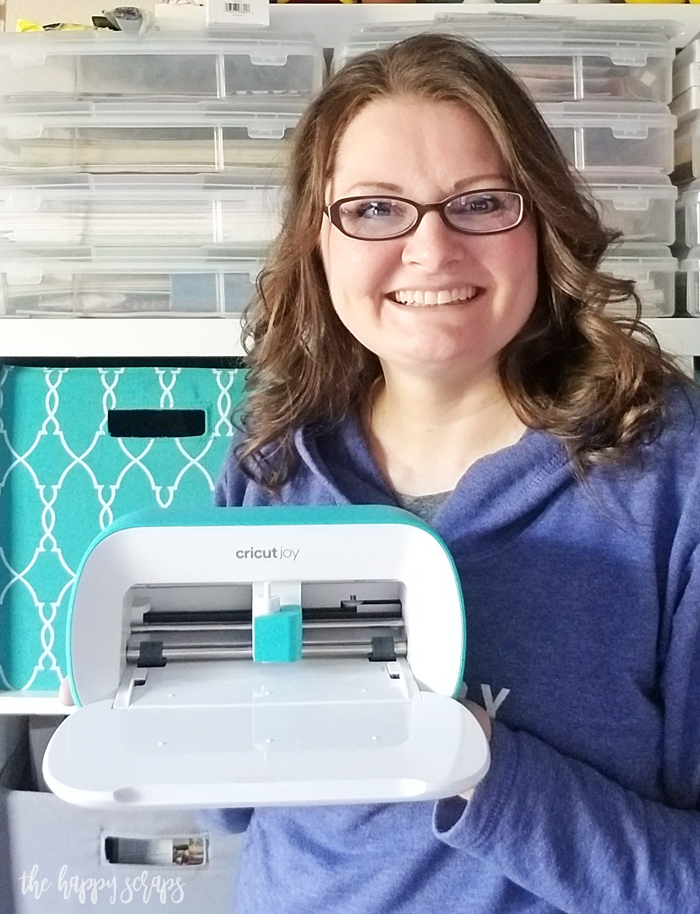
You might be asking yourself “Why do I need a Cricut Joy if I already have a Cricut machine?” With the Cricut Joy, you can create in the kitchen, on the coffee table, or on the go where ever you’re headed. Be sure to head to Cricut.com to learn more and find answers to any questions that you might still have after reading this post. You can find the Cricut Joy machine online at Cricut.com and in stores now!
Be sure to check out my other Cricut projects here on The Happy Scraps.

Leave a Reply