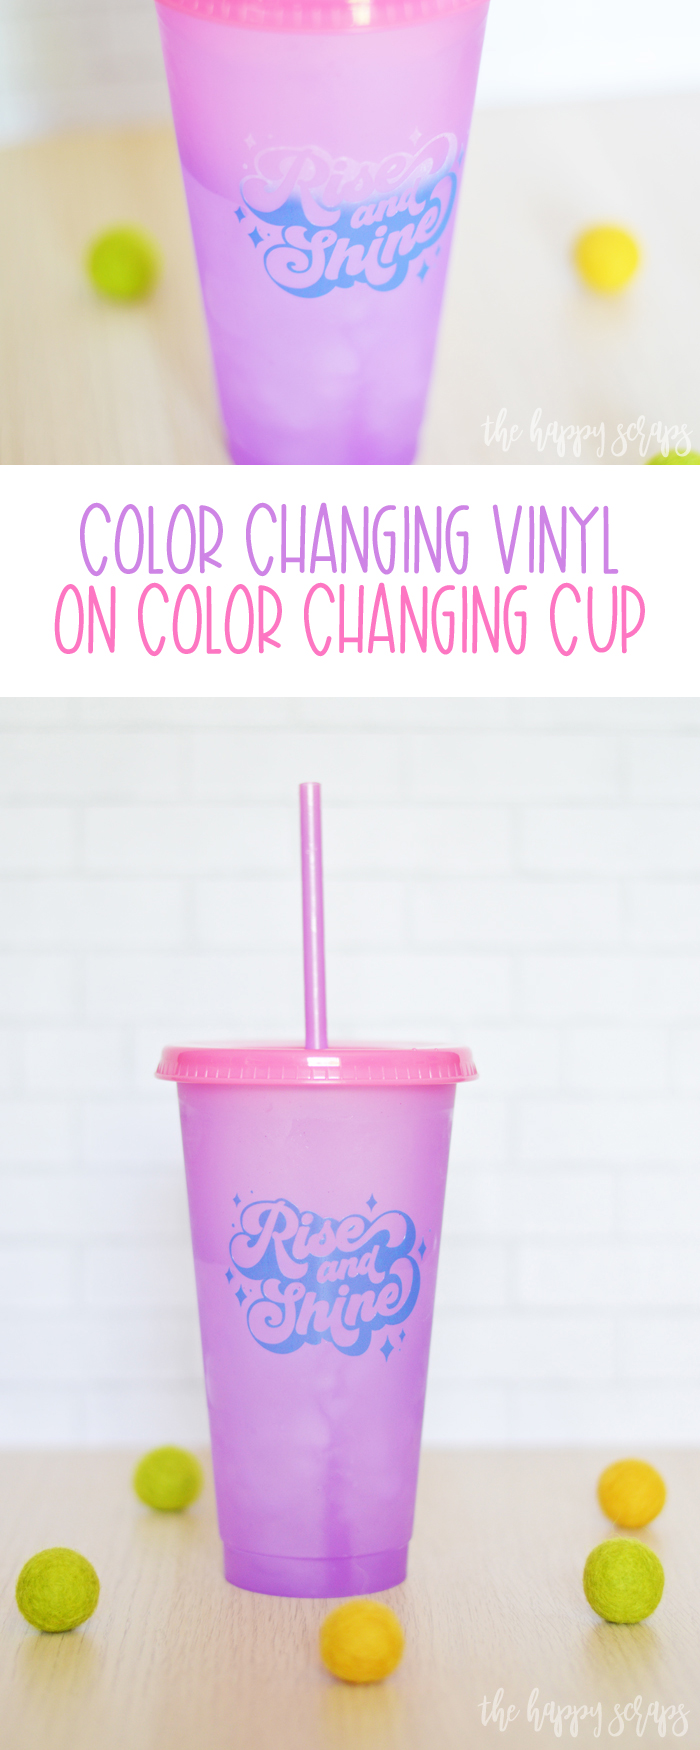
How are you holding up these days? I’m feeling a little like everyone needs to be checked on to see how they are holding up. Life and the world are in such a crazy place right now, and I thought things were getting better, but in the last few weeks here in Utah, things aren’t getting better. The number of Covid-19 cases have just been rising. It’s a surreal thing to be living through. I don’t know if others are feeling the same way as I am, but I feel like everything in life is just kind of on hold or in the air right now. Such crazy times! I hope all of you, my friends, are holding up okay with it all. Today I want to share this Color Changing Vinyl on Color Changing Cup with you all. To be honest, I made this fun cup back in May. It has just taken me a while to get the pictures edited and the post written up. I guess that is just how life is right now. The blog, unfortunately has taken a little bit of a back seat. I’m happy to share that I have several projects that I’m ready to write up the posts for though, so I should have some fun things to share in the next few weeks! 🙂
This Color Changing Vinyl on Color Changing Cup post contains affiliate links. If you click on an affiliate link and purchase something, you won’t pay anything extra, but it will help support this blog. All ideas and opinions are my own.
Color Changing Vinyl on Color Changing Cup Supplies:
- Color Changing Vinyl
- Color Changing Cup (I found mine at Michael’s, but they are out of stock now)
- Cricut Maker, Air 2 or Joy
- Transfer Tape
- Weeding Tools
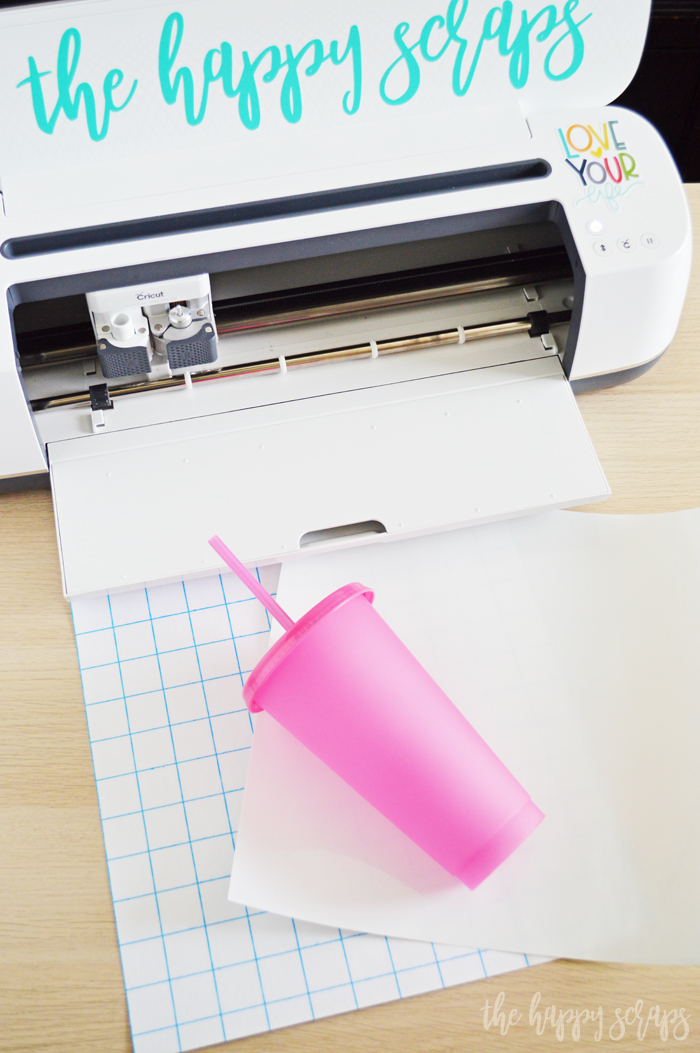
Start out by finding the design you’d like on your cup. I found this Rise & Shine design right in Cricut Design Space, and it is included in Cricut Access. Once I had the design sized, I cut it out on my Cricut Maker.

Using your weeding hook, start weeding your design.
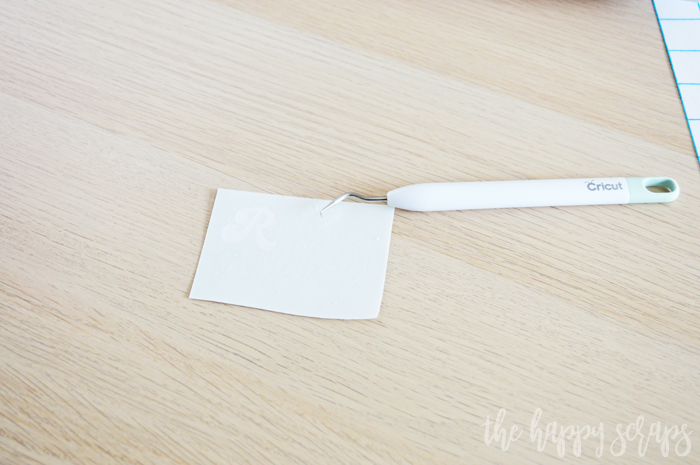
Once you have the design weeded, you’re ready to apply the transfer tape.
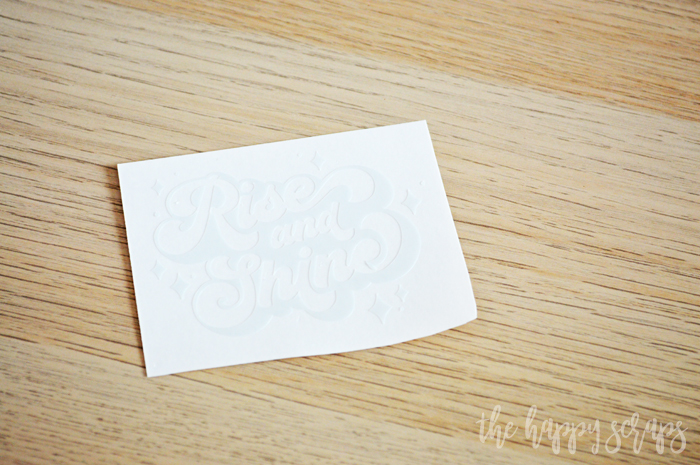
Get your transfer tape cut to the size you need.
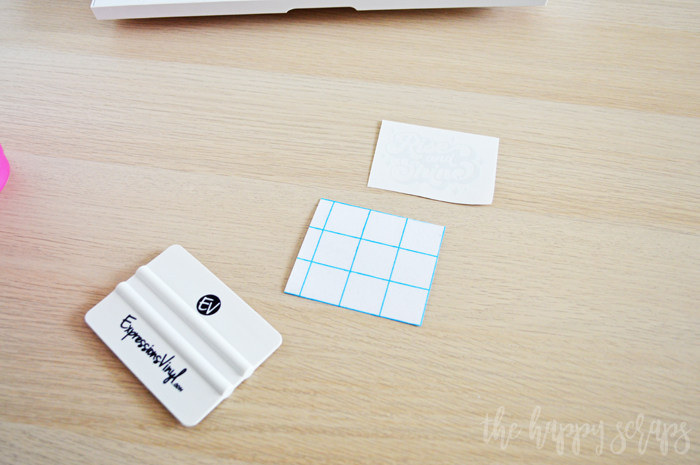
Peel it up and place it onto your design.
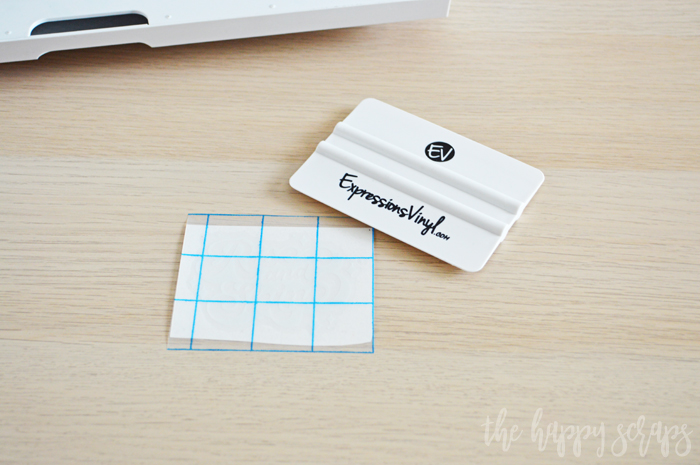
Peel the backing off, in preparation of placing the design onto the cup.

Place your Color Changing Vinyl design onto your cup where you’d like it.
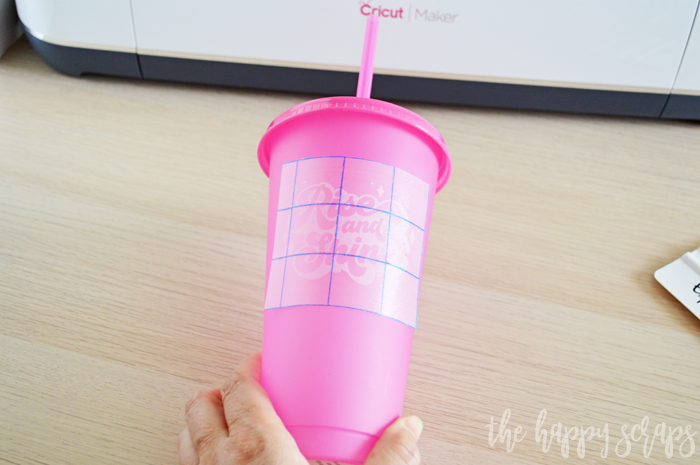
Smooth out your design on the cup, and then remove the transfer tape.
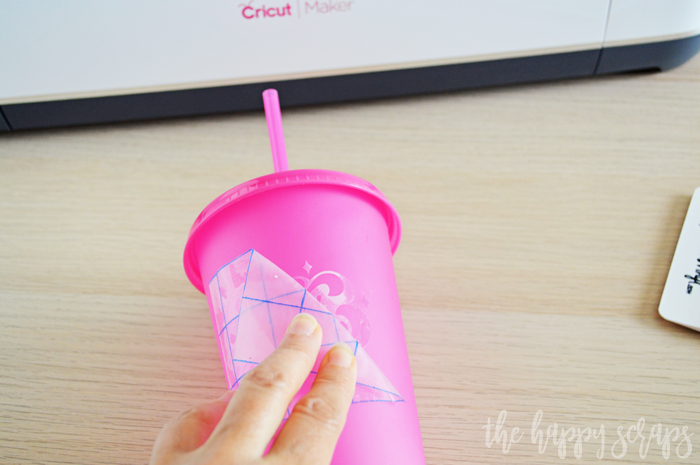
After peeling the transfer tape up, make sure the design is well adhered to the cup. If you need to, smooth it out a little more.
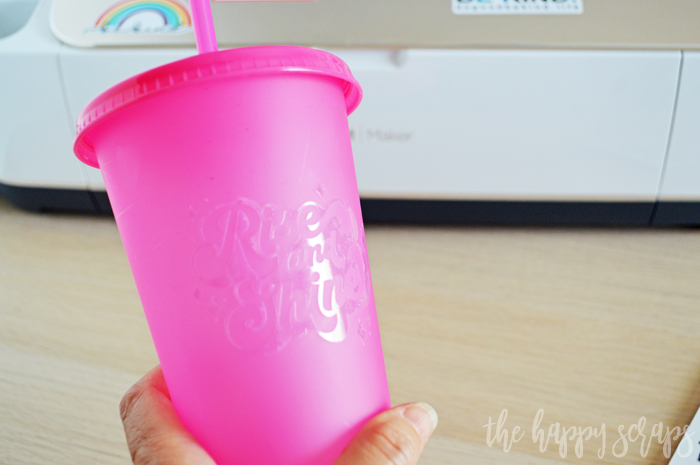
Now you’re ready to fill your Color Changing Vinyl on Color Changing Cup up with your favorite chilled beverage, and watch the magic of the vinyl and cup changing colors!
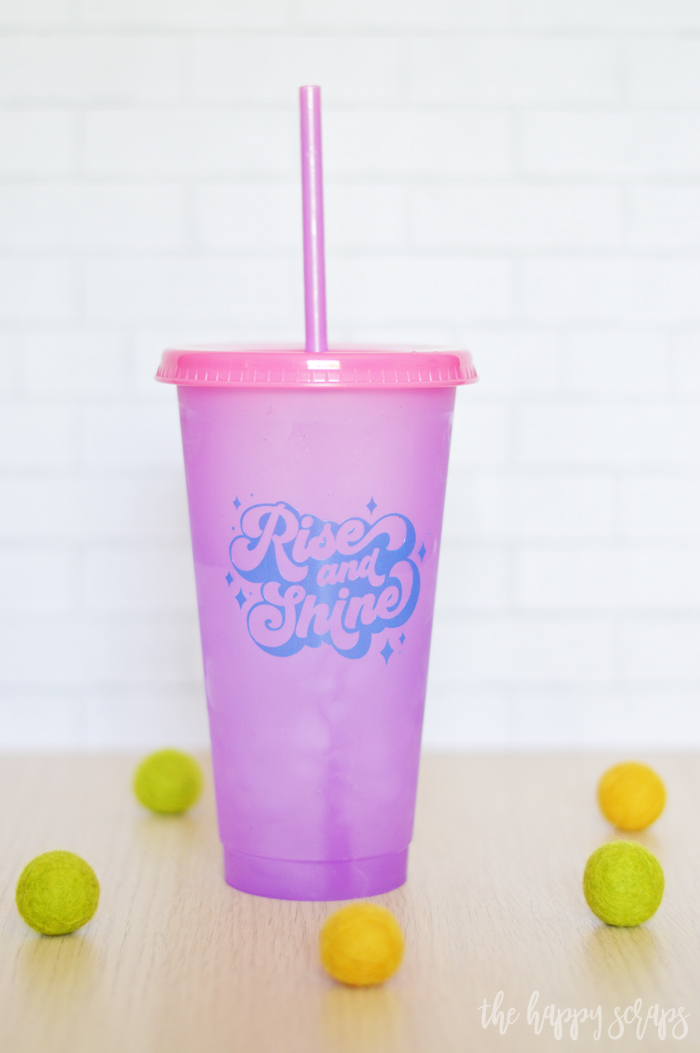
It’s so fun to see not only the cup changing colors but the design as well!
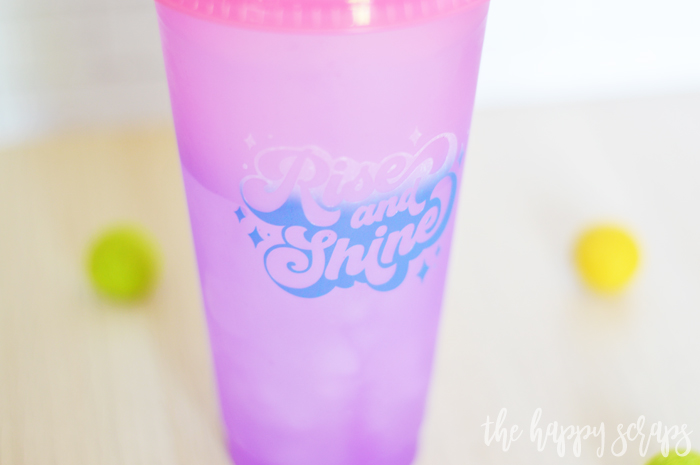
What kind of design will you put on your cup?
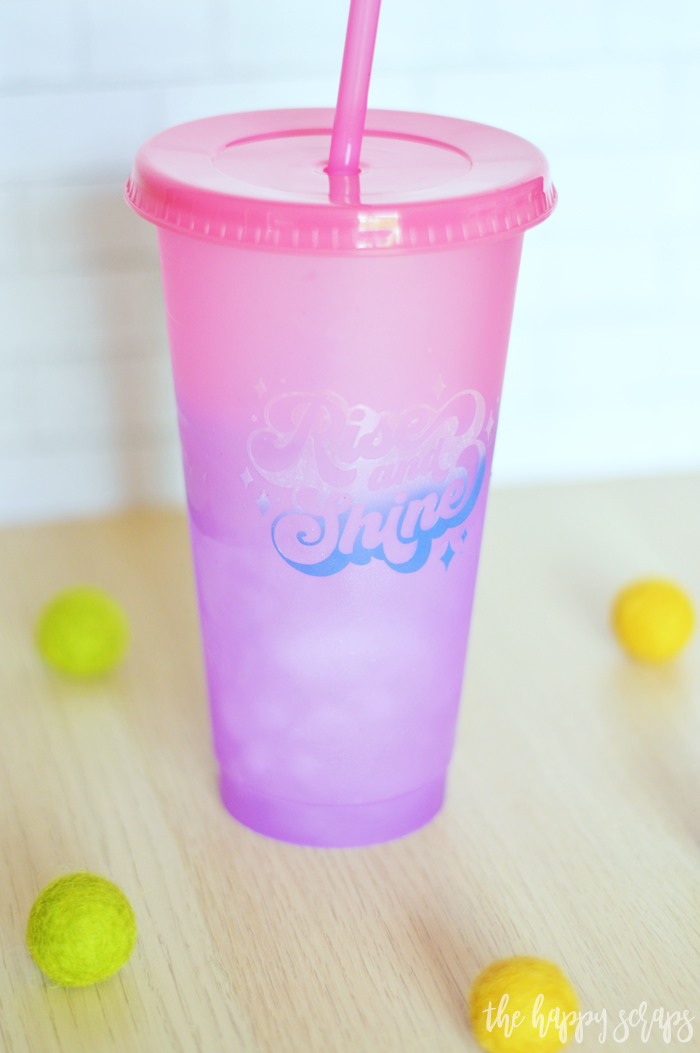
What color of cup would you choose? I did find some packs of color changing cups at Costco, and am excited to help my boys make one for themselves. You can find all different kinds of color changing cups.

If you enjoyed this Color Changing Vinyl on Color Changing Cup post, then be sure to check out some of my other vinyl projects.

Leave a Reply