This Personalize for Back to School with Cricut post is a sponsored post written by me on behalf of Cricut. All opinions are 100% mine.
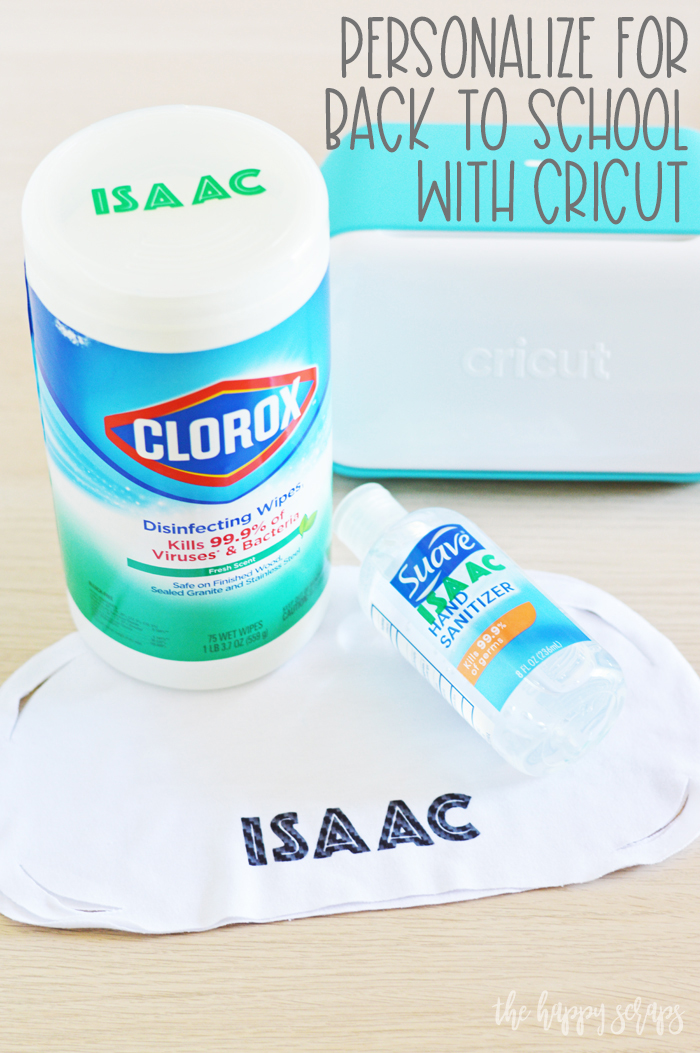
This year, going back to school looks a little different than in years past. I certainly didn’t anticipate that I’d be adding a new item to my children’s school wardrobes, but here I am adding masks to what they need for school, and I know I’m not alone with this. Not only am I adding masks, but I’ll be sending them with items to make sure they can keep their spaces and hands clean. Because we are going through a time when we don’t want to be sharing items, I decided I needed to add their names to the masks, sanitizer, and disinfectant wipes. Today I want to share with you how to Personalize for Back to School with Cricut. This really is so easy to do!

DIY No-Sew Fabric Masks with Infusible Ink
Supplies:
- Cricut Maker or Cricut Explore Air 2
- Cricut T-Shirt Blank
- Fabric Mat (if using Cricut Maker)
- Rotary Blade (if using Cricut Maker)
- Cricut Self-Healing Cutting Mat
- Cricut Acrylic Cutting Ruler
- Cricut Rotary Cutter
- Cricut Fabric Scissors
- Design Space Cut File

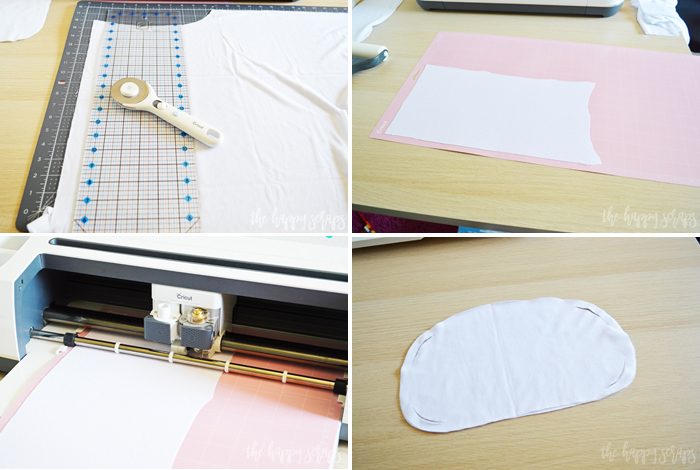
Start off using your fabric scissors and cutting the seams from the shirt. Once the seams are off, place your shirt down on the self-healing cutting mat. For the adult no-sew mask, you need two pieces of fabric that are 7″ x 13″. Cut your pieces using the rotary cutter and acrylic ruler. Place one piece on your 12″ x 24″ fabric cutting mat. Follow the prompts on the screen to cut it out using the rotary cutter and the Cricut Maker. Repeat these steps to get the second fabric piece cut.
Adding Infusible Ink to a No-Sew Mask
Supplies:
- Cricut Joy
- Cricut Joy Mat
- Cricut EasyPress2
- EasyPress Mat
- Cricut Joy Infusible Ink Transfer Sheets
- Cardstock
- Butcher Paper
Once your mask is cut, you’ll be ready to add Infusible Ink to the mask. The great thing about using Infusible Ink on the mask is that it won’t restrict breathing from having something like iron-on on the mask. The Cricut Joy is your best friend when it comes to personalizing items for back to school!

Decide on your design, mirror your image, and cut it out on an Infusible Ink Transfer Sheet with the Cricut Joy. Once cut, weed your design. Take the top layer of your mask and find the center by fold it in half and pressing for a few seconds. Place cardstock onto your EasyPress mat, followed by your mask, Infusible Ink Transfer Sheet, and then butcher paper. Check out the Cricut Heat Guide to get all the details for pressing the Infusible Ink. Once you’re ready, press your design. When the time is up, remove the EasyPress2, then the butcher paper, then peel back the carrier sheet to reveal the design on your mask.
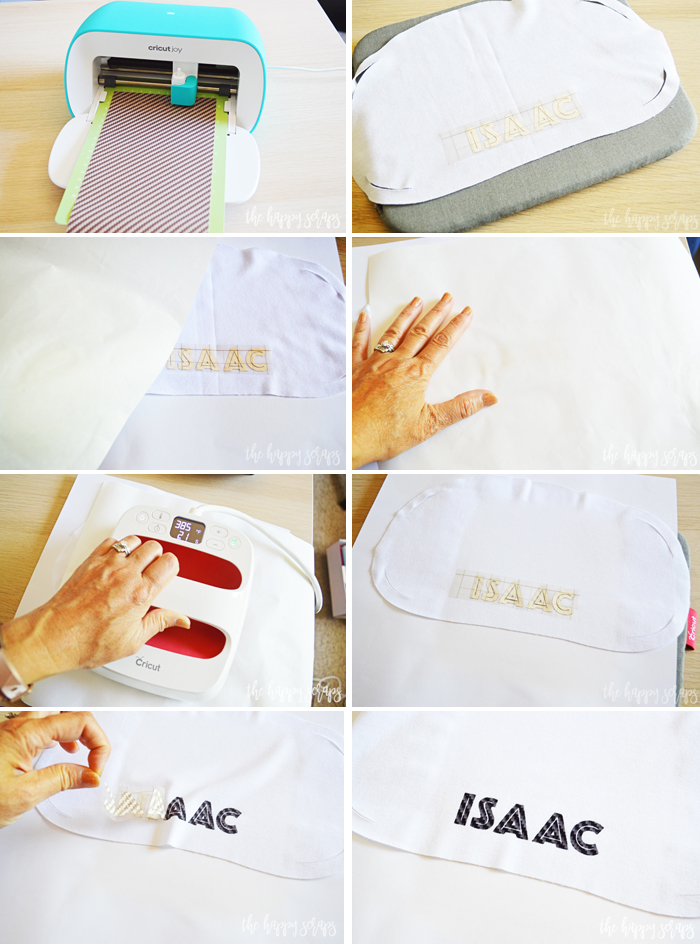
I love that this is so personalized so it won’t be confused with other masks that are at school!
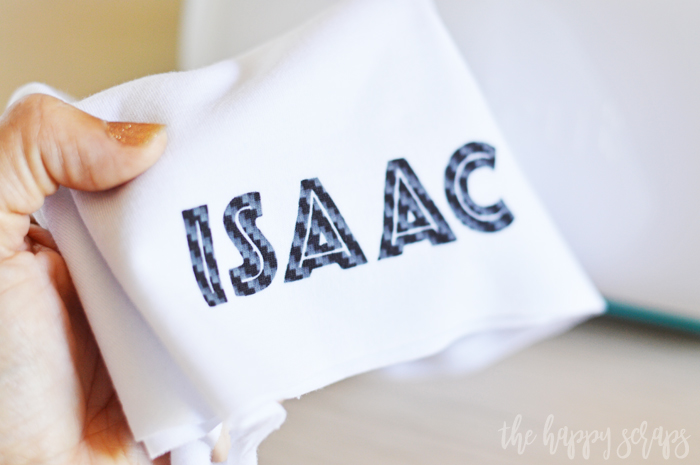
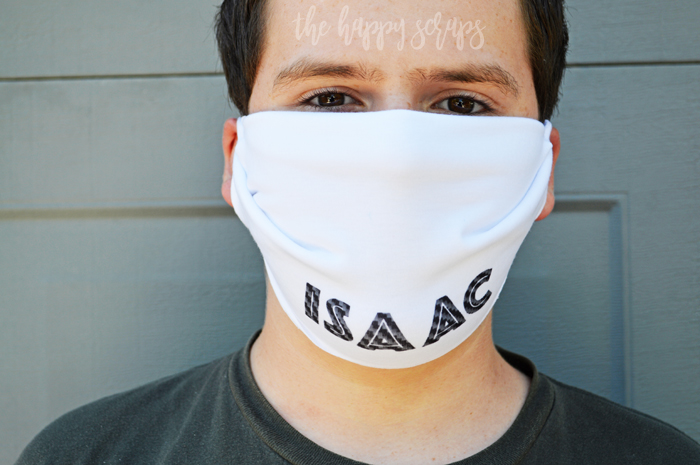
While my kids aren’t too excited about wearing the masks at school, they are excited to be wearing a cool one with their name on it. Plus, this will help the teachers know who my child is. I don’t know about you, but with masks on, I have a harder time telling who someone is!
Adding Names to Personal Items
Supplies:
- Cricut Joy
- Cricut Joy Smart Vinyl
- Cricut Joy Transfer Tape
- Cricut Joy Tools
- Items to Personalize (I personalized disinfectant wipes and hand sanitizer)

Open Design Space and design what you’d like to put on your items. I chose to put my kids names on each item.

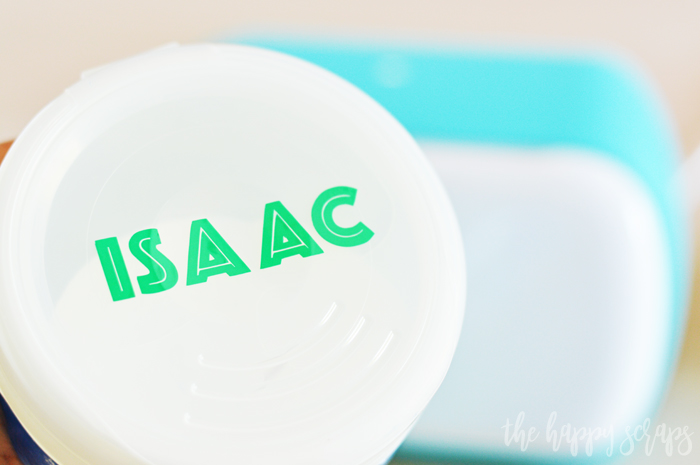
Insert your Smart Vinyl into your Cricut Joy. Cut the design. Weed your design using your weeding hook. Apply the transfer tape to the weeded vinyl design. Peel the backing off of the vinyl and transfer tape, then apply your design to your item. Here, I applied it to disinfectant wipes. Use your scraper to smooth out the vinyl. Then peel up the transfer tape.

Apply the name to the hand sanitizer the same way.

Once you peel up the transfer tape, you’re all ready to send this to school with your child. Everyone will know who it belongs to because it has a name on it!
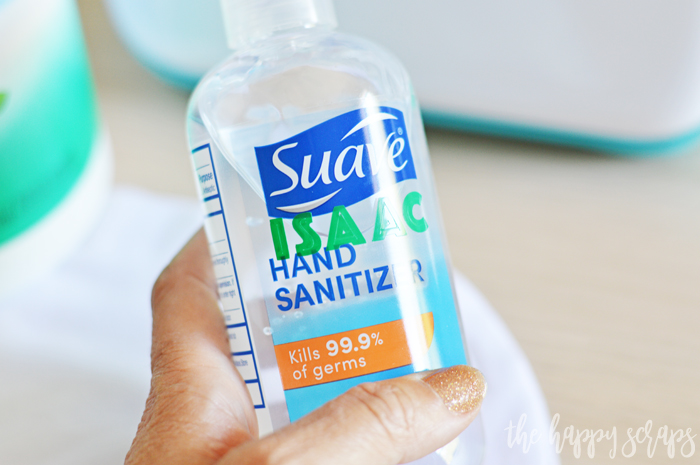
The Cricut Joy makes it so easy and quick to add personal touches to anything! Whether you want to add a picture or name onto a backpack or add vinyl to hand sanitizer, you can have it cut and ready to go in just a few minutes.
Are your kids headed back to school in person? Mine start next week, and while I’m still a little unsure about it all, I think it will be good for my boys! The last few months of the last school year was hard on all of us!
What kinds of things will you be personalizing for school this year? If you’d like to see how I personalized items last year, then be sure to check it out HERE.

Leave a Reply