So, I’ve had this project pinned for quite some time! I think it was one of my very first pins on Pinterest, and I FINALLY got around to making it. I could come up with a lot of excuses why, I just got it done, but I won’t bore you with that. 🙂
I wanted to get this one just right, maybe that’s why it took me longer than I had planned, but I am very happy with how it turned out.
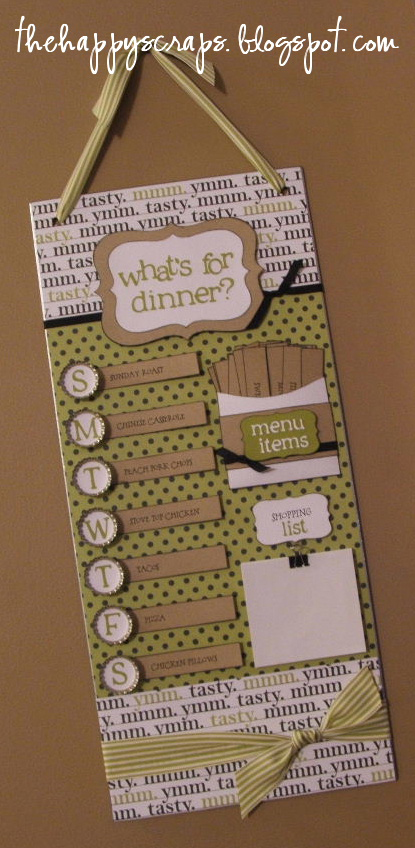
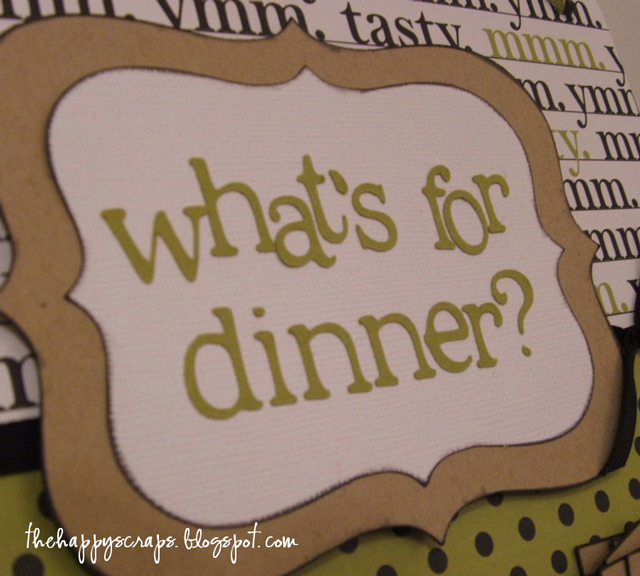
I started with a magnet board that is 9 x 20, and used mod podge to adhere the paper to it. Once I had the back ground paper on I used my Cricut to cut out the title and the backing for the title as well. I also added a little ribbon behind the title.
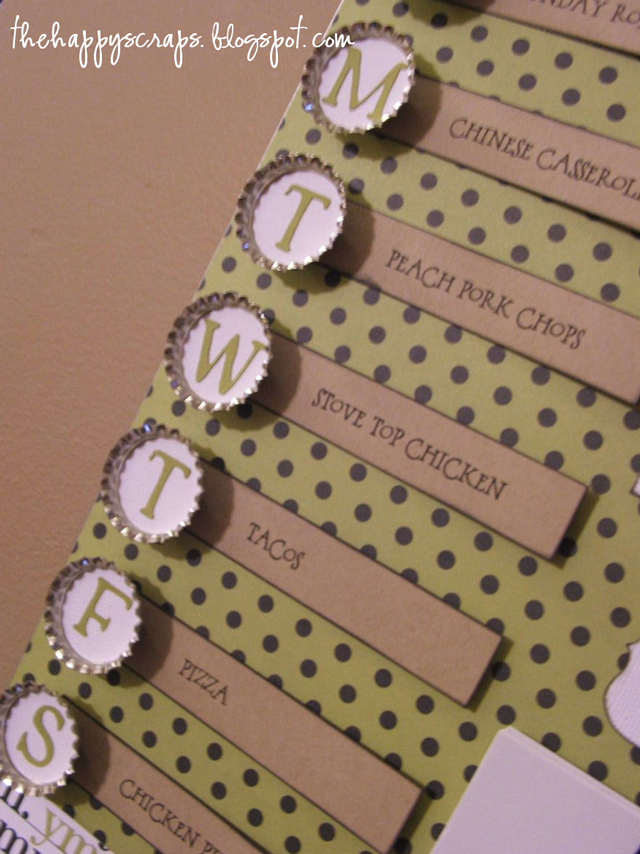
 I used bottle caps for my magnets, and used my 1″ circle punch for the white circles and then again used my Cricut to cut the letters for the days of the week. I printed the menu items off from my computer and then cut them down to size.
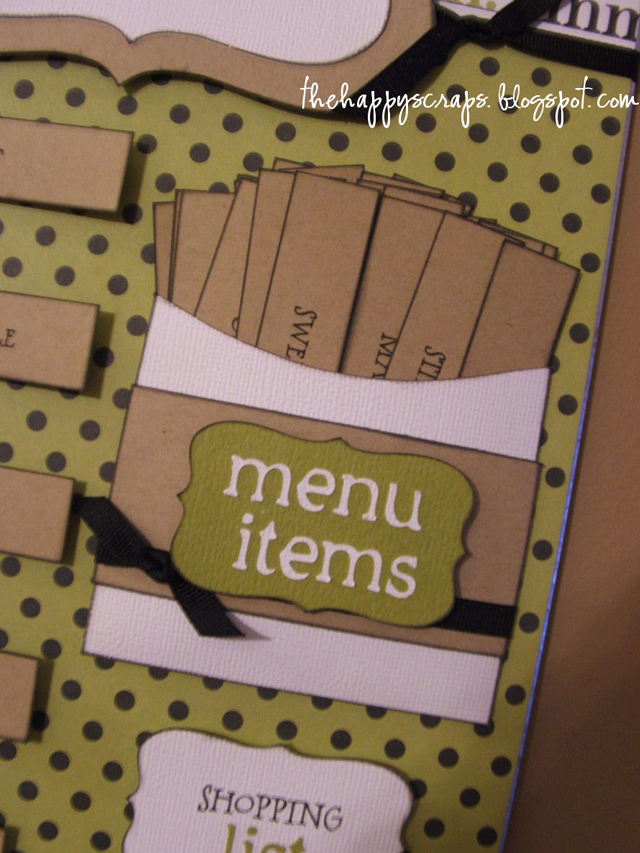
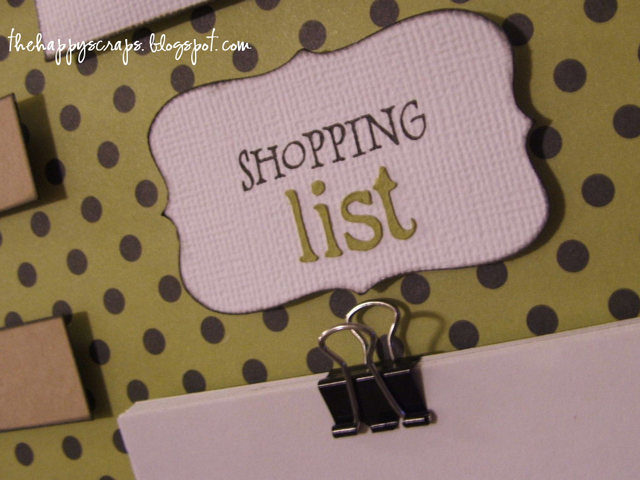
 I love how cute this pocket turned out. I wish I had a cartridge for my Cricut that had a library pocket like this but I don’t, so I traced one that I have, and cut out my own. I love the way the title turned out on this too.
 Because the word ‘shopping’ is so long, I didn’t think it would work to cut it out and adhere it, so I printed it out and then cut the word ‘list’ and put it on. And because I didn’t want a yellow post-it note pad that didn’t match on my board, I cut my own papers and used a binder clip to hold them, and I love what the binder clip adds!
 I used some of my favorite Stampin’ Up ribbon to hang it with, and also to embellish the bottom.
I can’t wait to put this fun board to good use! And I love that I still had this paper to use, because it matches my rolling pin that Debbie gave me, and my spice rack that I did a while back!
This really was an easy project, and I’m excited to get together next week with my sister-in-laws for a craft night. This is what they will be working on, and I made mine before hand just to see what the needed supplies would be!

Leave a Reply