• Contact
  • Etsy Shop
  • About Me
  • Home

The Happy Scraps

a creative blog

  • DIY Projects
  • Cricut
  • Holidays
    • New Year’s
    • Valentine’s Day
    • St. Patrick’s Day
    • Easter
    • Mother’s Day
    • Father’s Day
    • Independence Day
    • Halloween
    • Thanksgiving
    • Christmas
  • Paper Crafts
    • Banners
    • Cards
    • Mini Albums
    • Printables
    • Scrapbook Layouts
    • Wreaths
  • Sewing
  • Recipes

3-Page Birthday Layout

February 12, 2013 By Amy | The Happy Scraps 3 Comments

14 shares
  • Share
  • Tweet

A couple of weeks ago, I sat down and looked thru the scrapbooks that I’ve done.  I had forgotten about some of those pages.  They don’t get looked at too often.  One thing that really hit me though was that I was SO glad to have the pages that I have done, done!  It was so fun to look through all those books and remember things from when my kids were smaller.  Sadly, my younger two boys’ books are much smaller than the older two. I need to work on those.
I took the time to sit down and create this 3-page scrapbook layout, and it was so much fun! This is my baby’s 2nd birthday pictures.

Porter-turns-2-page1

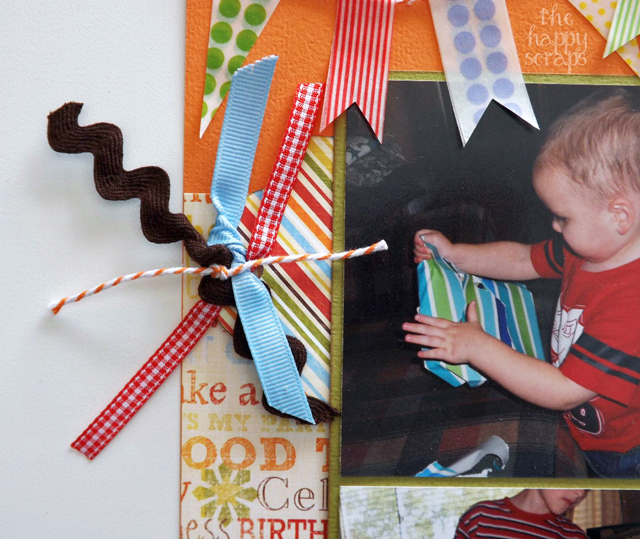
At two years old, it is so fun to watch the excitement in them, and I’m so glad we caught that excitement with these pictures.

Porter-turns-2-page2

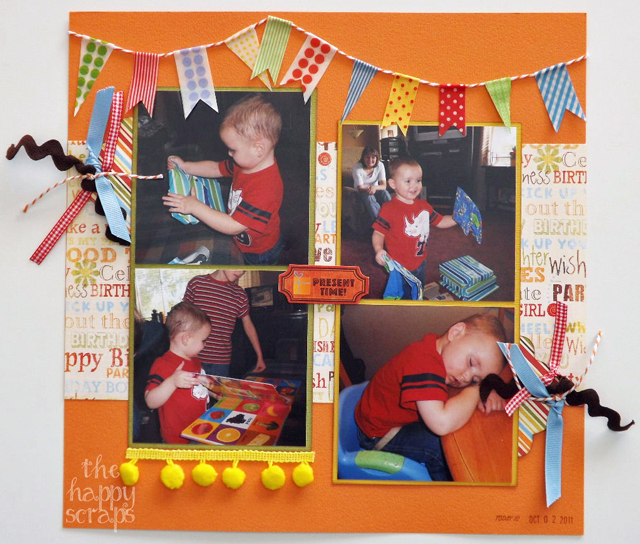
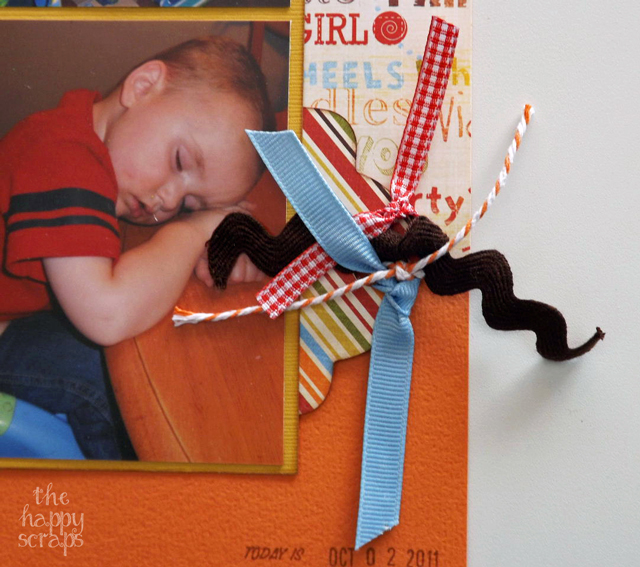
We had to wait until the next day to do cake and ice cream because the birthday boy fell asleep.

cake-&-ice-cream-layout

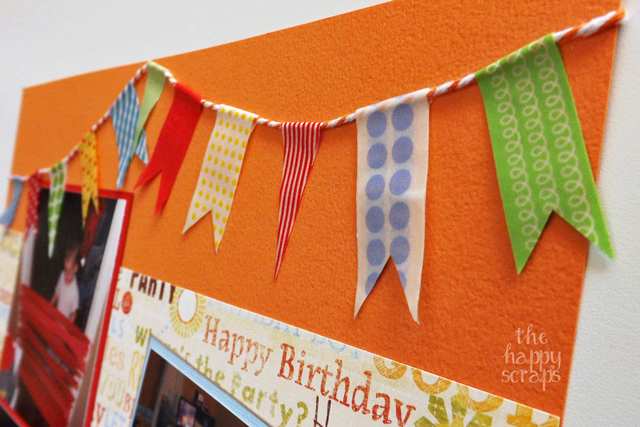
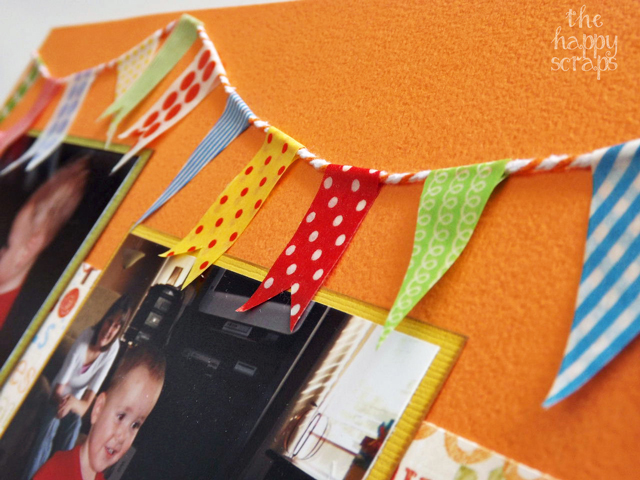
One of my most favorite parts of these layouts is this fun washi tape banner!  These are SO easy to make and so much fun!

flag-banner-page1


flag-banner-page2

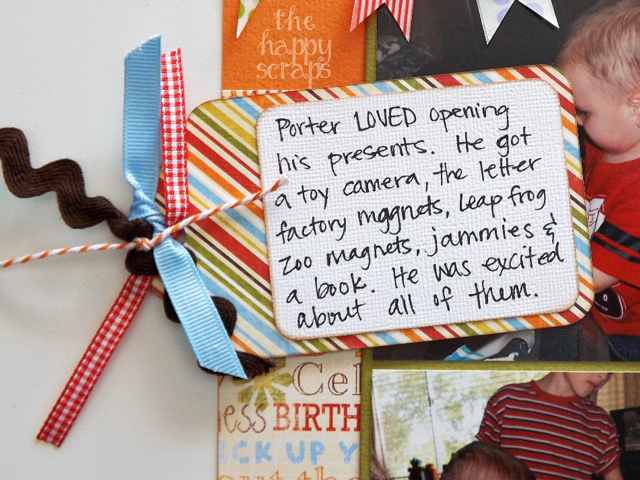
Since I had quite a few pictures and I didn’t want to cut back on my journaling, I decided to put some tags under the pictures.  I used my Cricut to cut these tags out as well.

tucked-tag1

Here is one pulled out.

tag-1

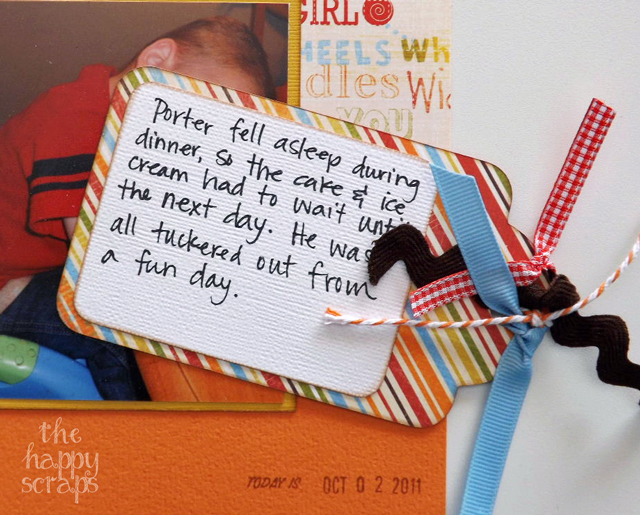
Here is the other tag.

tucked-tag2

And pulled out.  I love adding ribbon to tags!

tag-2

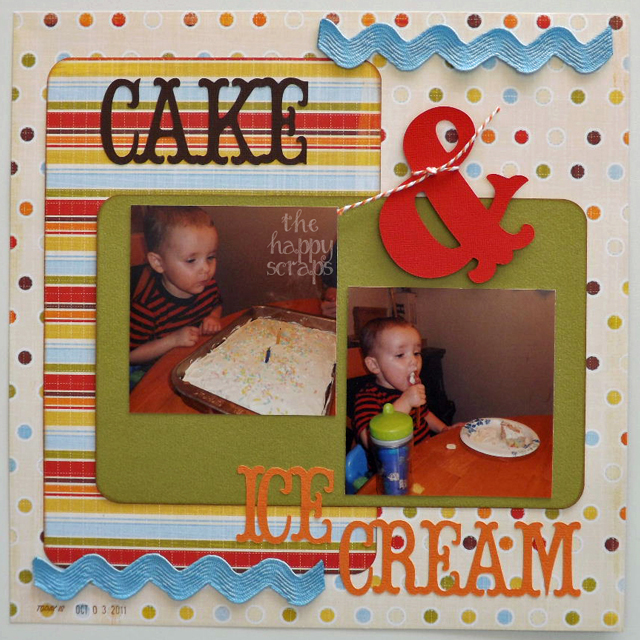
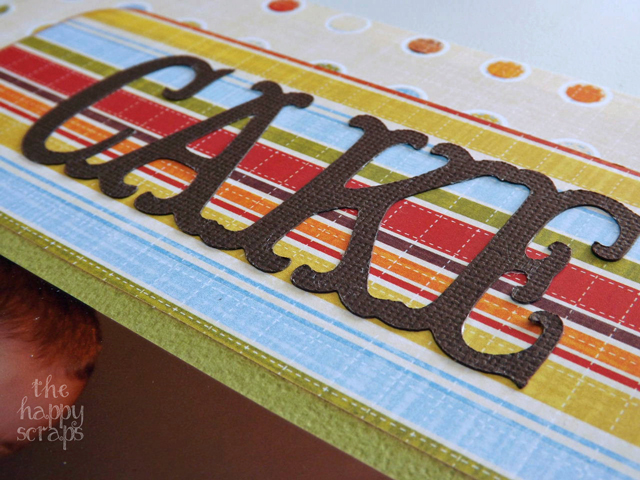
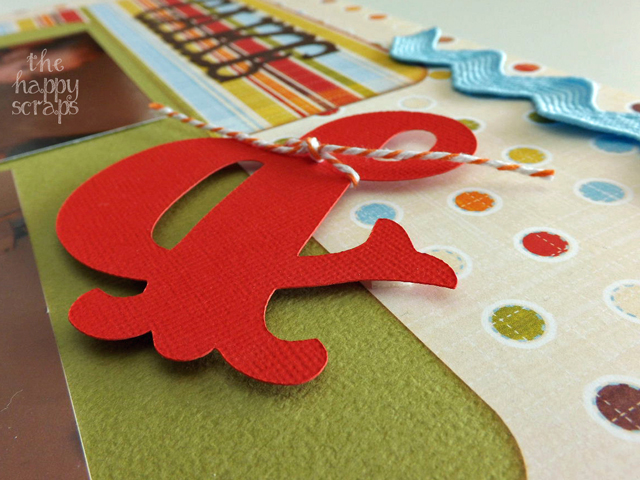
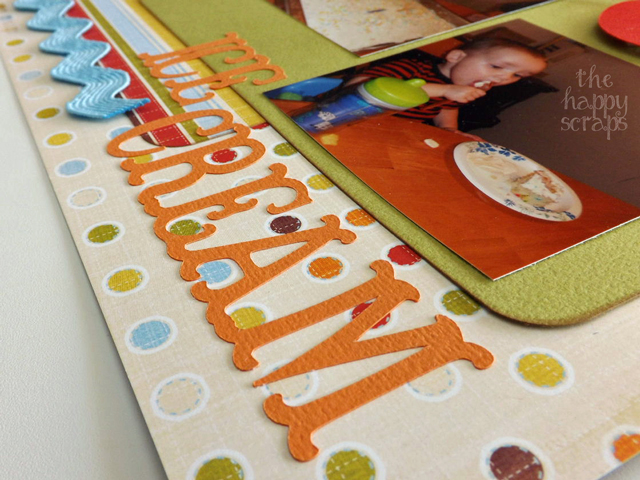
On the third page, I used the Storybook Cricut Cartridge to cut the words “Cake & Ice Cream.”

cake-storybook-cricut-cartr

I added dimension squares to the & and then tied some twine around it.

&-storybook-cricut-cartridg

Ice-Cream-Storybook-cricut-

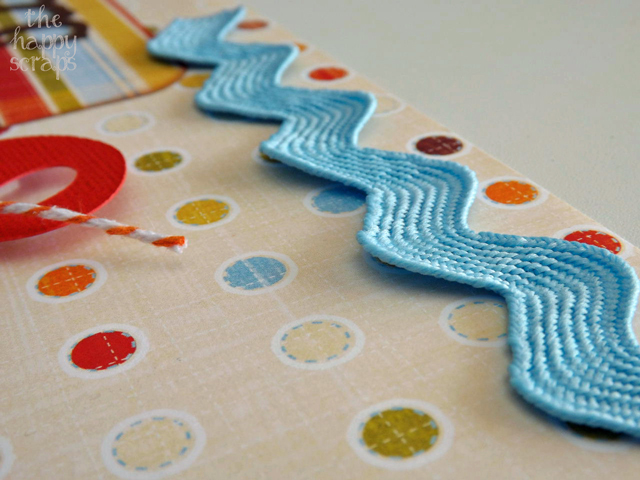
I also added this fun ric rac to the top and bottom of the page.

ricrac-on-layout

It felt so good to sit down and actually make some scrapbook pages again!  I can’t wait to do it again!

Filed Under: DIY Projects, Paper Crafts, Scrapbook Layout Tagged With: banner, birthday, cricut, ink, pages, paper, ribbon, scrapbook layouts, stamps, washi tape

« Self Binding Minky & Satin Baby Blanket
Last Minute Teacher Valentine »

Leave a Reply Cancel reply

Your email address will not be published. Required fields are marked *

CommentLuv badgeShow more posts
  • Farm Sweet Farm Front Porch Sign with the Cricut Maker 3
  • Farm Fresh Eggs Kitchen Sign
  • How to Make a Summer Hat with the Cricut Joy
  • Bless Our Farmhouse Kitchen Sign
  • Welcome to the Farm Front Door Decor
  • How to Use Offset in Cricut Design Space

Popular Posts

Page Ranking Tool

Categories

Archives

The images and text on this site are copyright of The Happy Scraps. If you would like to feature a project or image on this site please email [email protected]. Thank you! Please read the Privacy Policy and Disclosure here.

Copyright © 2025 · Tasteful theme by Restored 316

Copyright © 2025 · Blog Design by Key Lime Digital Designs · WordPress · Log in

14 shares