**Disclaimer: I was provided with the Iron On material I used in this post. I am an affiliate with Cricut. All opinions expressed are my own.**
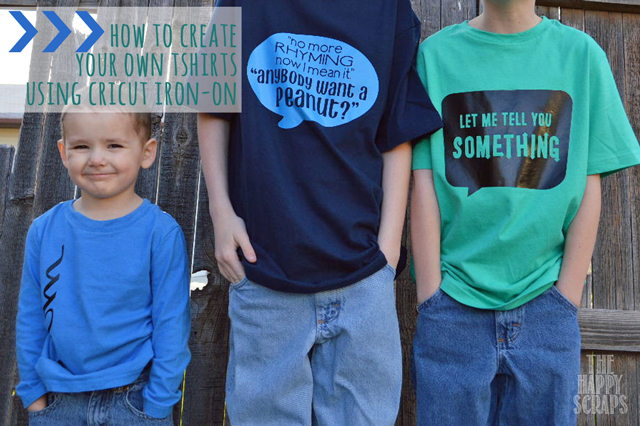
Have you guys heard of the NEW Cricut Iron On? This stuff is the bomb!! I was so excited to try it, yet scared at the same time. BUT, it is so so easy to use. I made these three shirts for my boys all before they left for school one morning. That is how fast these are. (I did have two of them designed in Cricut Craft Room already tho.)
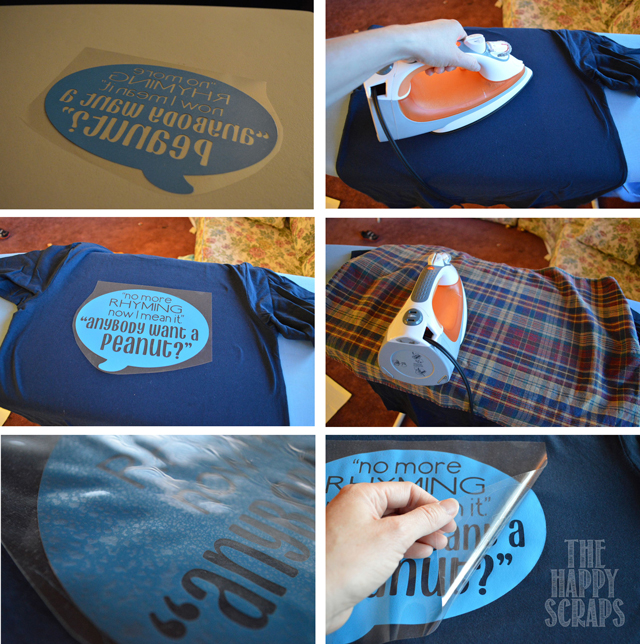
This is how I did it. First, using your Cricut machine, you cut out your Iron On material. You need to FLIP YOUR IMAGE BEFORE YOU CUT! On my first try, I didn’t do this…OOPS. Once you have your material cut out, you need to weed it out, it is easiest with the tool in the Cricut Tool Kit. Next, get your shirt laid out and ready. You need to warm up the shirt a little bit with the iron. Once the shirt is warm, you put your iron on where you want it on the shirt. Cover it with a dish towel and then iron it. Then you need to turn your shirt over and iron it from the back as well. (Complete instructions come with your iron on material.) You can tell it is working if you can see bubbles under the plastic lining. Once it is cooled off you can peel the lining up, and it’s done!
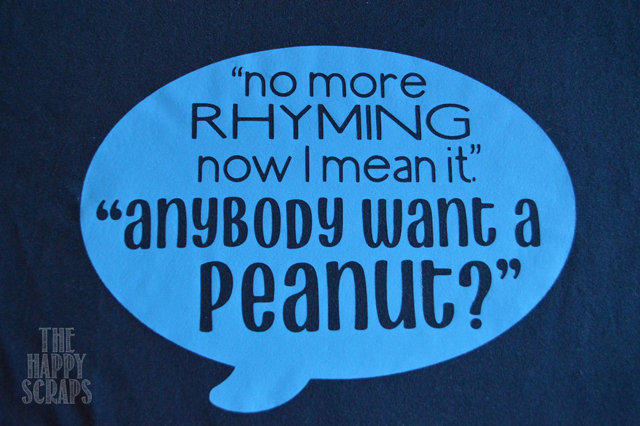
How awesome it this?! When I showed my son his shirt, he said, “I like how you made it different writing for when different people talk.” I guess he likes fonts too. 🙂
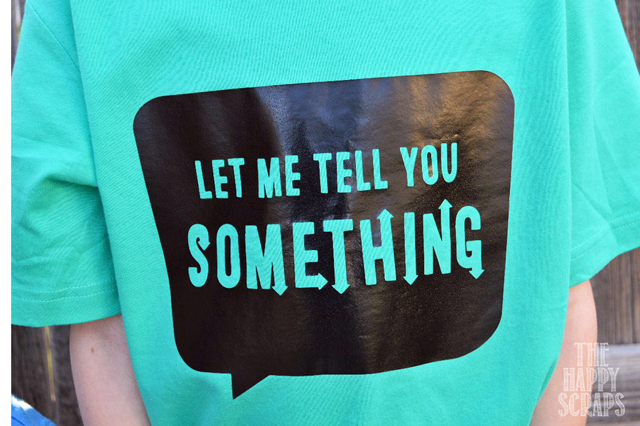
Here are a couple more that I made. I had to make one for my second boy that says “let me tell you something” because every time he wants to say something to someone, he tells them that, so I thought it would be a cute shirt for him. We were with some family this weekend, and so many people asked where we got that shirt! It was so fun to tell them that I made it.
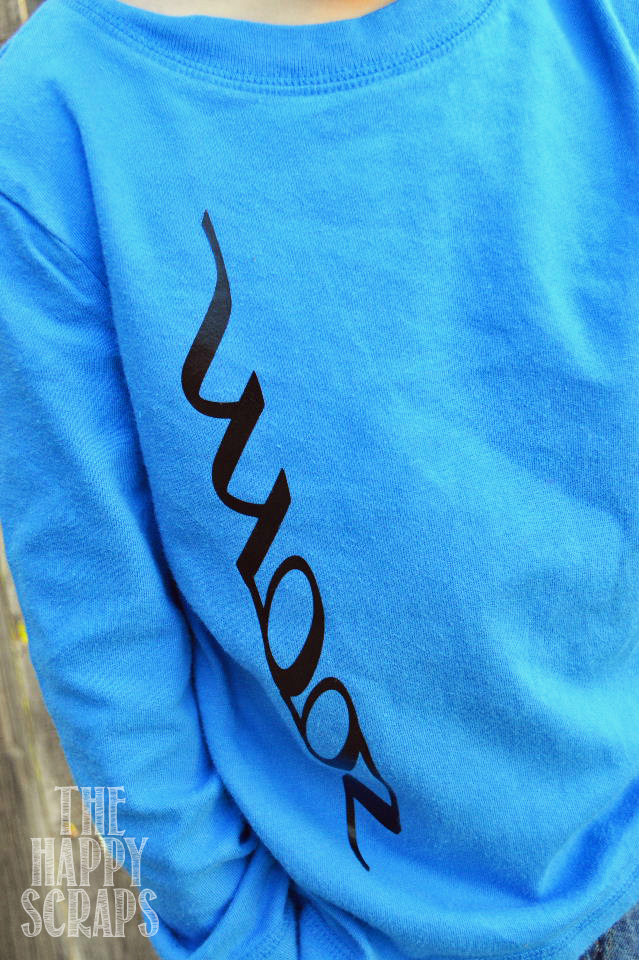
For my 3 year old I made this shirt that says zoom! He is constantly zooming. He knows what it says and will tell people and then he will “zoom” off. Very fitting, isn’t it?!
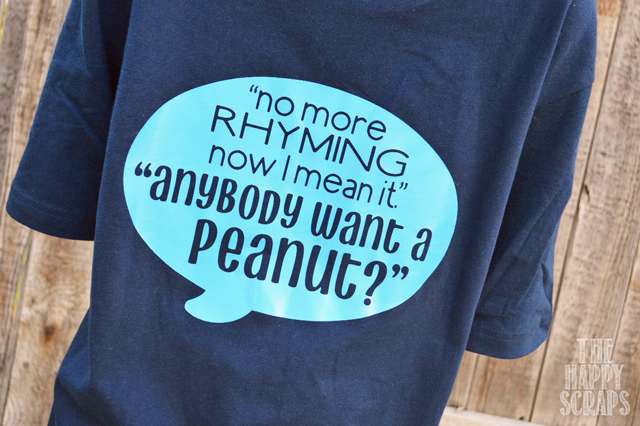
And here is one last look at the shirt with the quote from the Princess Bride.
This stuff was SO fun and easy to work with, I just can’t wait to get my hands on more of this Iron On Material!!

Leave a Reply