Disclosure: I was provided with the Cricut Iron-on Vinyl and a tool kit for this post. I am an affiliate with Cricut and this post includes affiliate links. All opinions are my own.
I realized that Thanksgiving hasn’t come and gone yet, and I’m sharing Christmas project. That isn’t my norm, I like to celebrate every holiday, but let’s be honest, who hasn’t thought about Christmas crafting yet? If I wait until December to start, it usually doesn’t happen. 🙂
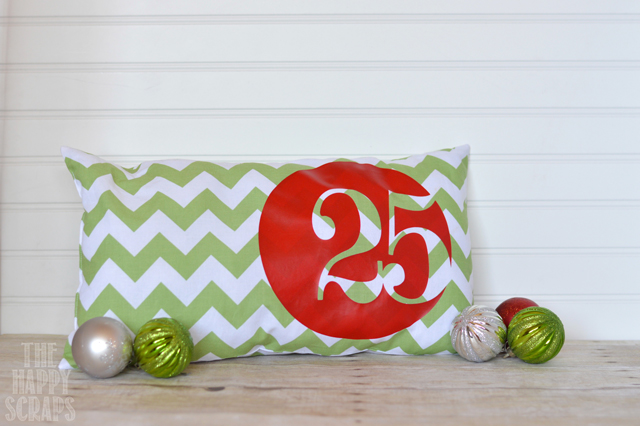
So, are you looking for a quick and simple Christmas project? I sat down to make this pillow and was surprised how quickly it all came together. All you do is sew up a pillow, using a fat quarter, then start cutting your vinyl.
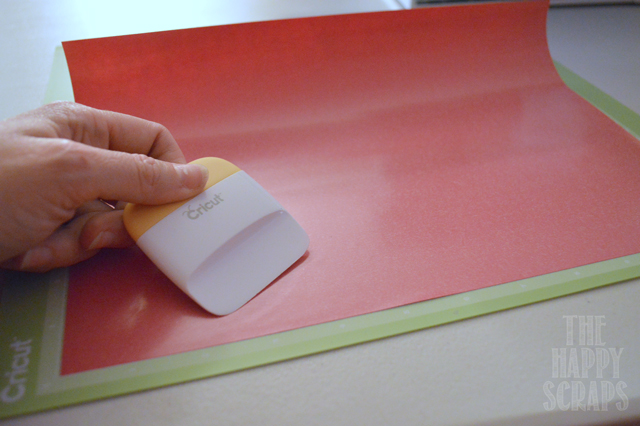
Start by opening up Cricut Craft Room and deciding what you are going to cut out. I chose to cut the 25 from Teresa Collins Christmas Holly, using my Cricut. When I was putting my Iron-on Vinyl on the mat, I used the scraper to smooth it all out and get it on the mat good. I have always used something flat and hard to smooth my paper, vinyl, etc. onto the mat, but this new scraper…I LOVE it!
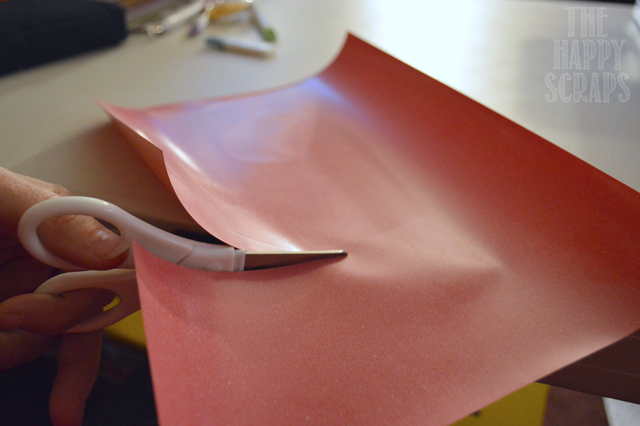
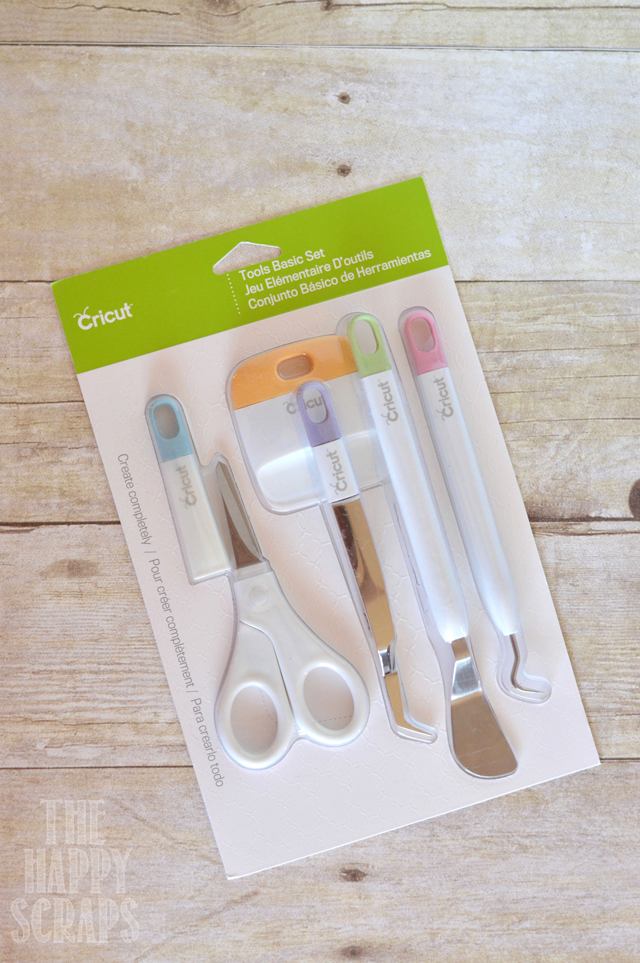
Before you cut your iron-on vinyl, you have to make sure to FLIP YOUR IMAGE!!! Every time I am working with iron-on, I forget to flip it. Grrr! Luckily this time, I realized before very much was cut, and I was still able to use the same piece I had on the mat. Once your vinyl is cut, peel it up off the mat and trim any excess off, using the scissors. These little scissors that are in the tool kit are the best. My favorite part about them is that they have a cover so they are always protected when not in use.
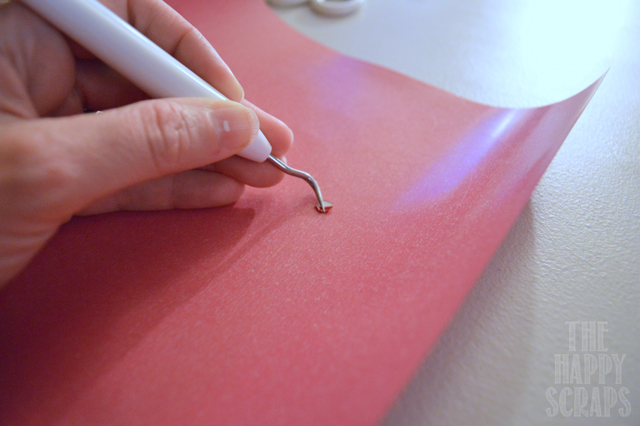
Now you are ready to reveal your image and get it ready to iron-on. I have had the old Cricut Tool Kit for a long time, and have always love my Weeder. I’ve used it so much. I was excited to try the new one, I really like the larger handle. It works just as well as the older one, but I have to say that I like the color better. 🙂 Once you peel all of the negative space (parts that you don’t want) off, now you are ready to iron.
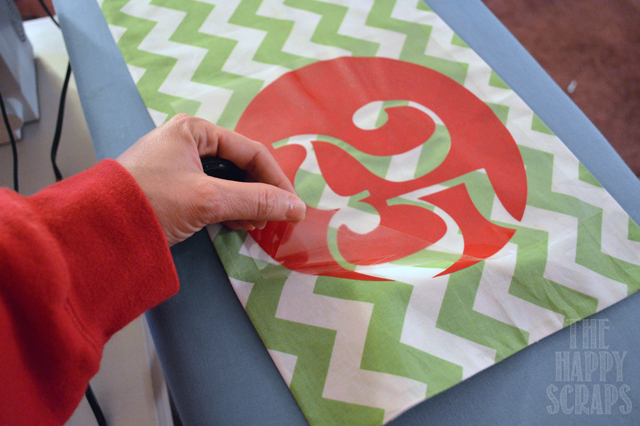
Just follow the directions that come with your iron-on vinyl. After it is ironed on and cooled off, you can peel up the plastic lining.
This is when I stuffed my pillow and then I stitched up the opening. I’ll admit that this is only the 2nd (I think) pillow that I’ve made, and the other one was just a pillow cover, so I’ve never had to stuff one. It turned out better than I thought it would though.
I’m excited to display this pillow in my home for the Christmas season! Hopefully my boys will enjoy it as much as I plan to, and they won’t think about using it for a pillow fight. 🙂
If you are still with me, then today is your lucky day. I have an extra Cricut Tool Kit that I have decided to give away to one lucky winner, a $24.99 value. Not only are the tools mentioned above included, but there are also an awesome pair of tweezers, and also a spatula, both of which are tools I use all the time. This tool kit would be great for someone with or without a Cricut! Just enter using the Rafflecopter below.
Giveaway runs from November 18 through November 21, 2013, 11:59pm. I will announce the winner on Friday, November 22. Open to US residents, 18 years and older. Winner will have 48 hours to contact me or another winner will be chosen.


Leave a Reply