I made these fun Turkey Name Cards last year for Thanksgiving, and I had so much fun making them, that I thought I would share a tutorial with you this year so you could make your own. They are easy to make, and you still have time to get them made before Thanksgiving.
You’ll need patterned paper of your choice, ink, scissors, a pen, scrap cardstock, and double sided tape.
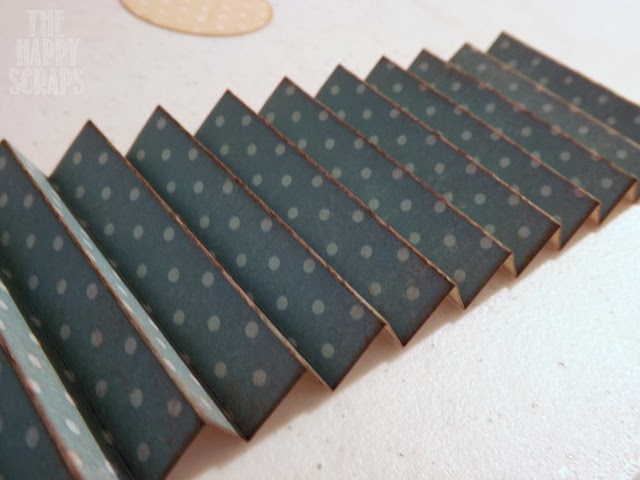
You’ll need a strip of paper measuring 2 1/2 x 12. Score it every 1/2 inch and accordion fold it. Once you have it folded, ink all the edges and peaks.
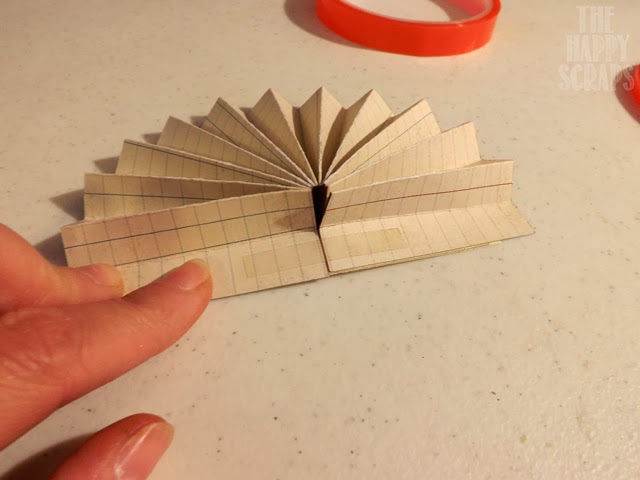
Cut your self a piece of scrap cardstock that is about 4 1/2 x 1/2. With the double sided tape, stick one side to the scrap cardstock.
Now attach the other side. You’ll want to put a small piece of double sided tape on the inside, the first fold above (from the back) where you put the scrap cardstock.
Now, if you flip it over, it will look like this.
To help hold it in place, put your circle in the center. You could hot glue it or use the double sided tape.
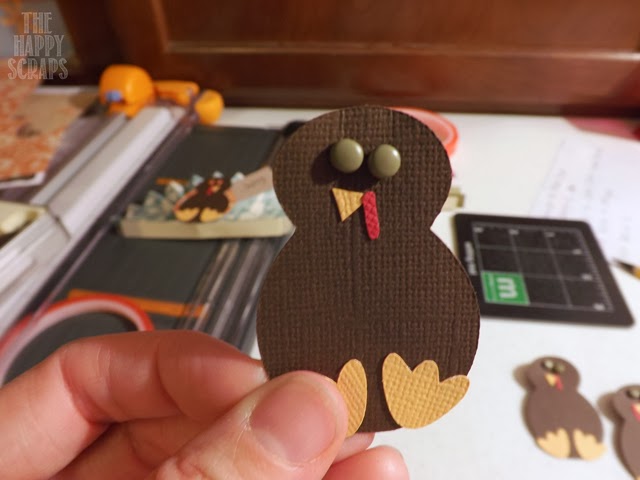
Now you are ready to put your turkey body on. I made my little bodies by finding an 8 on one of my Cricut cartridges, and in Cricut Craft Room, I used the feature “hide contour” to take the center out. I also took 3 ovals and welded them together to make the feet. I hand cut the beak and the little red thing. Once I had all of the pieces, I glued them all together.
Using a paper piercer, I poked holes where I wanted the eyes, and then added brads. I also used a pen to make the pupils of the eyes.
Now you are ready to put the body on your turkey, and add the tag with the name.
That’s it! Now you are ready to have Thanksgiving dinner, and everyone will know where they’re supposed to sit. If you don’t have time to make these or would like something a little more simple, check out my printable Thanksgiving Place Cards.


Leave a Reply