Disclaimer: This is a guest post I shared over on The Wood Connection Blog. I was provided with the supplies for this project, but all opinions are my own.
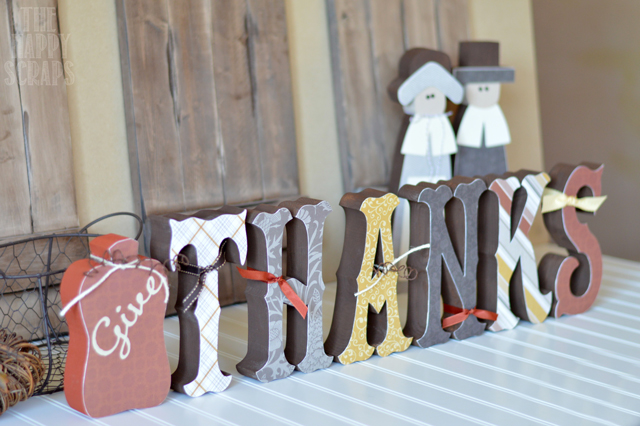
Don’t you just love all the goodness that The Wood Connection has to share? I know I do! When I walked into the store and saw this Give Thanks set and the large Pilgrims, I knew I had to have them! Aren’t they fun?!
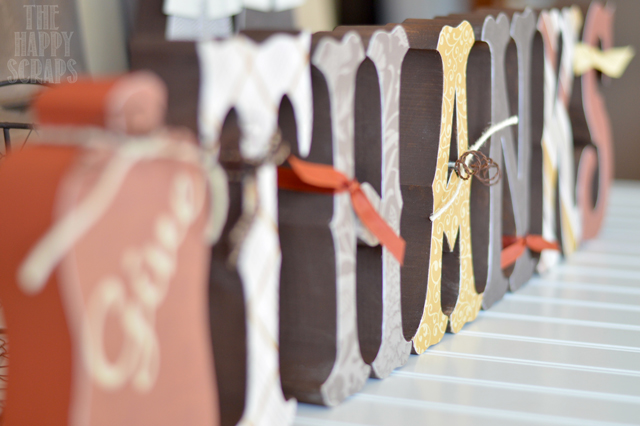
Before I painted any of my wood, I traced the pumpkin and letters onto the paper that I wanted, then cut my papers out. I painted all of the wood before adhereing the paper. Using Wood Glue (I used to love using mod podge for this, but since I started using this glue, I haven’t gone back!! It is awesome!) I glued all of my paper down onto the wood. After all of the paper was glued down, I put the “Give” vinyl on the pumpkin and then tied ribbon and wire onto the letters. Embellishing is always one of my favorite parts. This Twisted Rustic Wire is still one of my favorites, and it worked perfectly with this Give Thanks set. I added it to the pumpkin.
I also added the wire to the A.
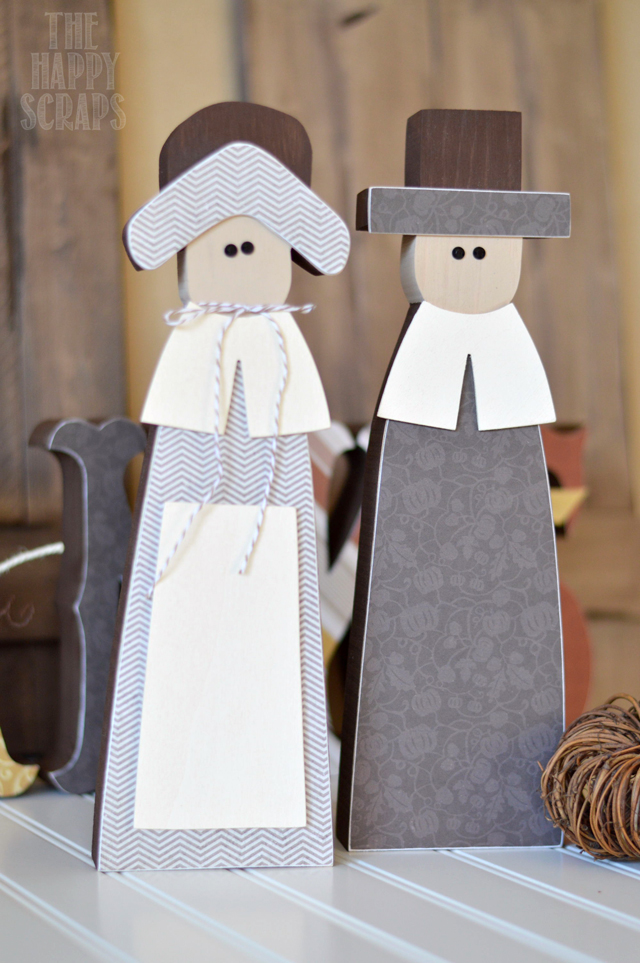
Here are the Large Pilgrims. These are new this year, and I love them. I made a set of the smaller Pilgrims a couple of years ago, and I love them, so when I saw this new set, I had to have them.
This set is so fun, and will make the perfect display in your home for the Thanksgiving season.
Check out some of the other Thanksgiving Decoration ideas that I’ve shared here.


Leave a Reply