I am a member of the Collective Bias® Social Fabric® Community. This shop has been compensated as part of a social shopper amplification for #CollectiveBias and its advertiser. #VIPFruitFlavors
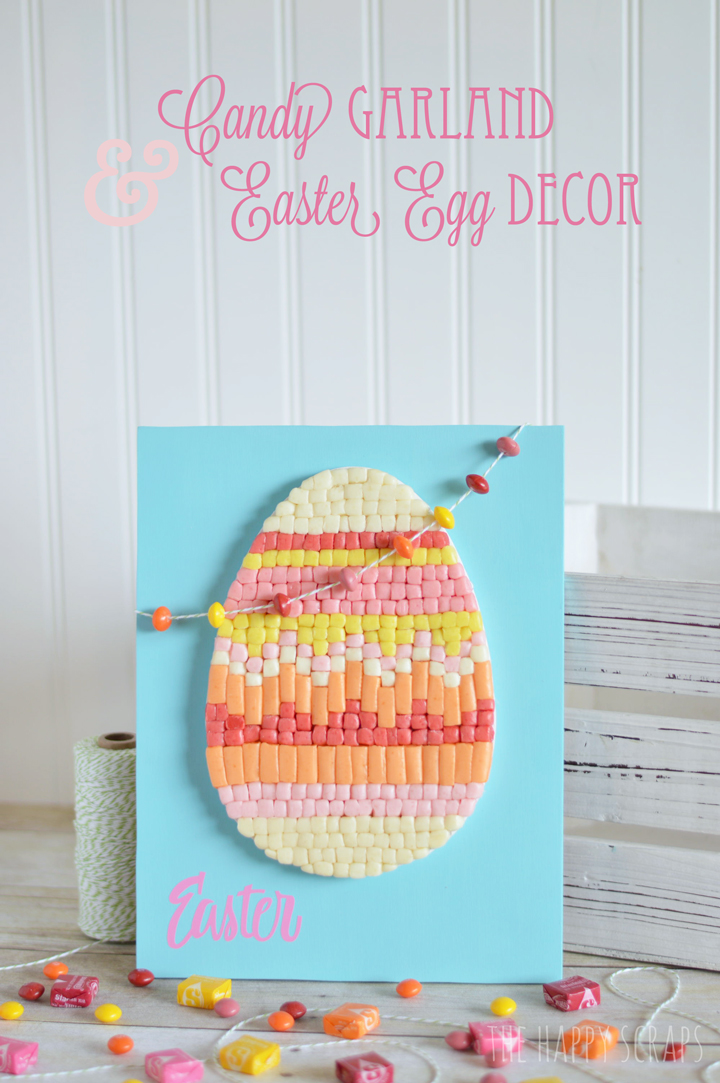
I’m excited to share this fun project with you today. I’ve had so much fun playing with candy and trying not to eat it over the last few days while I was creating these projects. Today I’m going to show you how I made this fun Skittle Garland and Starburst Easter Egg Decor.
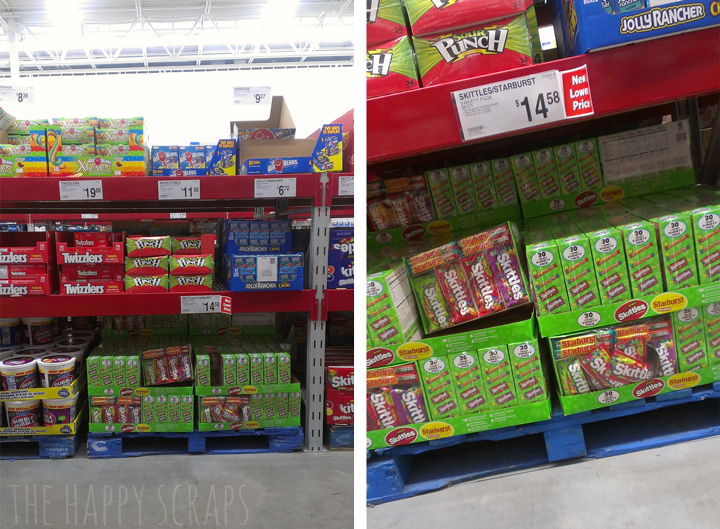
Start off by heading out to pick up the Skittles & Starburst 30 Pack from Sam’s Club. I don’t know about you, but I always love walking down the candy aisle at the store and that aisle at Sam’s Club is my favorite. What can I say, I like candy. 🙂
I broke open the box of candy. I don’t know who was more excited about it, my boys or me. We were all excited to get to eat the leftover candy, once the crafting was done.

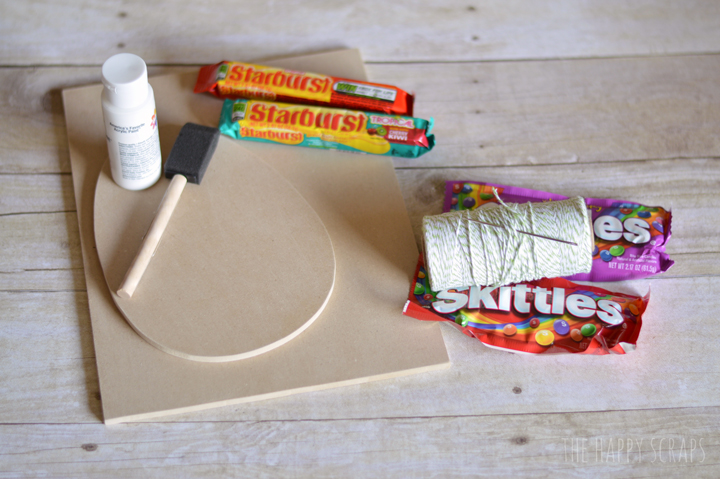
To get started, I grabbed a couple packs of Skittles and Starburst, along with the twine and needle, wood (I had my husband cut it for me), paint, and paint brush. I also grabbed my glue gun.
I painted the egg white, and I made sure that the edges were painted good. After the paint dried, marked some pencil lines on the egg, to help keep the design straight. Next I opened up the Starbursts and cut most of them into nine pieces. I chose to leave the orange ones as longer pieces. I thought it would be easiest to start with the bigger pieces to line it all up.

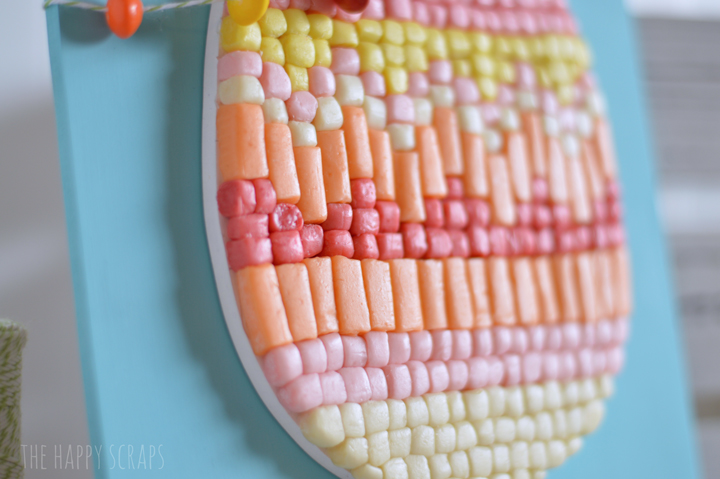
Once I got the orange laid out, I got the glue gun out and started gluing each piece to the egg. I just worked up from the orange starbursts. Once I got to the top, I went back and finished the bottom. One thing that was nice about working with the starbursts was that I could mold them to fit where they needed to. I also turned over the egg and pressed it on a flat surface, once I had all the starbursts glued on. It helped to keep the front of egg a little smoother.
Once I had the egg all done, I got out the needle & twine, and started stringing the skittles onto it.
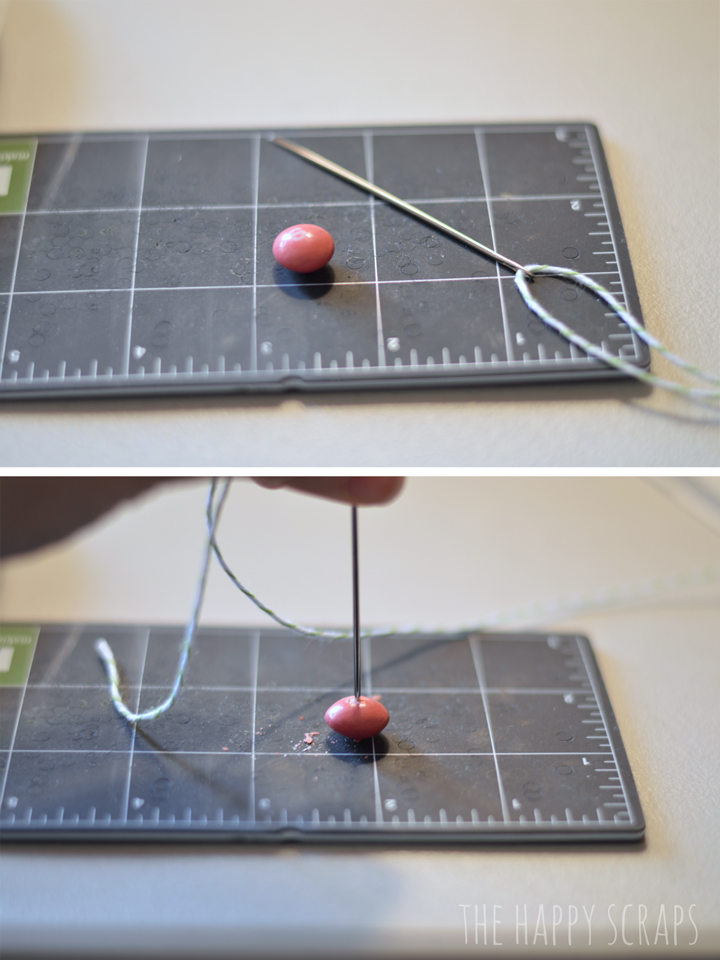
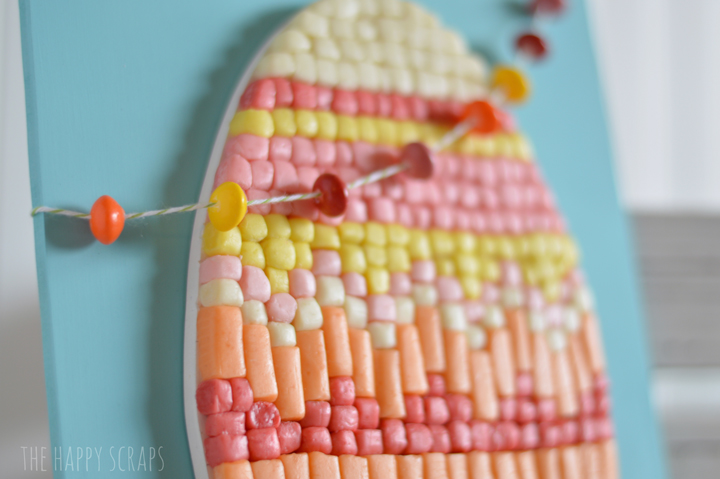
The skittles do crack a little bit when you poke the hole, but they stay on the string just fine, and they are just so cute all strung together!
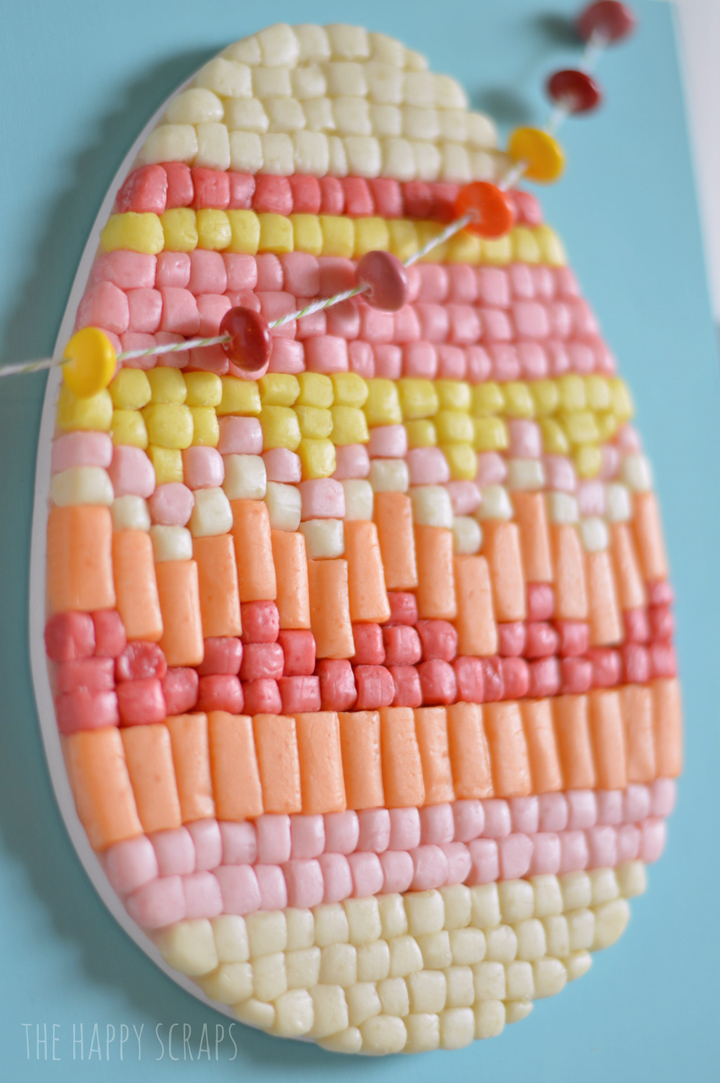
I almost think the egg has a mosaic look to it. Isn’t it fun!? Once I had it mounted on my board, I decided to cut a little Easter vinyl and stick it on.
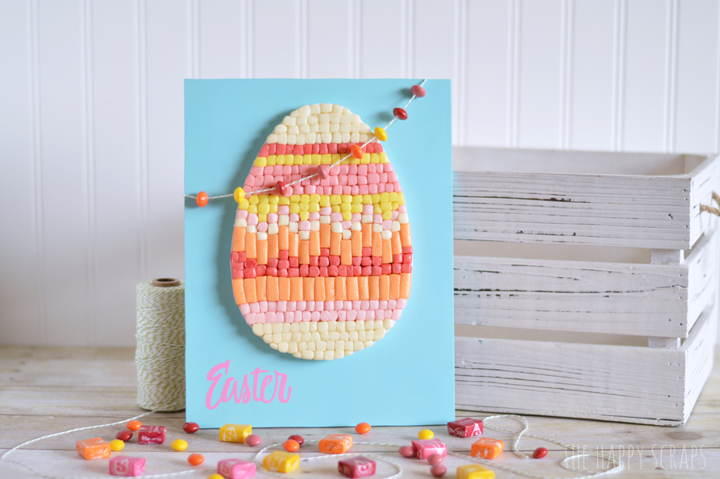
This is such a fun piece to put up for Easter. My kids think it is so cool too!
Have you ever crafted with candy before? It can be really fun!

Leave a Reply