In the past, I’ve shared a few of these Satin & Minky, Self-Binding Baby blankets. I shared this red and polka dot one, and this pink, gray, and white one. I’ve always had people ask me how I make them, and I have great news! I’m FINALLY sharing the tutorial today. They are pretty simple to make, they just aren’t extremely quick. This is my go-to baby gift for close family and friends. If you plan on making some of these, and see a sale on Minky, buy some! The price of these blankets can add up in a hurry if you by the minky at regular price.
The supplies you need are:
Minky (I buy enough that I can make the blanket square and as large as possible. The fabric is usually 60″ wide, so I get almost 2 yards.)
Flannel Backed Satin (The only place I’ve been able to find this is at JoAnn’s. Always take a swatch of the minky with you to match it. Make sure you get Flannel Backed or it will be a lot more difficult. Buy the same amount as the minky.)
Matching Thread
Sewing Machine
Pins
Cutting Mat & Ruler
Keep in mind as you are reading this, I am not a seamstress, but I love to sew. The way I sew these blankets may be different than how you would do it. If you have questions about this tutorial, or don’t understand something, please feel free to ask! Thanks!
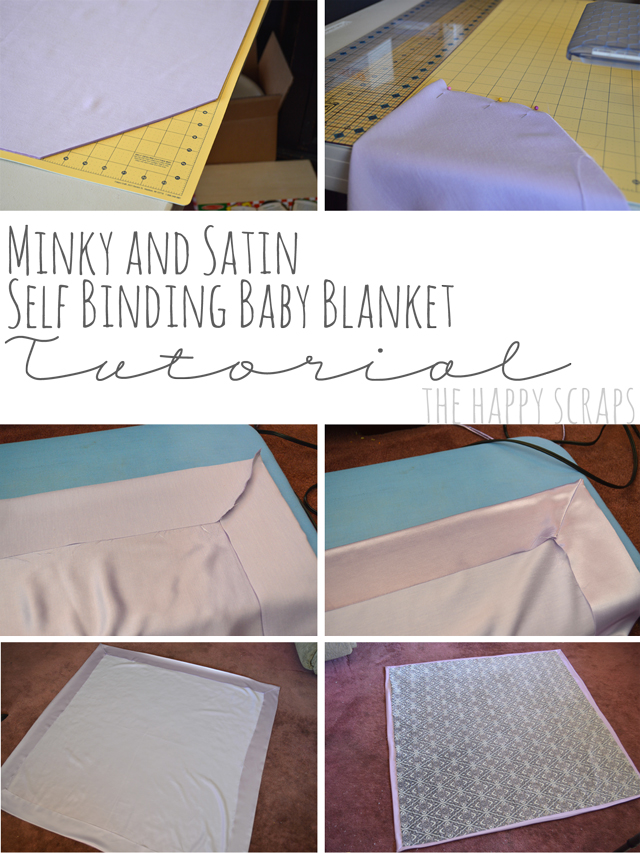
Start by squaring up your Flannel Backed Satin. I like to fold mine into 4ths, so all the raw corners are together. Once square, I cut my corners. I cut 7 inches in from both sides, and cut at a diagonal. Once cut, you need to take each of those corners, and line them up with them selves and pin it. Sew each corner with a 1/4″ seam allowance, leaving the last 1/4″ unsewn.
Press your seams. Turn your satin, right side out and carefully iron each side and the corners. I like to try and get each side ironed straight to help when laying the minky on. I have a hard time getting them just right though. Once you have it all ironed, lay your satin out on a big flat surface. The only place I have big enough is my floor. Measure your square and see how big of a minky square you need to cut. I like to cut enough that it goes almost to the edges of the satin binding. Once the minky is cut, lay it on top of the satin. When you have the minky all straight, you can start to tuck it under the satin edges.
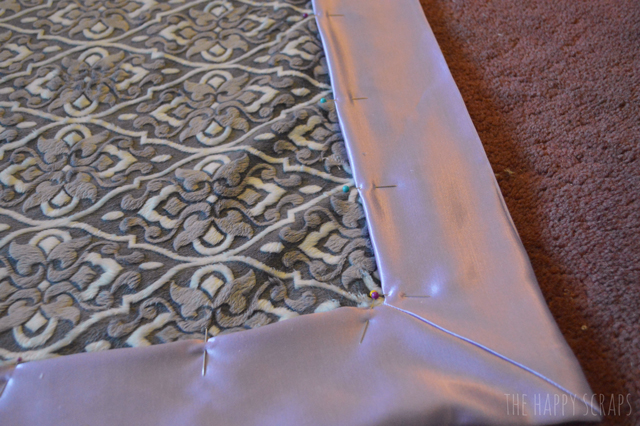
Carefully roll the satin under (creating the finished binding/edge) and pin it in place. The corners can be tricky to get just right. Sometimes I have a hard time with the satin wanting to move because it is slippery.
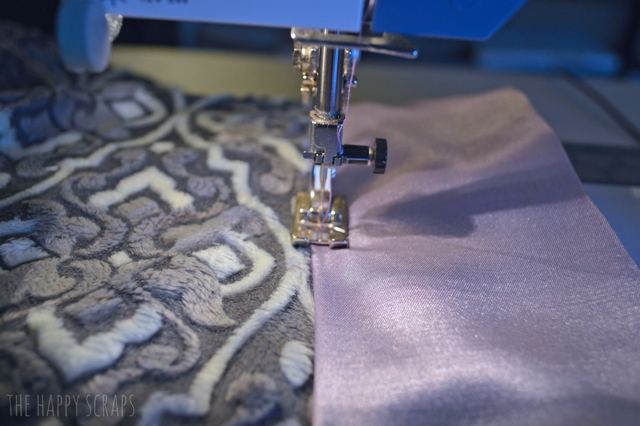
Once it is all pinned, you can start sewing the edges. I sew right on the edge of the satin. I haven’t found any great tricks yet to prevent getting some puckering in the satin. The satin like to stretch more than the minky, so I do end up with some puckers/tucks in the satin, but they aren’t too noticeable.
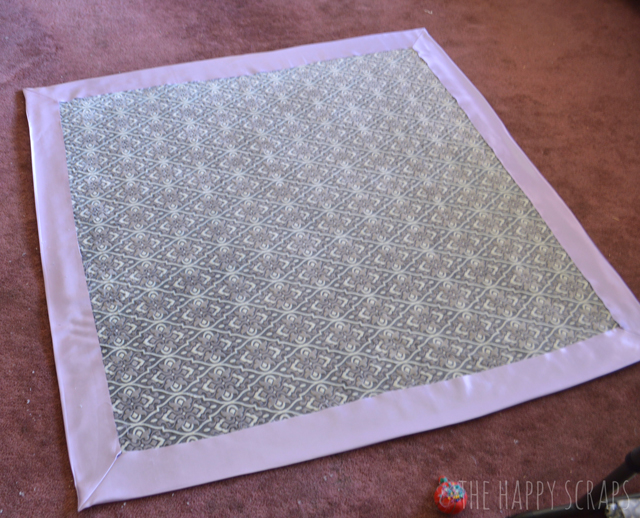
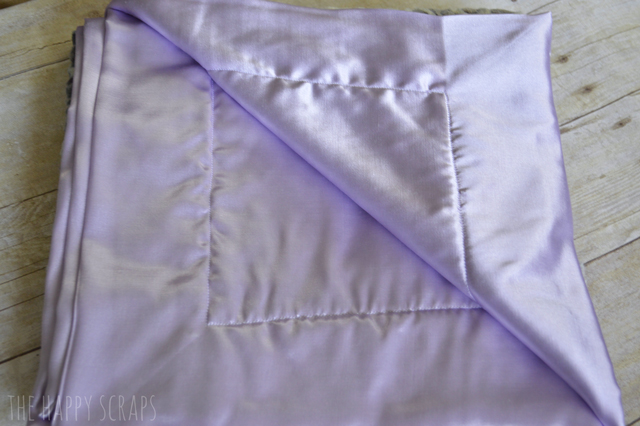
When you are finished the back should look like this.
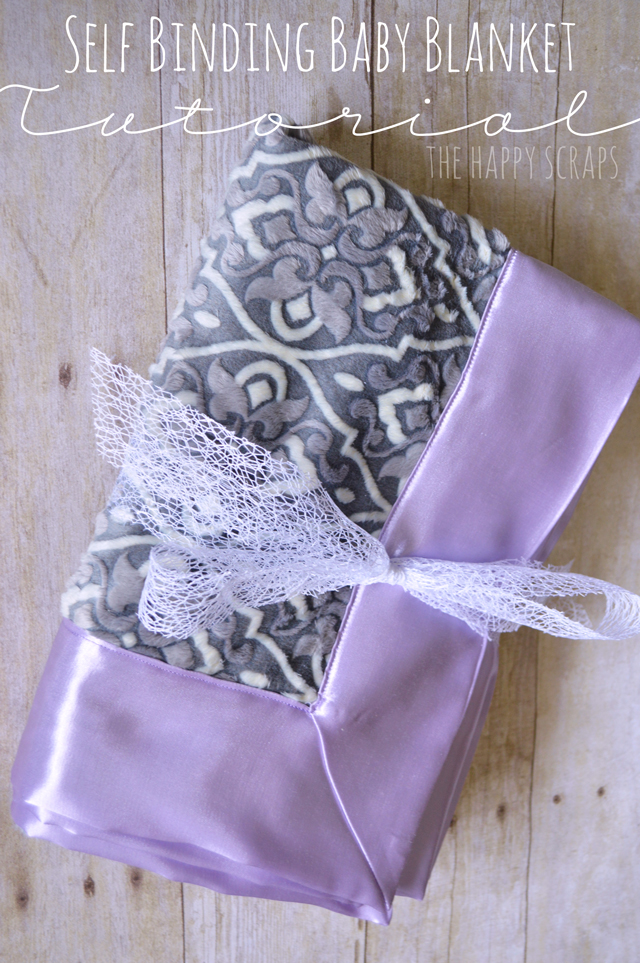
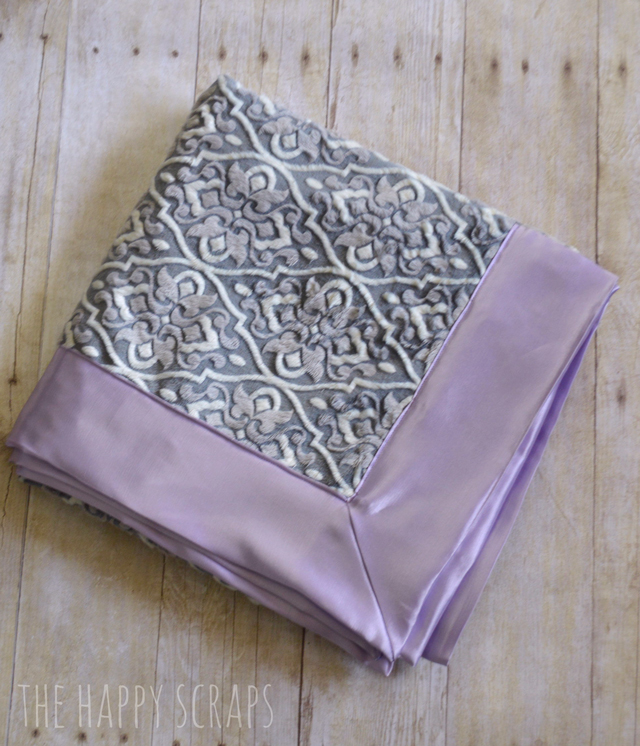
And now you are all ready to tie you blanket up and give it to the new baby. Although, I’m not going to lie, I think one of these days, I may just have to make myself one of these! It would be so soft! 🙂
The finished size of these blankets, they way that I make them, is about 50″ square. They are nice because they are big enough that a baby doesn’t grow out of them for a few years. I have a 4 1/2 year old niece that I made one for when she was born, and she still loves it and uses it all the time. There are so many varieties of Minky fabric out there, you are sure to find a fun one to use. Happy Sewing, let me know if you have any questions.

Leave a Reply