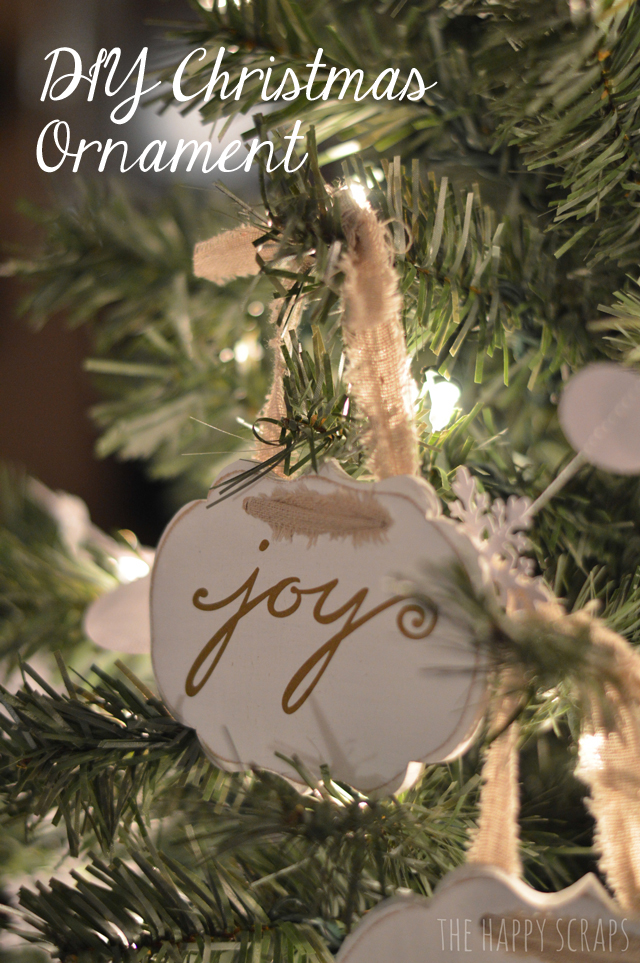
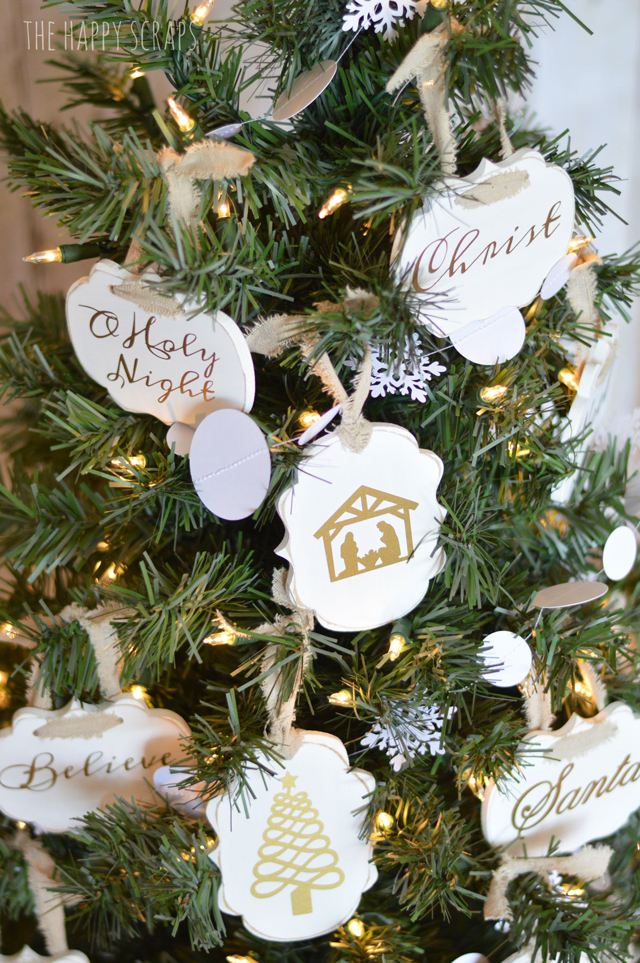
Did you see my Dreamy White Holiday that I shared earlier in the week? (I’d love to have you PIN it HERE!) Well, today I’m sharing the tutorial for how to make the DIY Christmas Ornaments that I shared in that post. It is also part of the Trim the Tree blog hop. So there will be several links at the bottom of this post for more ways to Trim your Tree.
These DIY Christmas Ornaments are so simple, but once I made a couple of them, I knew I wanted a whole tree full, so I ended up making 17 of them total. 🙂
You’ll need: (affiliate links)
- Small wood plaques (these are different than I used, but similar)
- White paint
- Paint brush
- Sand paper
- Gold vinyl
- Cricut Explore
- Cricut Mat
- Linen ribbon (I used ribbon that is 3/4″ wide, but this ribbon is 1″ wide)
- Drill
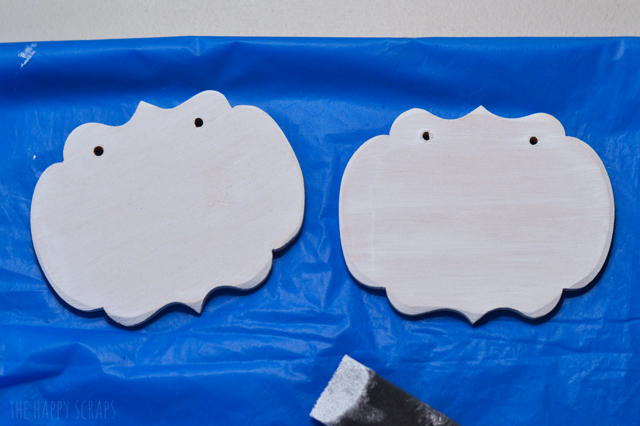
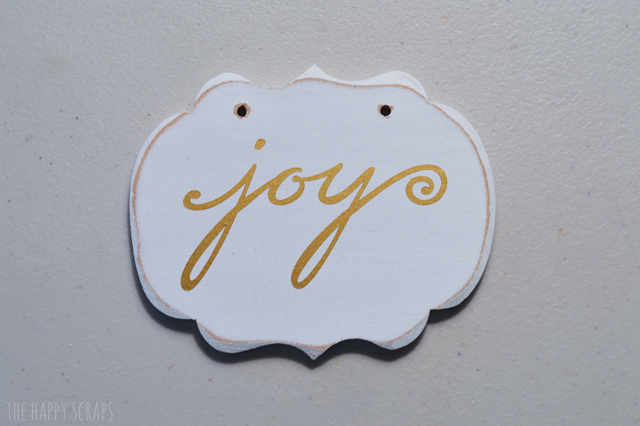
Take your wood plaques. If you need to, drill holes in the plaque.
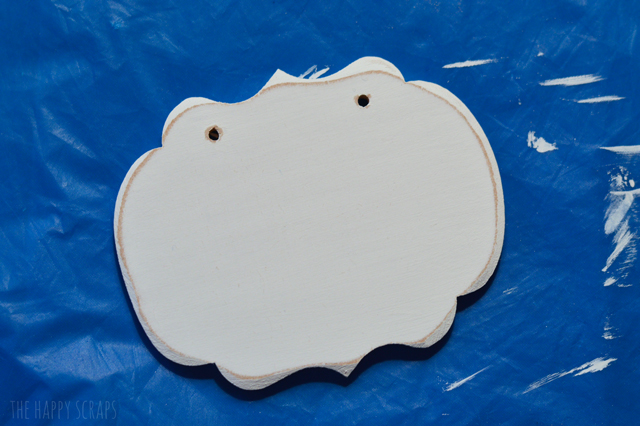
Paint your wood. You may need to do two or three coats.
Once your paint is dry, lightly sand the top of the wood, distressing the edges.
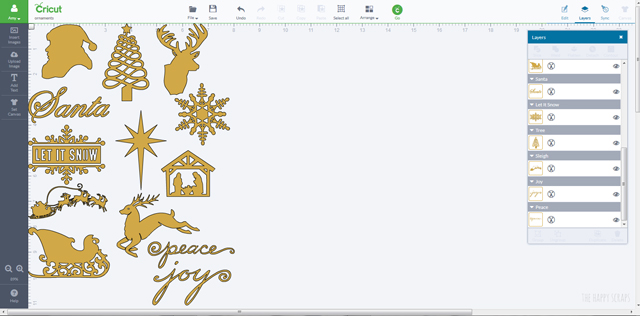
I found several images to use, with in Design Space. See the file here.
Using your Cricut Explore and Cricut Design Space, cut out your gold vinyl.
Apply your vinyl to the front of the wood.
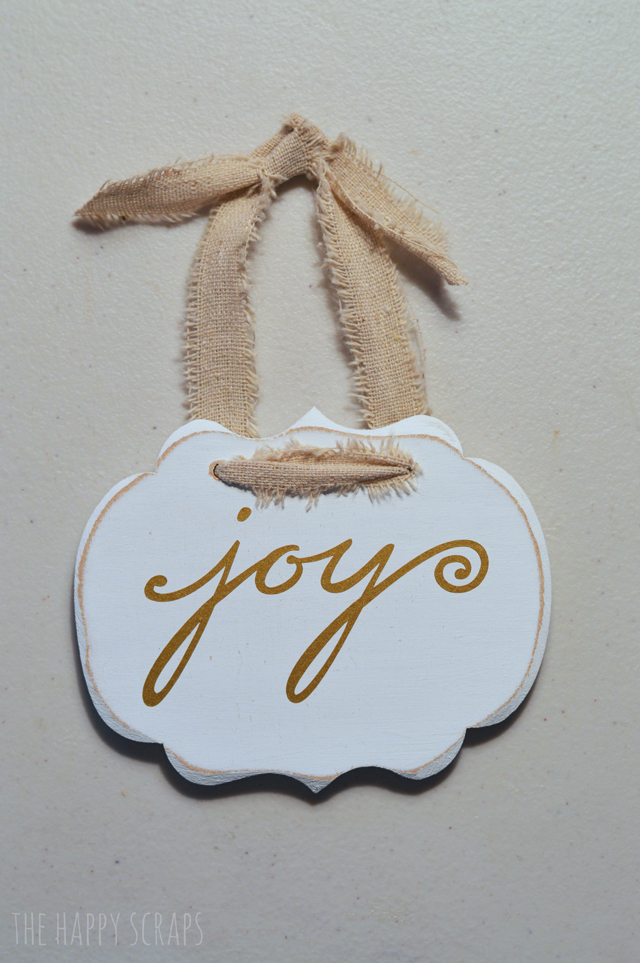
Lace your ribbon through the holes and tie it at the top.
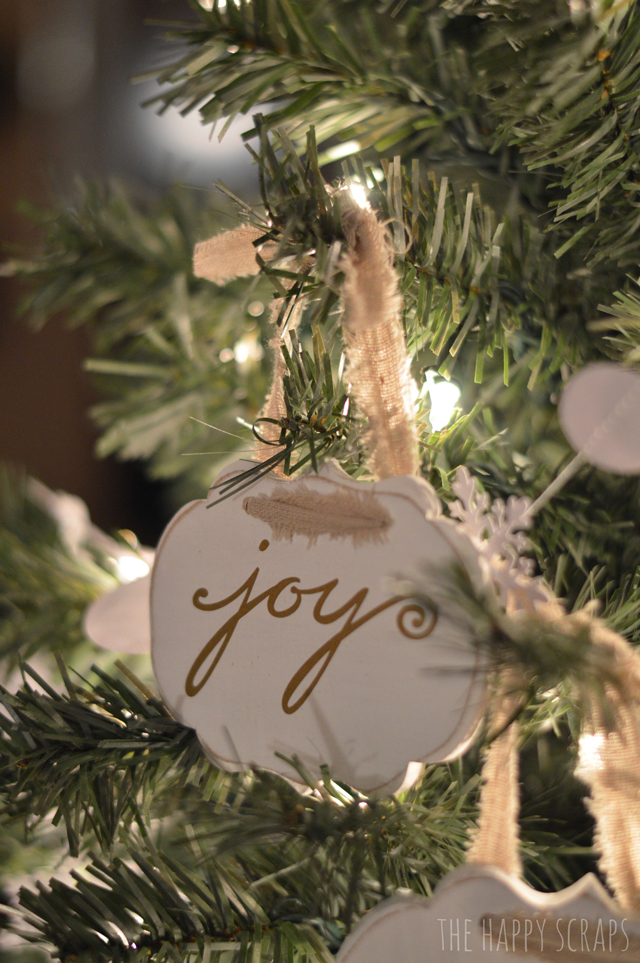
Hang them on the tree and you are ready to celebrate the season.
Here are a few more of the designs I did. I love all of them!
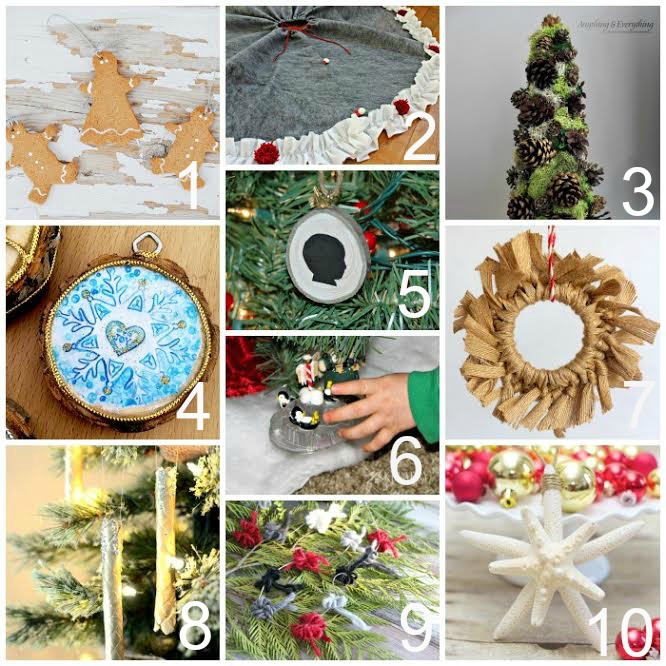
Check out the rest of the ideas for how to trim your tree.
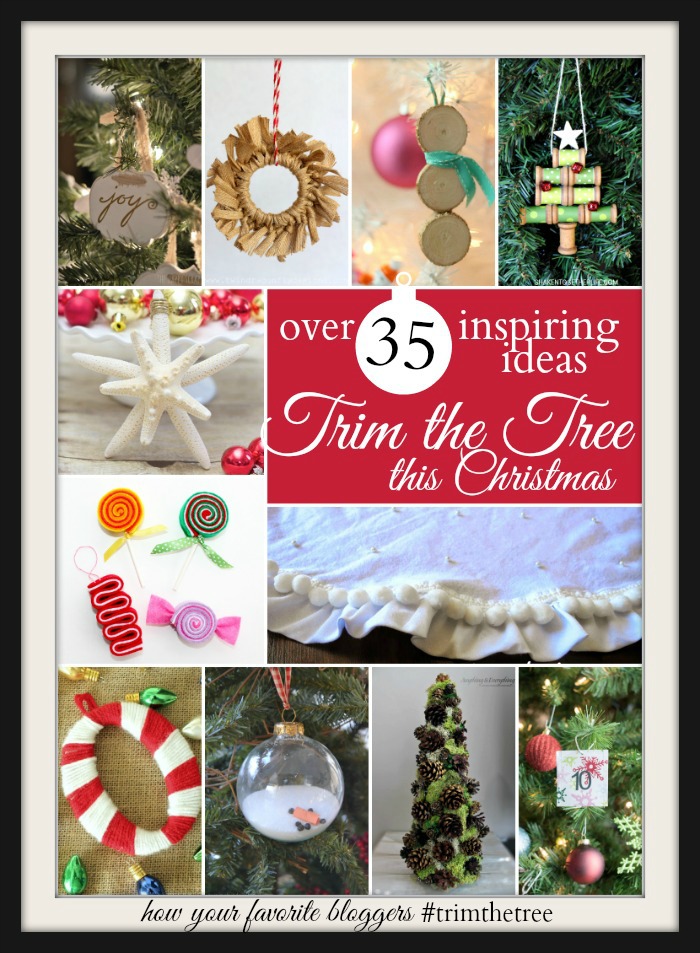
Have you started decorating for the Holidays? Over 35 of your favorite bloggers have come together to share their fun and festive ideas. From Ornaments to Tree Skirts, you are sure to be inspired by all of these amazing homemade ideas to Trim the Tree!
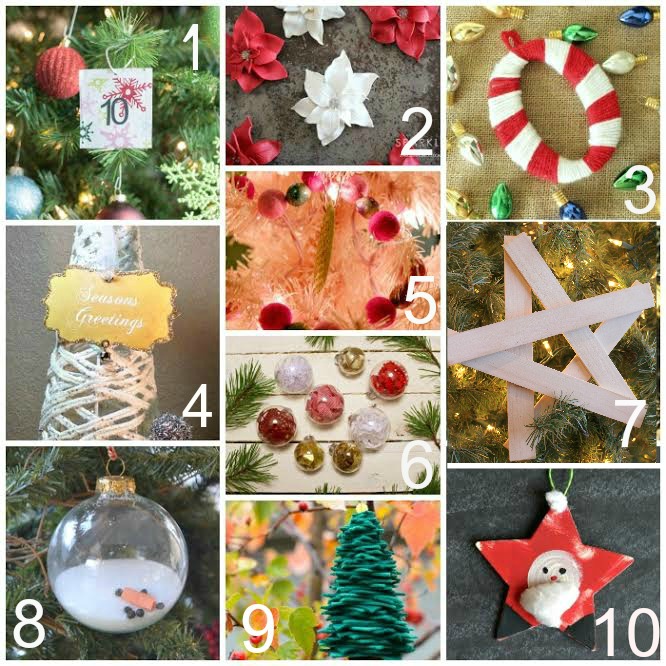
4. Vintage Green Paper Ornament
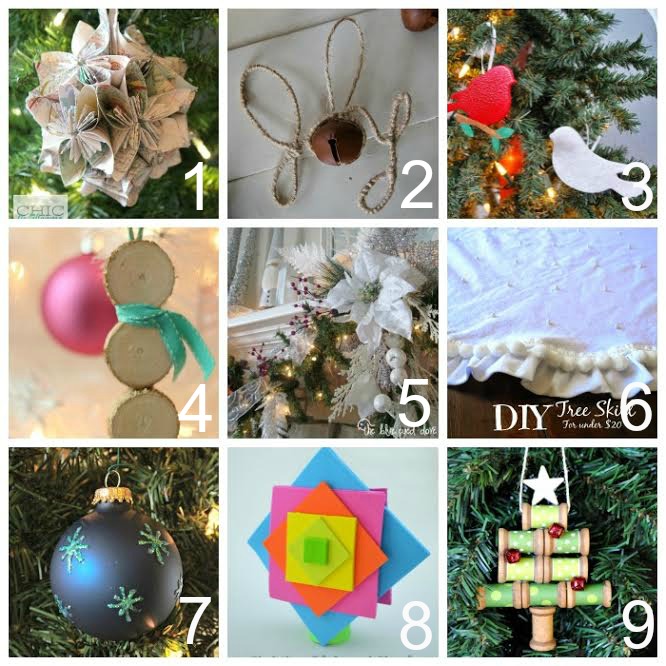
3. Embossed Wood Bird Ornament
4. Snow Man Wood Slice Ornament
9. Wooden Spool Christmas Tree
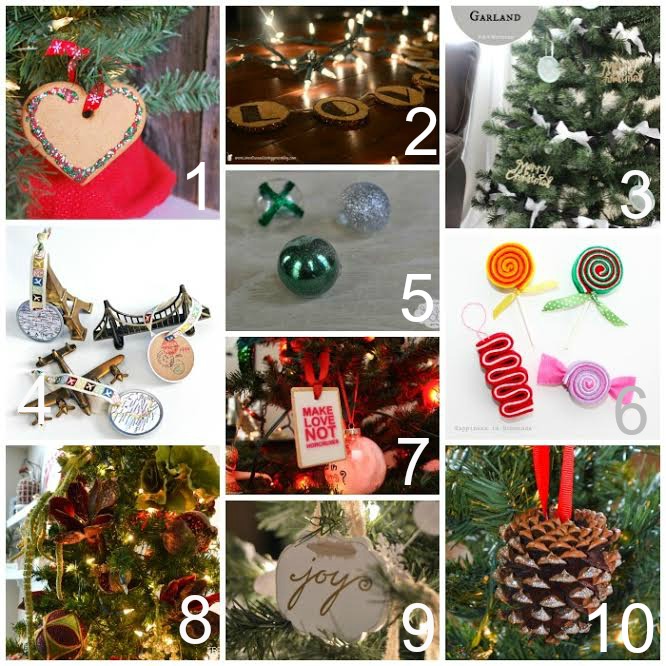
1. Gingerbread Cookie Ornament
8. How to Decorate your Tree like a Pro
9. Joy Ornament
1. Scented Gingerbread Ornament
5. Wood Slice Child Silhouette Ornament
6. Tips for Decorating the Christmas Tree
9. Rustic Christmas Tree Garland
10. Starfish Christmas Ornaments



Leave a Reply