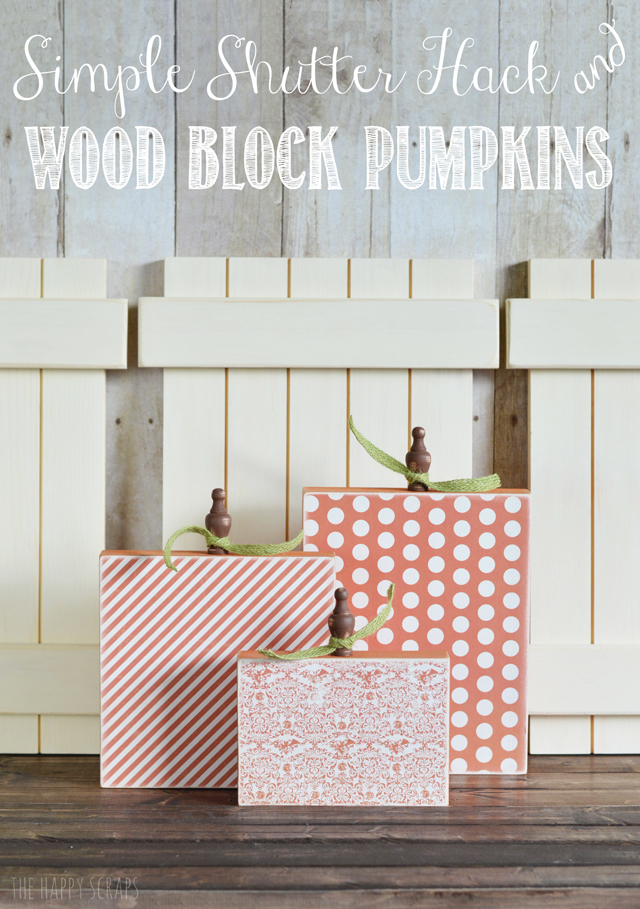
Today’s post is such a fun one! This is one that I shared over at The Wood Connection a couple of weeks ago. This is perfect for the Thanksgiving season, but really, you could put it up in September and leave it up until December. Those are the best kinds of projects, right? And this is SO easy too! Come along and I’ll teach you this Simple Shutter Hack and how to make these fun Wood Block Pumpkins. I’ve loved shutters like this for a long time, and I even made some similar, but I wanted some white ones, and the best part is, I can use these shutters year round!
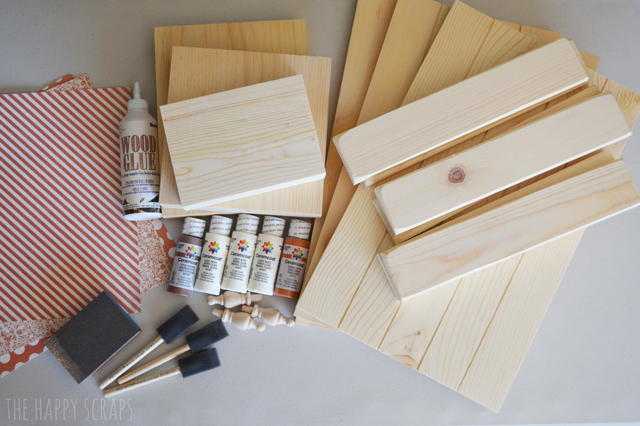
Here are the supplies that you’ll need to make these projects:
- 3 Large Slat Signs
- 3 5″ x 13″ boards, cut down the middle (use your own saw for this)
- 1 8″ x 10″ Wood Photo Block with hole and large finial
- 1 8″ x 8″ Wood Photo Block with hole and large finial
- 1 5″ x 7″ Horizontal Wood Photo Block with hole and large finial
- Paintbrushes
- Wood Glue
- Sanding Block
- Paper of choice
- Paint in colors of choice
- Ribbon for Pumpkins
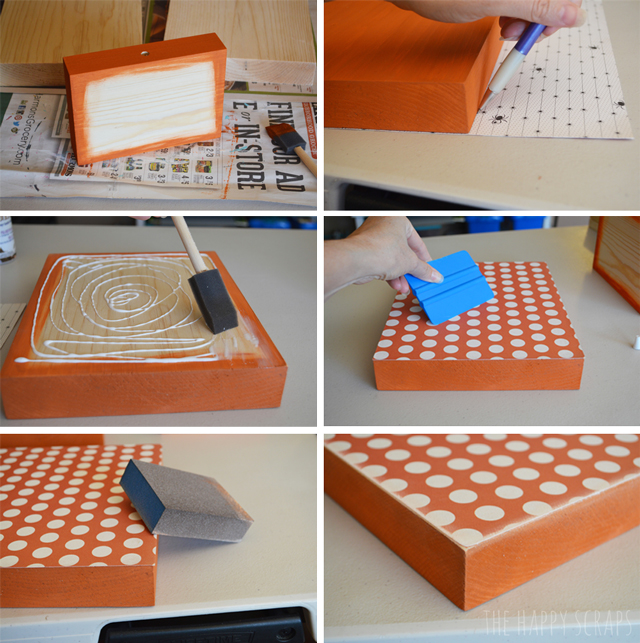
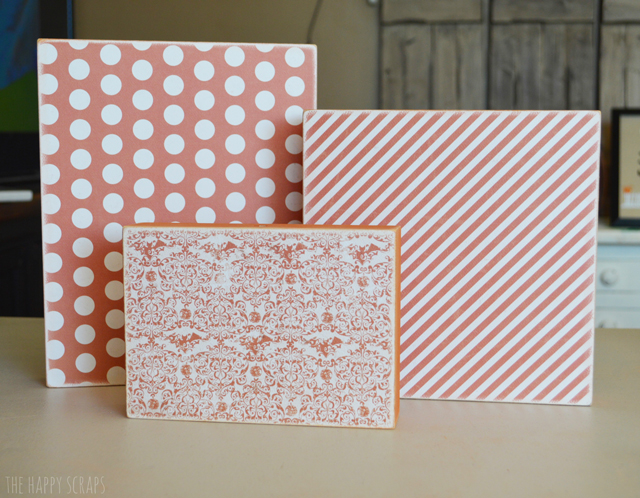
First, I’ll show you how to make these simple Wood Block Pumpkins. Paint the back and sides of your Wood Blocks. Lay them face down onto the back of the paper that you are using for the front, and trace the block. Cut your paper out. Put wood glue onto the front of the block and spread it evenly with a paint brush. Put your paper on and smooth it out with a vinyl squeegee (or a credit card or something similar would work too). Sand the edges of your pumpkins, and distress the paper a little bit.
Let your glue get good and dry while you finish the “stems” for the top.
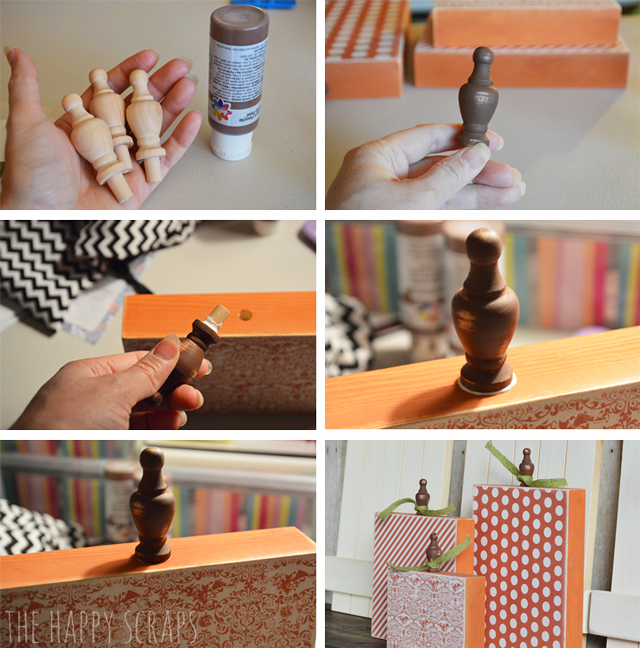
Paint your finials what ever color you choose. I used brown. Once the paint is dry, distress a few places on the finial. Check and make sure that the hole is big enough in the top of your block. If it isn’t, drill it a little larger. Put a little bit of glue around the bottom of your finial and push it into the hole on the top of the block. I had a little bit of glue come out once I pushed the finial in, I just used a wet wipe to clean it off. Tie some ribbon around the stem and you are done.
So, what do you think? Do you like these Simple Wood Block Pumpkins? I think they are such a fun addition to any Fall or Halloween decor!
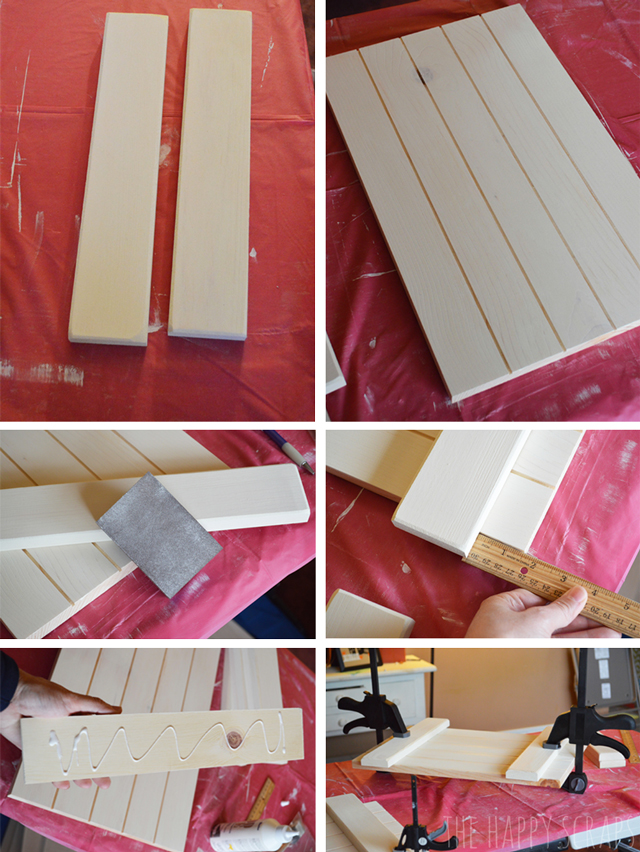
Now onto these Simple Shutters! These shutters really are the easiest thing ever! Cut your 5″ x 13″ boards down the center, making 6 long skinny boards. Sand all your edges on both your slat signs and smaller boards. Paint all of your wood pieces light ivory or white. I just did a light coat, almost making it look white washed. I was careful not to get the paint into the cracks on the slat boards, or on the edges. I simply just painted the front of these boards. You almost can’t tell that they are even painted in these pictures, but they are. Once your paint is dry, sand your edges on the small boards, edges on the slat boards, and each crack. Now you are ready to put the smaller boards on the top. I measured 1 1/2″ up from the bottom of the board, and the same from the top. I made a little pencil mark on the board so that I knew where I needed to glue the smaller board on. Put some glue on the back of the smaller board, leaving a little space with out glue on each end, and then stick it down. I used clamps to keep mine in place until they were dry.
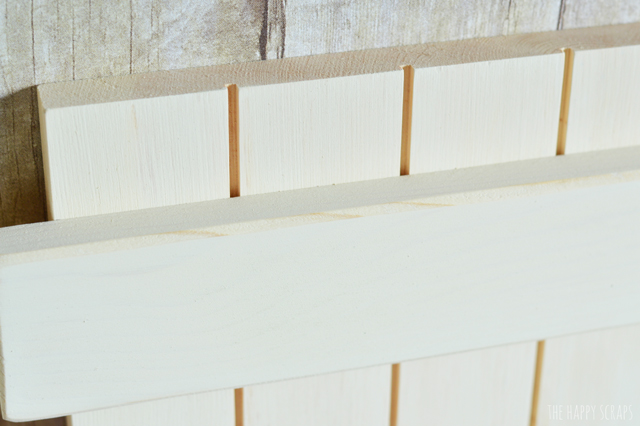
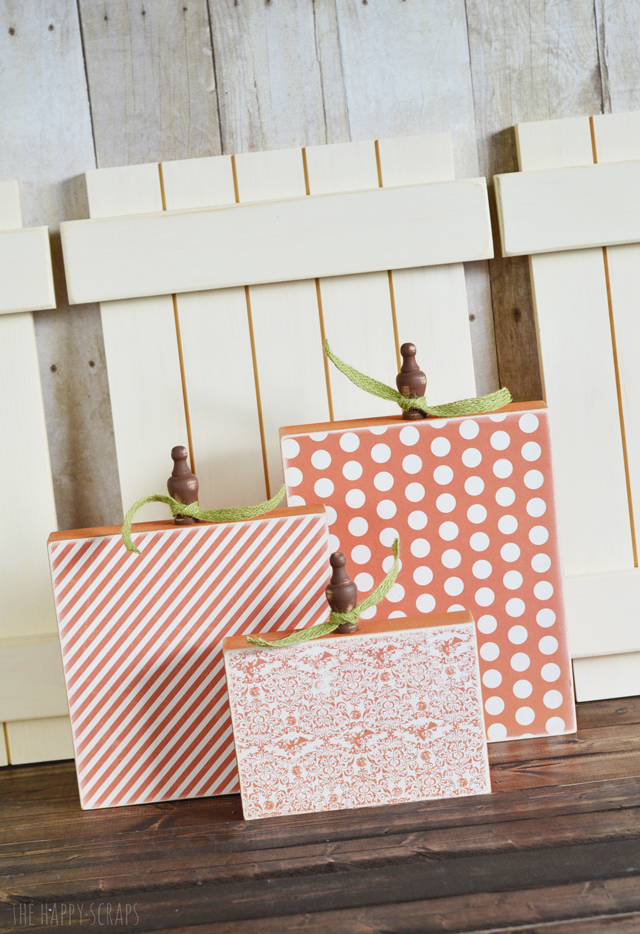
Wasn’t that easy?! Almost too easy, huh?! So that is my Simple Shutter Hack! You can see a little bit of the distressing on the cross board here.
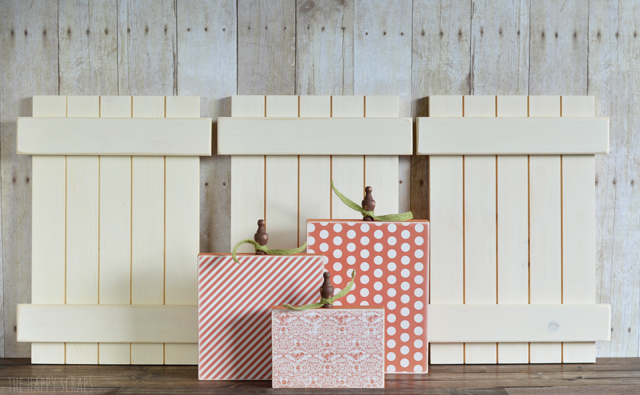
They make the cutest backdrop, especially for the Wood Block Pumpkins, but I’m really looking forward to using them all year long! Right now, I’m thinking Christmas…. 🙂
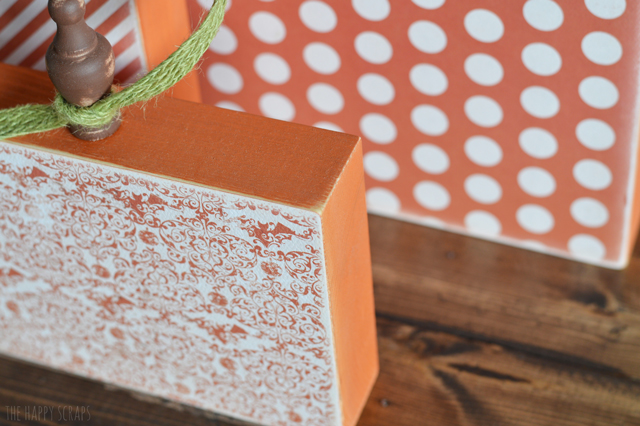
Here are a couple of close up pictures of the pumpkin. The distressed corners.
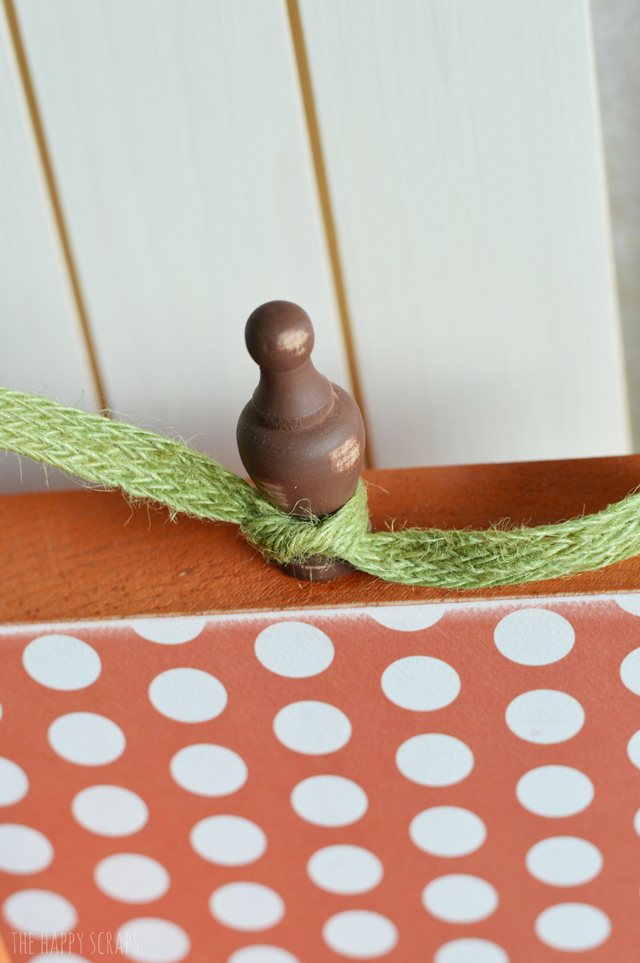
The distressed finial, along with the fun green ribbon. This ribbon is available at The Wood Connection as well.
Head into The Wood Connection and pick up your supplies, and get going on this project! It shouldn’t take you more than a couple of hours max! Anyone that stops by your house will be sure to love them too!
After putting these together, I think I’m starting to get the itch for some Christmas projects…we will see. I am sharing a Christmas gift idea on Monday, and I might share a few more throughout November, but for the most part, they will wait for December.


Leave a Reply