I love Christmas Countdowns. Not only do I love the activities that come with them, but I love making and displaying them. They are so fun! I’ve shared my Mini Muffin Tin Advent, my Christmas Countdown with Printable Activities, and my Fun & Festive Christmas Countdown, in years past and today I am sharing this Christmas Advent Calendar. I knew when I saw the fun 25 days stamp set from Stampin’ Up! that this is exactly what I wanted to use it for! It’s the cutest set! Last year, one of the advent calendars that we did was a Star Wars Lego Advent. We decided that we wanted to reuse it again this year, so that is what I decided to put in the containers.

I realize that today is the first of December (where has this year gone!?!) but you could still put this all together in time to still enjoy it this year. The supplies that you’ll need are:
- 25 Days Stamp Set
- Stamp Block
- Ink in Cherry Cobbler, Old Olive, and Jet Black StazOn
- Cardstock in Whisper White, Cherry Cobbler, and Old Olive
- Striped Grosgrain Ribbon in Cherry Cobbler
- 1 3/4″ Circle Punch
- Adhesive (I used glue dots)
- 25 Containers of choice (I got mine from Pick Your Plum)
- Magnet Board (optional)
- Magnets (I used free magnets off of phone books)

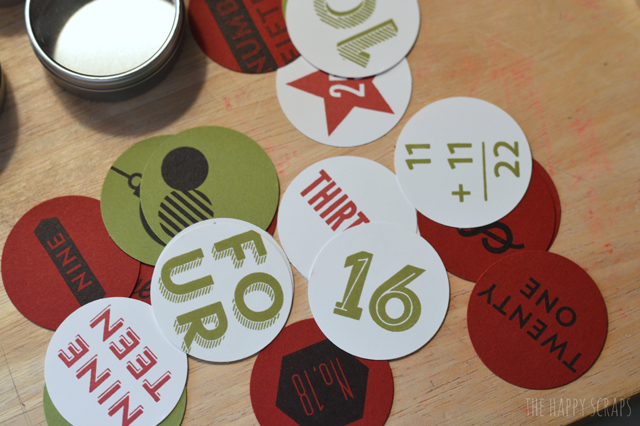
Stamp all of your images on the cardstock. I stamped the red and green on white cardstock, and then I stamped black on the red and green cardstocks. Once I had them all stamped, I used the circle punch, and punched them all out.
Put a glue dot on the back of your numbers.

Stick them to the front of the container/lid.
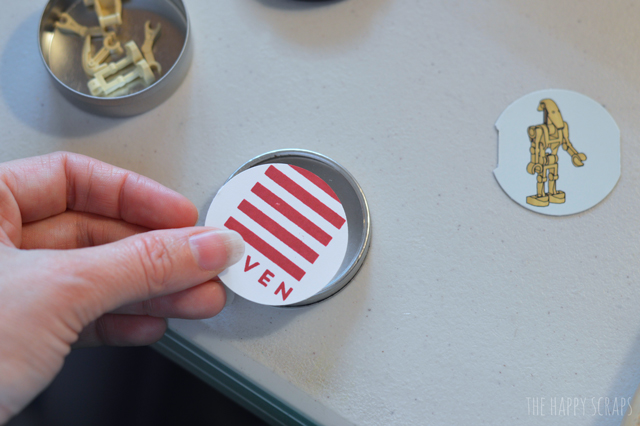
This is what it will look like after it is on.
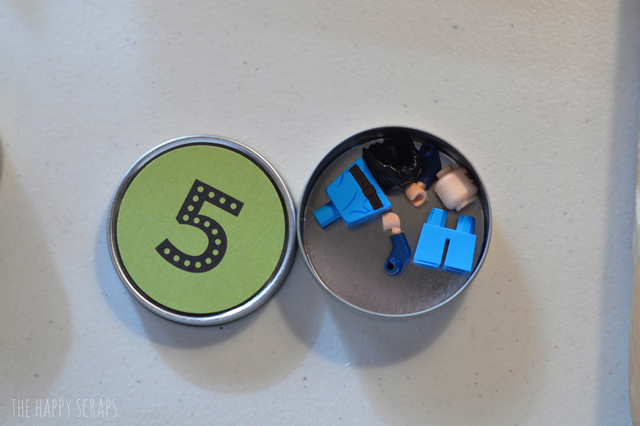
Since I have instructions that go with mine, I used the same method to stick it to the inside. You could simply add a strip of paper to the inside with a Christmas activity on it or a piece of candy.

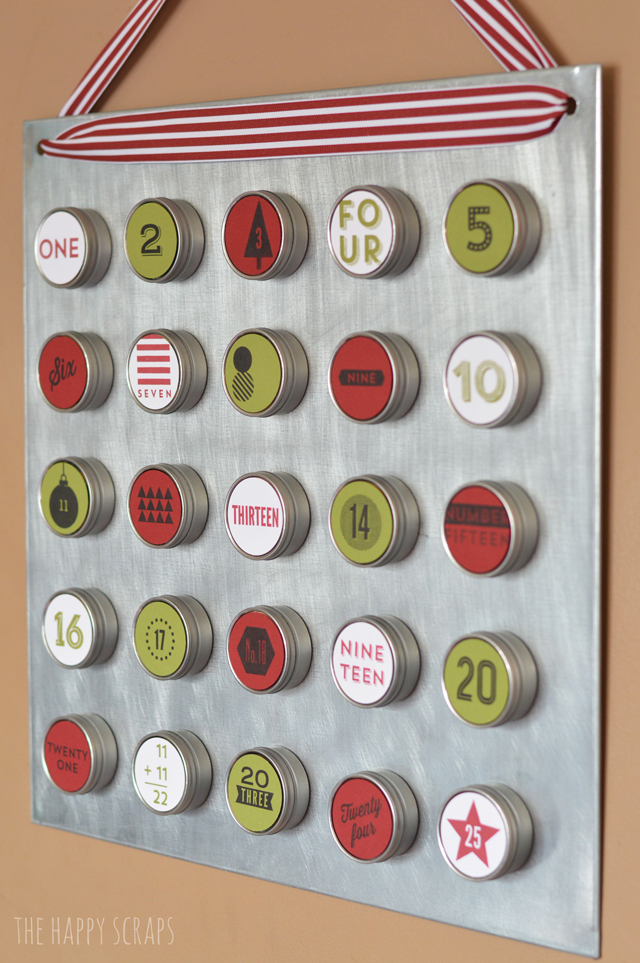
Once I put all the containers together, I punched out and put magnets on the back, and placed them in order on my magnet board. I finished it off by tying a ribbon to hang it with. I used the Cherry Cobbler Striped Grosgrain Ribbon. I love that the ribbon matches the ink and cardstock perfectly!
If you love this advent as much as I do, then head on over and order your supplies!
Disclosure: Stampin’ Up! sent me supplies for this post. All opinions and ideas are 100% my own.

Leave a Reply