This is a post that I shared over at The Wood Connection last week.
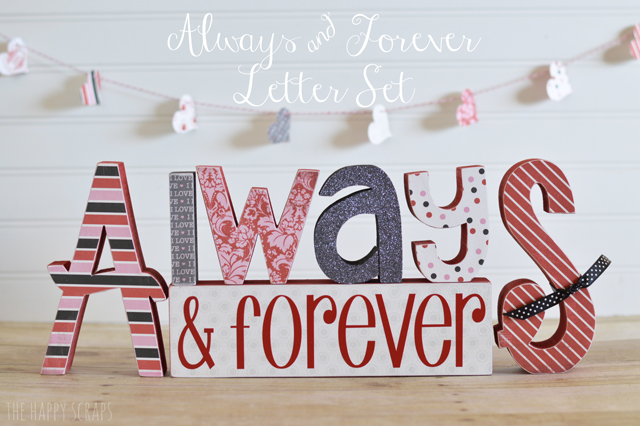
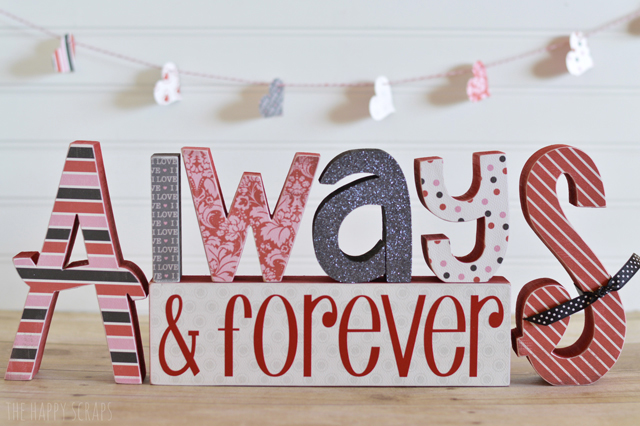
Have you started decorating for Valentine’s Day yet? I’ve gotten a few things out, and I’ve made a few new things as well. When I went in to The Wood Connection and saw this Always & Forever Letter Set, I knew I had to have it. Today, I’m going to show you how I finished it.
The Supplies you’ll need are:
- Always & Forever Letter Set
- Forever Vinyl (included when ordering online)
- Paper
- Wood Glue
- Paint (I used Tompte Red & Charcoal)
- Paint Brush
- Sugar Coating (glitter) in Beetle Black
- Sandpaper
- Vinyl Applicator
- Pencil
- Scissors
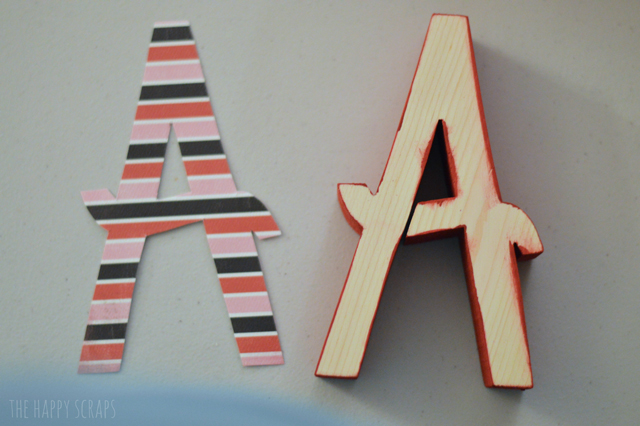
Sand all the edges of your wood. Trace your letters onto the paper you are using, and cut them out. Once you have your pieces sanded, paint the edges and backs of the letters.
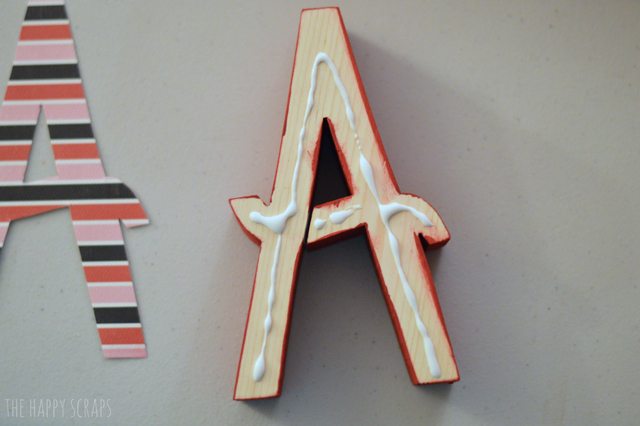
Put wood glue on the front of your letter, use a paint brush to smooth out the glue.
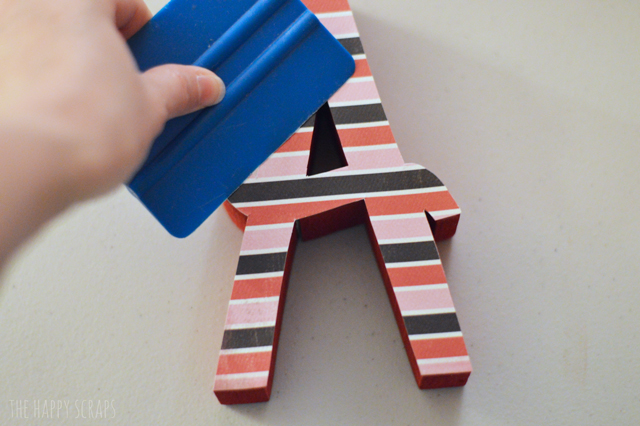
Put your paper on the glue, and then smooth it out using a vinyl applicator or credit card.
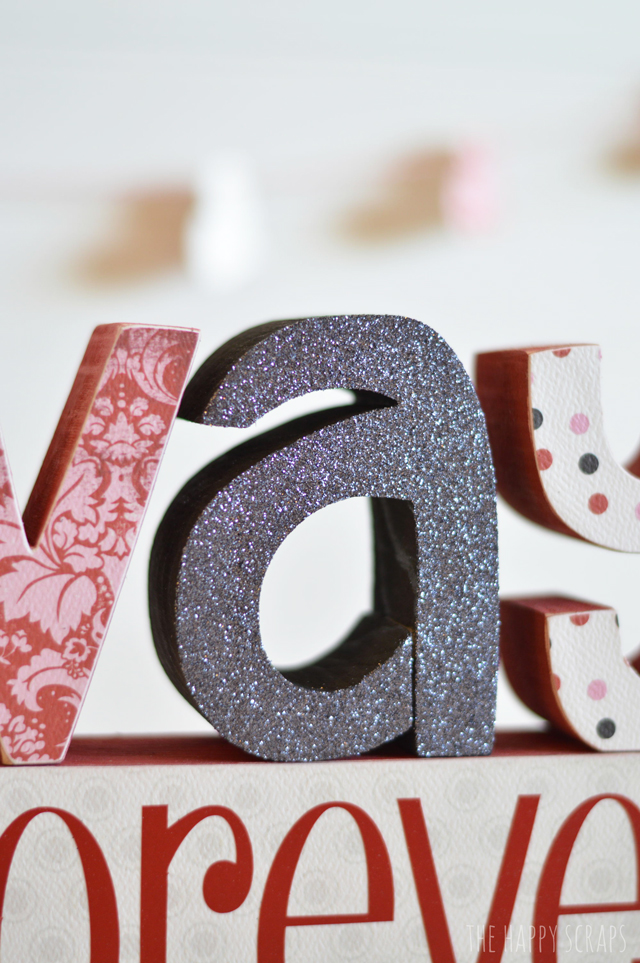
Glitter your letter “a” using this technique. This is the first time that I’ve ever used the wet paint technique, and I will never go back. In the past I’ve painted the front of my letter, let it dry, put a layer of mod podge on, and then put glitter on. This way is much easier and quicker too. Just be sure (as with any glitter) that you seal it with something. I like to use Mod Podge spray sealer.
I tied some ribbon around the “s” to add a little something extra.
For the “& Forever” block, I papered the wood, and then adhered the vinyl. I love the subtle polka dots that are behind the vinyl.
This set is so fun and would be a great addition to any Valentine’s Day decor that you already have! Especially because you can customize the colors to be whatever you want.
I hope you enjoyed this set. It is one of my new favorites!
Disclosure: I was given most of the product in this post, in exchange for writing up the post on The Wood Connection blog. No monetary compensation was received. All opinions shared are my own. This post also contains an affiliate link to the Mod Podge sealer.




Leave a Reply