This post was first shared on the Core’dinations blog.
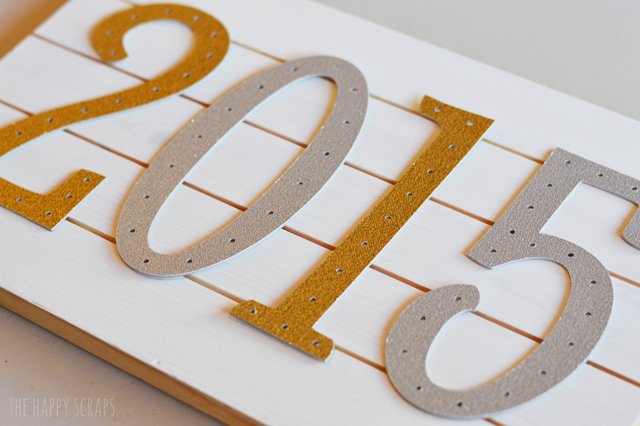
Do you have a child, grandchild or friend graduating from high school or college this year? Why not throw them a graduation party? Today I’m going to show you how I made this Graduation Marquee Sign. It will be the perfect addition to any graduation party.

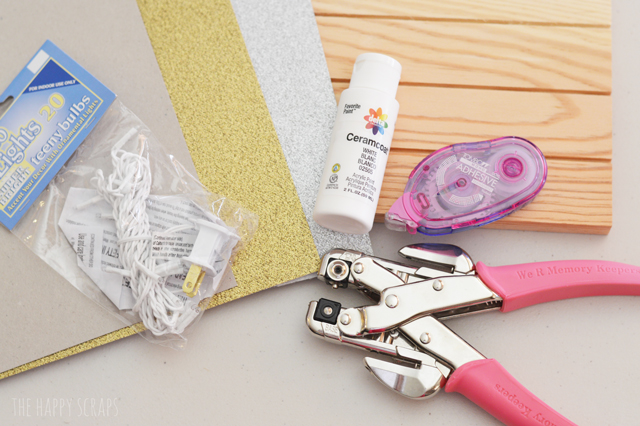
For this project you’ll need: (contains affiliate links)
- Glitter Silk Cardstock in Gold and Silver
- Chipboard
- Darice Deco Lights with Teeny Bulbs (4 strands of 20)
- Wood Board (mine is 18″ x 11″)
- Paint
- Paint Brush
- Adhesive (or a Xyron machine would work well too!)
- Hole Punch
- Cricut Explore Machine
- Drill
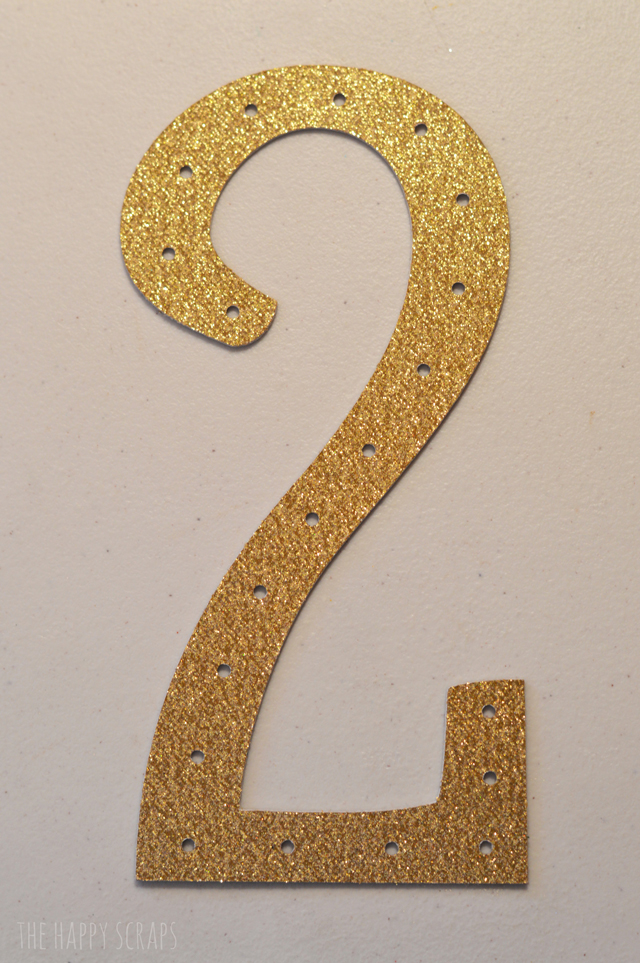
Start out by painting your board white and letting it dry. Next, cut out at least 3 layers of chipboard for each number, and then cut one layer out of the Glitter Silk Cardstock. I have 4 layers total. I used my Cricut Explore machine for this.
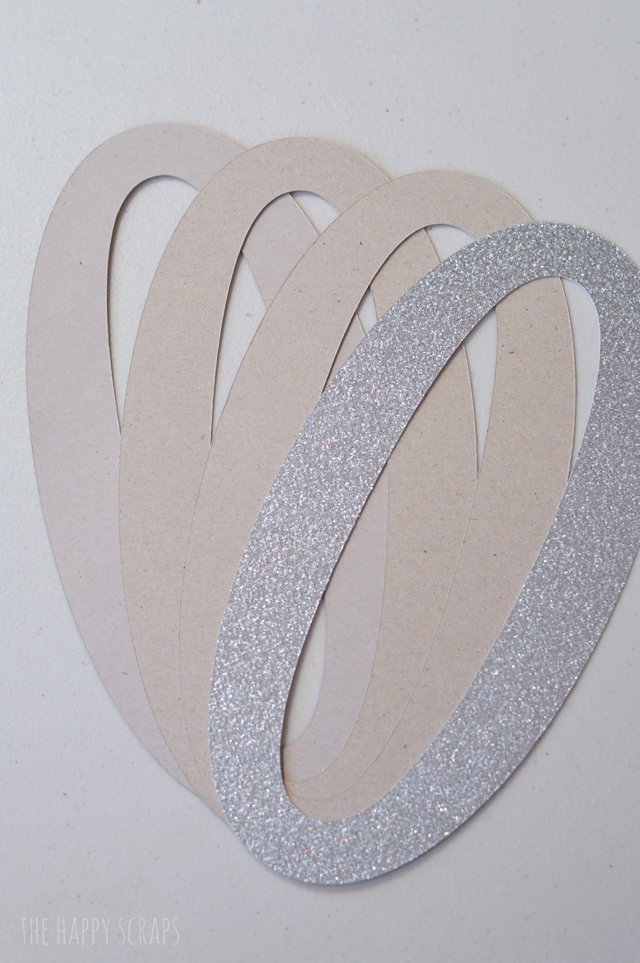
Next, adhere your layers of chipboard numbers together. You could use whatever adhesive you have on hand. Using a Xyron machine would make this a breeze. Adhere the glittered cardstock to the very top.

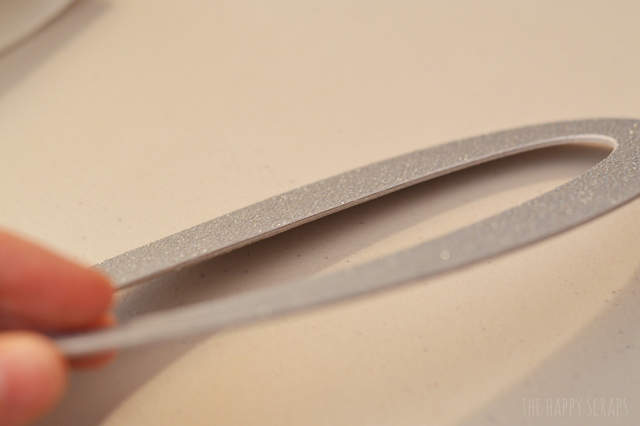
Make sure they are stuck together well. Put something heavy on the top if needed. It will be fairly thick.
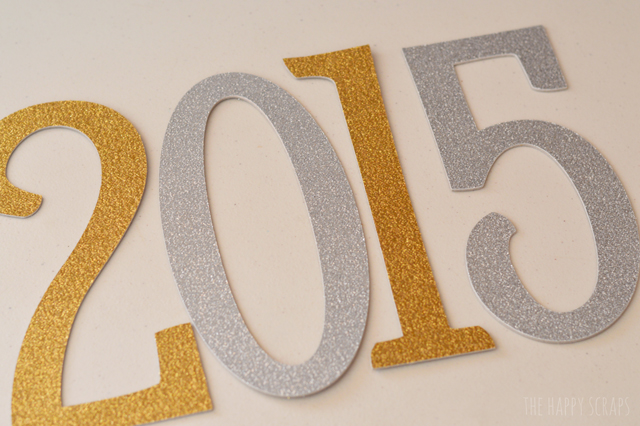
Lay out your numbers. I used a sharpie to mark on them where the holes need to be punched.
Punch your holes.
Lay the hole punched numbers on the board. Line up all the numbers and get them in the right place. Trace around the bottom of the numbers to make it easier to know where they need to be after they are moved. Put some temporary adhesive on the back of the numbers for use while drilling the holes.
Using a drill and bit, drill your holes. I drilled just far enough to mark where the hole should be, then removed the numbers and drilled the holes the rest of the way.
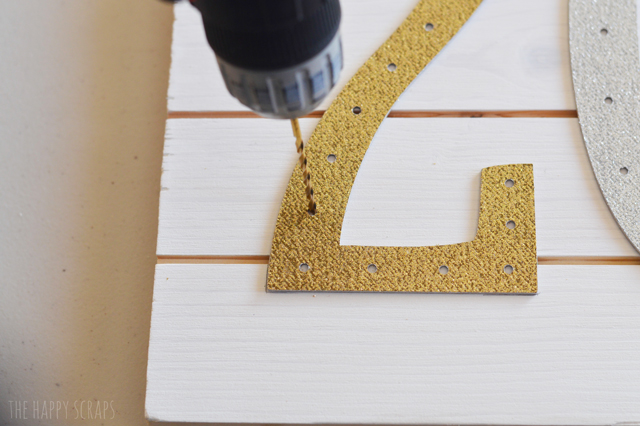
Once I had the holes all drilled, I went back with a slightly larger bit and drilled the holes even bigger. Make sure the holes are big enough for your lights to fit through.
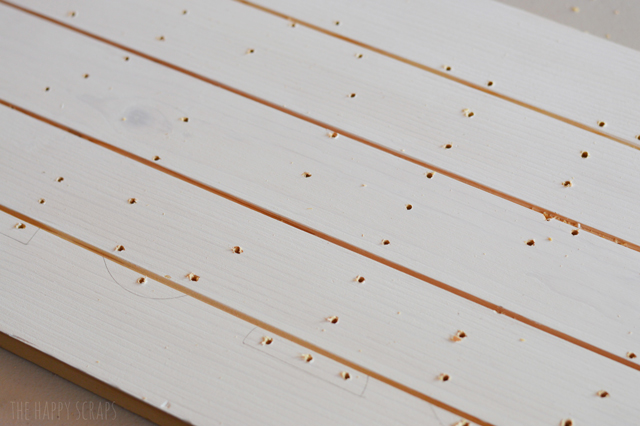
Put the lights into the back of the board. I tried securing this by using painters tape, but it didn’t hold the lights good enough, so I used a little bit a glue on the lights that wouldn’t stay in place.

Put your numbers over the top of the lights on the front side. It took a little bit of work to make them all line up perfectly. I had to make my punched holes slightly larger in a few areas. You can also use some adhesive to keep the numbers in place. Just make sure the holes all line up before adhereing the numbers.

Turn the lights on and set your sign on your shelf.
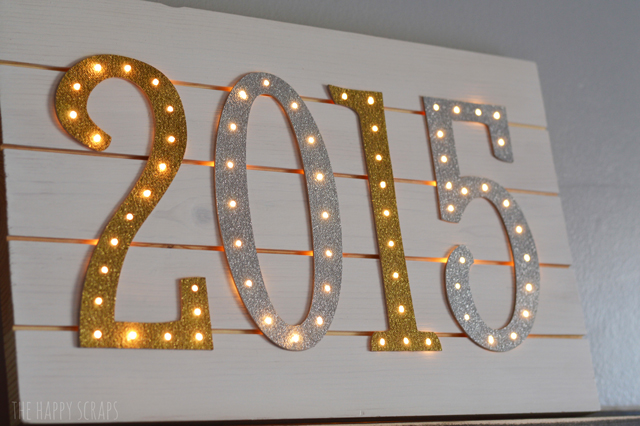
Now you are ready to celebrate that graduate!

What other fun marquee signs would you make using this technique?

Leave a Reply