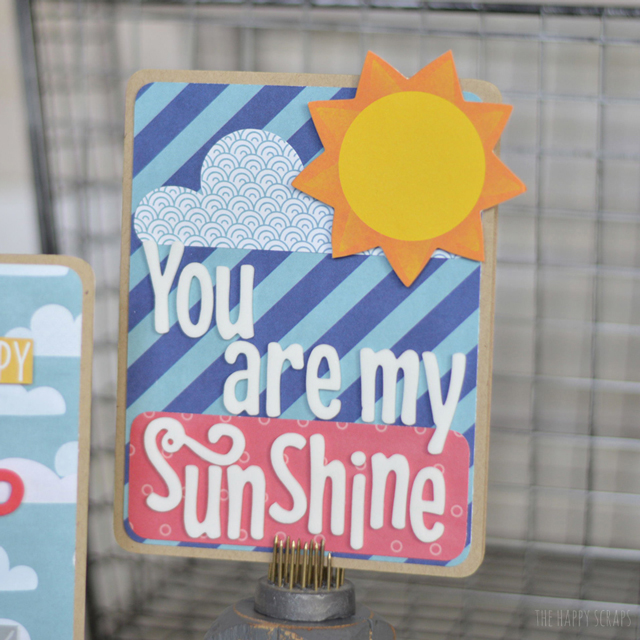
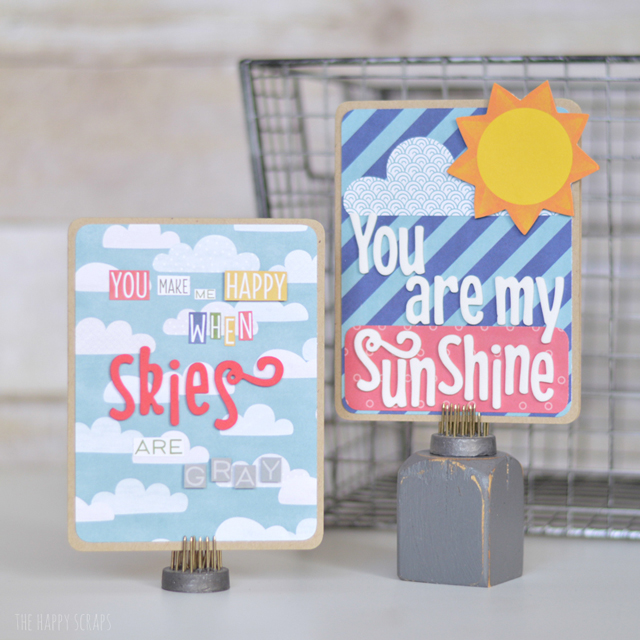
Do you ever find yourself sitting down just wanting to create? Not anything specific, but just being creative. When I sat down to make these cards (that I previously shared on the Pebbles Inc. Blog) I just wanted to create. I didn’t have any direction for what I was creating. In my opinion, that is one of the best ways to create! Today, I’m going to walk you through making these You Are My Sunshine cards yourself.
This post contains affiliate links.
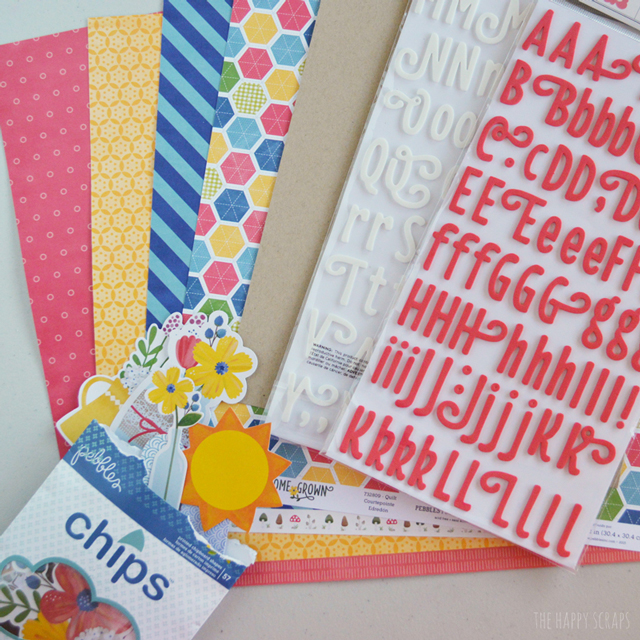
For both of these cards, I used the Home Grown Collection with chip embellishments. Aren’t the colors in this line so fun and vibrant?
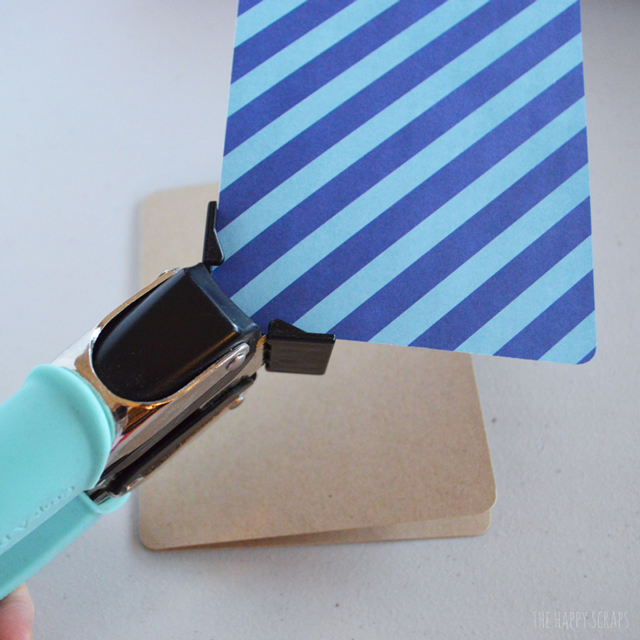
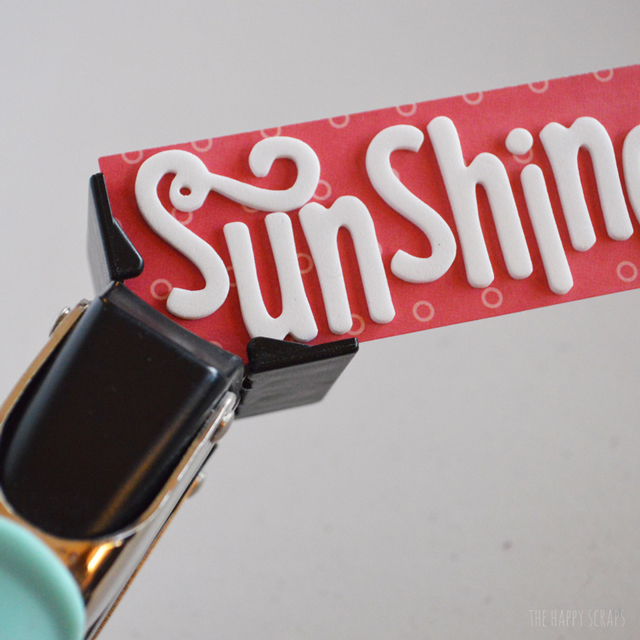
I used an 8.5 x 11 piece of Kraft cardstock, cut it in half, then folded the two halves to make two card bases. Next, I cut some patterned paper, just smaller than the card base, 4 x 5.25. Using my corner chomper, I rounded the corners on both the card base and the patterned paper.
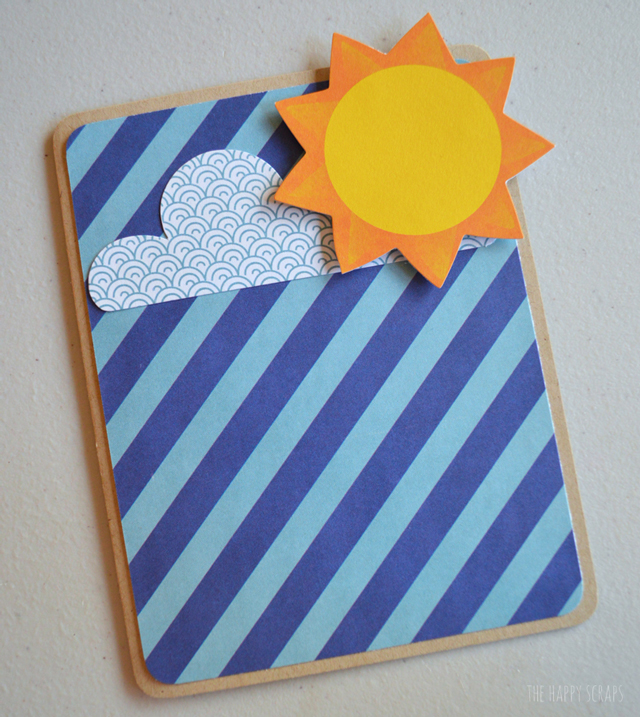
Using adhsive, I adhered the patterned paper to the card base, and used one of the cloud shaped chips and adhered that to the card as well.
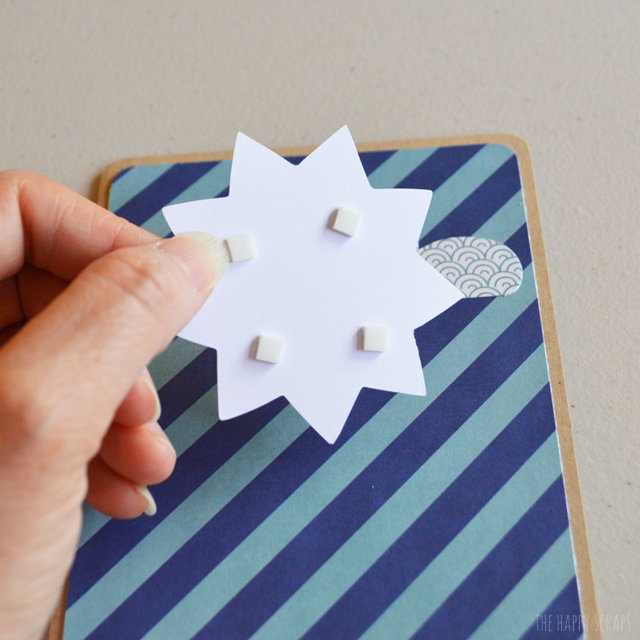
Next I used some foam dimension squares and put them on the back of the sun shaped chip.
I adhered the sun over the top of the cloud.
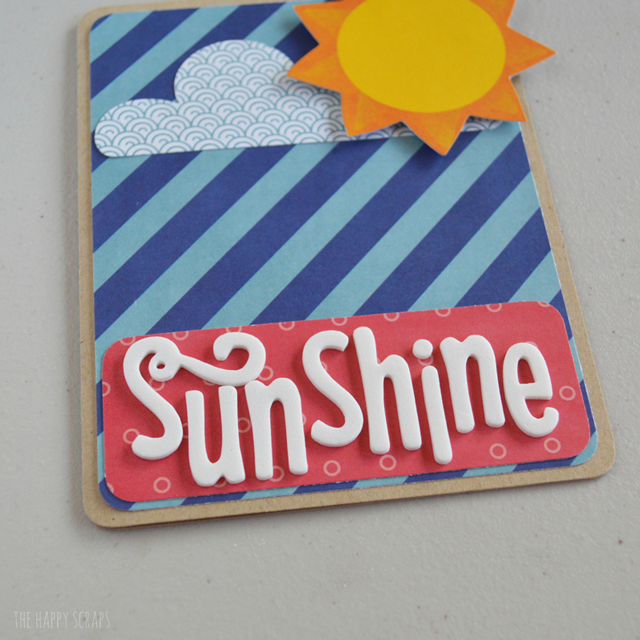
I spelled the word Sunshine, using thickers, onto the red polka dot patterned paper. I trimed the edges leaving a small border, and then I rounded the corners on it as well.
I adhered the word Sunshine to the bottom of the card.
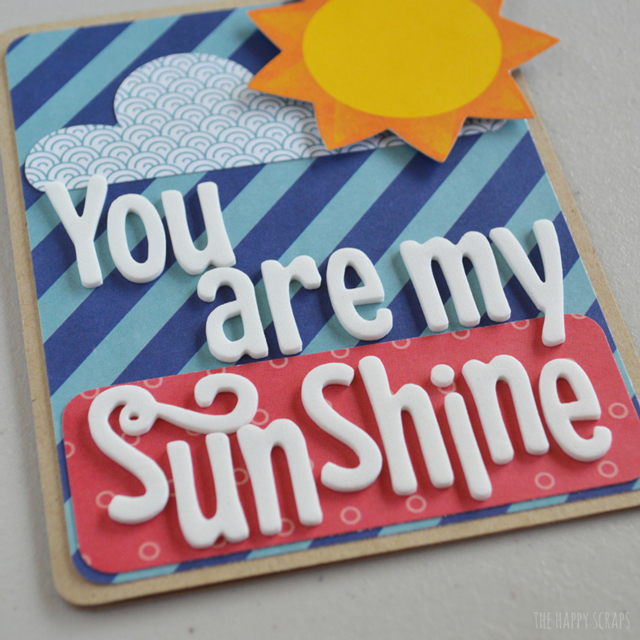
Next, I used thickers to spell out the rest of the saying, “You are my” above the sunshine.
And that finishes up this card.
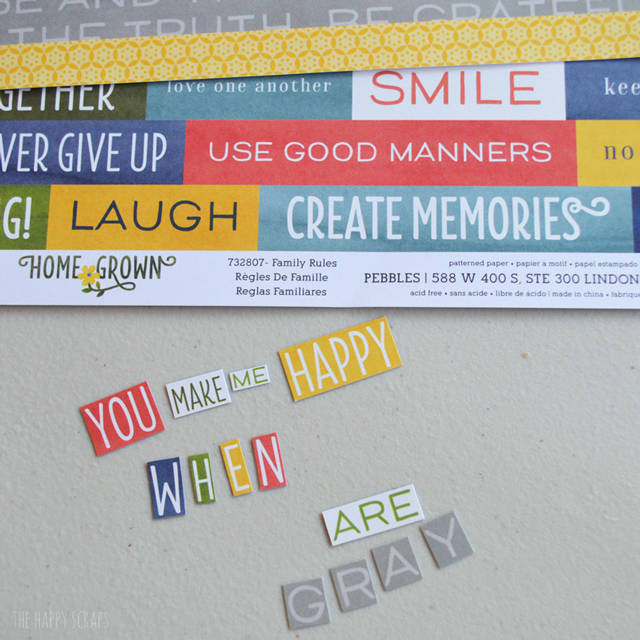
For the other card, I had some fun with the paper filled with words. I looked over it and found most of the words that I needed, and then cut out separate letters for the other words.
I cut the cloud patterned paper to fit the card base and adhered it to the card.
With a mix of foam dimension squares and adhesive, I glued down the words and letters. I used thickers to spell “skies”.
You can have a couple of cards made in no time, so sit down and create something today!





Leave a Reply