You guys! Do you ever have one of those projects that turns out better than you could have imagined it would? That is how this Embellished Gift Card Holder turned out. When I sat down, I had an idea of what I wanted to do, but once I started working on it, they turned out SO much better than what I was picturing.
I don’t know about you, but June seems to be wedding season to me, or just Summer time in general. Lots of people getting married. This is the perfect way to give that newlywed couple a gift card. While it may not be everyone’s favorite gift to give, it is always a well received gift. It also can be a fun gift to dress up the package for.

Disclosure: I received product from Stampin’ Up! in exchange for this post. All ideas and opinions are 100% my own.
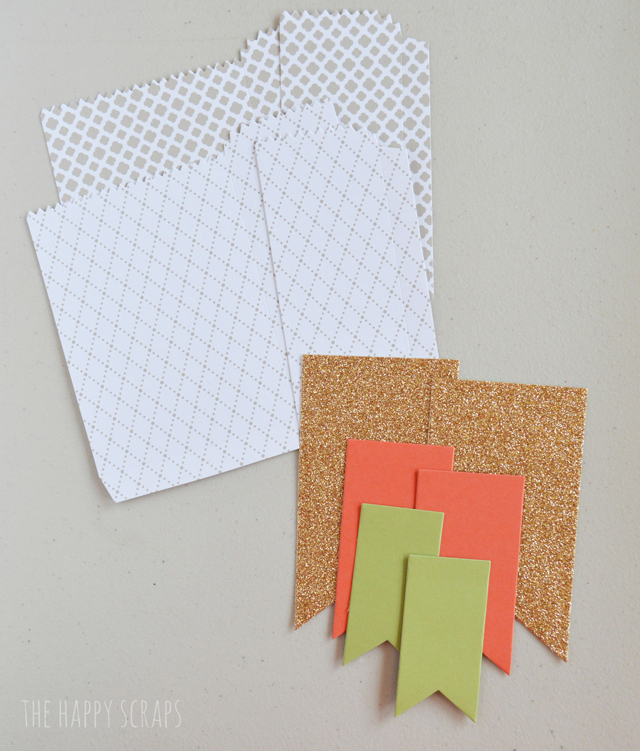
To create these for yourself, you’ll need:
- Calypso Coral
- Classic Stampin’ Pads in Calypso Coral and Pear Pizzazz
- Coordinating Cardstock
- Gold Glimmer Paper
- Something Borrowed Designer Series Paper
- Banners Framelits Die
- Mini Treat Bag Thinlits Die
- Calypso Coral Pom Pom Trim
- Mini Clothes Pins
- Clear Stamp Block

The first thing I did was run my dies through my roller die cutting machine. I cut out all the different pieces that I needed.
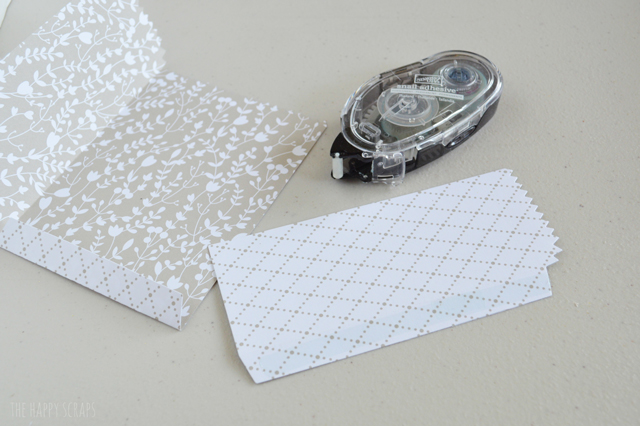
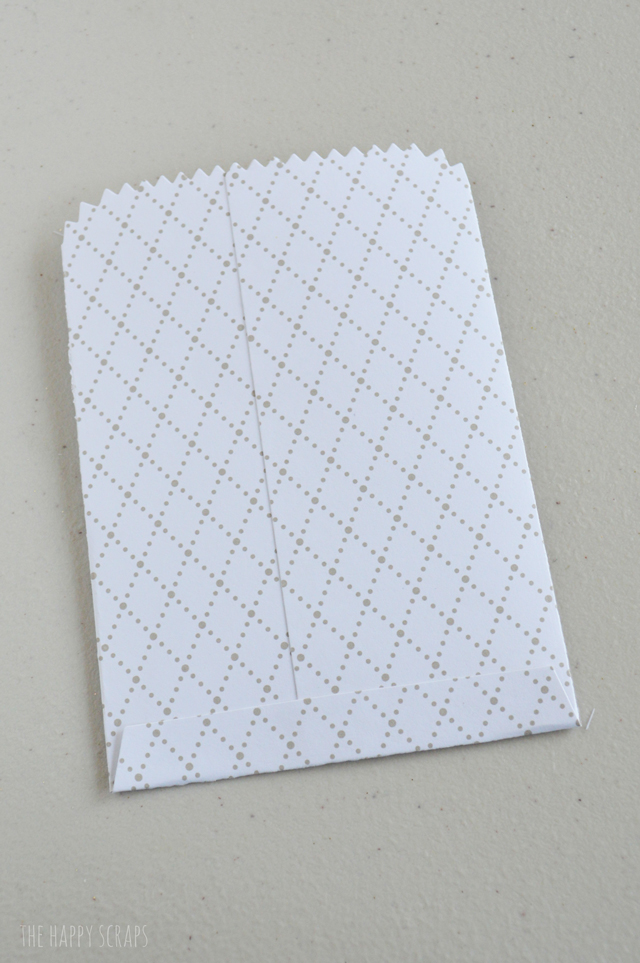
I love the Mini Treat Bag Thinlits Die set because you can make treat bags with whatever paper you’d like! The bags are so easy to put together as well. First, you’ll adhere the flap on the smaller piece to the side of the large piece.
It will look like this.
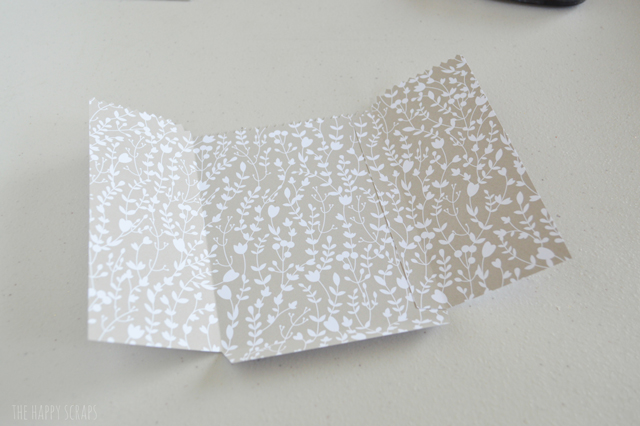
Then you fold both large flaps in, and adhere the back of one to the front of the other.
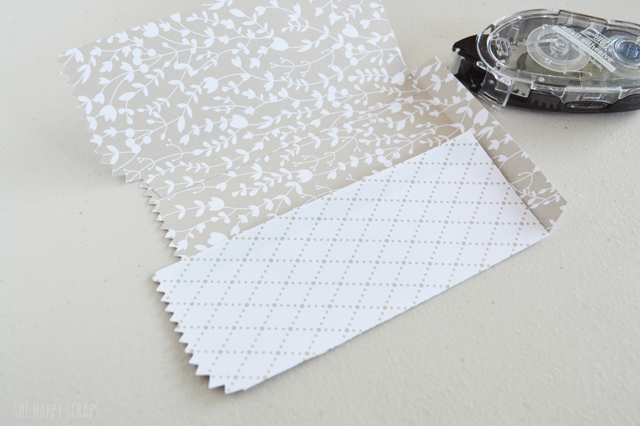
The last thing you do is, fold the bottom flap up, and gluing it down. It makes the cutest little bag!
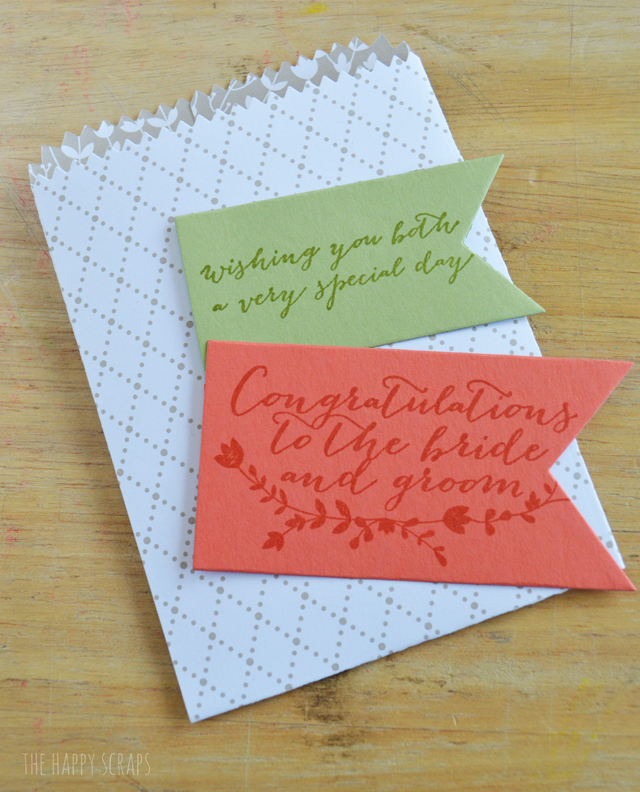
Next, I stamped my images onto the banner tags I had cut out. I used the coordinating ink to stamp on the cardstock. I love that you can see it, but it isn’t too bold either. (Stamping tip: If you find that your stamps don’t stamp evenly on the surface you normally stamp on, try putting a piece of wood under the stamping area. I use an old cutting board, and it make my stamps stamp evenly every time!)
Now that you got your images stamped, you are ready to put the bag together. Lay your gold banner piece down, then layer the stamped banner pieces on top. Wrap your pom pom ribbon around the bag, loop it through itself, and then clip the clothes pin to the top, holding the banner pieces and the ribbon in place. Slip a little note and a gift card inside, and you are ready to give this cute little gift to the Bride & Groom.
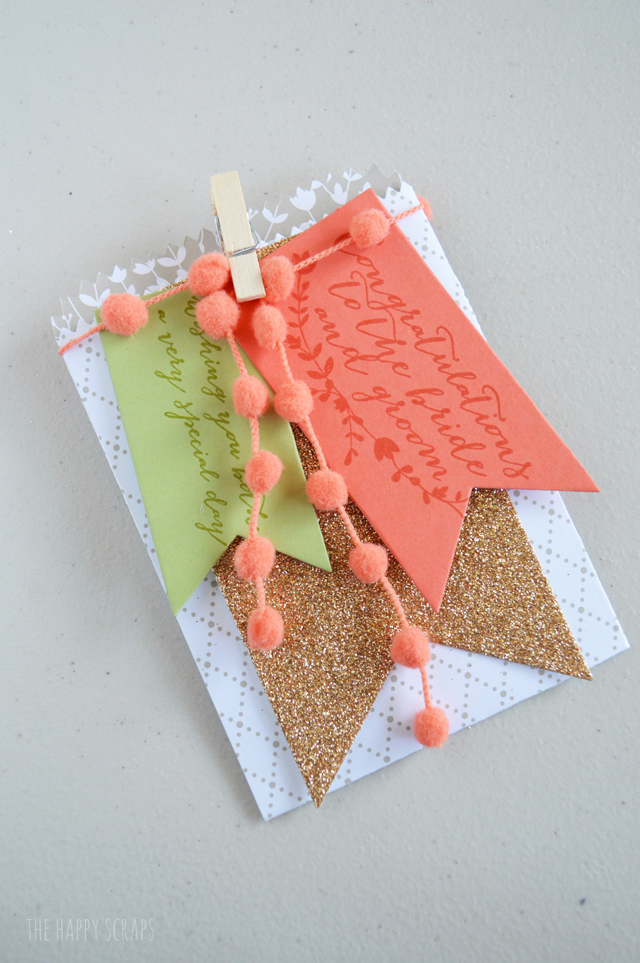
I love the way that these are totally customizable. You could use the chosen wedding colors, or whatever colors you’d like.

I know I’ll be using this for the gift for the next wedding that we go to. I think they are so pretty and fun!

Leave a Reply