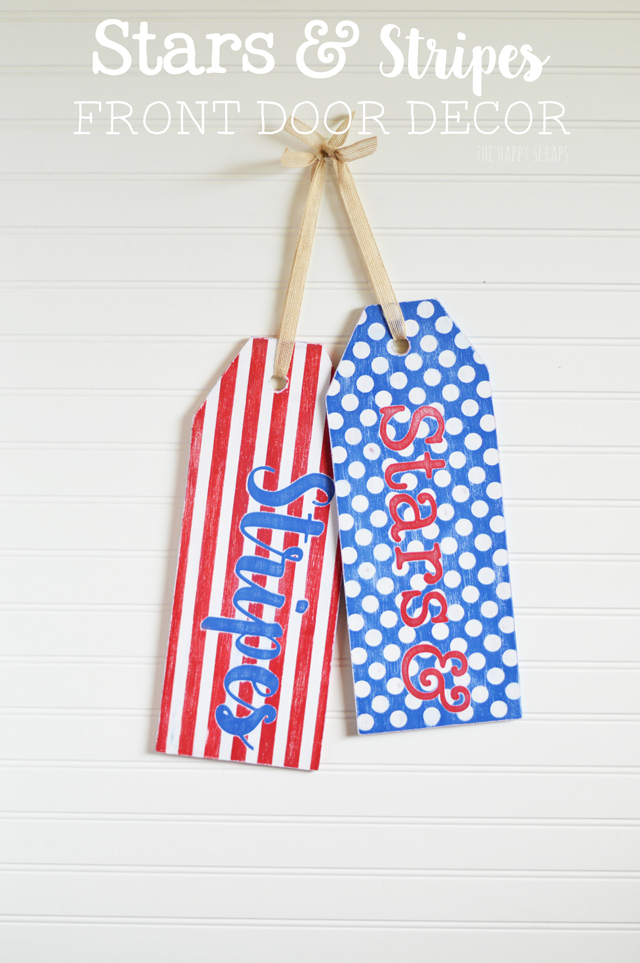
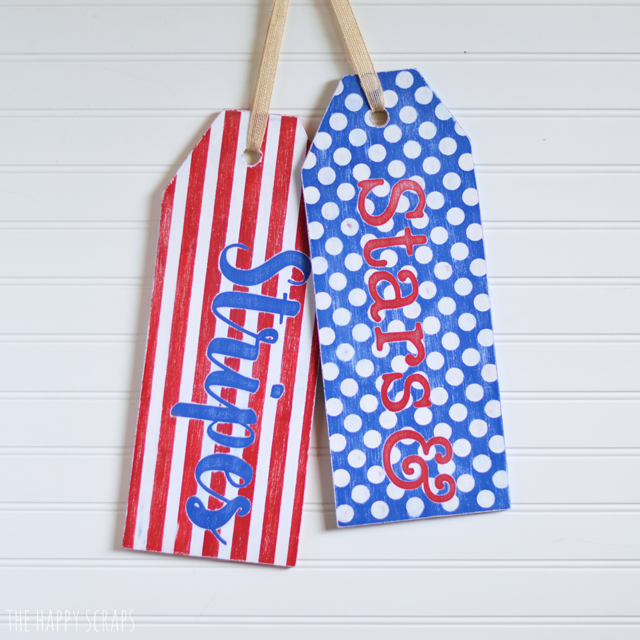
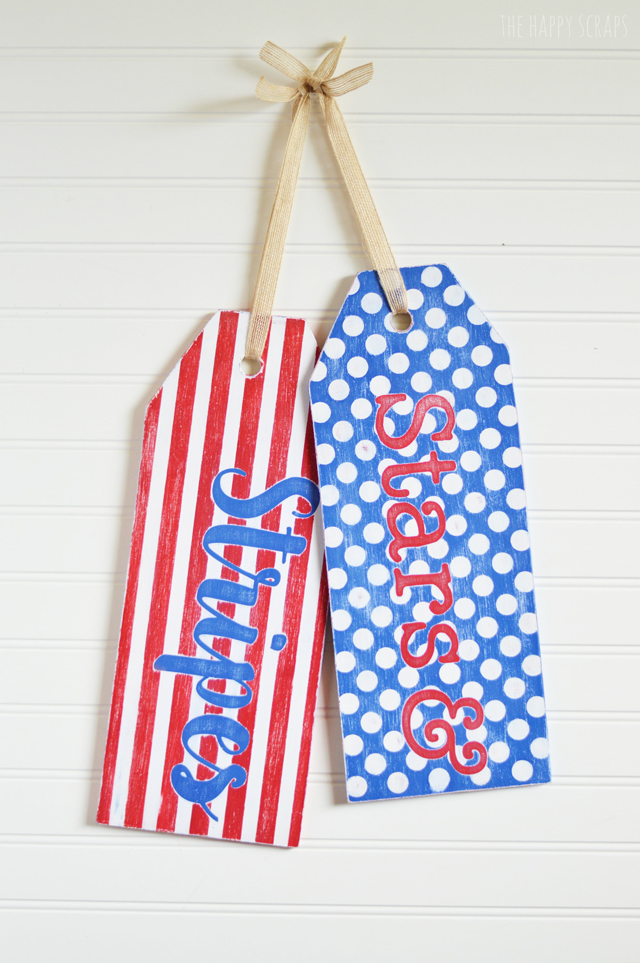
I’m so excited to be part of this Red, White & Blue Blog Hop! The 4th of July is right around the corner, and if you are looking for anything from decor to food, that is Red, White & Blue, then you’ve found the right place! Today, several other bloggers and I are sharing over 90 Red, White & Blue projects with you, so be sure to check them all out! I’m so excited to share my project with you, it is my bright and colorful Stars & Stripes Front Door Decor.
Because, what is better than polka dots and stripes? Let’s dive in and see just how I made these!
This post may contain affiliate links. I only share products with my readers that I personally love and use.
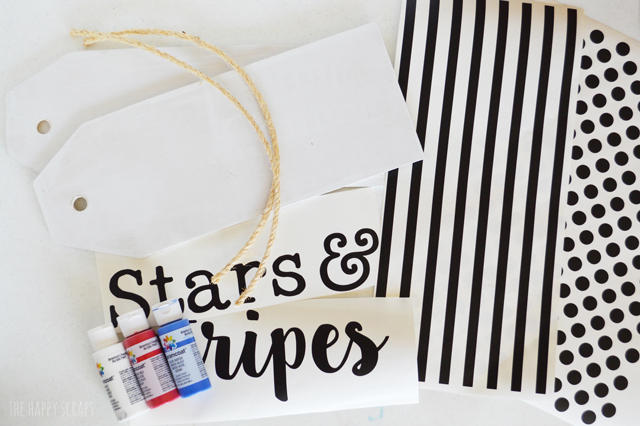
I started by gathering my supplies. You’ll need:
- Wood Door Hanging Tags (I bought mine from The Wood Connection)
- Cricut Explore Machine
- Vinyl
- Ribbon
- Paint
- Sponge Brushes
- Sand Paper
- Wood Glue
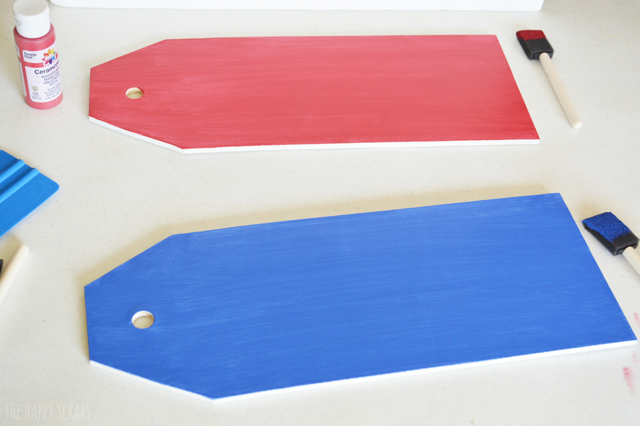
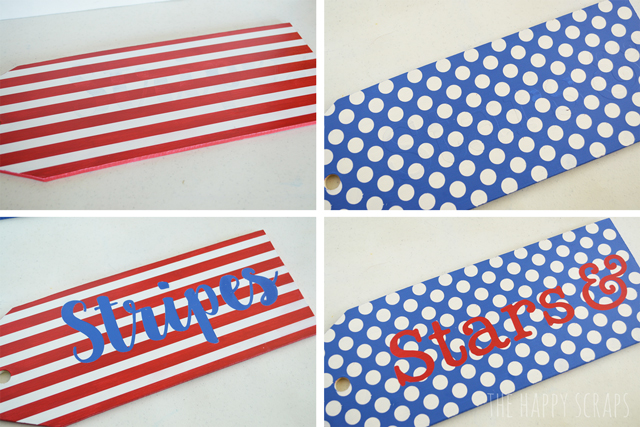
Before I got my supply pictures snapped, I had already painted my large wood tags with primer. I primed them so they would hold up to weather better. Then I painted one red and one blue. I painted 2-3 coats for each.
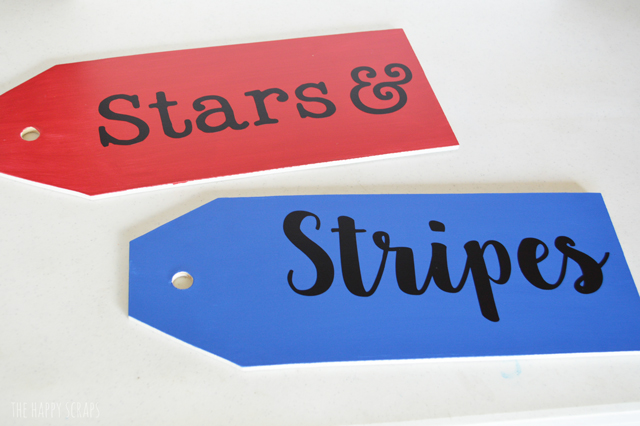
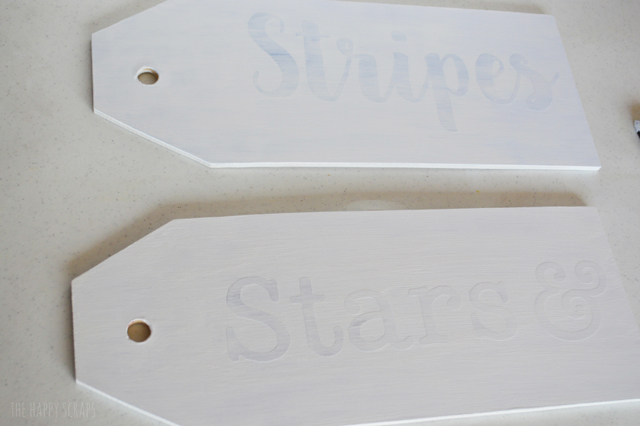
Next, using my Cricut Explore and Cricut Design Space, I cut out all of my vinyl. The “Stars &”, “Stripes”, the stripe design and the polka dots. I applied the “Stars &” and “Stripes” vinyl.
I painted over the vinyl with the same color of paint that was under it. This seals the edges of the vinyl and prevents other colors of paint from bleeding under the vinyl. Make sure to let each coat of paint dry well before adding the next coat.
Now you can add white paint to the top. To cover the red and blue, you’ll need 3-4 coats of white paint.
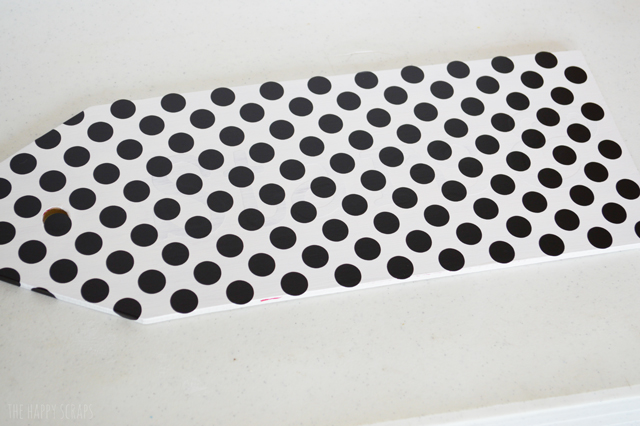
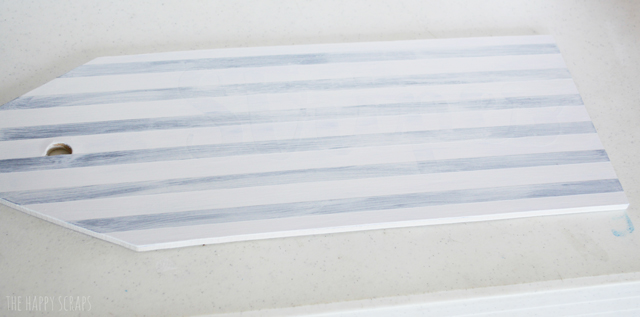
Now apply your polka dot and stripes vinyl over the white paint.
Paint one coat of white over the top to seal the edges of the vinyl.
Now paint red over the stripes, and blue over the polka dots. You’ll need 2-3 coats of this as well. On this step, make sure to paint the edges of your wood tags as well. I’ll be honest, when I got to this point, I wondered if this project was really going to work, considering I had about 9 layers of paint. 🙂
Once you’ve let your paint dry, you can start peeling up the vinyl. One thing that I found, if you pull the vinyl quickly, it is less likely to leave any sticky residue on your project. Pull all the stripes and dots off, and then peel off the letters for your words.
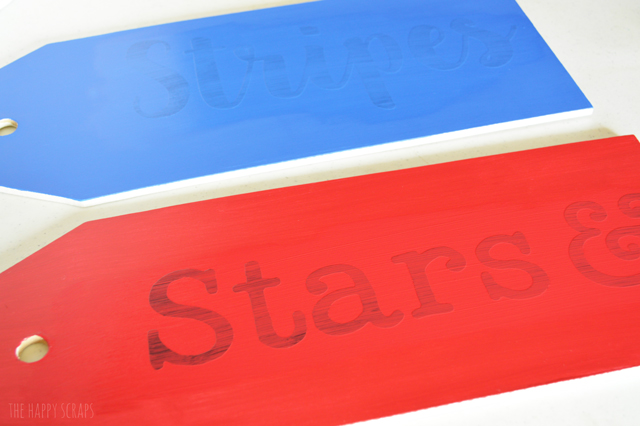
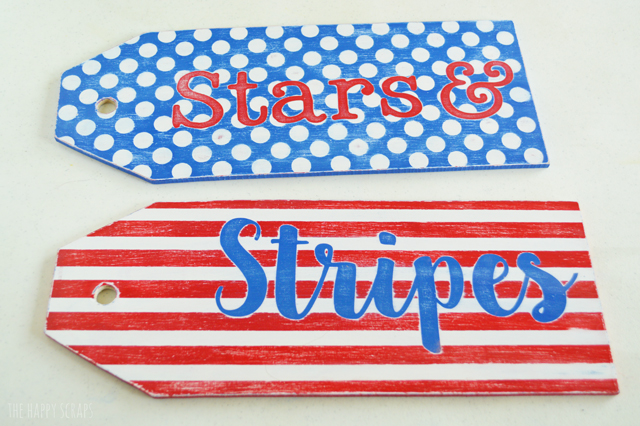
The fun part is when you get to distress these. I took a piece of fine sand paper and sanded these. I love the way the words look almost like they are outlined in white. Because there were so many layers of paint over the top of the words, when I sanded, that is what happened, and I LOVE it! Once you are done distressing, spray your tags with a clear sealer.
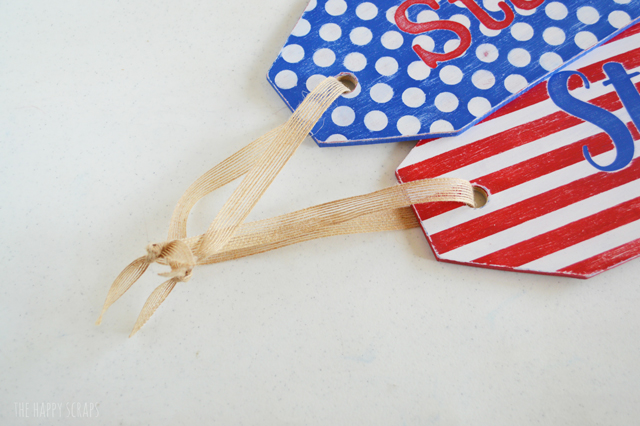
Now you’ll glue your tags together, slightly overlapping. I used wood glue for this. Cut a couple pieces of ribbon to hang the tags from. I tied one ribbon in a loop, and tied the second one the same, but looping it through the first ribbon loop before tying it.
You are all ready to hang this on your front door!
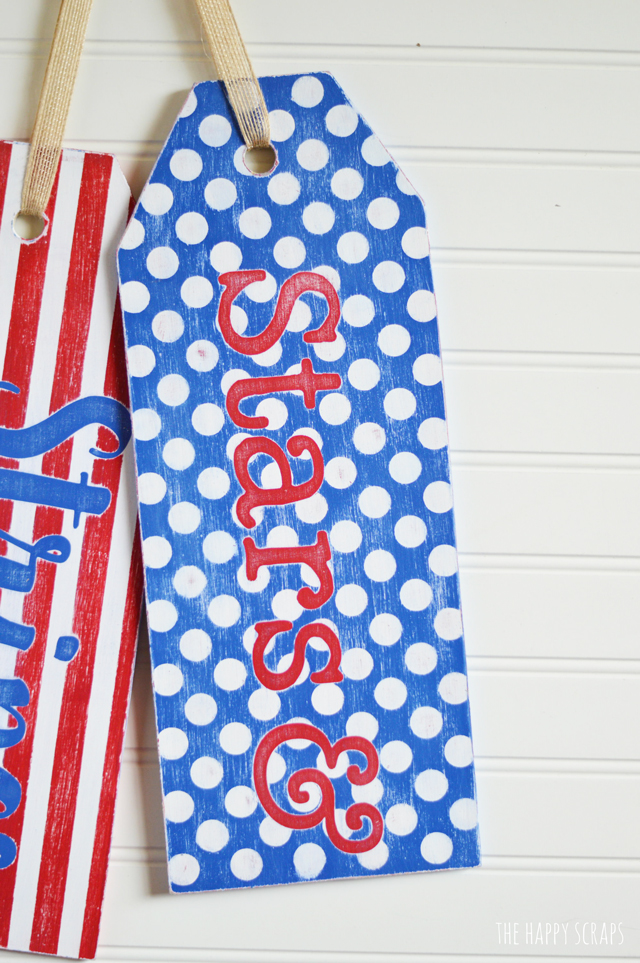
Here is a closer look at the polka dots “Stars &” tag.
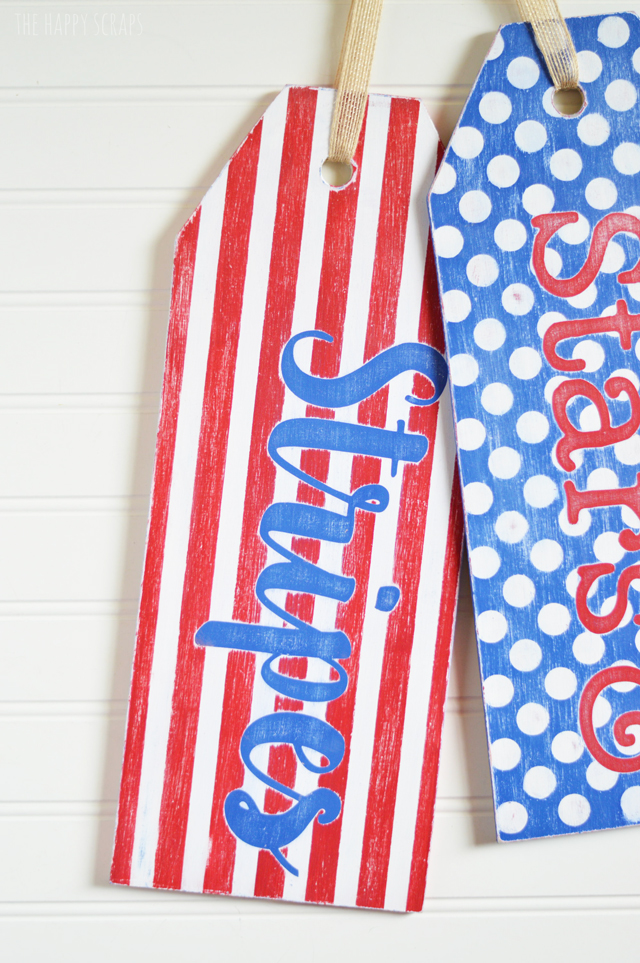
And here is a closer look at the “Stripes” tag. I love the way the distressing turned out on both of these.
The ribbon I used to hang these is so plain and simple, but it’s the perfect addition to this project.
Grab your supplies and get working on this fun project! You’ll love having it on your front door for Independence Day!
Now, are you ready to see all the other amazing projects that are being shared as part of this blog hop? Check them all out below!




Leave a Reply