• Contact
  • Etsy Shop
  • About Me
  • Home

The Happy Scraps

a creative blog

  • DIY Projects
  • Cricut
  • Holidays
    • New Year’s
    • Valentine’s Day
    • St. Patrick’s Day
    • Easter
    • Mother’s Day
    • Father’s Day
    • Independence Day
    • Halloween
    • Thanksgiving
    • Christmas
  • Paper Crafts
    • Banners
    • Cards
    • Mini Albums
    • Printables
    • Scrapbook Layouts
    • Wreaths
  • Sewing
  • Recipes

Mother’s Day Mini Album

April 26, 2016 By Amy | The Happy Scraps 1 Comment

58 shares
  • Share
  • Tweet

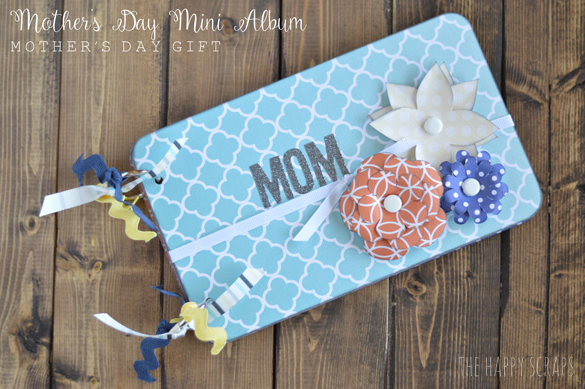
Can you believe that Mother’s Day will be here in just a couple of weeks? With Mother’s Day around the corner, it’s time to start thinking of gifts for mom. Last year, I put this little mini album together for my mother in law, and shared it on the Core’dinations blog. Today, I’m sharing it with you.

mothers-day-mini-album

This post contain affiliate links.
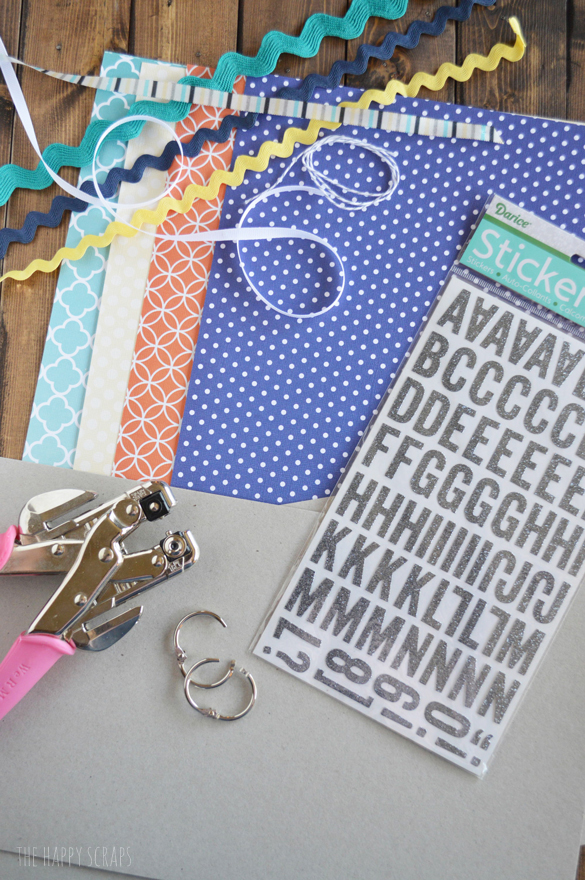
Supplies:

  • Chipboard
  • Coordinating paper
  • Ribbon
  • Alphabet Stickers
  • Crop-a-dile
  • Binder Rings
  • Paper Trimmer
  • CornerĀ Chomper
  • Glue Dots
  • Cricut Explore
  • Ink
  • Foam Dimensional Adhesive
  • Brads

supplies

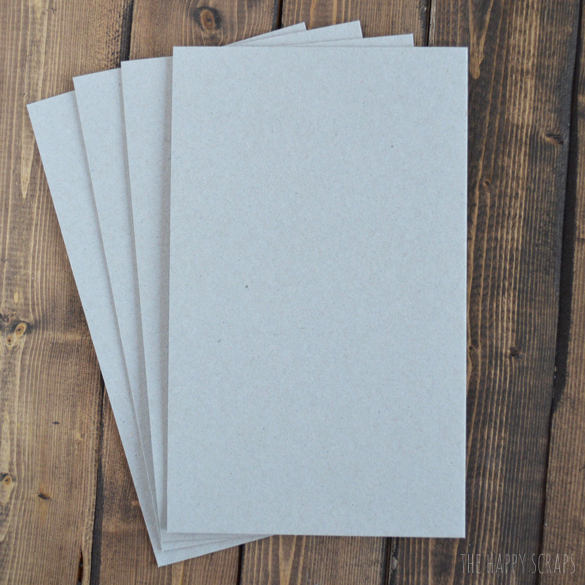
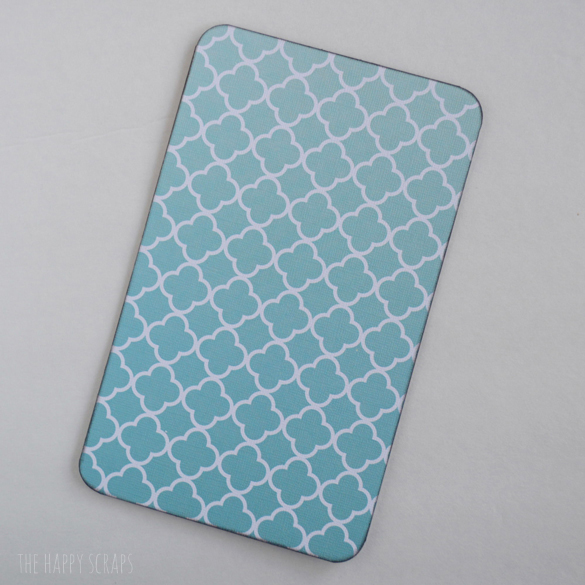
After gathering your supplies, cut your chipboard to the size you’d like your book to be.

chipboard

Then trim your paper to be the same size as the chipboard.

adhere-paper-to-chipboard

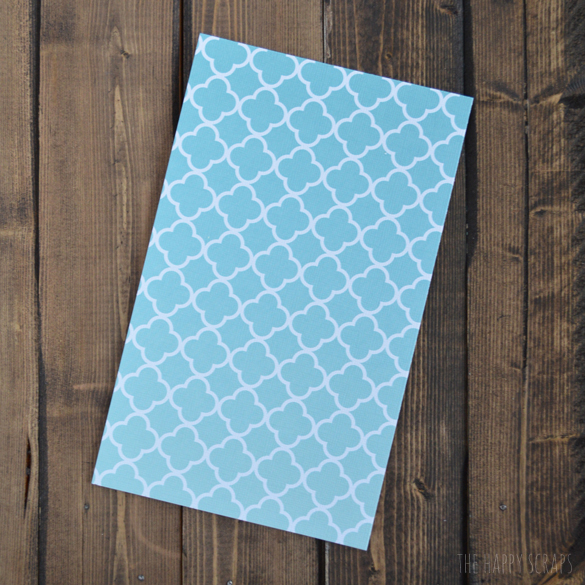
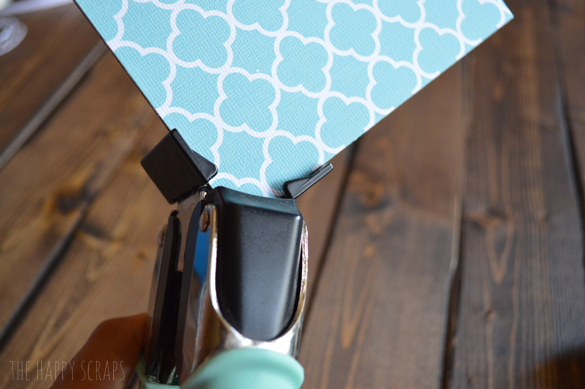
Glue you paper to your chipboard and then use the corner chomper to round your corners.

corner-rounder

Use your ink to ink/distress the edges.

inked-edges

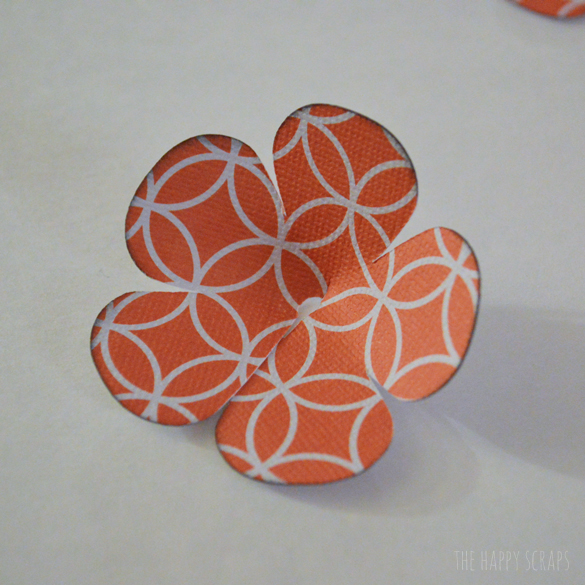
Using my Cricut Explore, I cut out some 3D flowers.

cut-flowers

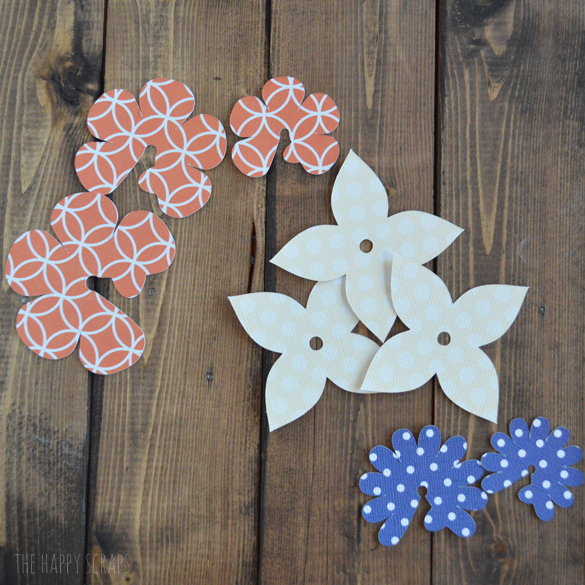
I inked the edges of each of the flowers pieces.

inked-flowers

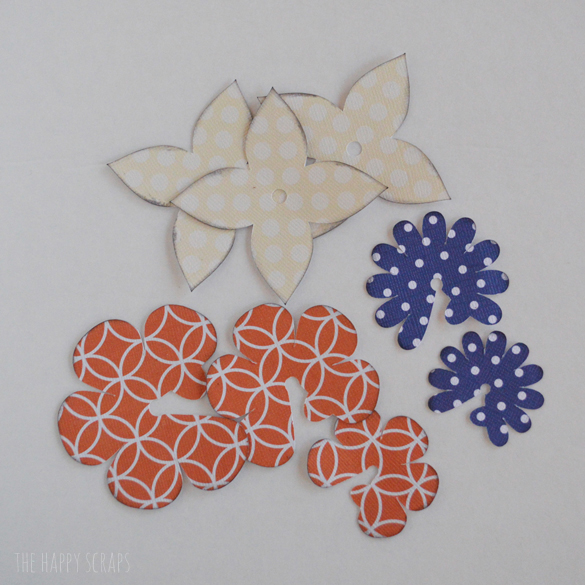
Then I glue dots to put each flower piece together.

glue-dot

This is what they looked like.

3d-flower

I curled the petals of the flower back. I did this with all the of the petals for each layer. It makes the flower look more realistic.

flower-layer

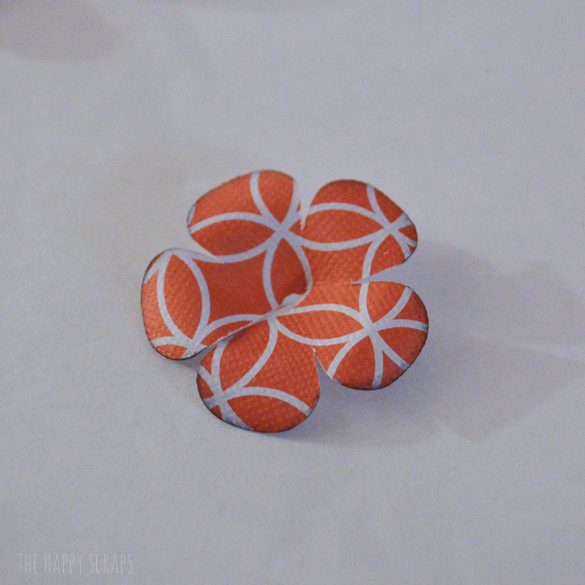
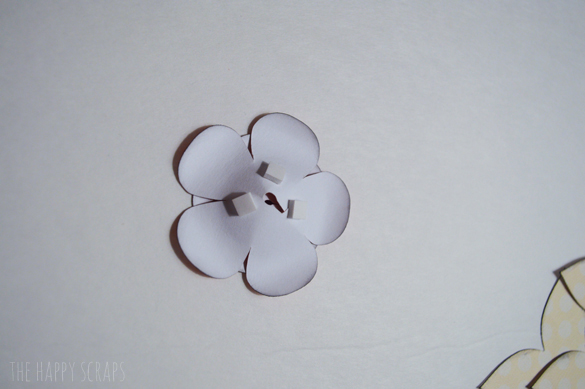
Then I used foam dimensional adhesive to attach the different layers of the flower together.

dimension-squares

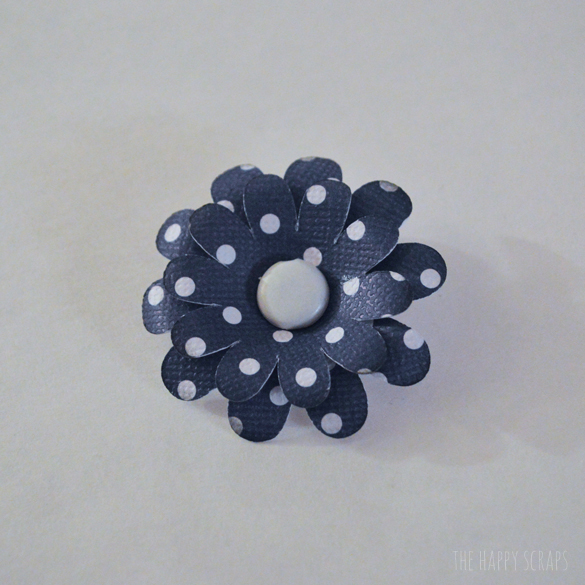
This is what it looks like from the front.

flower

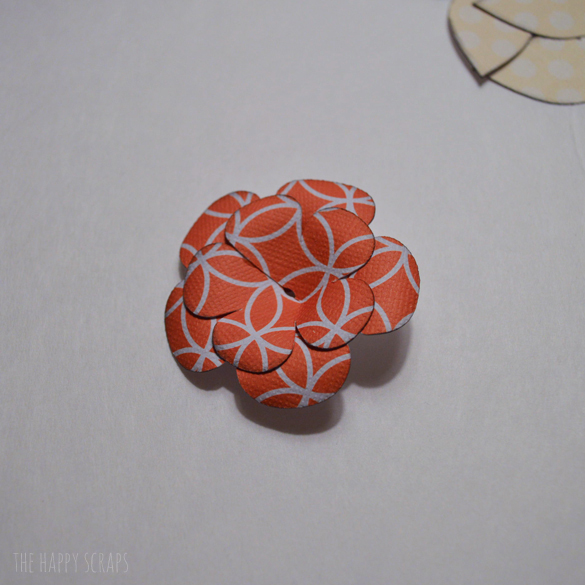
Once I had the flower put together, I added a large white brad to the center of the flower.

brad

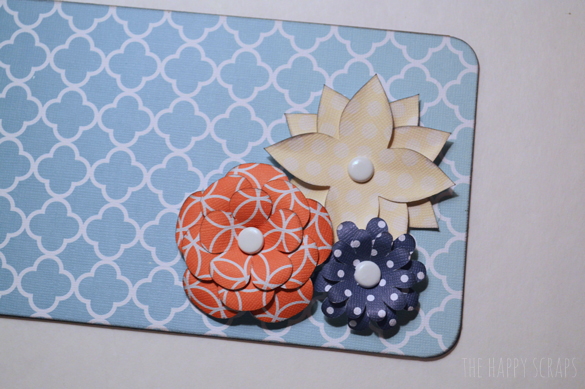
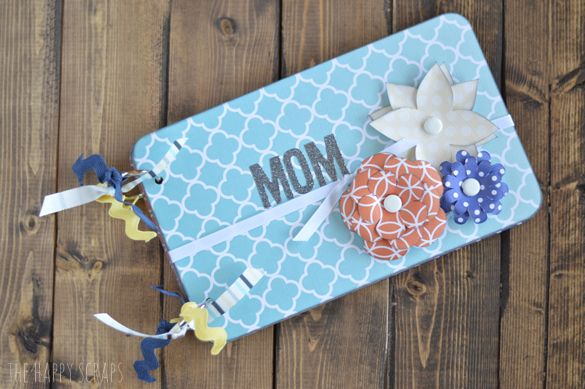
I attached the flowers to the front of the mini album.

attach-flowers

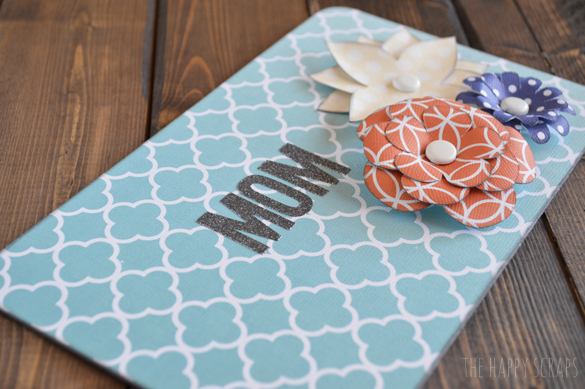
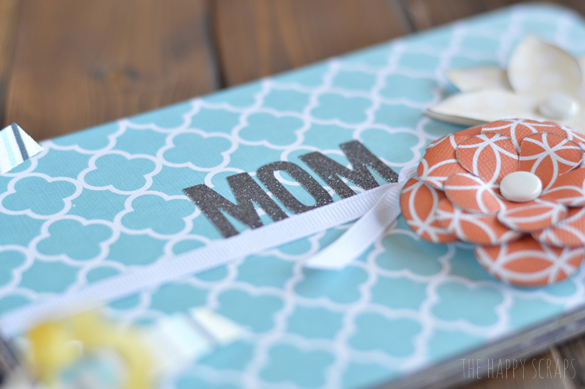
Then I used the stickers to spell MOM on the front.

mom-stickers

I used my Crop-a-dile to punch holes where I needed them.

punch-holes

Insert your binderĀ rings.

jump-rings

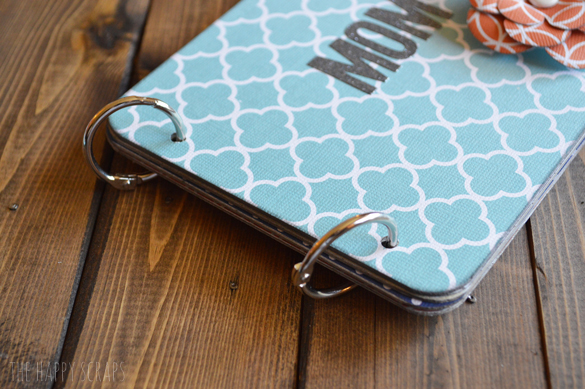
After I had the stickers and flowers on, I decided I wanted to add a ribbon. I also added ribbon to the binder rings.

glitter-stickers

This is what the front of the book likes when it’s finished.

mothers-day

Then I added the pictures.

mothers-day-gift

picture-book

photo-book

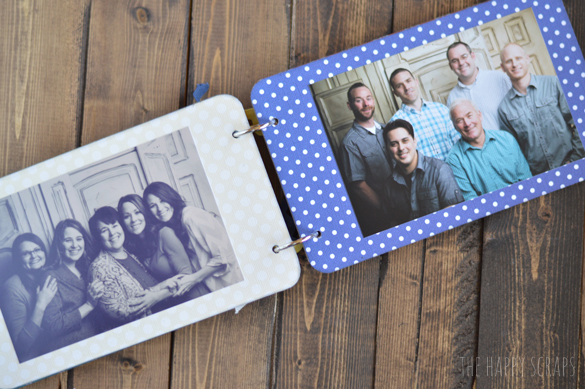
My mother in law loved this gift, and it took a little bit of time to make, but it was a fun project!

Filed Under: Cricut, DIY Projects, Gift Ideas, Holidays, Mini Albums, Mother's Day, Paper Crafts Tagged With: baker's twine, brads, chipboard, cricut explore, glitter, ink, mini album, paper, ribbon

« Nursery Wall Arrow Decor
The Creative Exchange Link Party #101 »

Leave a Reply Cancel reply

Your email address will not be published. Required fields are marked *

CommentLuv badgeShow more posts
  • Farm Sweet Farm Front Porch Sign with the Cricut Maker 3
  • Farm Fresh Eggs Kitchen Sign
  • How to Make a Summer Hat with the Cricut Joy
  • Bless Our Farmhouse Kitchen Sign
  • Welcome to the Farm Front Door Decor
  • How to Use Offset in Cricut Design Space

Popular Posts

Page Ranking Tool

Categories

Archives

The images and text on this site are copyright of The Happy Scraps. If you would like to feature a project or image on this site please email [email protected]. Thank you! Please read the Privacy Policy and Disclosure here.

Copyright © 2025 · Tasteful theme by Restored 316

Copyright © 2025 · Blog Design by Key Lime Digital Designs · WordPress · Log in

58 shares