I finally was able to finish another project for the nursery! It was a really easy project, but I just couldn’t seem to get it done all at one time. 🙂 It’s finished now and up on the wall and I LOVE it! Let me show you just how easy this Nursery Wall Arrow Decor was to put together.

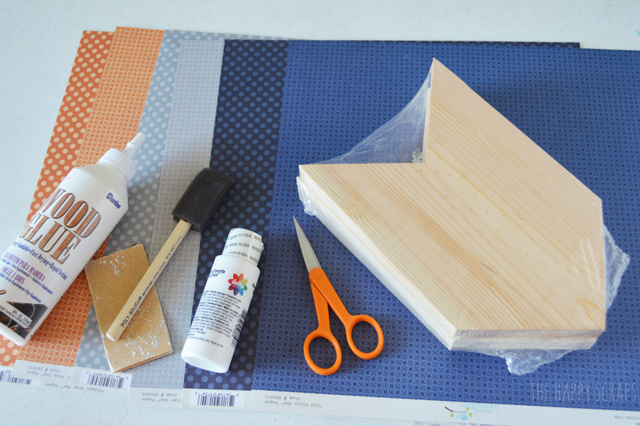
I picked up all of my supplies at The Wood Connection. The arrows, paper, paint, wood glue, paint brush, and sandpaper.

I sanded all the edges of the arrows, and then placed them down on my paper. I used the straight edge of the paper to line up with the middle of the arrow. I traced the arrow half onto the paper.

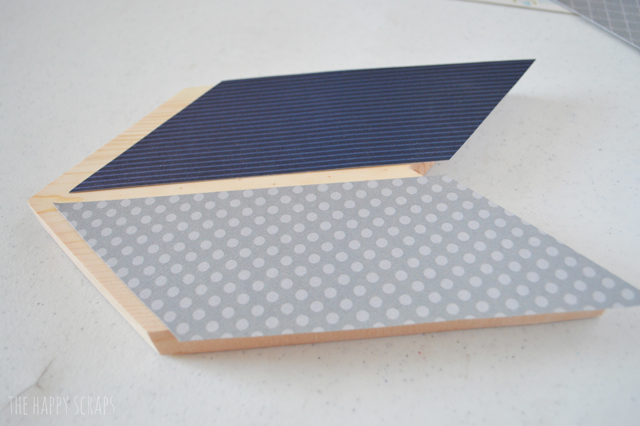
I cut out the arrow halves and placed them on the arrows, making sure they fit right.

After I traced the arrows onto the paper, I painted the edges white.

Using Wood Glue, I spread it out on the top of the arrows. I used a sponge brush to spread the glue out evenly.

I placed both sides of the paper on at the same time, using a vinyl squeegee to smooth it out and get it stuck down really well.

I used the sandpaper to sand off the edges of the paper after the glue was dry, also giving it just a hint of a distressed look.

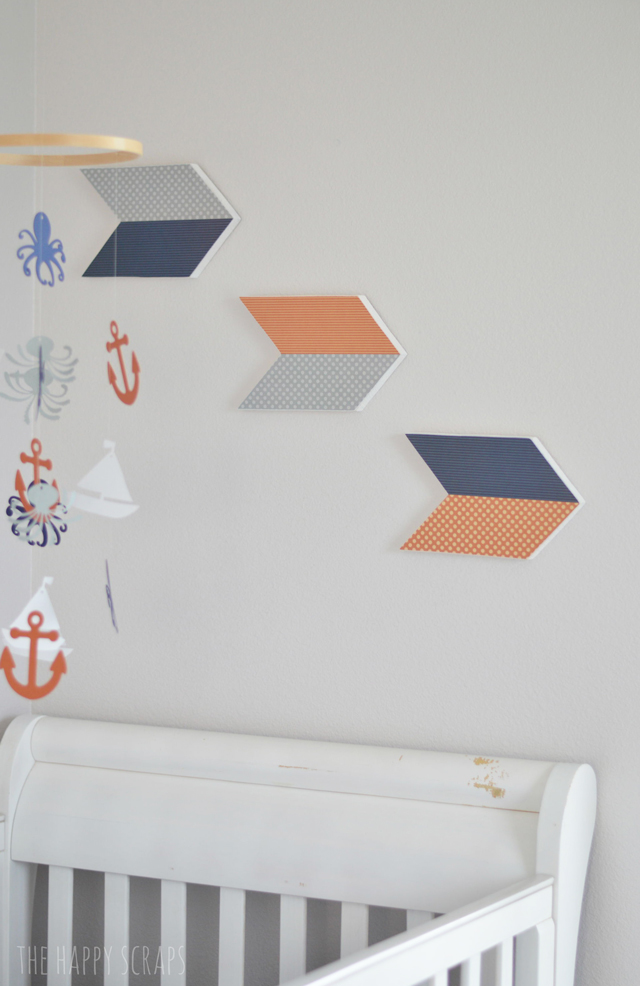
Once I had all three of them finished up, I hung them on the wall. I used command strips to place them on the wall, the velcro kind. They make it so easy to re-position things!

Don’t you think they go well with the baby mobile that I shared a couple of weeks ago?

Now that I have the nursery to this point, I’m getting really excited about finishing up the rest of it. One of these days, I might even try to fix the crib, where my older kids decided to chew on it. 🙂

Next week, with the baby themed posts, I’ll be sharing some photos of my new baby, and how I’m easily documenting his life. Be on the look out for that!

Leave a Reply