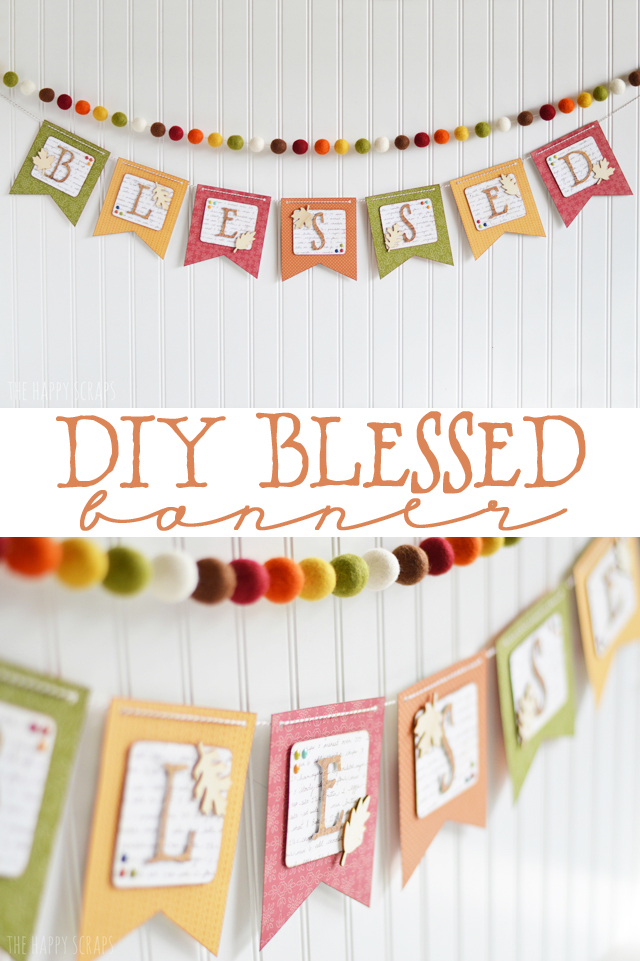
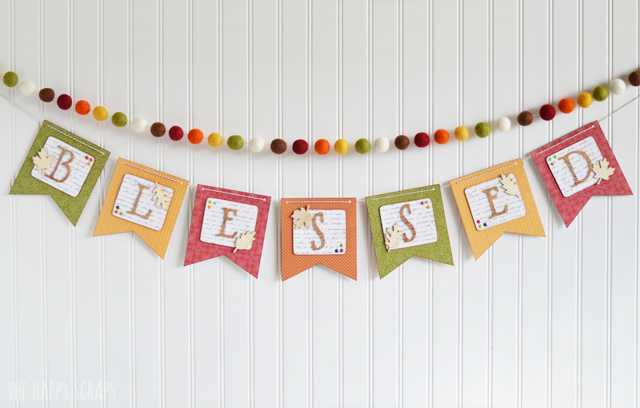
This time of year is my absolute favorite to decorate for! I love the colors and I love the decor that I have for this season. Today, I’m sharing this DIY Blessed Banner. I hope you love it as much as I do.
This post contains affiliate links.
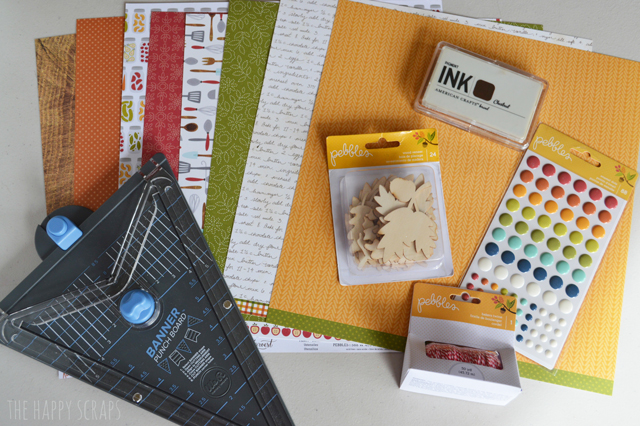
DIY Blessed Banner Supplies:
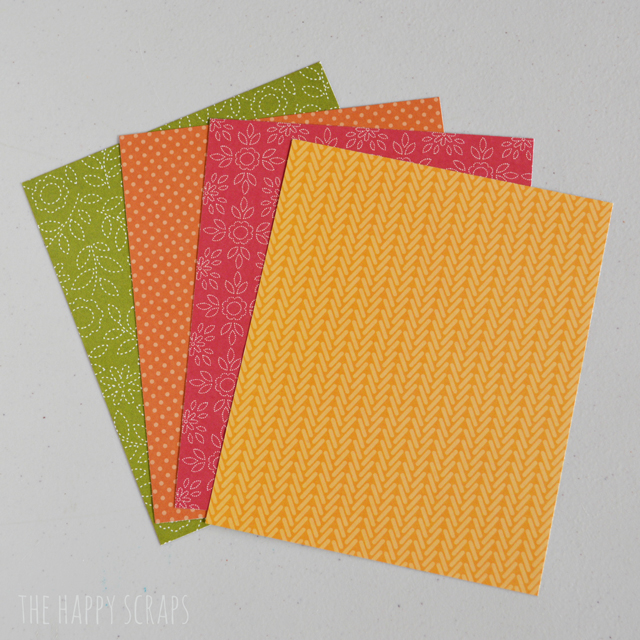
- Fall Patterned Papers
- Wood Leaves
- Baker’s Twine
- Banner Punch Board
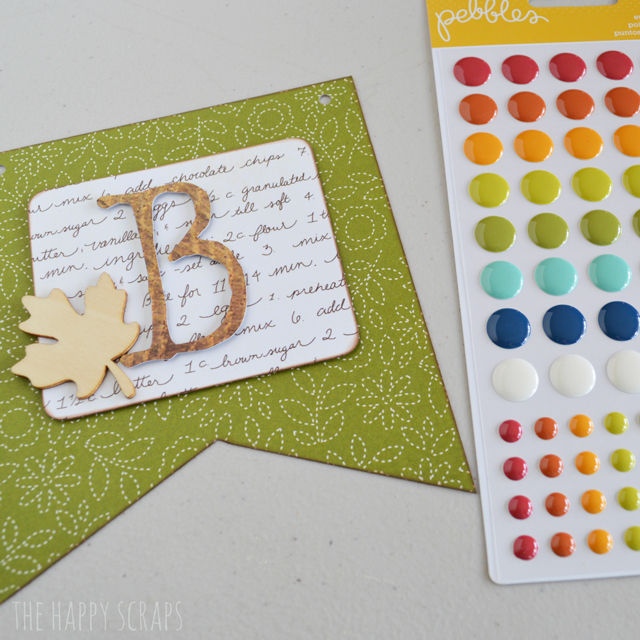
- Colored Circle Dots
- Corner Chomper
- Brown Ink
- Cricut Maker or Cricut Explore Air 2
- Dimensional Adhesive
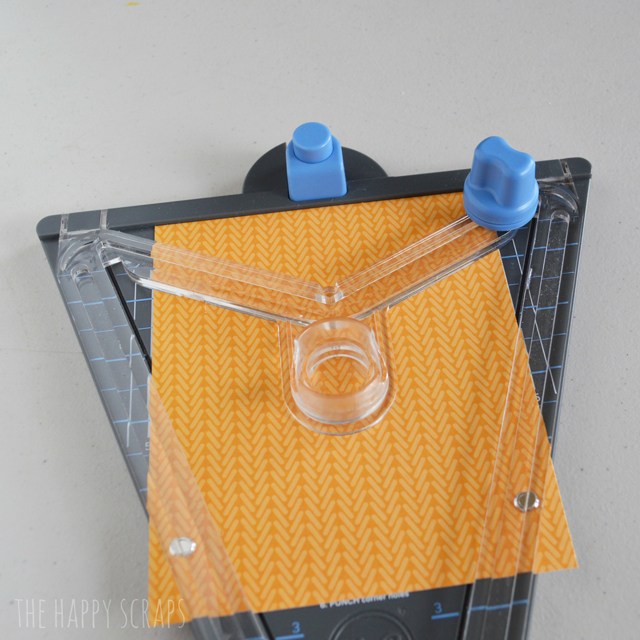
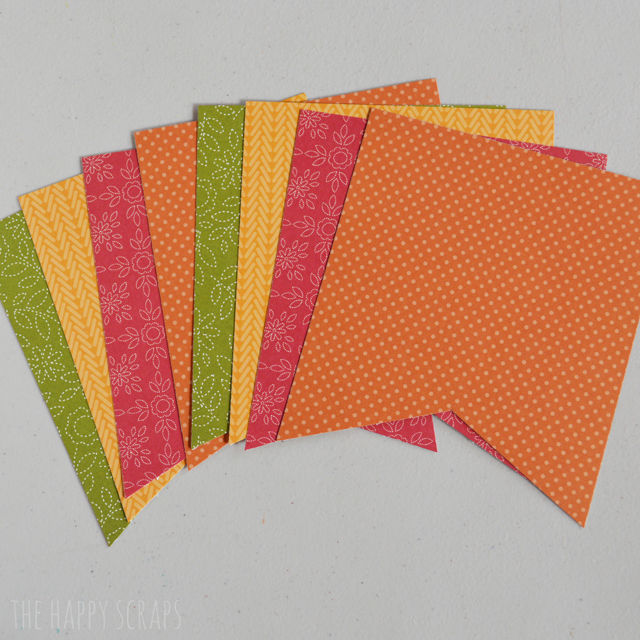
I started by cutting my paper to be 5″ x 6″.
Using the Banner Punch Board, trim the bottom of each banner piece.
Do this with enough pieces for your banner.
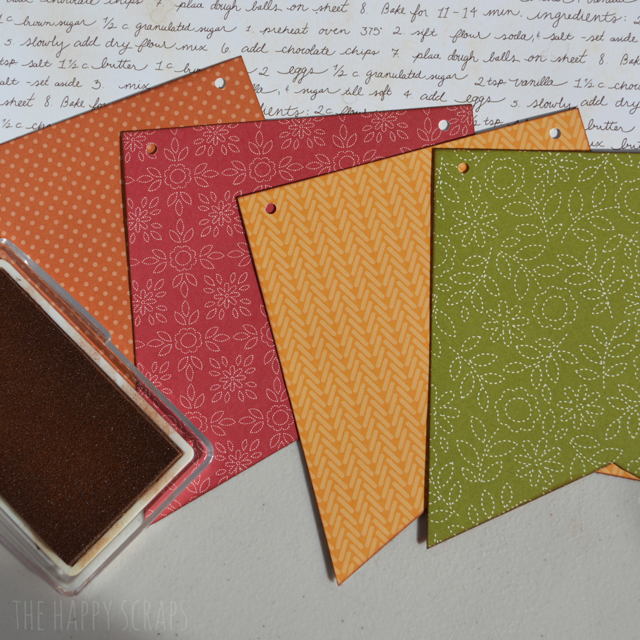
Punch the holes in the top of your banner pieces, then ink the edges of each one.
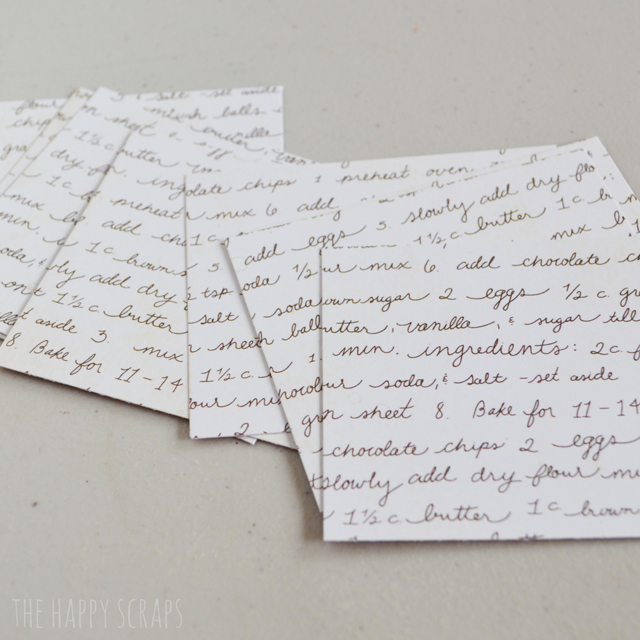
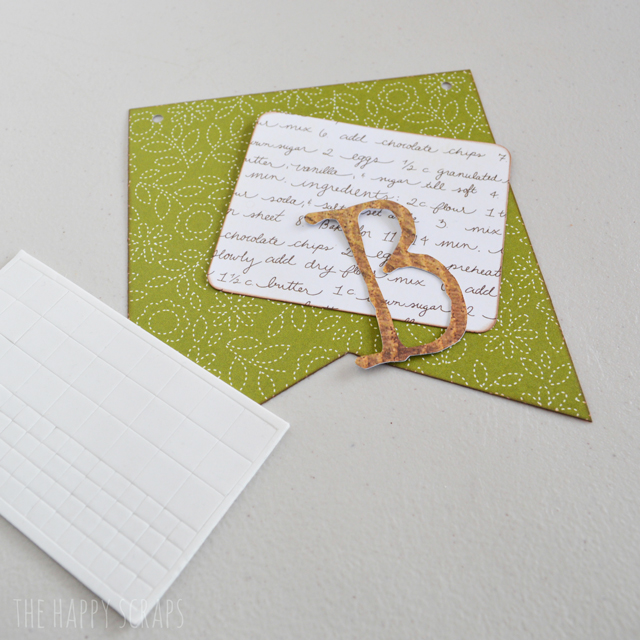
Cut the paper for your background on each banner piece to be 3.5″ wide x 3″.
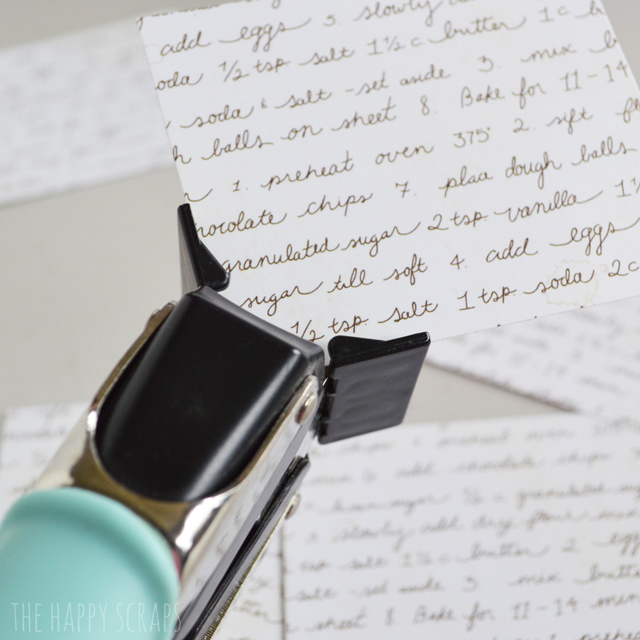
Use your corner chomper to round the corners. Then ink the edges.
Cut your letters out using the Cricut Explore.
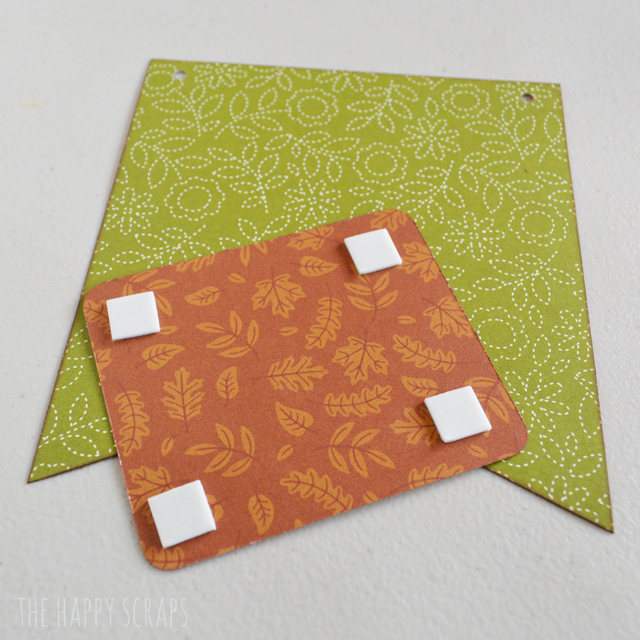
Use dimensional adhesive to mount your background paper onto your banner piece.
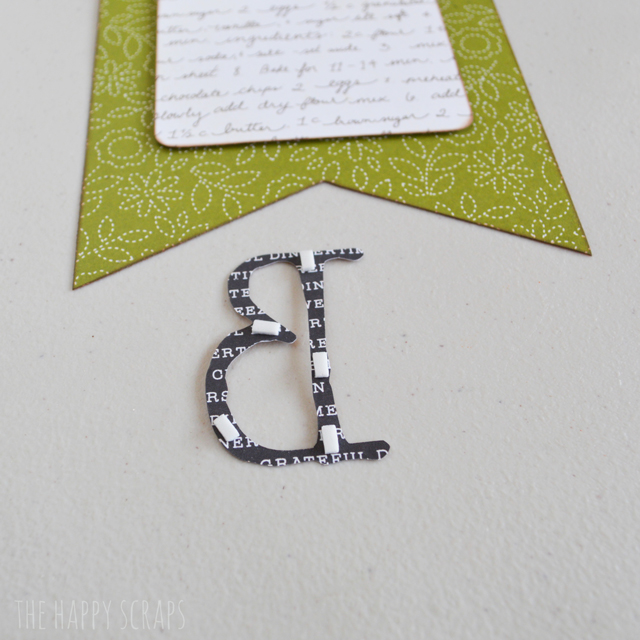
Then mount your letter onto the banner shape using dimensional adhesive as well.
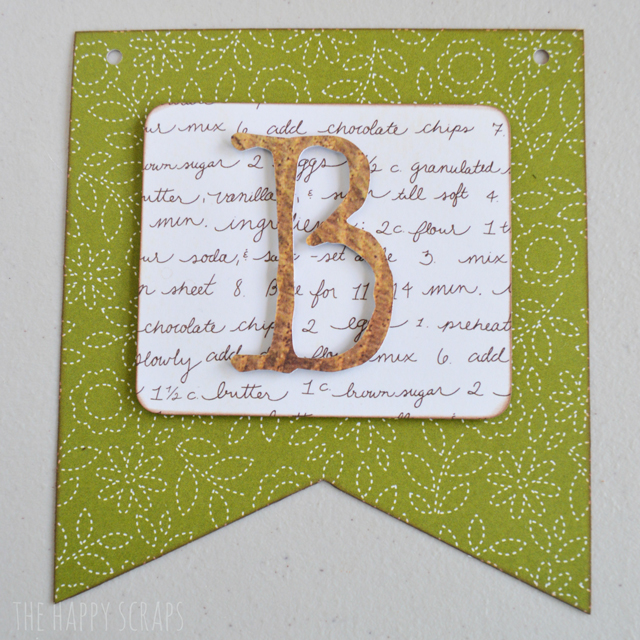
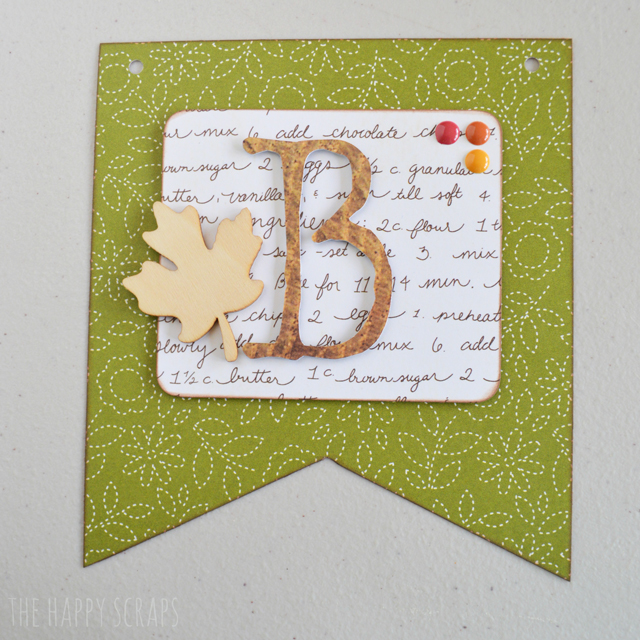
This is what your banner should look like at this point.
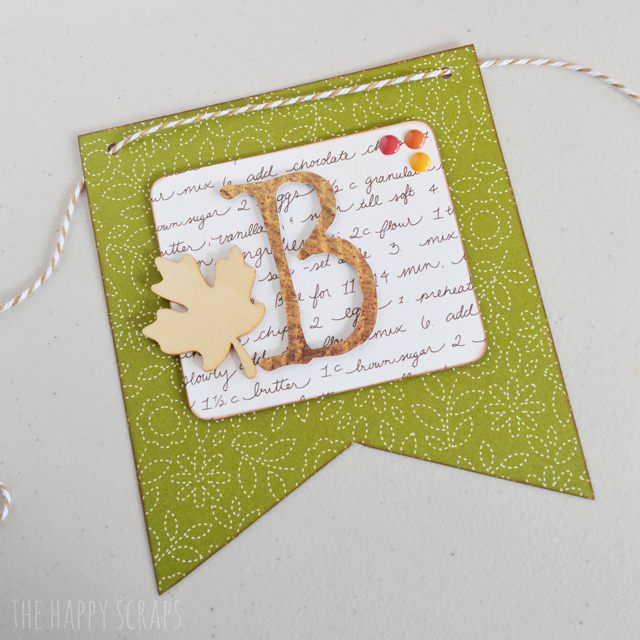
Using your wood leaves and embellishments, decorate your banner piece.
I put the little colored dots on one corner and the wood leaves on another corner.
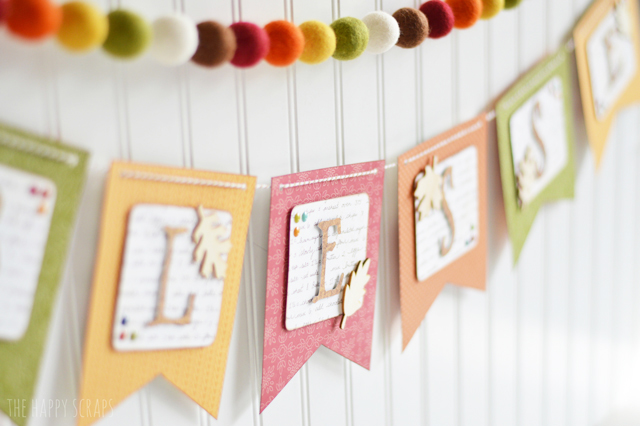
I grabbed my baker’s twine and strung my banner together.
Now it’s ready to be hung up anywhere in your home!
I’m looking forward to November when I can get this banner out and hang it up this year!
What is your favorite season to decorate for?
This is a project that I shared last year on the Pebbles blog.


Leave a Reply