• Contact
  • Etsy Shop
  • About Me
  • Home

The Happy Scraps

a creative blog

  • DIY Projects
  • Cricut
  • Holidays
    • New Year’s
    • Valentine’s Day
    • St. Patrick’s Day
    • Easter
    • Mother’s Day
    • Father’s Day
    • Independence Day
    • Halloween
    • Thanksgiving
    • Christmas
  • Paper Crafts
    • Banners
    • Cards
    • Mini Albums
    • Printables
    • Scrapbook Layouts
    • Wreaths
  • Sewing
  • Recipes

Halloween Treat Cards

October 21, 2016 By Amy | The Happy Scraps Leave a Comment

52 shares
  • Share
  • Tweet

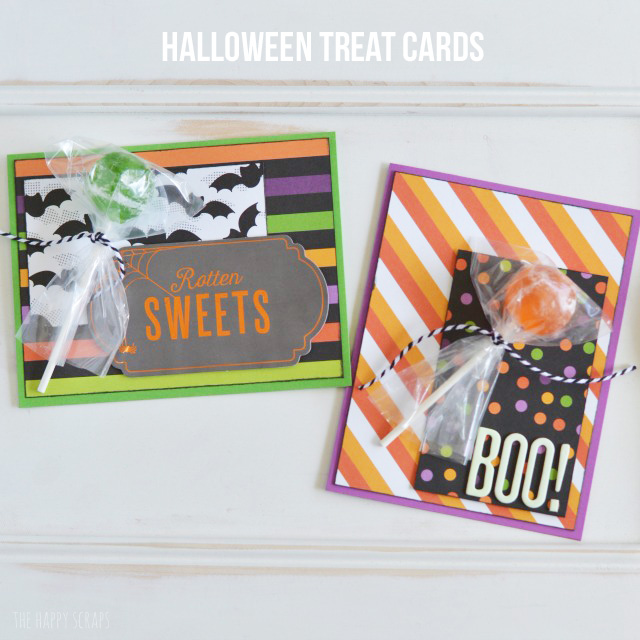
Halloween will be here before we know it. I can hardly believe it. It seems like 2016 just started. It seems like time just keeps moving faster and faster, doesn’t it? The last couple of weeks my kids have been excitedly talking about what they want to be for Halloween. My 13 year old even wants to make his own costume. (I think it might be because he thinks I’m too busy and he really wants to be what he has in mind. He wanted to be the same thing last year, and I was sick and pregnant so I couldn’t make the costume.) I am excited to help him make his costume though. I hope we can pull it together, plus come up with the other four costumes we need around here. Anyway, I’m not here to talk about costumes today, I wanted to show you these fun and colorful Halloween Treat Cards. I made these + the suckers last year and shared it over on the Pebbles blog. Today, I’m sharing them with you!

Give your friends a little treat attached to a fun card. Stop by the blog to learn how easy these Halloween Treat Cards are to make!

This post contains affiliate links.

To make your own Halloween Treat Cards you’ll need:
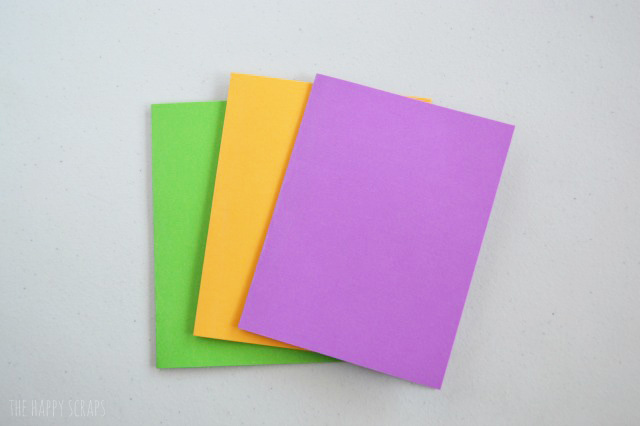
  • Colored Cardstock
  • Halloween Patterned Paper
  • Black Ink Pad
  • Glow in the Dark Thickers
  • Glue Dots
  • Dimensional Adhesive
  • Small Treat Bags
  • Baker’s Twine
  • Suckers
  • Pebbles Boo! Minc Labels
  • Orange Reactive Foil
  • Heidi Swapp Minc Foil Applicator

I started with some bright colored cardstock for the card bases. I cut them to the size I wanted and then folded them in half, creating the card.

Give your friends a little treat attached to a fun card. Stop by the blog to learn how easy these Halloween Treat Cards are to make!

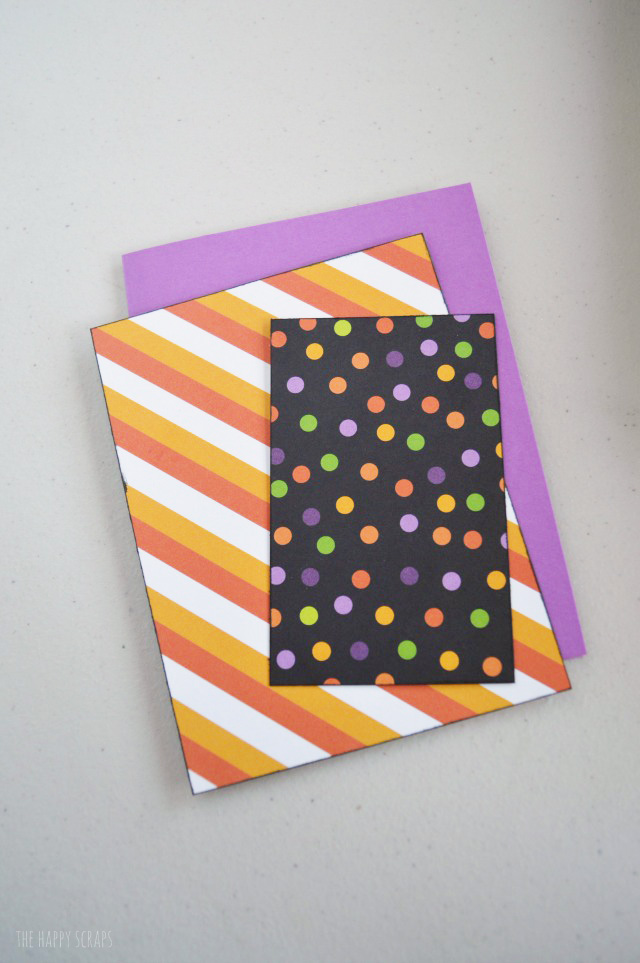
I cut the patterned papers that I wanted to use on the front of the card, and got it ready to be inked on the edges.

Give your friends a little treat attached to a fun card. Stop by the blog to learn how easy these Halloween Treat Cards are to make!

I inked the edges of the patterned pieces of paper.

Give your friends a little treat attached to a fun card. Stop by the blog to learn how easy these Halloween Treat Cards are to make!

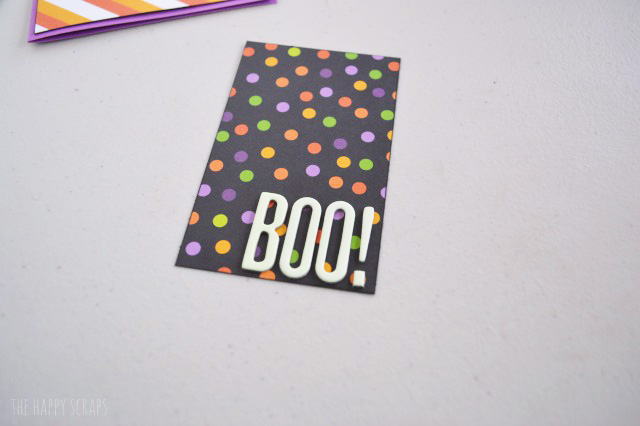
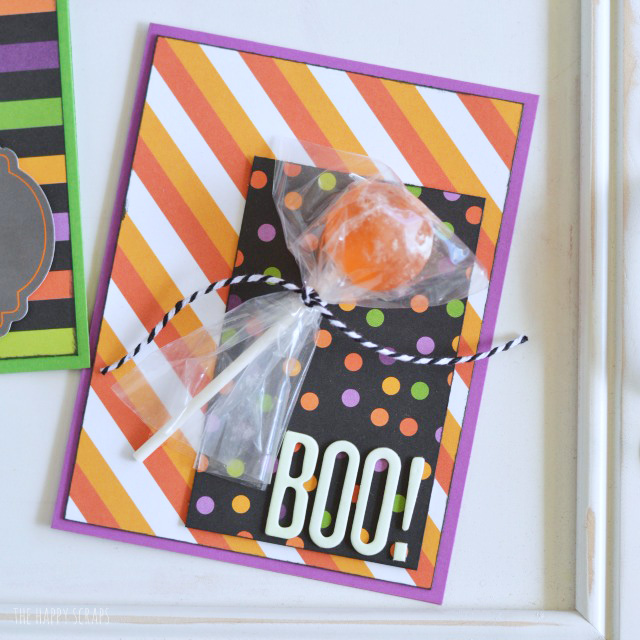
I attached the larger piece of patterned paper to the card base. On the smaller piece, I placed Glow-in-the-Dark Thickers, spelling the word BOO!

Give your friends a little treat attached to a fun card. Stop by the blog to learn how easy these Halloween Treat Cards are to make!

Using dimensional adhesive, I put it on the back of the BOO! piece.

Give your friends a little treat attached to a fun card. Stop by the blog to learn how easy these Halloween Treat Cards are to make!

I mounted the smaller piece of patterned paper onto the card where I wanted it.

Give your friends a little treat attached to a fun card. Stop by the blog to learn how easy these Halloween Treat Cards are to make!

I placed a sucker in the treat bag and tied it shut with some black baker’s twine. Then, using a glue dot, I attached it to the card. That finishes up the first card.

Give your friends a little treat attached to a fun card. Stop by the blog to learn how easy these Halloween Treat Cards are to make!

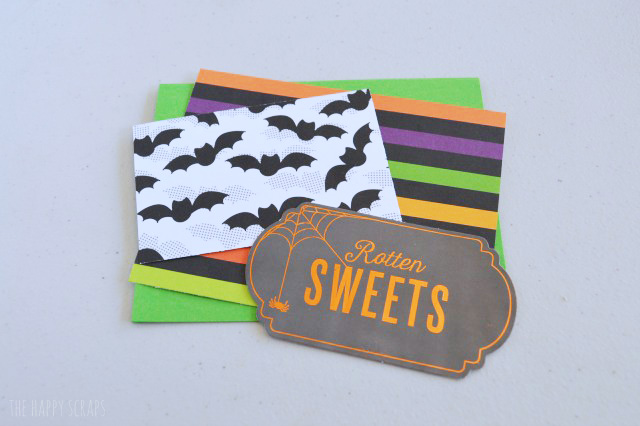
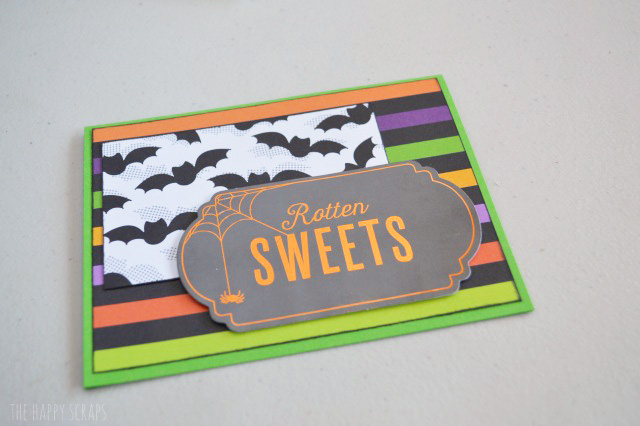
For the second card, I used the Rotten Sweets label and put it through the Minc Foil Applicator with orange foil. Then I cut the patterned papers to be the size I needed.

Give your friends a little treat attached to a fun card. Stop by the blog to learn how easy these Halloween Treat Cards are to make!

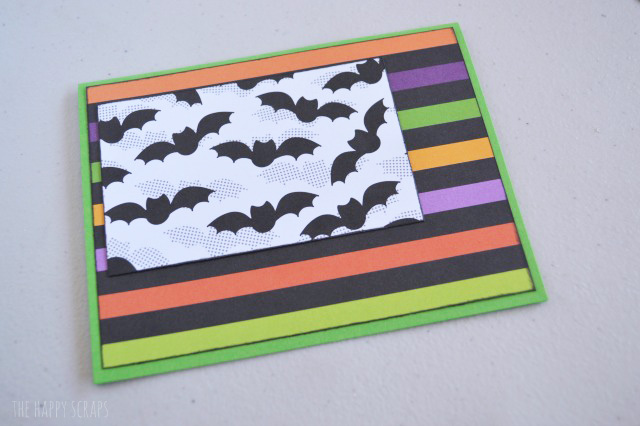
I inked the edges of the patterned papers and mounted on my card as shown.

Give your friends a little treat attached to a fun card. Stop by the blog to learn how easy these Halloween Treat Cards are to make!

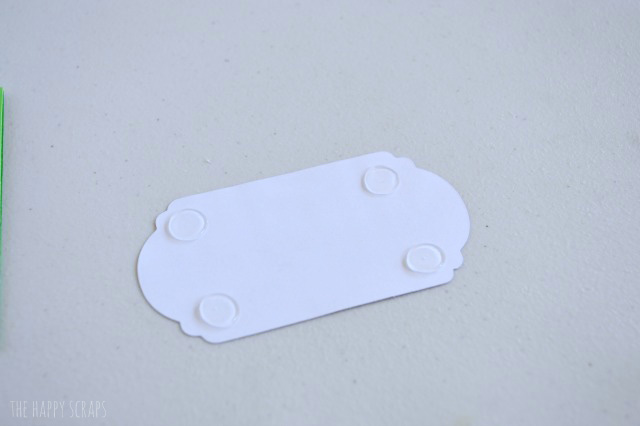
Using dimensional adhesive, I placed some on the back of the Rotten Sweets label.

Give your friends a little treat attached to a fun card. Stop by the blog to learn how easy these Halloween Treat Cards are to make!

Then I mounted it on the front of the card.

Give your friends a little treat attached to a fun card. Stop by the blog to learn how easy these Halloween Treat Cards are to make!

I attached a sucker to the front of the card using glue dots, after I had wrapped it in a mini treat bag and tied it up with twine.

Give your friends a little treat attached to a fun card. Stop by the blog to learn how easy these Halloween Treat Cards are to make!

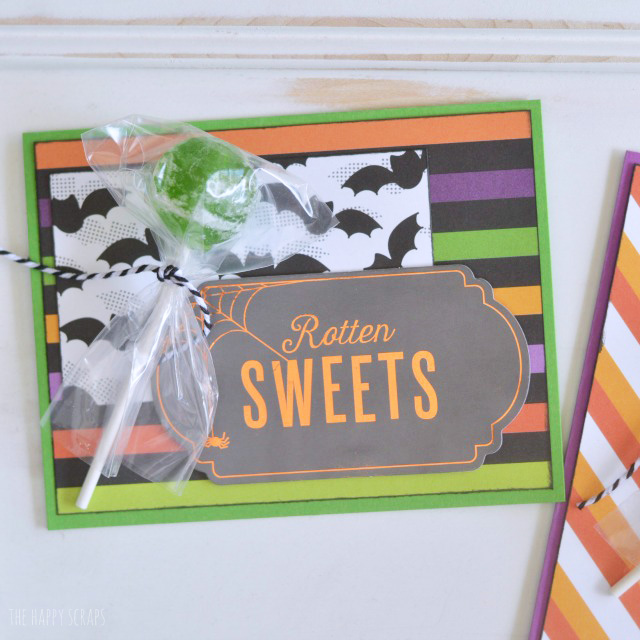
These cards really were very simple to make, and they can be given to any friend too. Who wouldn’t want to receive a fun little treat for Halloween?!

halloween-treat-cards

If you like these cards, you might also like these projects.

boo-slat-sign-2

BOO Slat Sign

pumpkin-banner-1

Simple Pumpkin Halloween Banner

porch-pumpkins

Fall Porch Pumpkins

Filed Under: Cards, DIY Projects, Halloween, Holidays, Paper Crafts Tagged With: baker's twine, cards, halloween, ink, paper, thickers, treat

« Orange, Black & White Halloween Decor
DIY Blessed Banner »

Leave a Reply Cancel reply

Your email address will not be published. Required fields are marked *

CommentLuv badgeShow more posts
  • Farm Sweet Farm Front Porch Sign with the Cricut Maker 3
  • Farm Fresh Eggs Kitchen Sign
  • How to Make a Summer Hat with the Cricut Joy
  • Bless Our Farmhouse Kitchen Sign
  • Welcome to the Farm Front Door Decor
  • How to Use Offset in Cricut Design Space

Popular Posts

Affiliate With

Page Ranking Tool

Categories

Archives

The images and text on this site are copyright of The Happy Scraps. If you would like to feature a project or image on this site please email [email protected] Thank you! Please read the Privacy Policy and Disclosure here.

Copyright © 2023 · Tasteful theme by Restored 316

Copyright © 2023 · Blog Design by Key Lime Digital Designs · WordPress · Log in

52 shares