• Contact
  • Etsy Shop
  • About Me
  • Home

The Happy Scraps

a creative blog

  • DIY Projects
  • Cricut
  • Holidays
    • New Year’s
    • Valentine’s Day
    • St. Patrick’s Day
    • Easter
    • Mother’s Day
    • Father’s Day
    • Independence Day
    • Halloween
    • Thanksgiving
    • Christmas
  • Paper Crafts
    • Banners
    • Cards
    • Mini Albums
    • Printables
    • Scrapbook Layouts
    • Wreaths
  • Sewing
  • Recipes

Thanksgiving Napkin Ring Place Cards with Cricut Explore Air 2 Review

October 31, 2016 By Amy | The Happy Scraps 3 Comments

172 shares
  • Share
  • Tweet

Disclosure: I received a Cricut Explore Air 2 in exchange for this post. All ideas and opinions are my own.

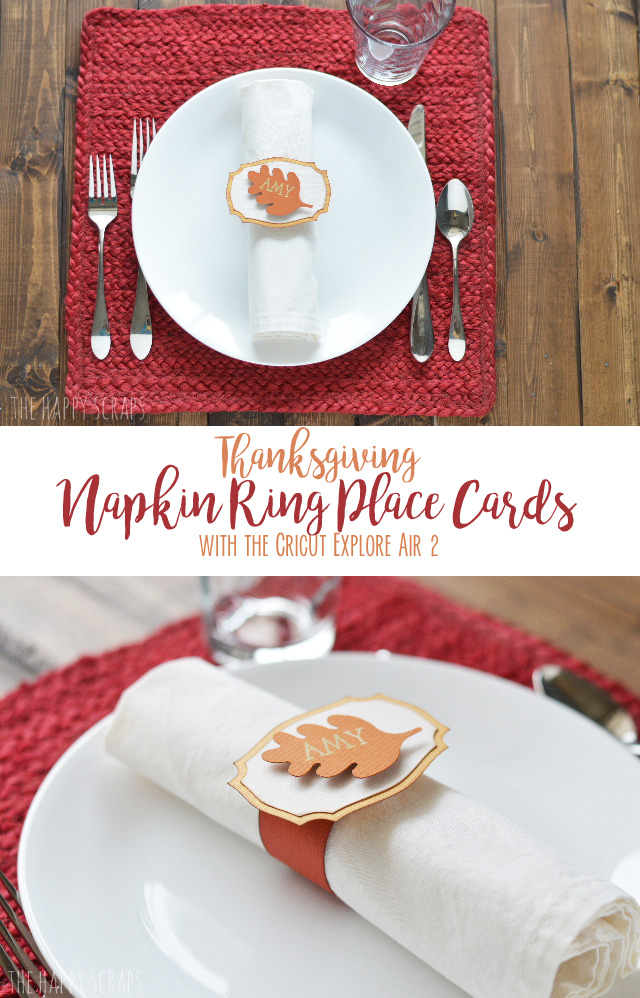
Is anyone else getting excited for Thanksgiving? It really is one of my favorite holidays. I so enjoy getting together with family and visiting and eating yummy food. Another thing I always love to do is create Place Cards for Thanksgiving. Today I’m excited to share with you how I used the brand new Cricut Explore Air 2 (and my thoughts about the new machine, compared the original Cricut Explore) to create these fun Thanksgiving Napkin Ring Place Cards.

With the help of the Cricut Explore Air 2, you'll have these Thanksgiving Napkin Ring Place Cards put together in no time! They are so easy to make!

This post contains affiliate links.

Thanksgiving Napkin Ring Place Cards Supplies:

  • Cricut Explore Air 2
  • Cut File (Image & Font from Cricut Design Space)
  • Cricut Pens (I used the Gold with a 1.0 tip for this project)
  • Fall Colored Paper
  • Brown Ink Pad
  • Glue Dots
  • Dimensional Adhesive

With the help of the Cricut Explore Air 2, you'll have these Thanksgiving Napkin Ring Place Cards put together in no time! They are so easy to make!

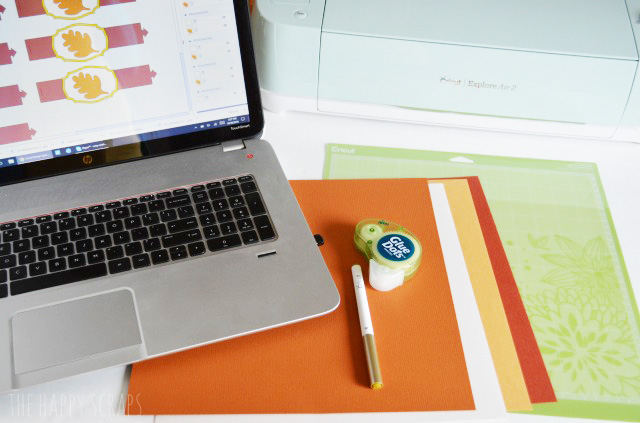
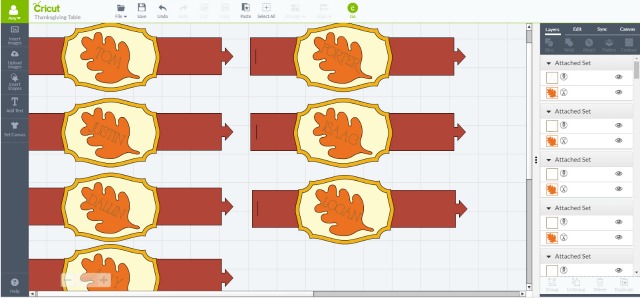
I started by finding the file in Cricut Design Space that I wanted to use. I changed the colors of the images to be what I wanted, and then I added the names.

With the help of the Cricut Explore Air 2, you'll have these Thanksgiving Napkin Ring Place Cards put together in no time! They are so easy to make!

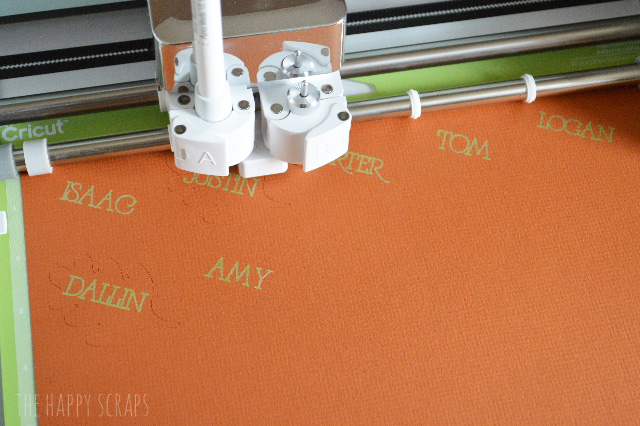
I cut out my images. When I got the Cricut Explore Air 2 all set up, I was really curious about the claim that it can cut up to 2 times faster. Honestly, I was skeptical. I don’t think the original Cricut Explore that I have is all that slow. I was interested in trying it and seeing how much faster it really is, so I clicked the checkbox to have it go faster. I was almost waiting for my paper to rip, but guess what?! It didn’t! So then I had to try it several more times!

With the help of the Cricut Explore Air 2, you'll have these Thanksgiving Napkin Ring Place Cards put together in no time! They are so easy to make!

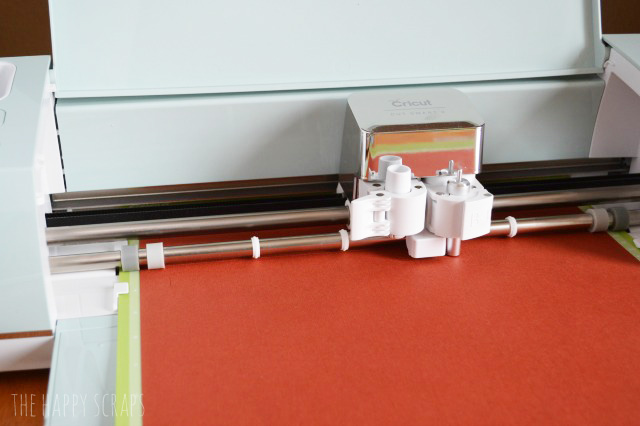
I even used the faster speed on writing these names and cutting the leaves. I AM AMAZED! Amazed at how accurate it is and that the paper didn’t tear. I thought that I would for sure have to re-cut some pieces. I love the way the marker wrote the names!

With the help of the Cricut Explore Air 2, you'll have these Thanksgiving Napkin Ring Place Cards put together in no time! They are so easy to make!

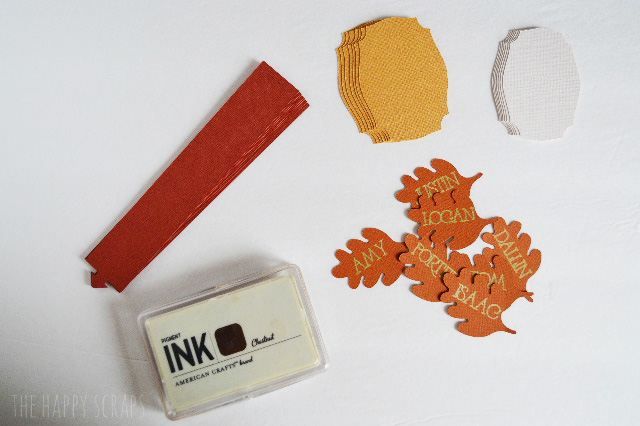
Once I had everything all cut out I laid it out.

With the help of the Cricut Explore Air 2, you'll have these Thanksgiving Napkin Ring Place Cards put together in no time! They are so easy to make!

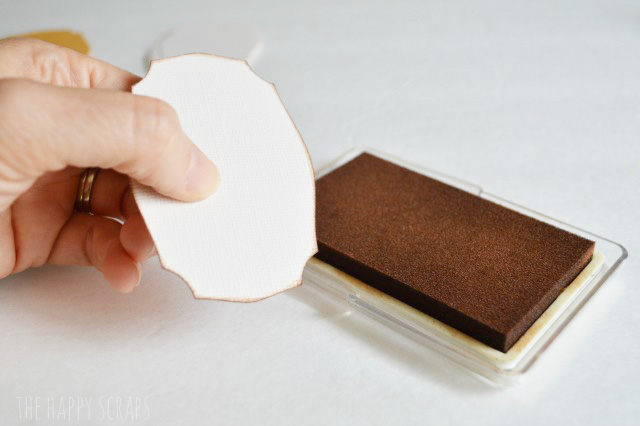
I inked the edges on everything but the leaves .

With the help of the Cricut Explore Air 2, you'll have these Thanksgiving Napkin Ring Place Cards put together in no time! They are so easy to make!

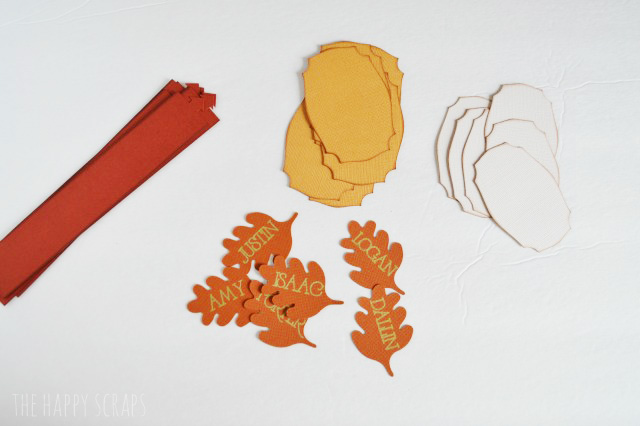
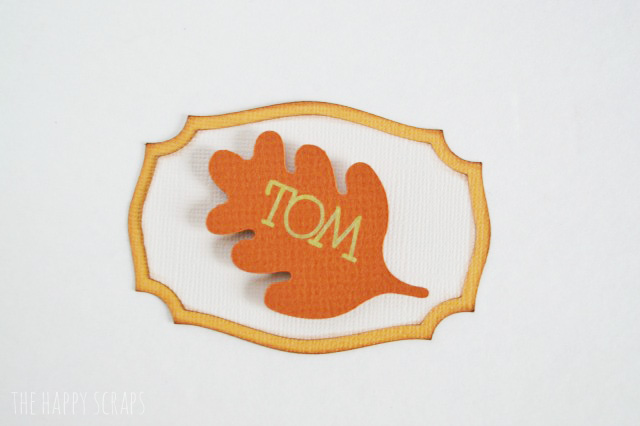
Here are the pieces after I inked them and had them all ready to assemble.

With the help of the Cricut Explore Air 2, you'll have these Thanksgiving Napkin Ring Place Cards put together in no time! They are so easy to make!

I used glue dots to attach the white piece to the yellow. Then I used foam dimensional adhesive squares to attach the leaf. I wanted to give it a little bit of dimension.

With the help of the Cricut Explore Air 2, you'll have these Thanksgiving Napkin Ring Place Cards put together in no time! They are so easy to make!

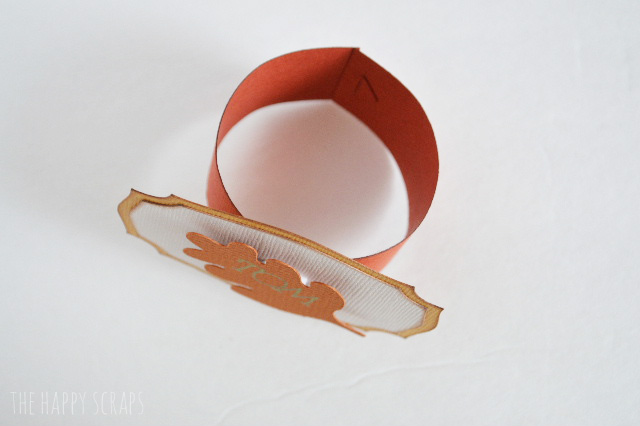
Then I attached the front to the napkin ring strip of paper.

With the help of the Cricut Explore Air 2, you'll have these Thanksgiving Napkin Ring Place Cards put together in no time! They are so easy to make!

Then I looped it around.

With the help of the Cricut Explore Air 2, you'll have these Thanksgiving Napkin Ring Place Cards put together in no time! They are so easy to make!

I can’t believe how easy these were to put together! I adore the way they turned out as well!

With the help of the Cricut Explore Air 2, you'll have these Thanksgiving Napkin Ring Place Cards put together in no time! They are so easy to make!

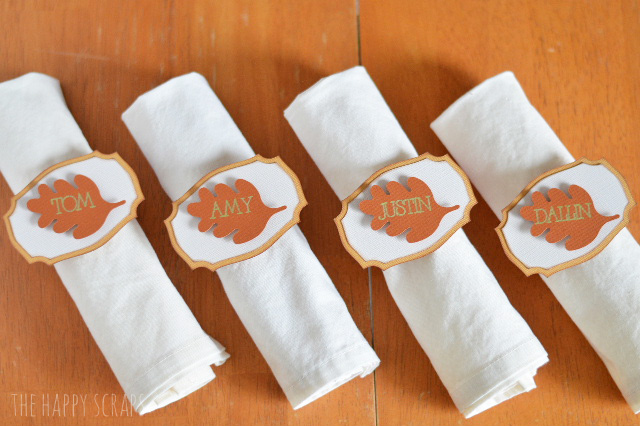
I don’t only adore these for the way they turned out, but because they use some of my very favorite colors as well!

With the help of the Cricut Explore Air 2, you'll have these Thanksgiving Napkin Ring Place Cards put together in no time! They are so easy to make!

I love they way the looked wrapped around a napkin.

With the help of the Cricut Explore Air 2, you'll have these Thanksgiving Napkin Ring Place Cards put together in no time! They are so easy to make!

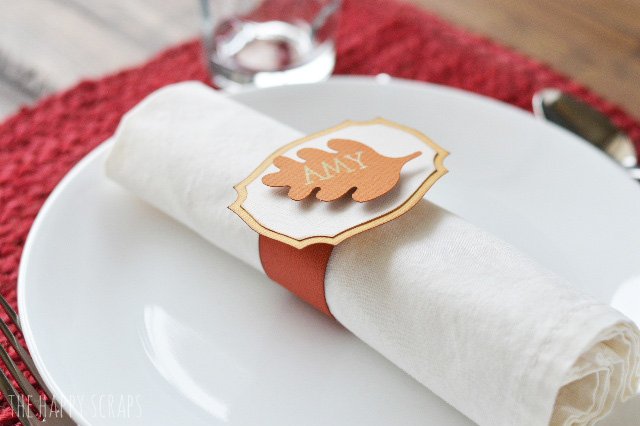
Plus, Thanksgiving Place Cards don’t have to take a long time to look nice, especially with the help of your Cricut Explore Air 2. Honestly, you could be these napkin rings together Thanksgiving morning, they are that fast!

With the help of the Cricut Explore Air 2, you'll have these Thanksgiving Napkin Ring Place Cards put together in no time! They are so easy to make!

I highly recommend a Cricut Explore Air 2. I have LOVED all of my Cricut machines, and I’ve been using them for nearly nine years. They keep getting better and better, but in my opinion, they’ve all been great. I would say I definately partial to liking the Explore machines because I can use the fonts on my computer and use my own files + there are so many files available in Design Space as well. If you are looking for more ideas of things to make with a Cricut Explore Air 2, check out my Cricut projects here.

Whether you are looking into an Electronic Die Cutting Machine for yourself, or know someone who would love and use one of these (think Christmas gift!) this Cricut Explore Air 2 is the machine you need. And the Design Space software has an easy learning curve.

Filed Under: Cricut, DIY Projects, Holidays, Paper Crafts, Thanksgiving Tagged With: cricut, cricut explore, cricut explore air, ink, name cards, paper, place cards, thanksgiving

« Give Thanks Pillow
DIY Gather Thanksgiving Sign »

Comments

  1. Jackie says

    November 1, 2016 at 9:37 am

    Very cute. I got my Cricut Air 2 and now I know what my 1st project will be on it. Thanks for posting this. Jackie in Texas.

    Reply
    • Amy | The Happy Scraps says

      November 1, 2016 at 11:35 am

      Yay for getting a Cricut Air 2! I’m excited for you! It’s a fun machine. Have fun creating fun Thanksgiving decor!

      Reply
  2. Hillary says

    November 12, 2021 at 11:35 am

    Hi!! I’m so excited to use my cricut air 2 and was going to try making the “Thanksgiving Napkin Ring Place Cards” but am having a problem with the cut file link working. Hoping to fix this!

    Reply

Leave a Reply Cancel reply

Your email address will not be published. Required fields are marked *

CommentLuv badgeShow more posts
  • Farm Sweet Farm Front Porch Sign with the Cricut Maker 3
  • Farm Fresh Eggs Kitchen Sign
  • How to Make a Summer Hat with the Cricut Joy
  • Bless Our Farmhouse Kitchen Sign
  • Welcome to the Farm Front Door Decor
  • How to Use Offset in Cricut Design Space

Popular Posts

Page Ranking Tool

Categories

Archives

The images and text on this site are copyright of The Happy Scraps. If you would like to feature a project or image on this site please email [email protected]. Thank you! Please read the Privacy Policy and Disclosure here.

Copyright © 2023 · Tasteful theme by Restored 316

Copyright © 2023 · Blog Design by Key Lime Digital Designs · WordPress · Log in

172 shares