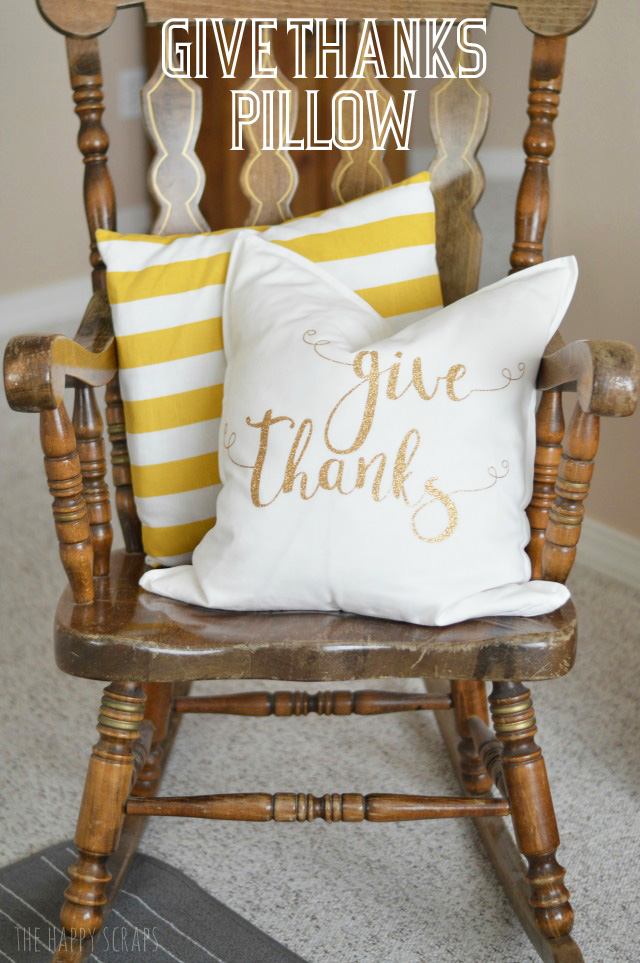
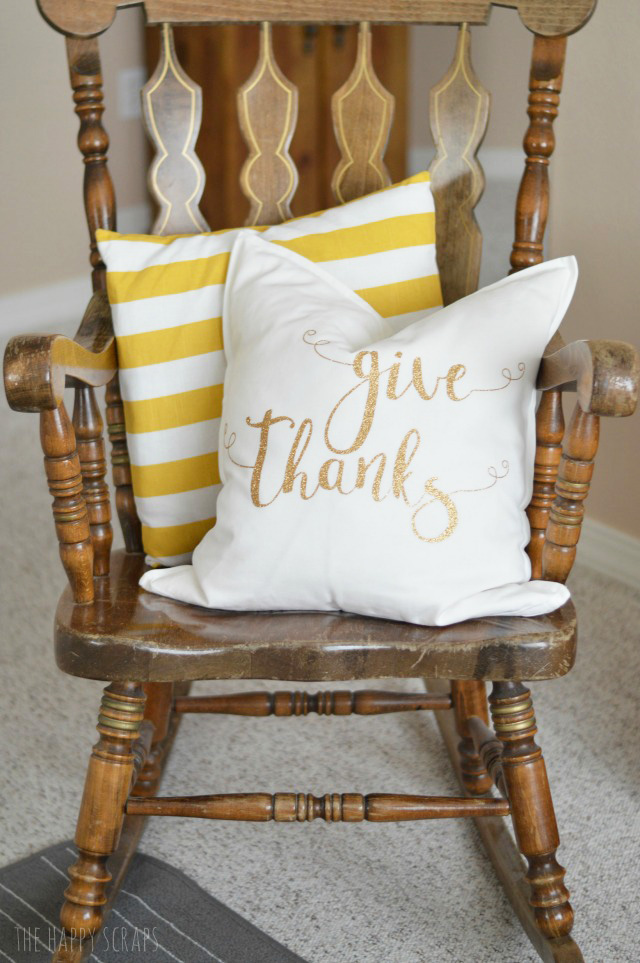
A few weeks ago, while I was working on my DIY Halloween Pillow, I decided that I wanted to make a Give Thanks Pillow to have out for the month of November. Once I got it designed, I couldn’t wait to finish it up. Curly fonts like this are always so fun to use!
This post contains affiliate links.
Give Thanks Pillow Supplies:
- Cricut Maker or Cricut Explore Air 2
- Pillow Cover
- Pillow Insert
- Old Gold Glitter Heat Transfer Vinyl
- Iron or EasyPress
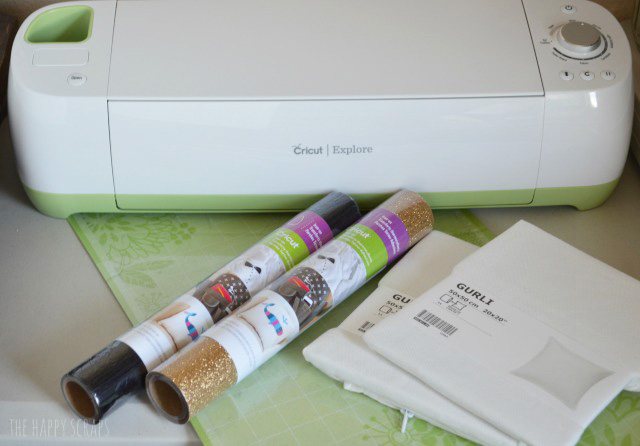
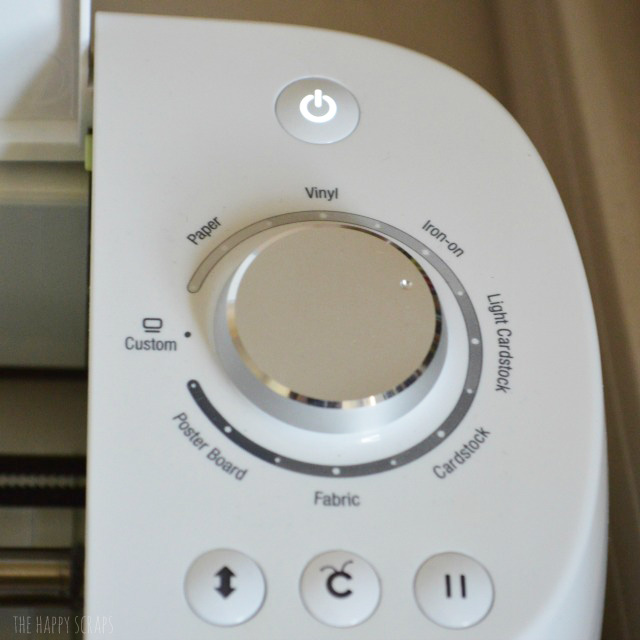
Once you’ve gathered your supplies, you’ll want to design your cut file. After you have your design decided, get your Cricut Explore ready by rotating the dial to the right position. When I cut Glitter Iron-on, I always make sure that the dial is set to Iron-on+.
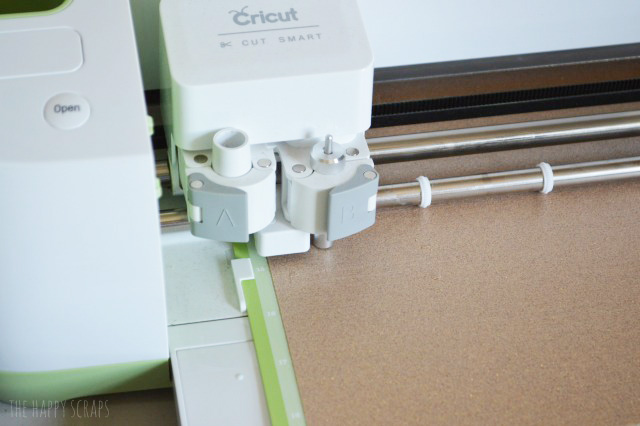
Send your cut file to the machine, and watch it works it’s magic! 😉
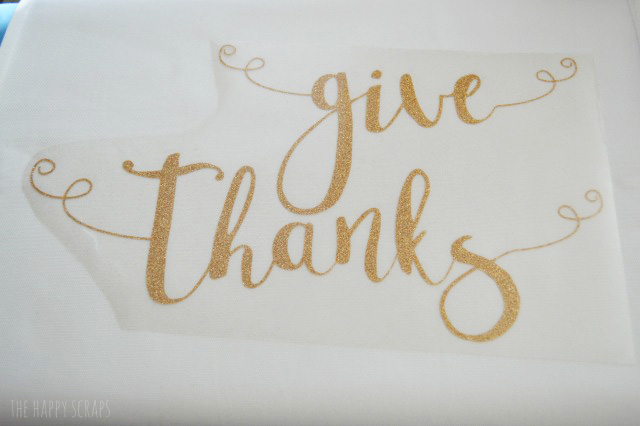
Once you have your vinyl cut, weed out the parts that you don’t need. Place your image onto the pillow where you want it ironed-on.
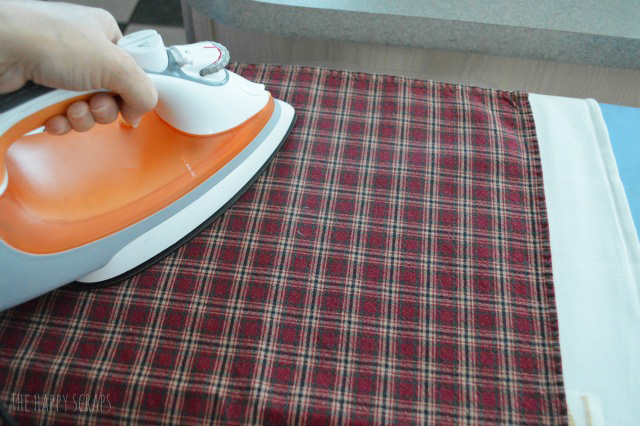
Using a towel between the iron and iron-on backing is a good idea. I’ve tried it without and ended up with vinyl stuck to the bottom of my iron…Follow the instructions that come with the vinyl for applying the it.
Once the image is adhered to the pillow, pull the plastic backing off.
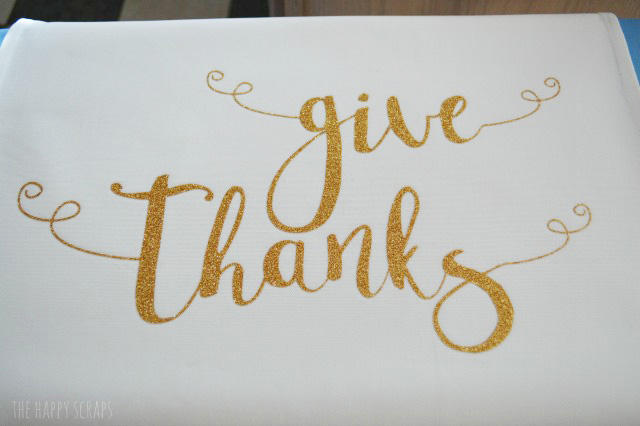
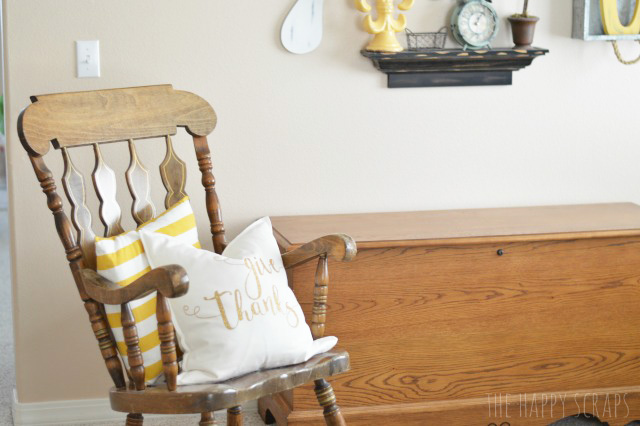
Insert the pillow insert and put your pillow where you want to display it for Thanksgiving.

I recently moved this rocking chair into this room, and it makes the perfect place for my pillow! I’ve been considering painting this chair, it needs to be refinished, but I’m not sure if I really want to do it. My dad gave it to my mom after she had a baby, and I don’t know if I want to change it. I was so happy that I was able to get it from my mom!
If you made a pillow for Thanksgiving, what would you put on it?
If you like this project, you might also like these:


Thanksgiving Place Card Holders

Thanksgiving Place Card Holders

Leave a Reply