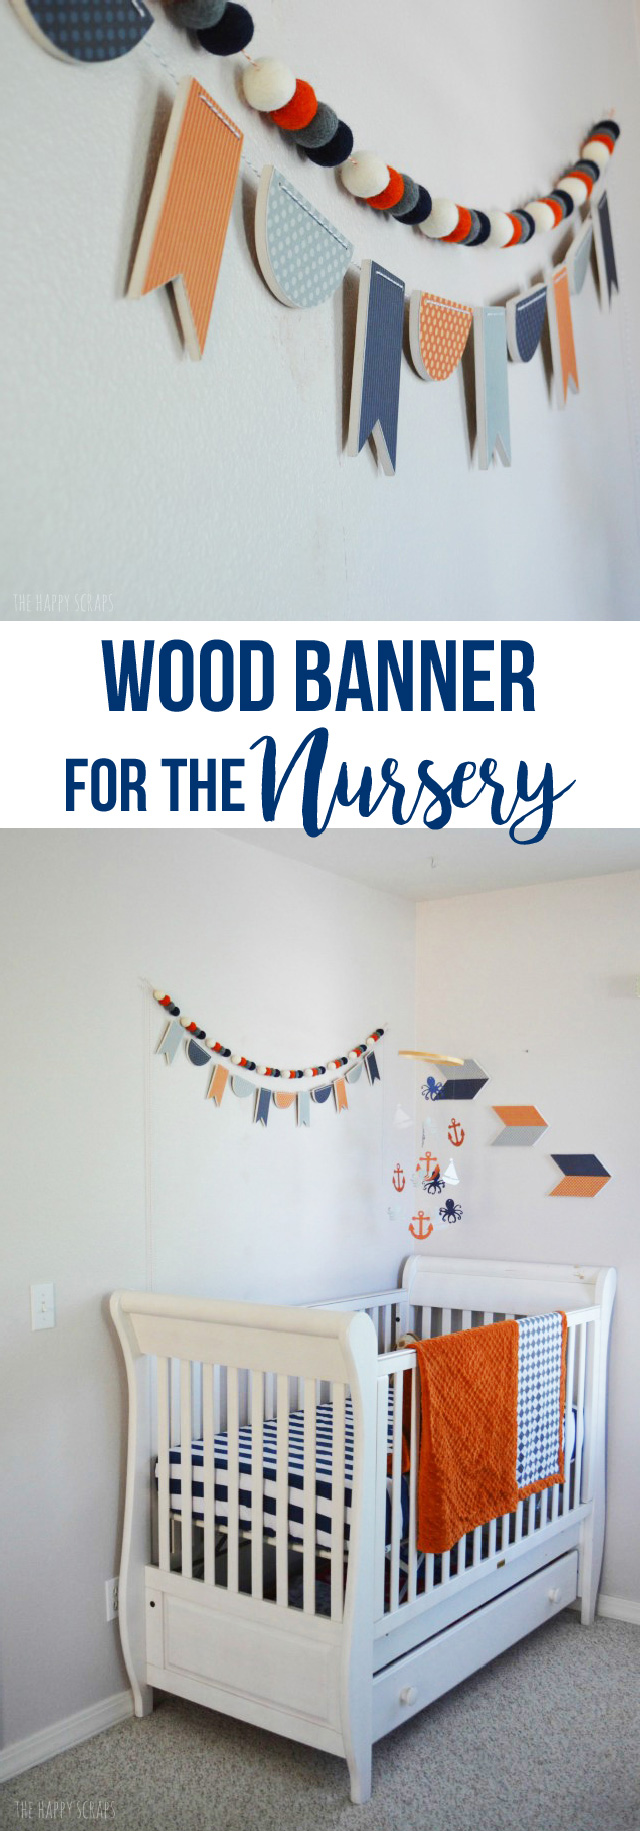
Have you ever had a nursery for a child that you decorate and really made it into a nursery? I haven’t. I have five boys and I’ve never had a themed or really decorated nursery. With my oldest, I made his crib bedding. It was brightly colored, so we added stuffed animals that were fish and other sea creatures to the room, but it wasn’t really a theme, just stuff we liked at the time. My first three kids were all so close together when I had them, that we just kind of did the same thing for them and made due. When my fourth one came along, we were living in limbo. We were at my Mom’s house until he was two months old, then we moved to my in-laws house. We were working on the house to fix it up, so we lived in the living room for three months, and after that, all four of my boys at the time were sharing a bedroom, so there wasn’t any decor then either. SO, with baby number five, I wasn’t planning on having a decorated nursery necessarily, but since we moved into our new to us home, and the baby has a dedicated area, I thought it would be so fun to decorate it as the nursery. I am slowly but surely getting it all done, and I’m loving every bit of it. I just wish I would have finished it up before my baby came, so I could have been enjoying it all along. 🙂 A week or two ago, I added this fun Wood Banner and today I’m going to show you how to make it.
This post contains affiliate links.
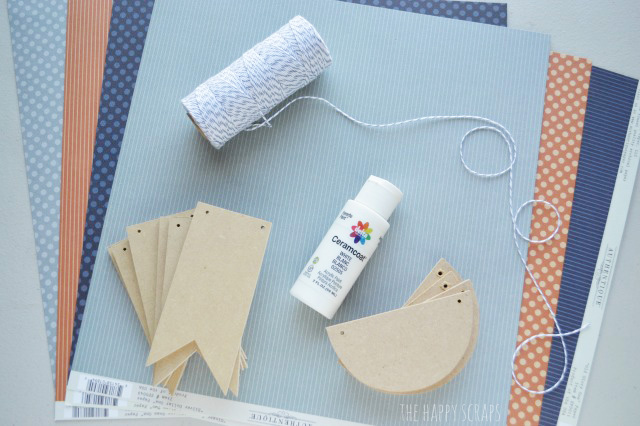
Wood Banner Supplies:
- Wood Banner Pieces – Flag & Half Circle
- Paper
- Baker’s Twine
- Paint
- Paint Brushes
- Wood Glue
- Scissors
- Paper Piercing Tool
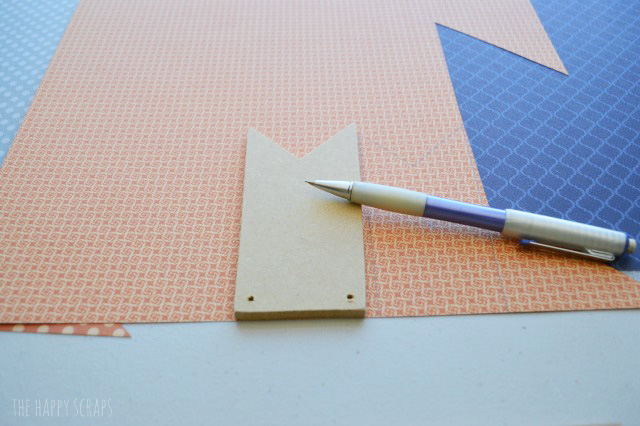
Trace the front of your banner piece onto the back of your paper. I like to write numbers on the front of my banner piece and the back of my paper so I know which piece goes where.
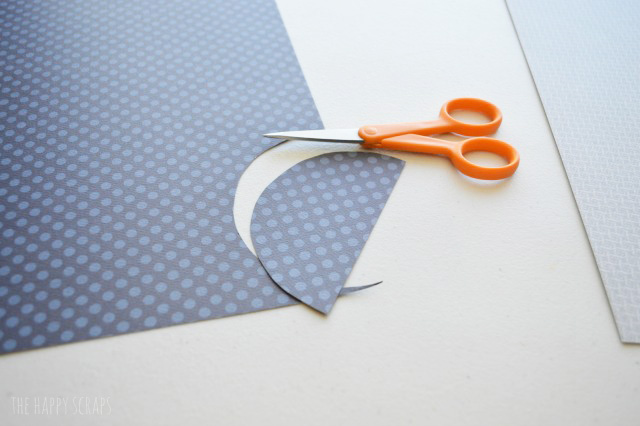
Cut out your traced shapes.
Paint the sides of your banner shapes with white paint and let dry.

Put some wood glue on the front of your banner shape.

Spread the glue out with a sponge brush.
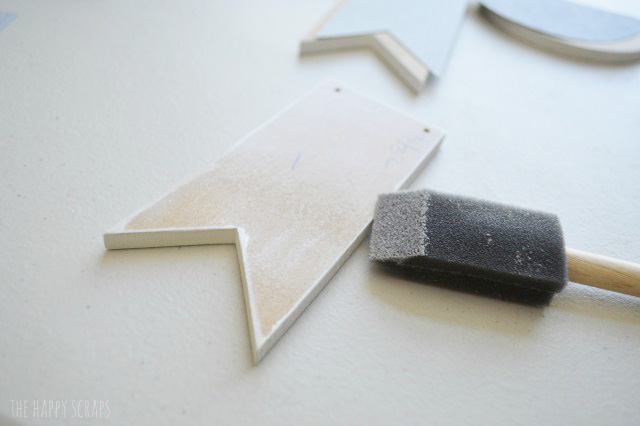
Apply your paper, and smooth out really well with a vinyl squeegee.
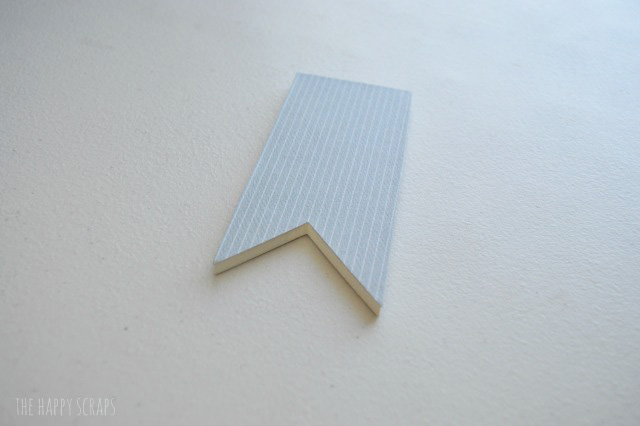
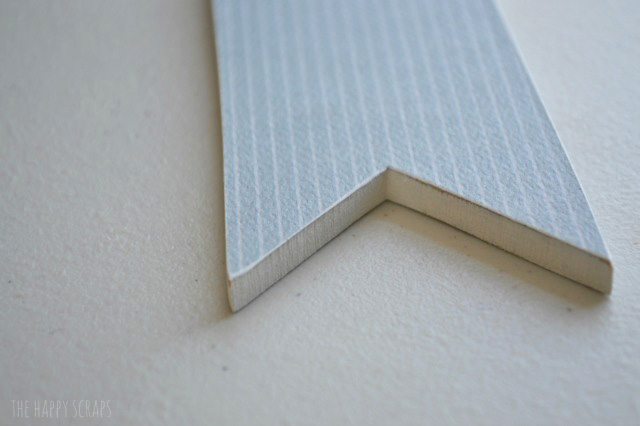
Sand the edges to distress them a little bit.
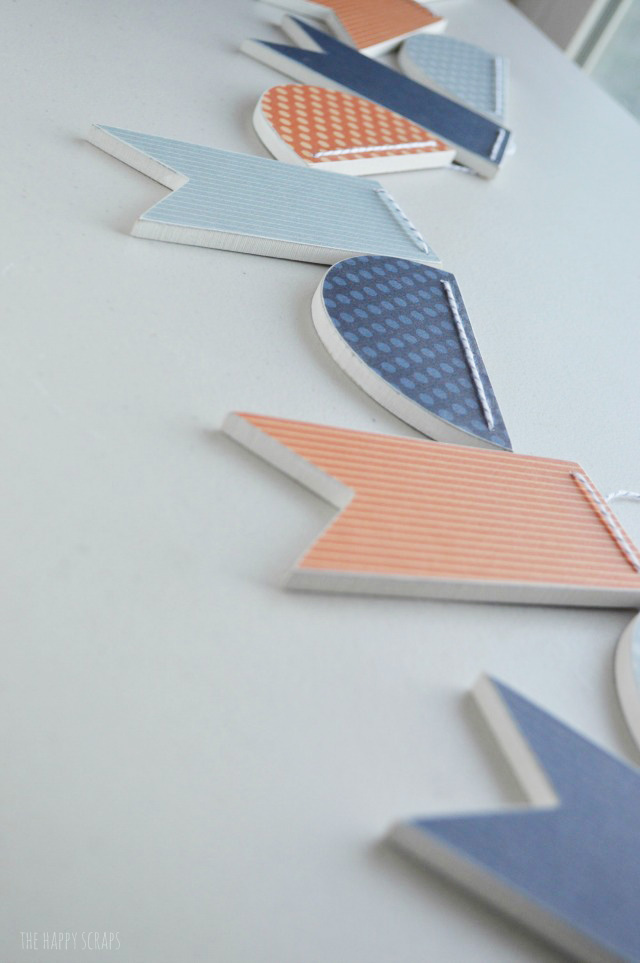
Use your paper piercing tool to poke the holes through the paper (the holes are already in the banner pieces). Then take your twine and start lacing it into the holes.
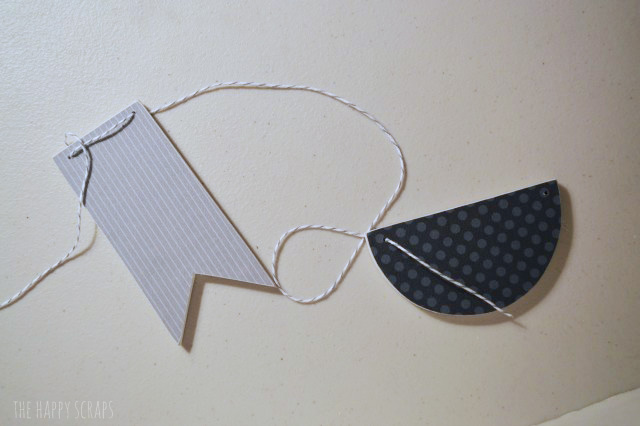
Pretty quickly, you’ll have your entire banner all put together.
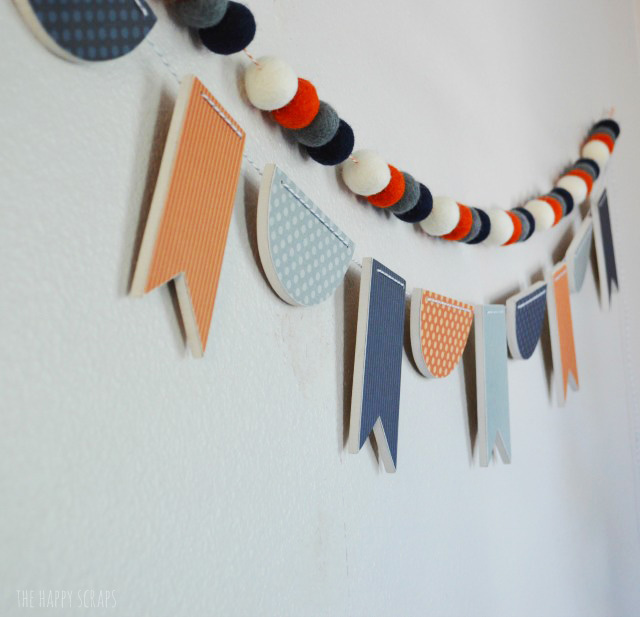
Once I had my banner put together, I got it hung up above the crib.

I’m loving the way it adds to the nursery area, and love the way it looks with the felt balls.
I used the same paper for this banner as I did for the Nursery Wall Arrows, so they match. The DIY Baby Mobile was made from different paper, but it is the same color, so they all coordinate with each other well.
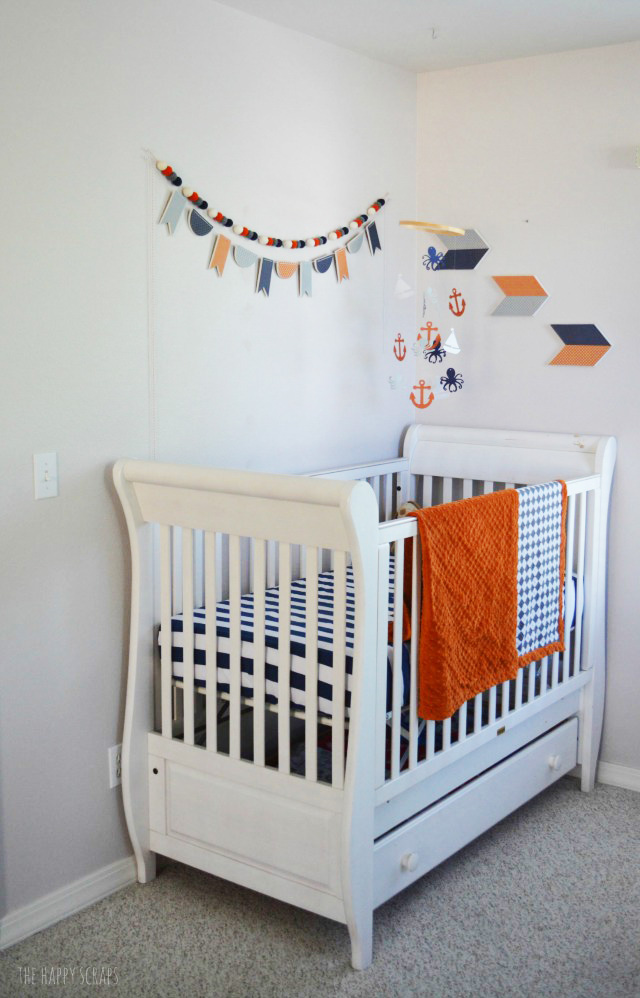
The Simple Flannel + Minky Baby Blanket matches everything as well. I really adore the way this entire space is coming together. I love the color combo that I decided to go with.

It’s been so fun to have this space to decorate, even if I am on my fifth baby and haven’t ever really had a nursery before! I still have a thing or two I want to finish up for this space. Hopefully, I’ll get them done before my baby gets much older.

Leave a Reply