You know when you decide you want to make a project and then it turns out just how you wanted it to? Well, this Christmas Front Porch Sign made with the help of the Cricut Explore Air 2 is one of those projects that turned out even better than I thought it would. I adore the way it turned out! So much so, that I’m having a hard time wanting to leave it outside to get blown over by the wind. 😉
I remember years ago, like 13, when vinyl cutting machines were popular and people were cutting vinyl to put on signs and walls. I wanted one so bad, but it never happened. Fast forward to Christmas of 2007, as a gift from my in-laws, I received my very first Cricut. I was over the moon excited. I could cut my very own die cuts and vinyl now, although I did have to have the cartridges to do so. Fast forward to now…Now I have the Cricut Explore Air 2 and it is amazing! I’m pretty much in love with it! One of very favorite things about it is that I can cut the fonts on my computer as well as my own designed images! I’m a total font junkie, I have so many it’s ridiculous. But, since I can cut the fonts out using my Cricut Explore Air 2, I don’t mind buying new ones sometimes. 🙂
Today, I’m going to share with you how I finished this cute Christmas Front Porch Sign and show you how you can make one of your own with the help of the Cricut Explore Air 2.

This post contains affiliate links.
Christmas Front Porch Sign Supplies:
- Cricut Explore Air 2
- Cricut 12 x 24 Cutting Mat
- Vinyl for Stencil
- Weeding Hook
- Wood Sign
- White & Red Paint
- Sandpaper or Electric Sander
- Sealer Spray
- Ribbon
- Large Jingle Bells
- Computer
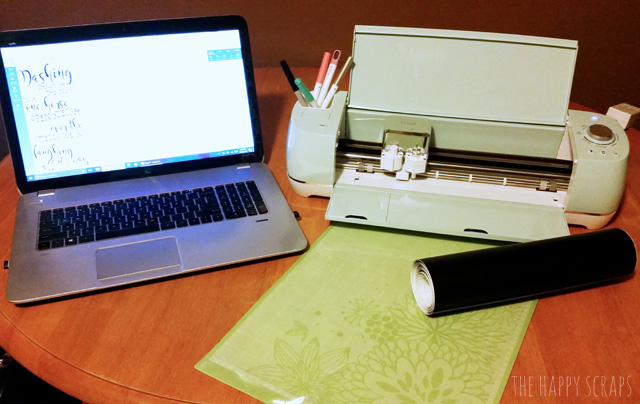
The first thing you’ll need to do is cut out your vinyl stencil. Because some of the text was curved, I chose to design my stencil in Photoshop Elements, save it as a .png file, and upload it to Cricut Design Space. This is the first time that I’ve uploaded a text image, and it worked like a charm! Cut your vinyl out on the Cricut Explore Air 2. Weed the vinyl using the weeding tool, then place transfer tape over the top of your vinyl stencil.
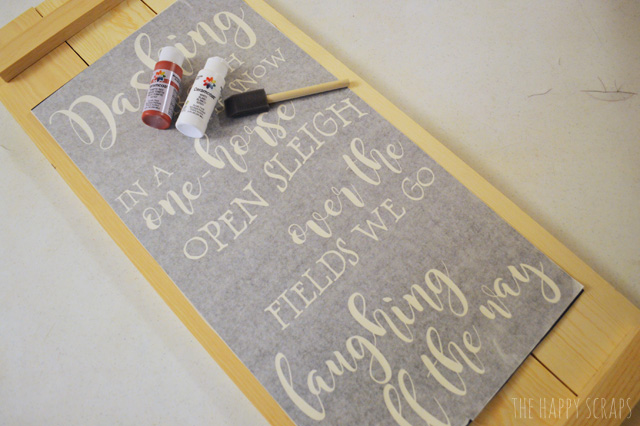
Paint your wood sign using your red paint.
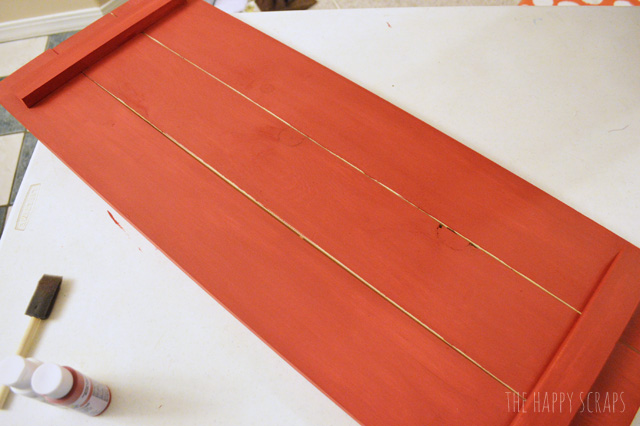
Once your paint is dry, apply the vinyl stencil to the front of your sign. With a vinyl piece this large, you may need an extra set of hands. Make sure you get the stencil pushed down tightly all over the sign.
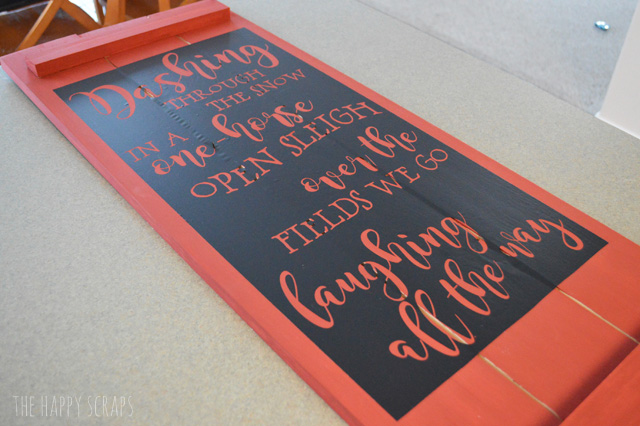
Using your white paint, carefully paint your letters. Because you’re painting white over the top of the red, it may take two or three coats of the white.
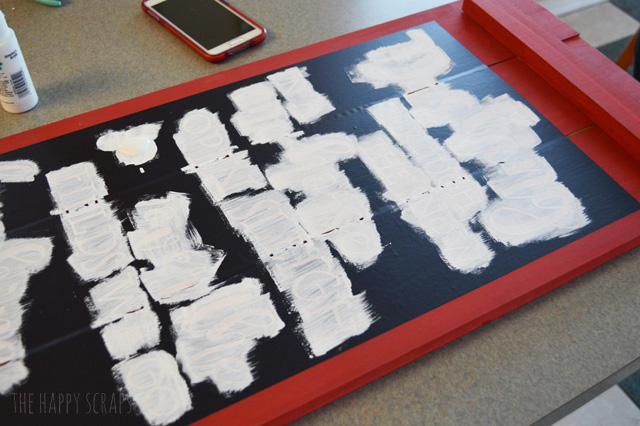
Once you’re finished painted the white, carefully peel up your vinyl stencil.

Once I got to this point and I could really start seeing this project come together, I was getting excited!
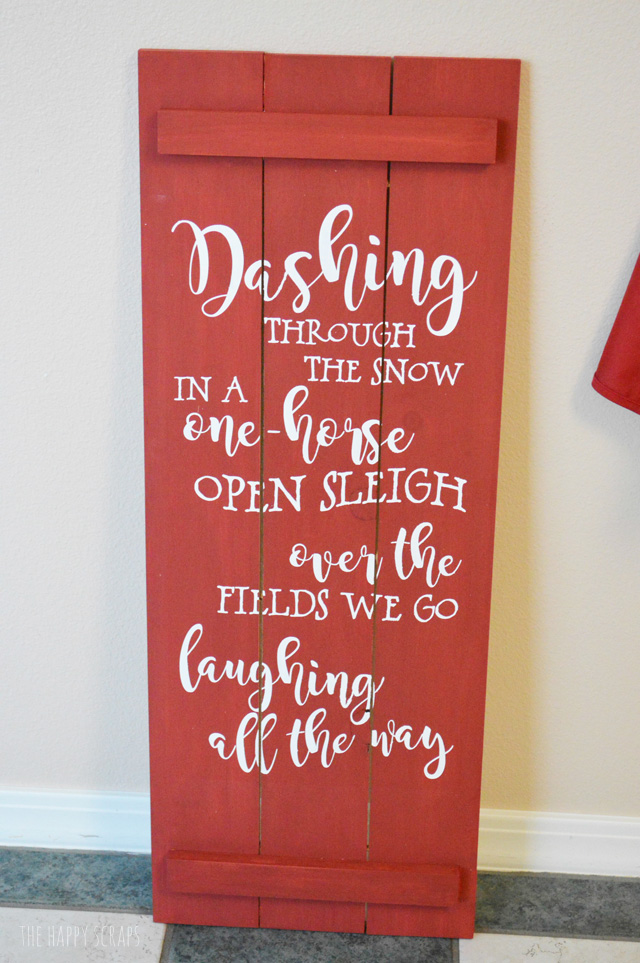
I took it out in the garage and I lightly sanded the whole sign using my electric sander.
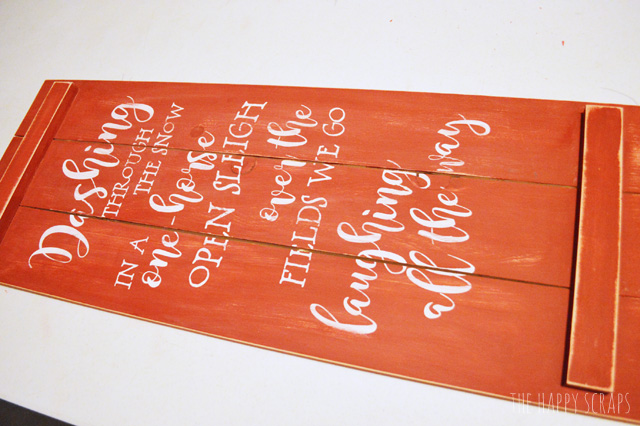
Here is a little better look at some of the distressing.
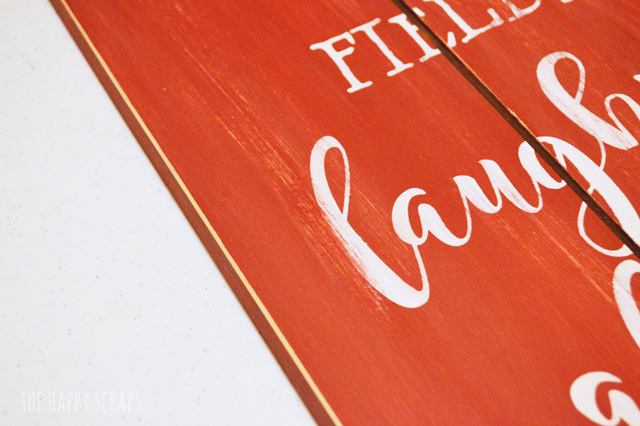
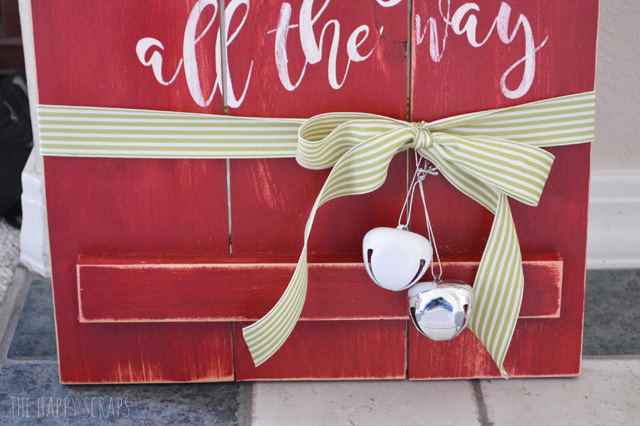
To finish it off, I sprayed sealer spray over the entire sign and let it dry. Then I tied a ribbon around the bottom and added some jingle bells.
Now I’ve got to find the perfect spot on my porch for it. I’m trying to decide if I want to set it up on the front porch bench or if I want to put it in the corner on the other side of the door. I set it up on the bench to take these pictures and I kind of like it there.

It goes so well with the greenery that I’ve got up on the porch.
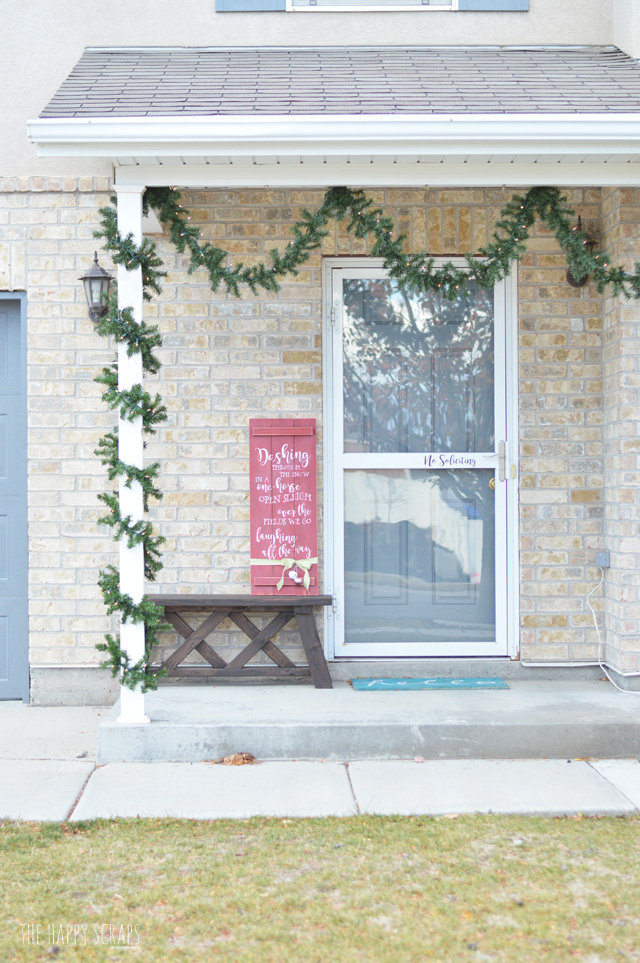
Where are you going to put your sign on your porch?
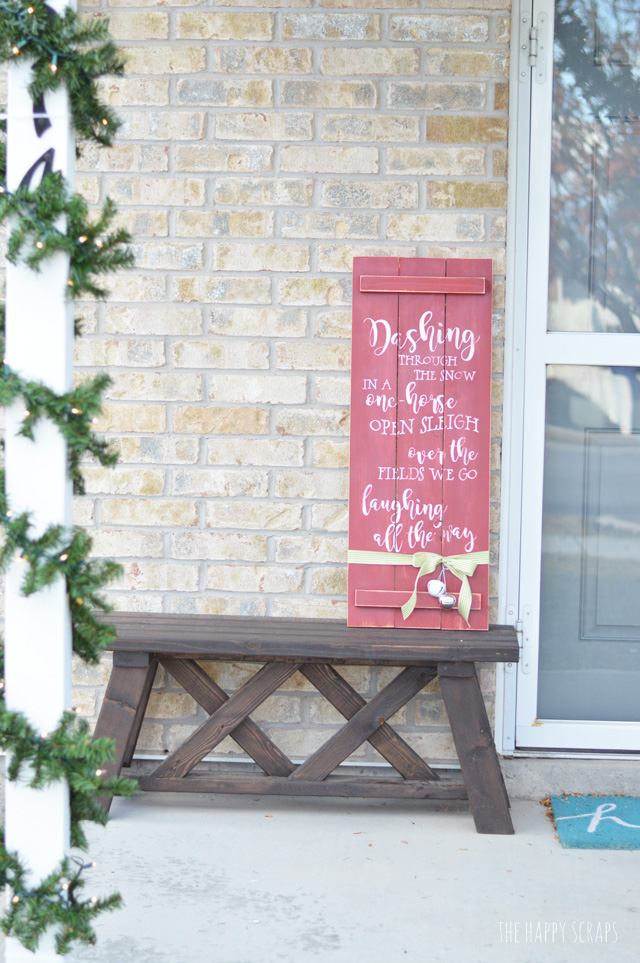
I’m seriously giddy about the way this cute sign turned out! And I certainly couldn’t have done it without the Cricut Explore Air 2.

This is a sponsored conversation written by me on behalf of Cricut. The opinions and text are all mine.

Leave a Reply