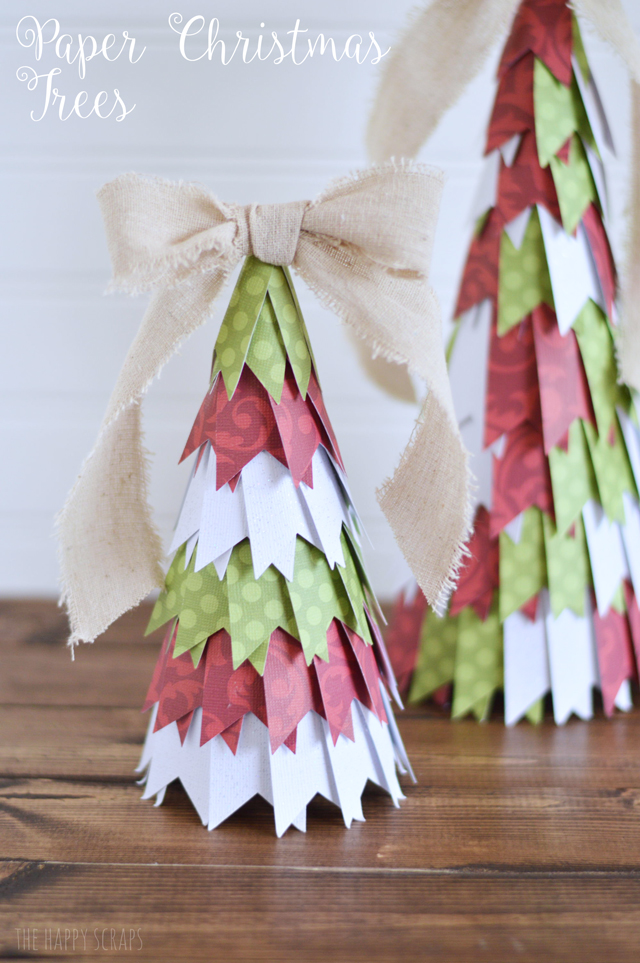
It’s that time of year! Time to pull out those Christmas decorations and put them all up. Have you started yet? I got some of my porch decorated, but I haven’t started inside quite yet. I’m hoping to get to that today. Do you ever find yourself decorating for a holiday and realize that you need just a little something more for a spot on your table, shelf, mantel, or where ever? These Paper Christmas Trees would be the perfect addition for anywhere in your home. Today, I’m showing you just how easy these are to make!
This post contains affiliate links.
Paper Christmas Trees Supplies:
- Paper Mache Cones (2 sizes)
- Christmas Colored Papers
- Banner Flag Punch
- Linen Ribbon
- Scissors
- Hot Glue Gun
- Paper Trimmer
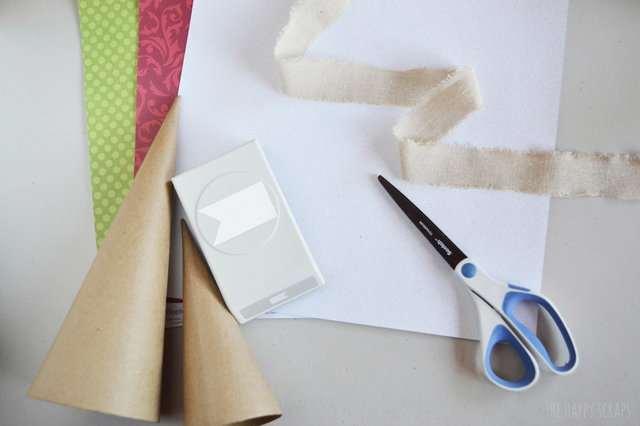
Cut your paper into to strips that are 1.5″ wide.

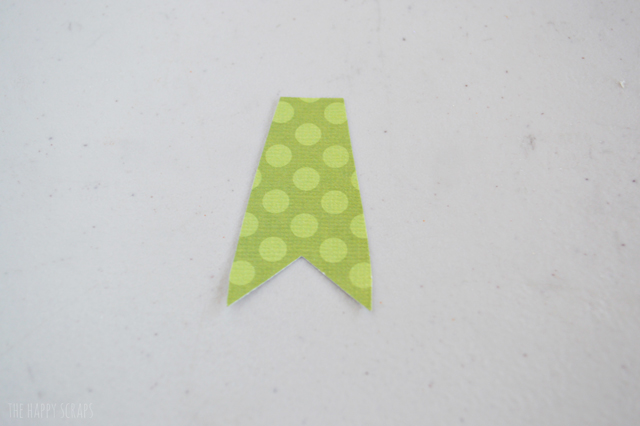
Use your punch to punch out several banner pieces of each color.
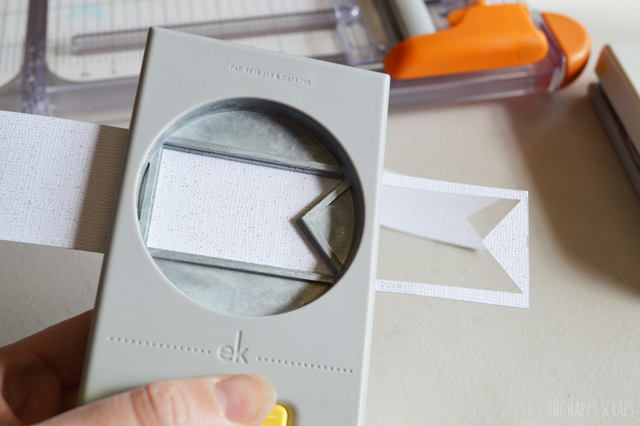
You’ll need a stack of each of them.
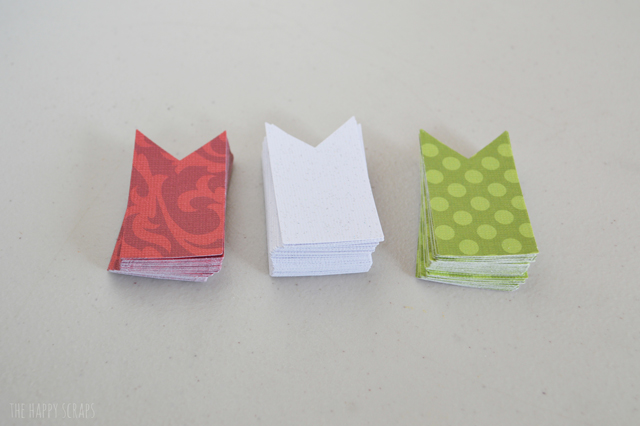
Start at the bottom and use the hot glue to glue the flags onto the paper mache tree, slightly overlapping each of them.
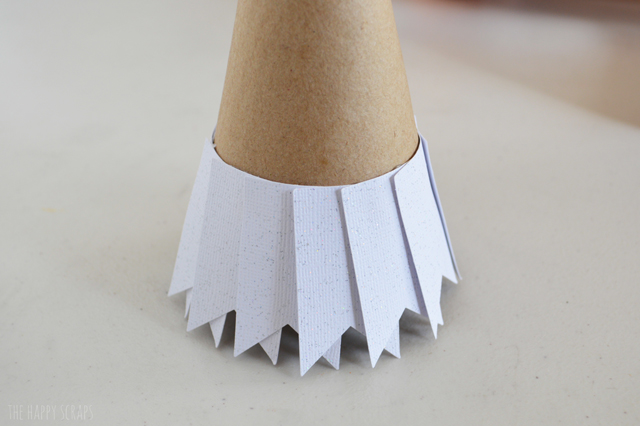
Keep gluing, changing colors with each layer.
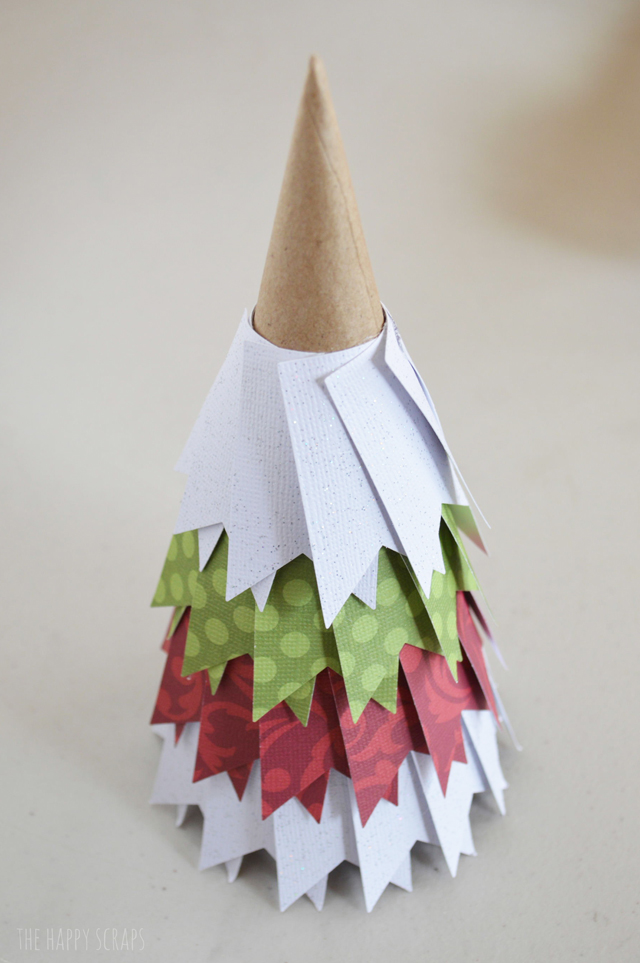
When you get to the top, trim the sides off of your banner piece, making it more narrow.
Glue the top pieces.
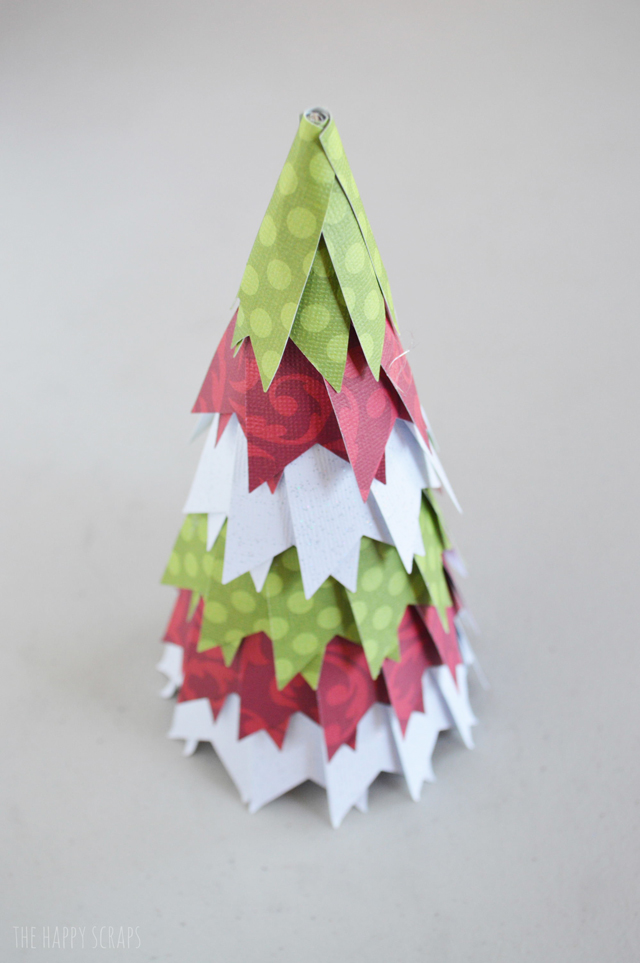
Tie a bow, and glue it to the top of your tree.
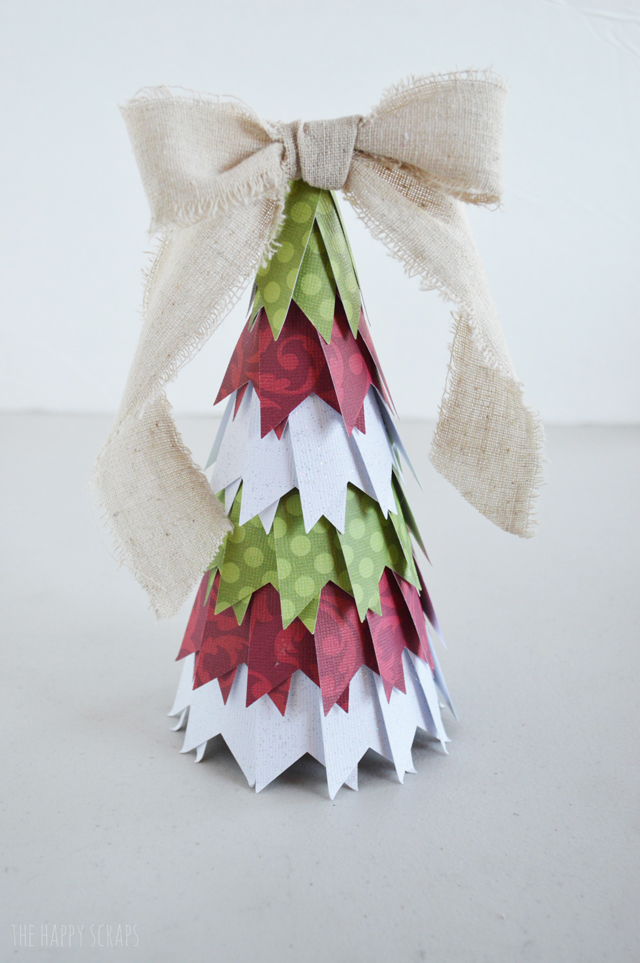
These trees really are so easy to make and I think they turned out so pretty!
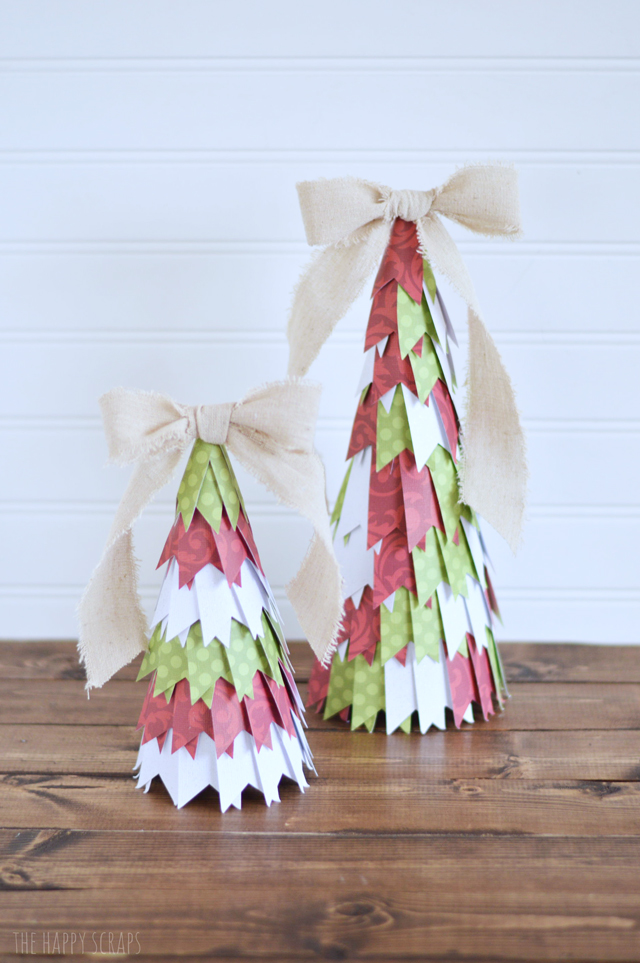
Where would you put these in your home?
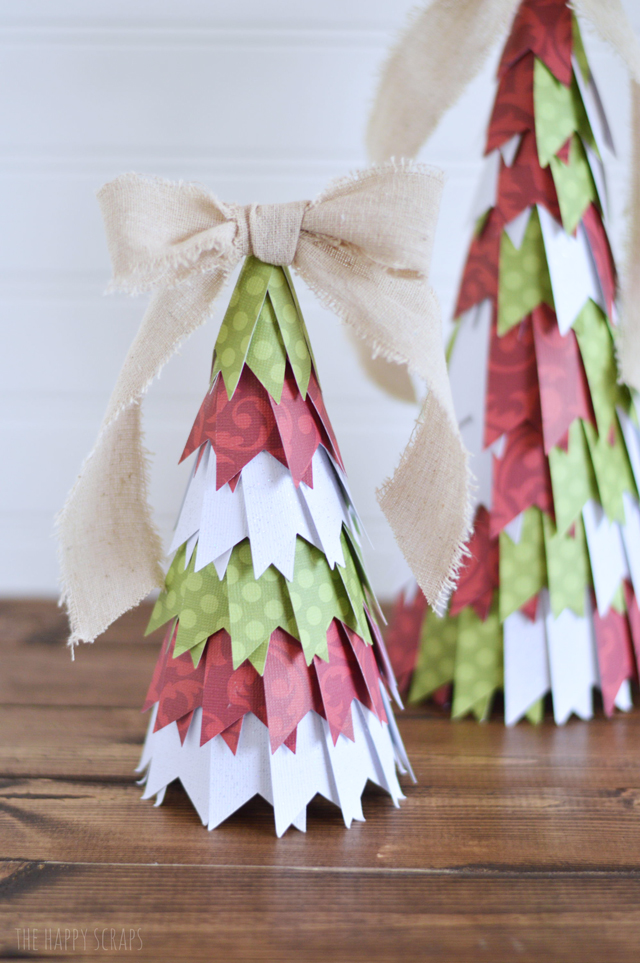
If you make some of these, I’d love to see them. You can share them on The Happy Scraps FB page. Also, if you aren’t following along over there, you should. 🙂 This is a post that I shared on the Darice blog last year.
If you like this post, you might also like these.


Leave a Reply