So you’ve got a Cricut Explore machine and you know you can do all these fun things with it like draw & cut, print & cut, make home decor, etc. but you just aren’t sure how to do it? Well, today I’m showing you How to Draw & Cut with the Cricut Explore. You won’t believe how easy & FUN it is!
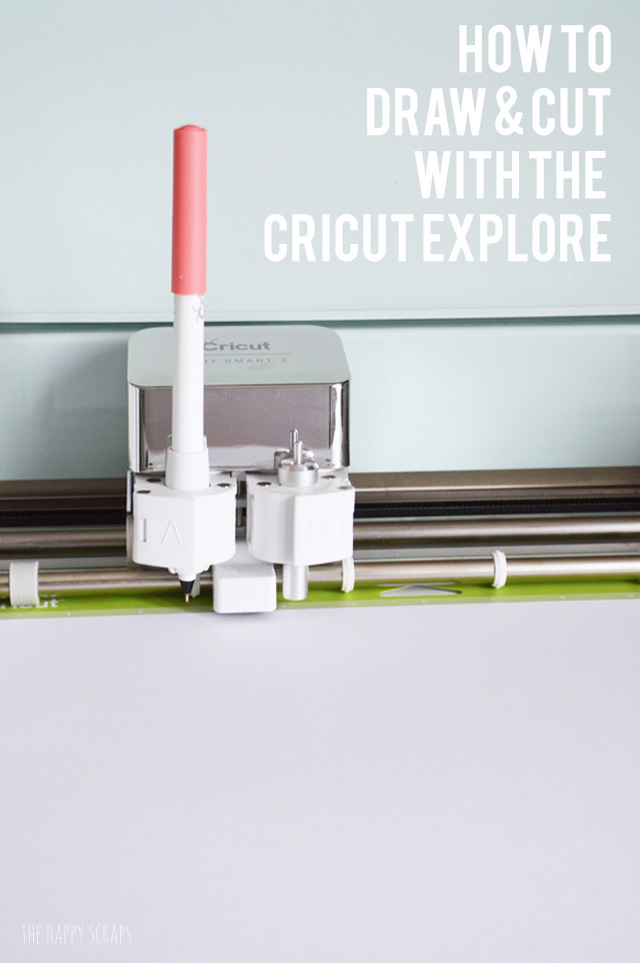
This post contains affiliate links.
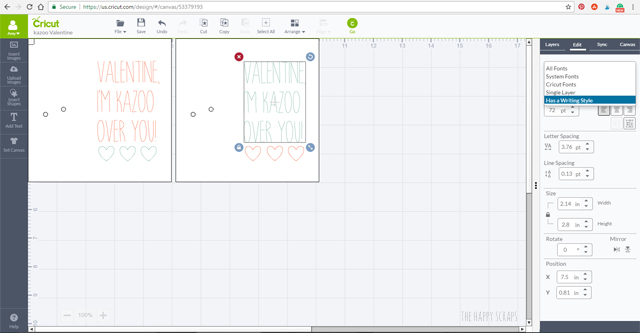
You’ll start by creating your file in Cricut Design Space. When creating it, after you add your text, in the edit menu on the right, you’ll click on “Has a Writing Style”. This will show the fonts that will draw a writing style. You can draw with any font, but some of the fonts will do an outline of the edge of the letter.
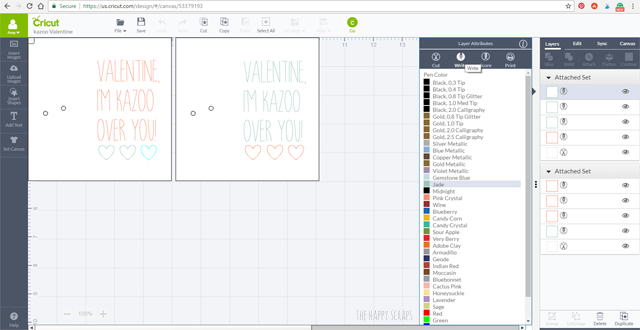
Once you have your font picked out, go to the layers menu. Click on the box next to the little pen image, to select the color of your pen. I was using two different colors for this project.
Before you go to the cut menu, you’ll want to attach your image together, so that your text is drawn where you want it. I was making Kazoo Valentines, so I selected the square, little circles, the text and the hearts for each image, and then on the layers tab, I clicked attach. Now you are ready to Click the green “GO” at the top center of your screen.
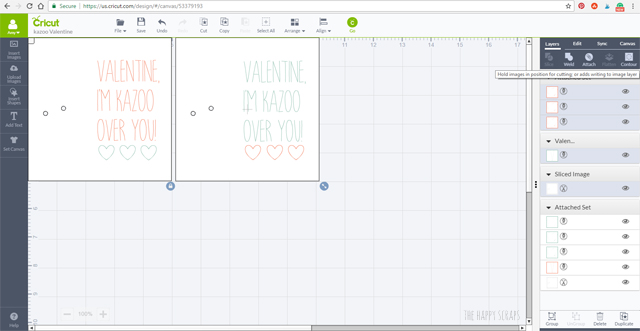
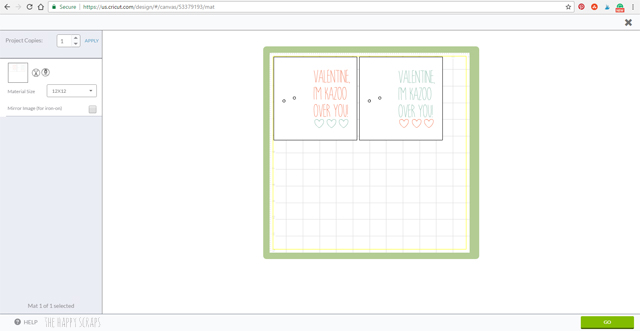
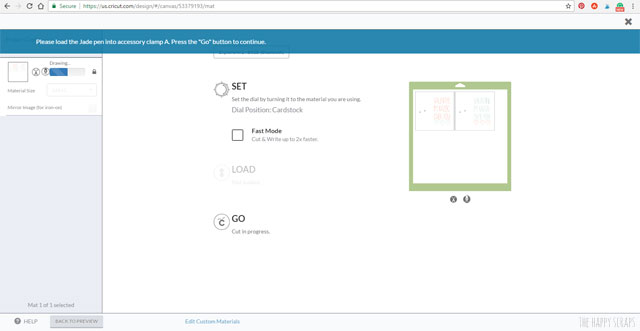
It brings you to this screen. You’ll know that you didn’t get everything attached together they way it should be if it doesn’t look like you want it to here. Now you are ready to click “GO” at the bottom right.
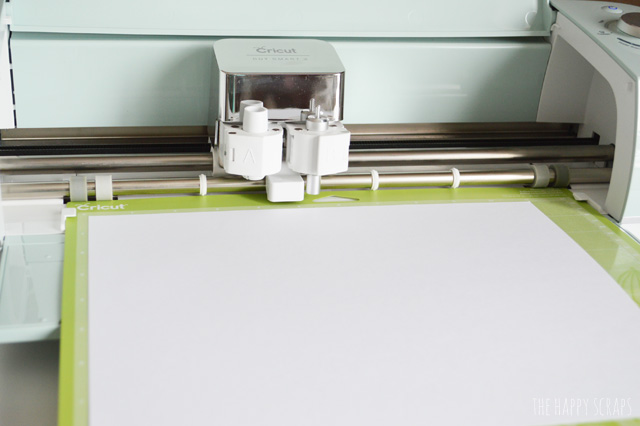
Once you click “GO” the machine will have you load your paper and mat.
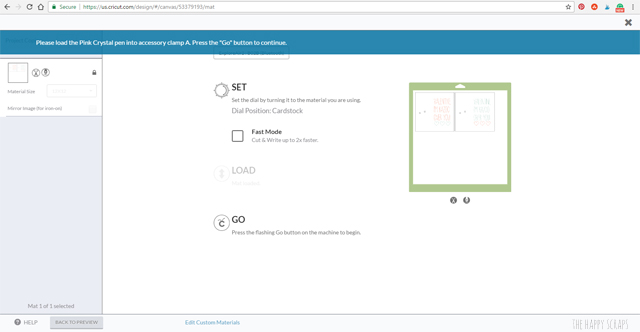
Then on the screen you’ll get the message to load your pen into clamp A on your Cricut Explore Air 2. I was using the Pink Crystal pen, so my message says “Please load the Pink Crystal pen into accessory clamp A. Press the “Go” button to continue.”
You’ll loosen clamp A by pulling the clamp to your left.
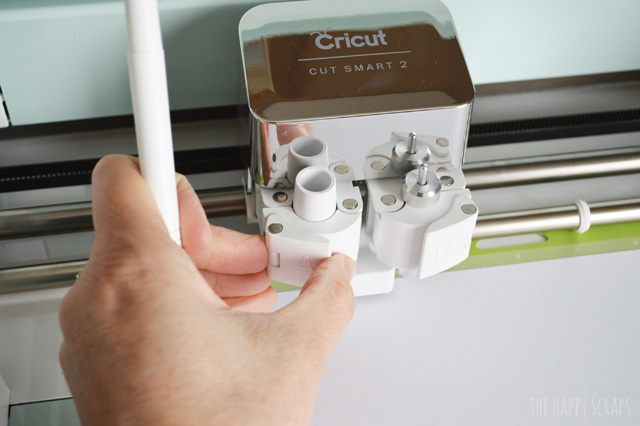
Place your pen in the clamp with the open tip down.

Push the pen down into the clamp until it’s about even with the blade. You do need to push a little bit to get it in there to the right place.
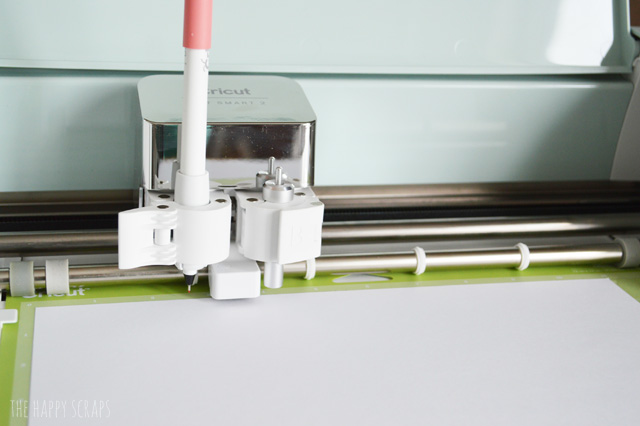
Then close your clamp.
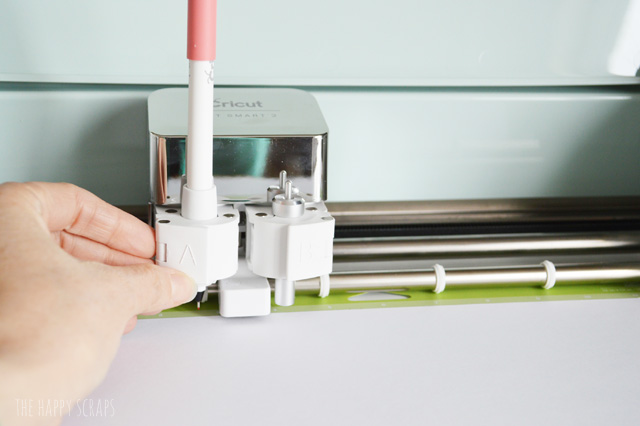
Press go on your machine and it will start writing. IF it doesn’t start writing, then the pen is probably not down into the clamp far enough.

Once it is done drawing with the Pink Crystal pen, it will ask you to change it to the Jade pen. You’ll just repeat the above steps.
It will draw the things with the Jade pen that it is supposed to.
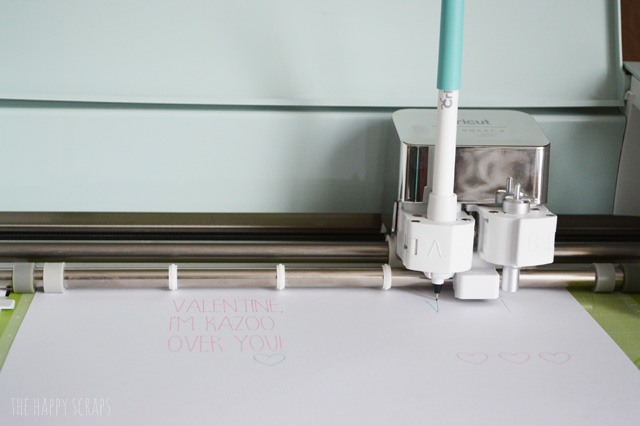
Once it is done drawing, it will start cutting.
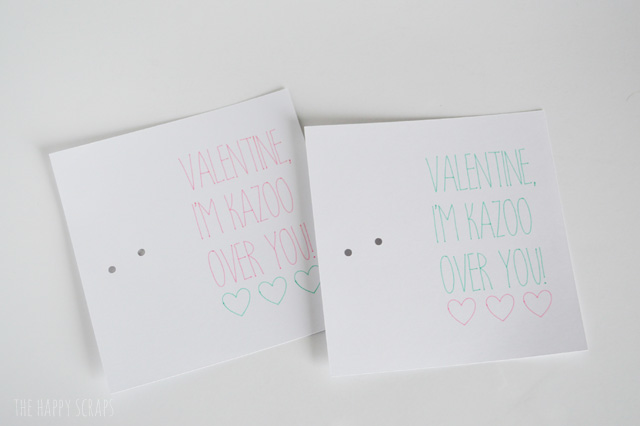
And that’s it! You’ll have your drawn images and have your cuts made as well. It is a great feature for making things all with the one machine. I used this to Draw & Cut the stuff to make this turning chore chart several years ago, and it worked great!
So what will be your first project with the Draw & Cut on your Cricut Explore Air?

Leave a Reply