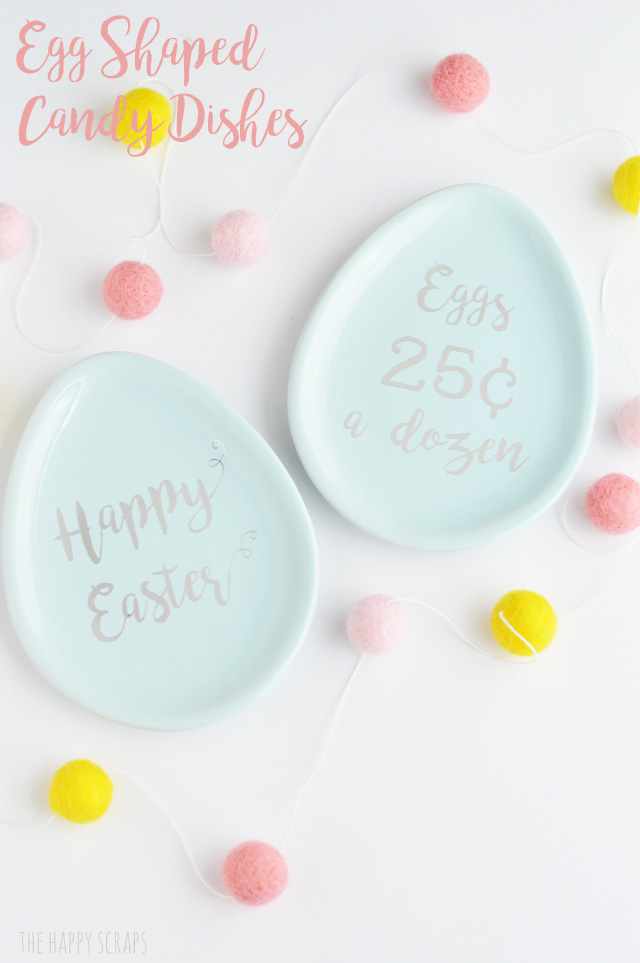
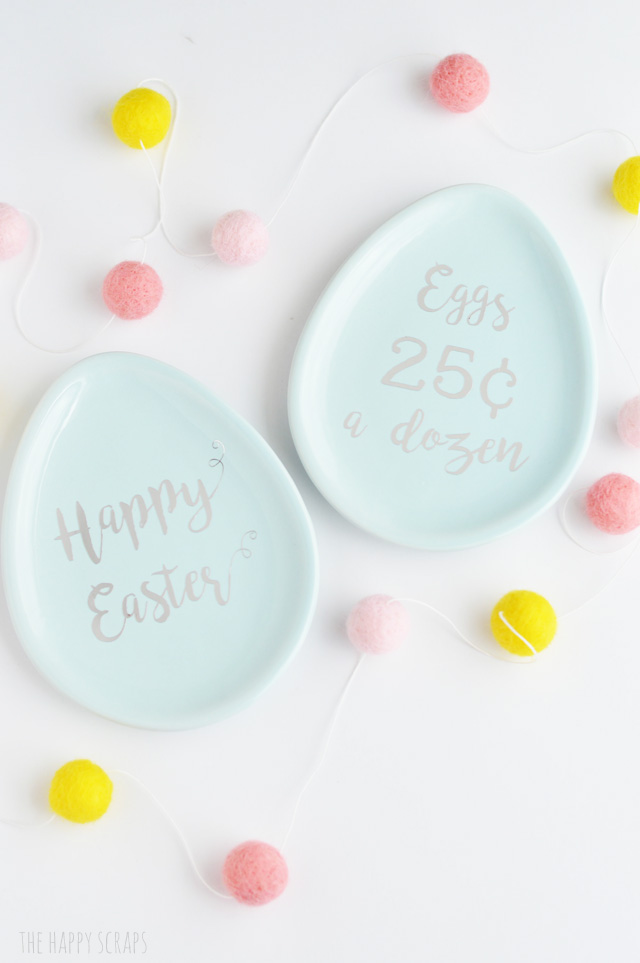
I don’t know what it is about Spring, but it sure makes me feel more alive than I feel all winter long. I’m so excited that it’s Spring time and that the sun is shining more, the weather is warming up, I want to spend time outside, and I also am enjoying creating more, so YAY! for Spring! Today I’m going to show you how easy these Egg Shaped Candy Dishes are to make with the help of your Cricut Explore Air 2.
This post contains affiliate links.
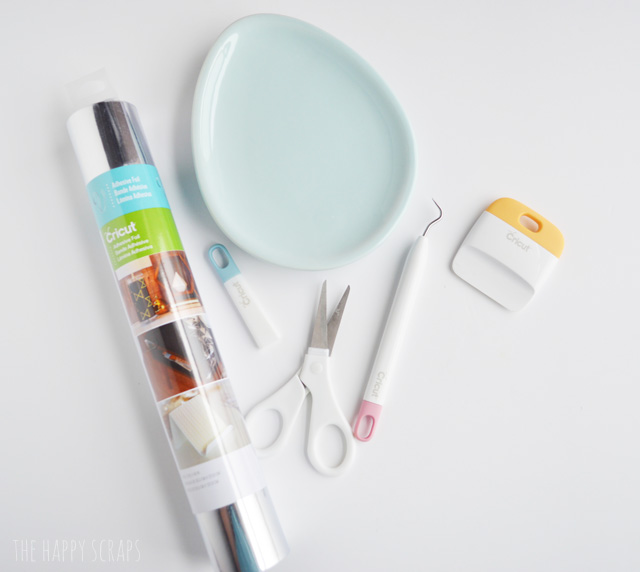
Egg Shaped Candy Dishes Supplies:
- Cricut Explore Air 2
- Silver Cricut Foil
- Cricut Tool Kit
- Egg Shaped Dishes (I found mine in the Dollar Spot at Target)
- Transfer Tape
That Dollar Spot at Target gets me every time. They for sure know what they are doing with that thing. You run into it as soon as you walk in the door, and you can’t leave it alone. If they took the dollar spot out, they’d go out of business! 😉 Anyway, the other when I went in there, I found these cute egg shaped plates that came in a two pack for $3. Sold! They had a few different colors too. I didn’t know what I was going to do with them, but I knew I had to have them. I was trying to think of a Spring/Easter project to do earlier in the week, and I remembered that I had these little Egg Shaped Candy Dishes, so I pulled them out with a few other supplies and got to work.
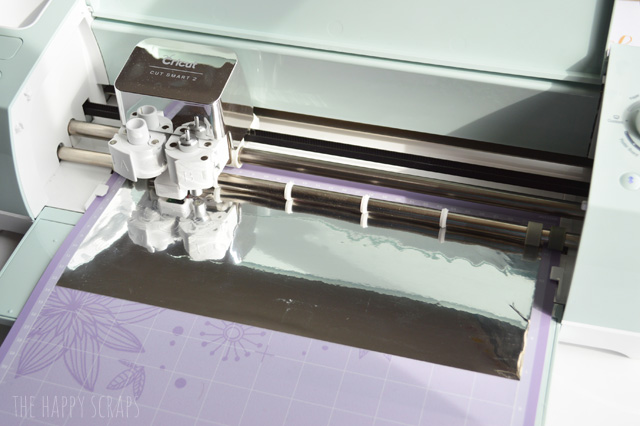
I designed my plate designs in Cricut Design Space using a font from my computer as well as a cartridge font that I own (you can find my file HERE) and got ready to cut it. But, did you know that it’s not required to use cartridges anymore? You can read all about that here. I cut the adhesive foil to the size that I needed, and then placed it on the StrongGrip Mat and into my machine. I set my machine to custom and then selected adhesive foil from the cut list then started cutting.
Once it was cut, just like vinyl, it needs to be weeded.
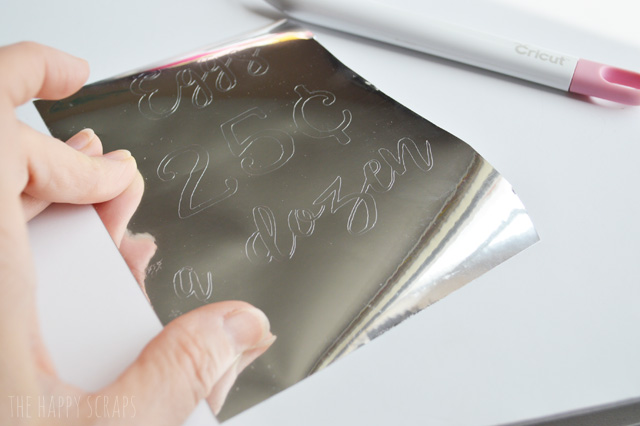
It can be a little bit harder to weed, in my opinion, but if you’re careful, it will all weed just fine.
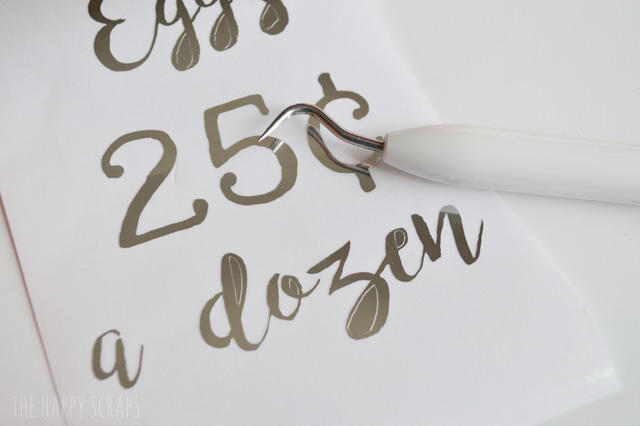
Once weeded, place transfer tape over the top of it.
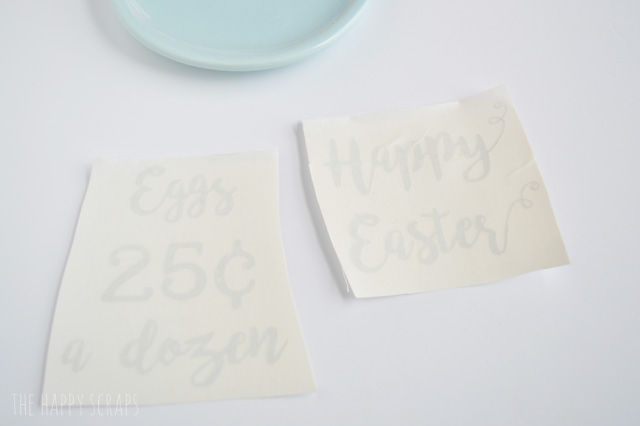
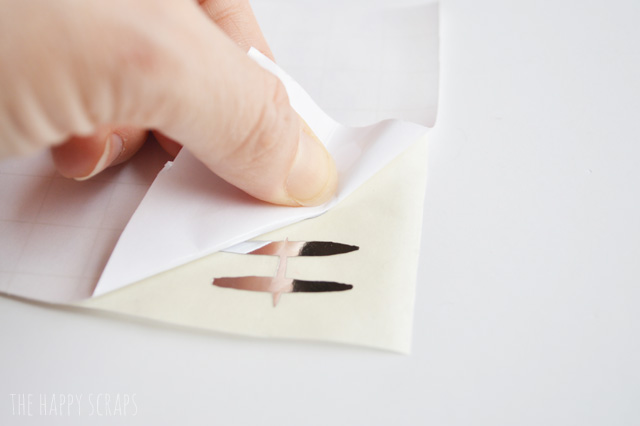
Carefully peel the backing off of the adhesive foil decals. I have found that when I pull the backing off, the tighter that the fold is, the easier it is to get the foil off of the backing.
Place it onto your dish where you want it.
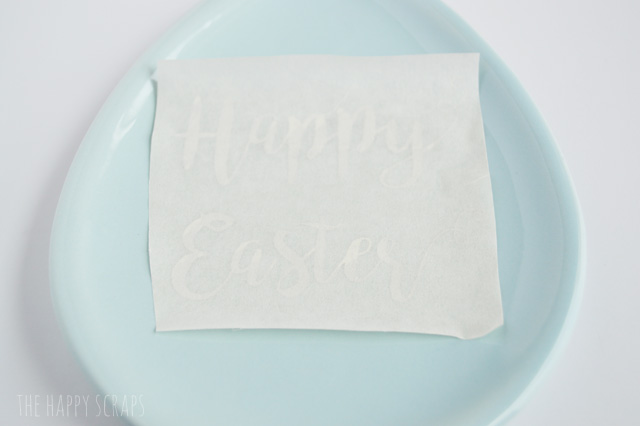
Use your little scraper tool to smooth it out good.
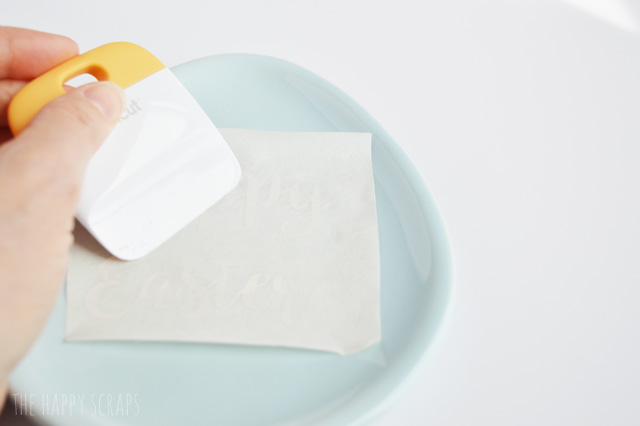
Carefully peel off the transfer tape, and you’re finished.
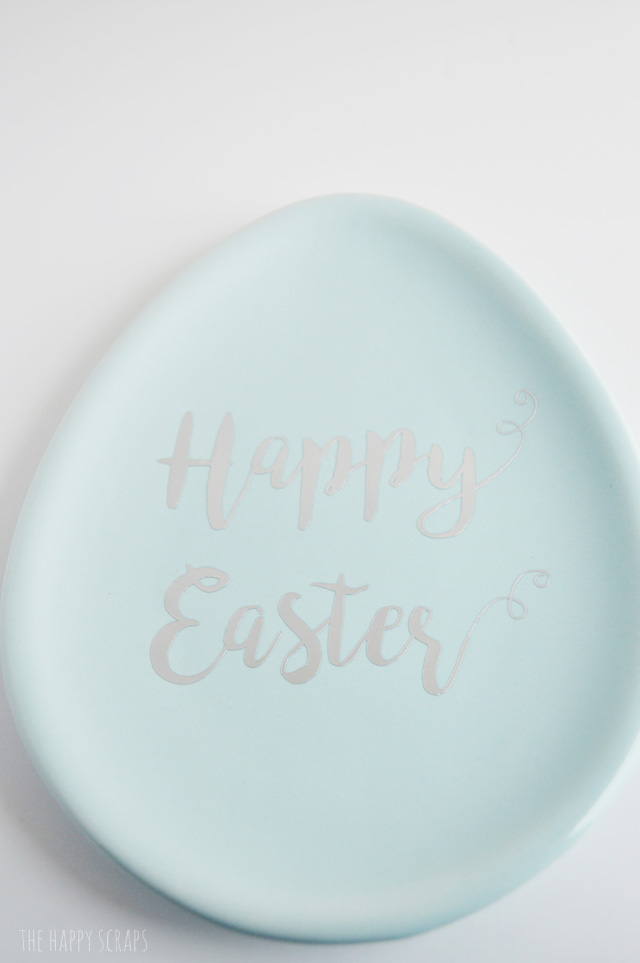
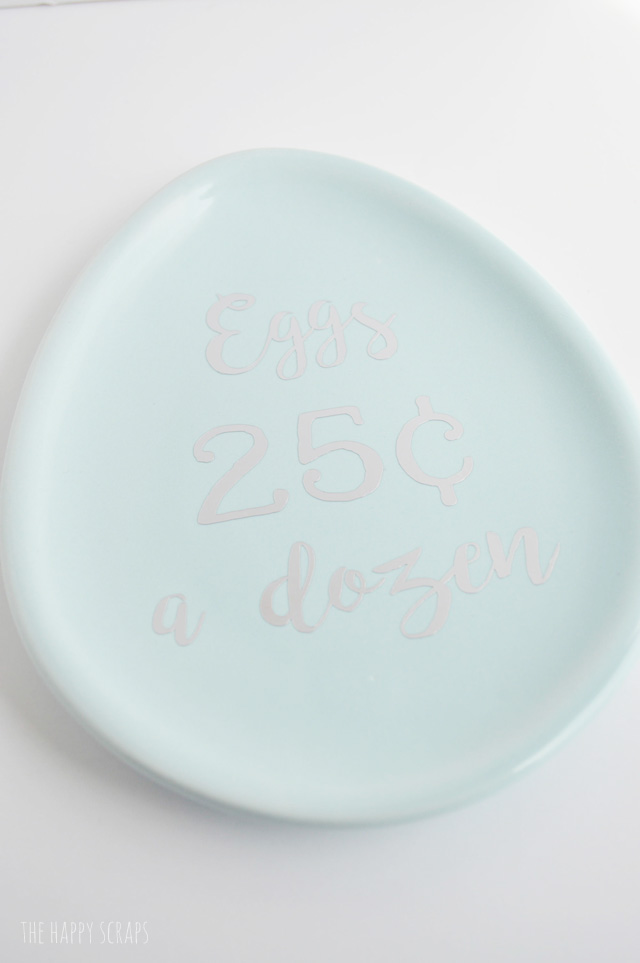
Place them on display in your home, or use them to put Cadbury Mini Eggs on.

I have mine on my table that I like to decorate, but with my one year old, I don’t know how long they’ll last! I’m sure I’ll have to move them.
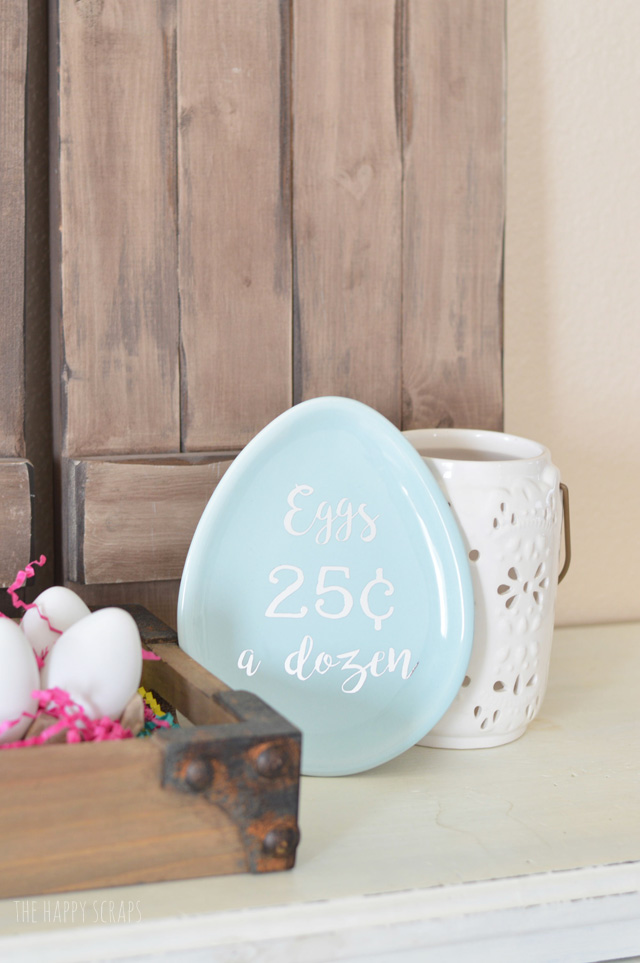
Where will you put your cute little Egg Shaped Candy Dishes?
If you’ve enjoyed this project, check out some of my other Cricut projects here.

Leave a Reply