• Contact
  • Etsy Shop
  • About Me
  • Home

The Happy Scraps

a creative blog

  • DIY Projects
  • Cricut
  • Holidays
    • New Year’s
    • Valentine’s Day
    • St. Patrick’s Day
    • Easter
    • Mother’s Day
    • Father’s Day
    • Independence Day
    • Halloween
    • Thanksgiving
    • Christmas
  • Paper Crafts
    • Banners
    • Cards
    • Mini Albums
    • Printables
    • Scrapbook Layouts
    • Wreaths
  • Sewing
  • Recipes

Carols of Christmas – Christmas Card

August 18, 2017 By Amy | The Happy Scraps Leave a Comment

25 shares
  • Share
  • Tweet

You might be thinking “Man, she’s lost her mind! She’s posting Christmas stuff!” It’s true, I have a Christmas post for you today, and it’s barely the middle of August, but if you think about how quickly Christmas will really be here, well, then you might agree that now is a great time to be crafting and creating Christmas decorations and Christmas cards. Let me tell you though, I don’t have my Christmas cards made yet. Before I even get to that point, I need to get a new family picture taken, because I always like to use those with our Christmas card. Anyway, today, I’m sharing this Carols of Christmas – Christmas Card with you.

Create this fun Carols of Christmas - Christmas Card and have your cards all ready for the holidays before the holidays get here!

This post is sponsored by Stampin’ Up! All ideas and opinions in this post are my own. I received product in exchange for this post. No compensation was received. This post contains affiliate links.

Carols of Christmas – Christmas Card Supplies:

  • Carols of Christmas Stamp Set (this is an early release set, great time to get a jump on those Christmas Cards)
  • Card Front Builder Thinlits Dies (early release)
  • Cardstock (in colors of choice)
  • Glimmer Paper
  • Classic Stampin’ Pads (in colors of choice)
  • Stamp Block
  • White Baker’s Twine
  • Cuttlebug
  • Magnetic Cuttlebug Mat (I didn’t use this, but it would be super helpful)

Create this fun Carols of Christmas - Christmas Card and have your cards all ready for the holidays before the holidays get here!

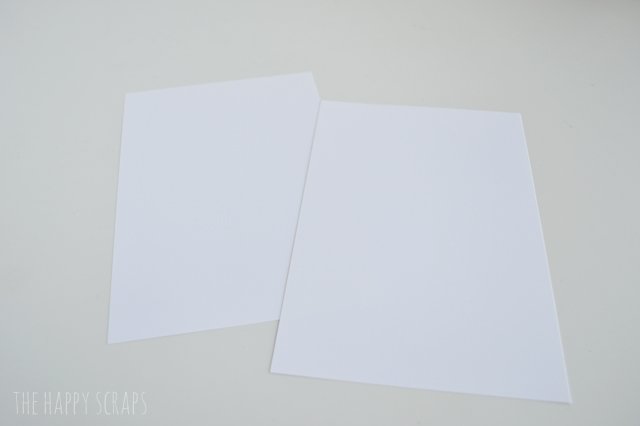
I cut my white cardstock in half, creating two card bases.

Create this fun Carols of Christmas - Christmas Card and have your cards all ready for the holidays before the holidays get here!

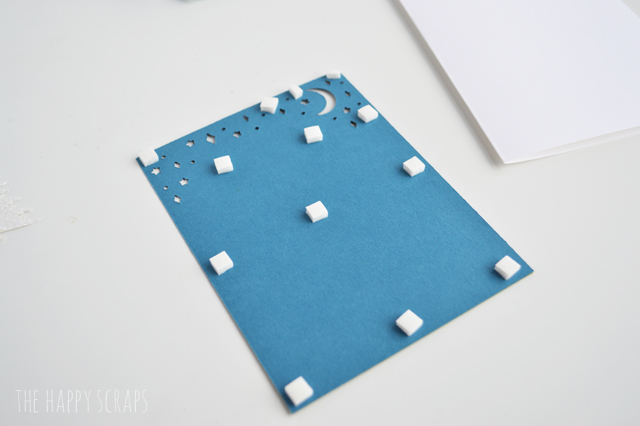
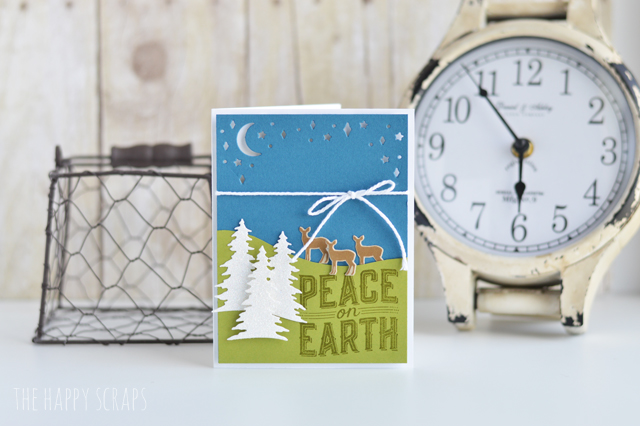
I trimmed a piece of my blue paper to be just smaller than the front of the card. I placed the die of the moon and stars over the top of the blue paper and ran it through my Cuttlebug machine. I trimmed a piece of the green paper to fit at the bottom of the blue, with a rolling hill look. I just free hand cut the hill. Once I had the green paper cut to the size I wanted, I stamped my “Peace on Earth” image onto it. Then I attached the green to the blue.

Create this fun Carols of Christmas - Christmas Card and have your cards all ready for the holidays before the holidays get here!

I placed dimensional squares onto the back of the blue and mounted it on the front of the white card base.

Create this fun Carols of Christmas - Christmas Card and have your cards all ready for the holidays before the holidays get here!

Using the Cuttlebug again, I cut out the trees from the white glittery glimmer paper.

Create this fun Carols of Christmas - Christmas Card and have your cards all ready for the holidays before the holidays get here!

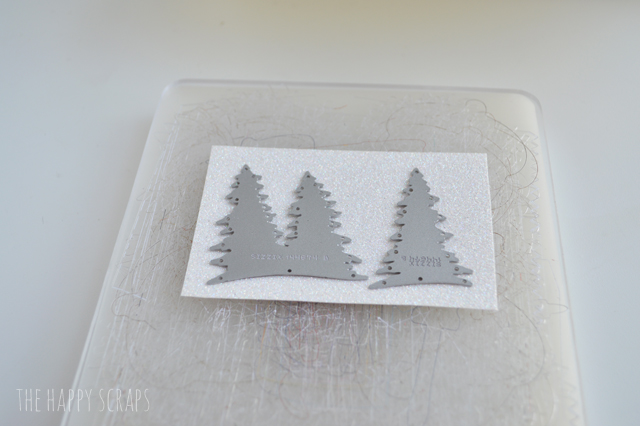
I mounted the two trees onto my card, then I used dimensional adhesive squares to mount the third tree in front.

Create this fun Carols of Christmas - Christmas Card and have your cards all ready for the holidays before the holidays get here!

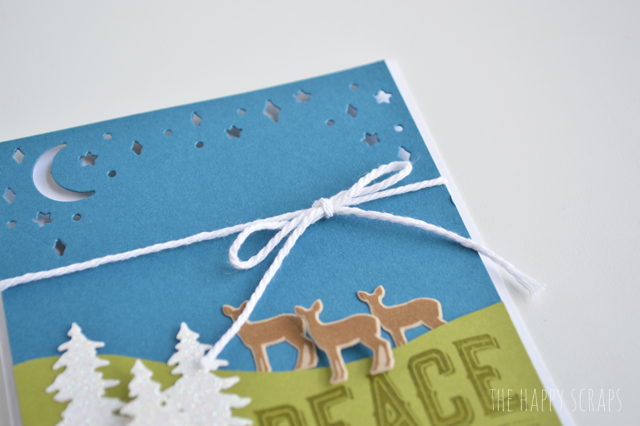
I stamped three of the deer, and then used the thinlit dies to cut them out.

Create this fun Carols of Christmas - Christmas Card and have your cards all ready for the holidays before the holidays get here!

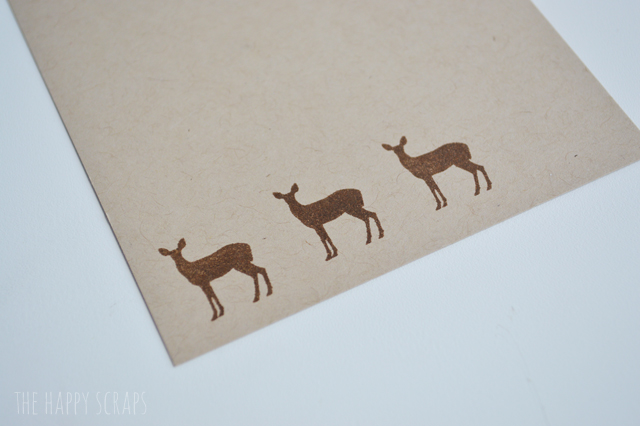
I mounted two of these on the card, and added dimensional adhesive behind the third, middle one.

Create this fun Carols of Christmas - Christmas Card and have your cards all ready for the holidays before the holidays get here!

I tied some thick baker’s twine around the front of the card with a little bow, and that finished up my card.

Create this fun Carols of Christmas - Christmas Card and have your cards all ready for the holidays before the holidays get here!

This was such a fun layered card to make! The thinlits (If you’ve never tried these, you really need to! I love using these dies!) are so fun to use and create such clean, crisp cuts.

Create this fun Carols of Christmas - Christmas Card and have your cards all ready for the holidays before the holidays get here!

There are lots of different options with this stamp set too. I had a hard time deciding what kind of card I wanted to make. I think it would be fun to make some cards that say Deck the Halls and use the ornament stamps and thinlits to cut them out.

Create this fun Carols of Christmas - Christmas Card and have your cards all ready for the holidays before the holidays get here!

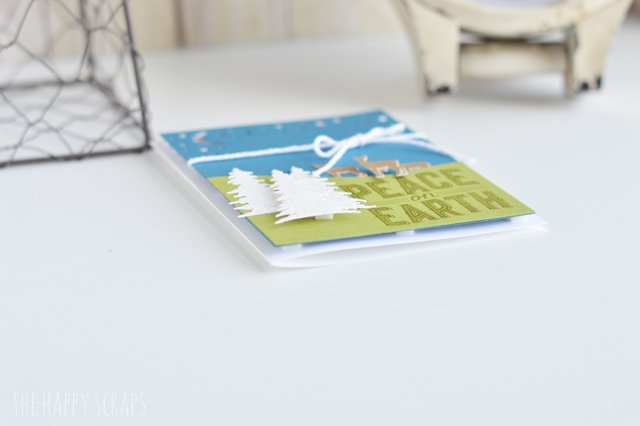
I think my favorite part would have to be all the dimension though. You can see from the side that it ends up being pretty thick, but you could still totally put this in an envelope and mail it. It would work!

Create this fun Carols of Christmas - Christmas Card and have your cards all ready for the holidays before the holidays get here!

I hope you’ve enjoyed seeing this card today, even if it is August and this is a Christmas card. 😉 For real though, you should grab this stamp set and get your cards all made now so you don’t have the stress of making them in December!

Create this fun Carols of Christmas - Christmas Card and have your cards all ready for the holidays before the holidays get here!

You can find more Christmas card ideas using the Carols of Christmas stamps on Pinterest. I’ve also shared lots of card ideas here on The Happy Scraps.

Filed Under: Cards, Christmas, Cricut, DIY Projects, Holidays, Paper Crafts Tagged With: baker's twine, cards, cardstock, christmas, cuttlebug, glitter, ink, stampin' up!, stamps

« Back to School Decorating Ideas
Farmhouse Inspired Kitchen Towels »

Leave a Reply Cancel reply

Your email address will not be published. Required fields are marked *

CommentLuv badgeShow more posts
  • Farm Sweet Farm Front Porch Sign with the Cricut Maker 3
  • Farm Fresh Eggs Kitchen Sign
  • How to Make a Summer Hat with the Cricut Joy
  • Bless Our Farmhouse Kitchen Sign
  • Welcome to the Farm Front Door Decor
  • How to Use Offset in Cricut Design Space

Popular Posts

Affiliate With

Page Ranking Tool

Categories

Archives

The images and text on this site are copyright of The Happy Scraps. If you would like to feature a project or image on this site please email [email protected] Thank you! Please read the Privacy Policy and Disclosure here.

Copyright © 2023 · Tasteful theme by Restored 316

Copyright © 2023 · Blog Design by Key Lime Digital Designs · WordPress · Log in

25 shares